
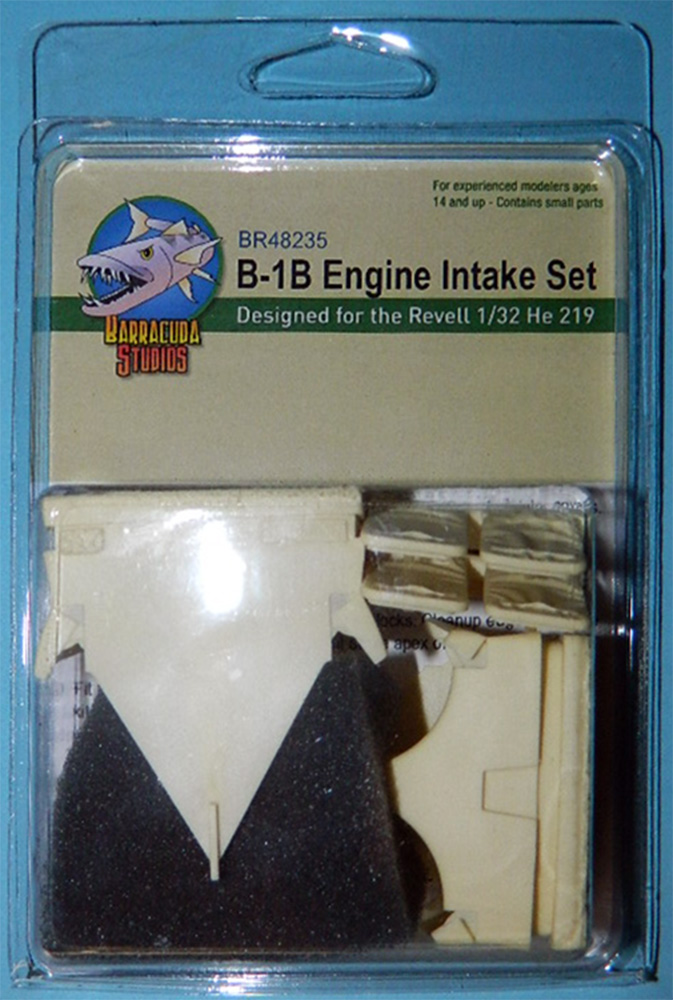
B-1B Engine Intake Set
Roy Sutherland has been around for a bit, providing resin details we never knew could exist, but now do because of his commitment to improving basic products. This set is one of four that I used on the new (but old) B-1B… they are in Roy’s “Barracudacast” resin accessories branch of his company. On to the review!
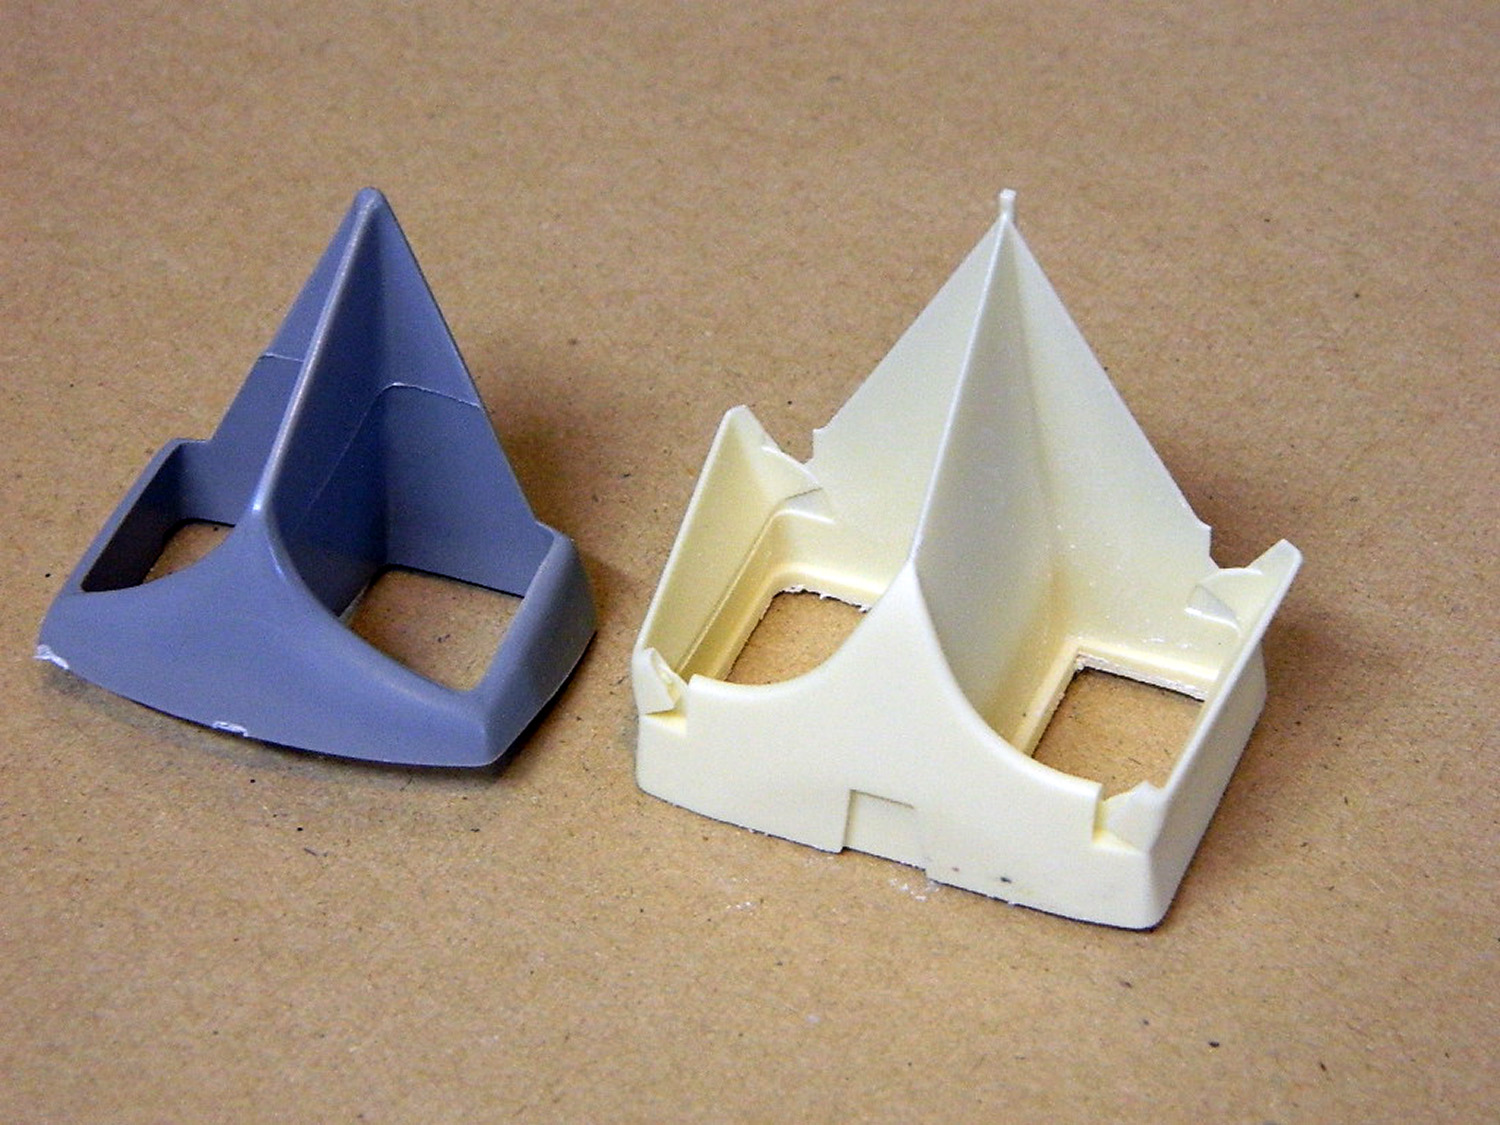
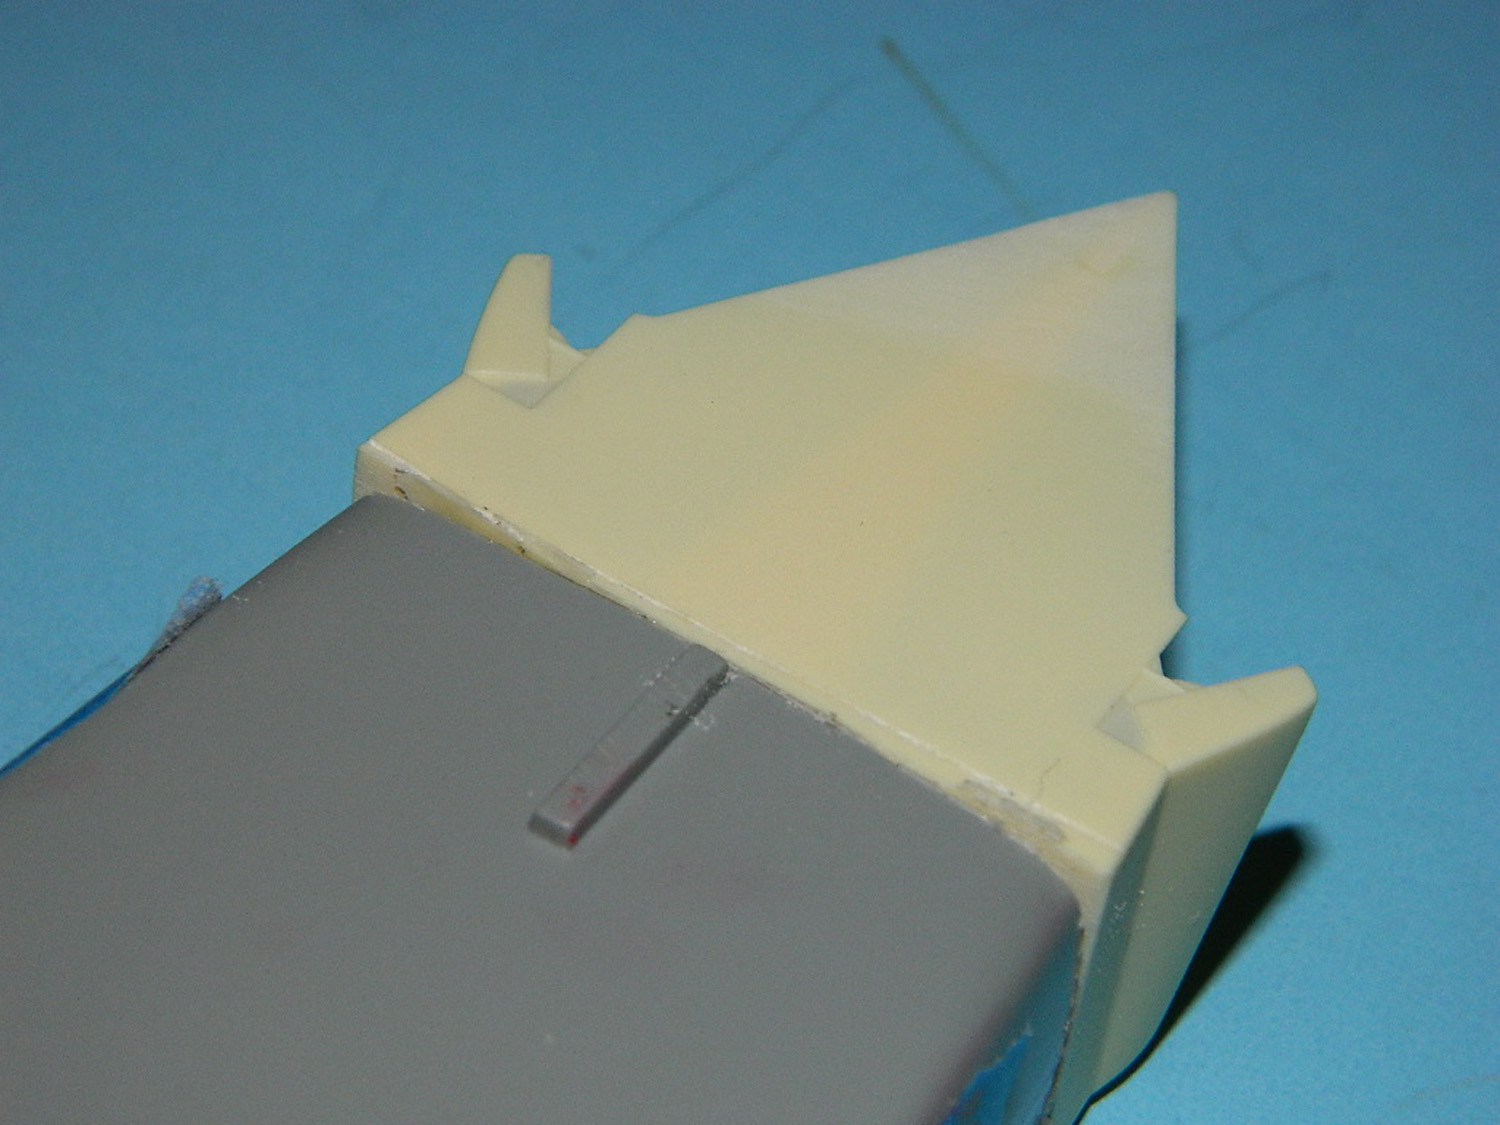
This set is comprised of two sets of intakes, and four intake plugs used while the aircraft is on the ground to prevent Foreign Object Damage (FOD). It is relatively simple in use, but requires some mastery of measurement, installation, and Putty/filler work. Up front, this set does NOT address the intake trunking. It only corrects the inaccurate B-1B intakes at rest.
To be fair to Revell, this kit was released around 1983. It represented the B-1B as it was to be manufactured at the time, and is representative of a kit standard for the era. When complete, it is an imposing model… and deserves more than the basic treatment. The Barracudacast Intakes provide the air inlet doors and lips that are open on the ground. The appearance is radically different than on the stock intake. See the photos.
Preparation is simple; soak for a while in a cleaner like automotive spray tire cleaner (I used “bleach-white”), 409, or whatever, to get rid of the silicone mold lubricant that is inherent in resin casting. Run an old tooth brush over all, rinse fully with water, then allow to dry.
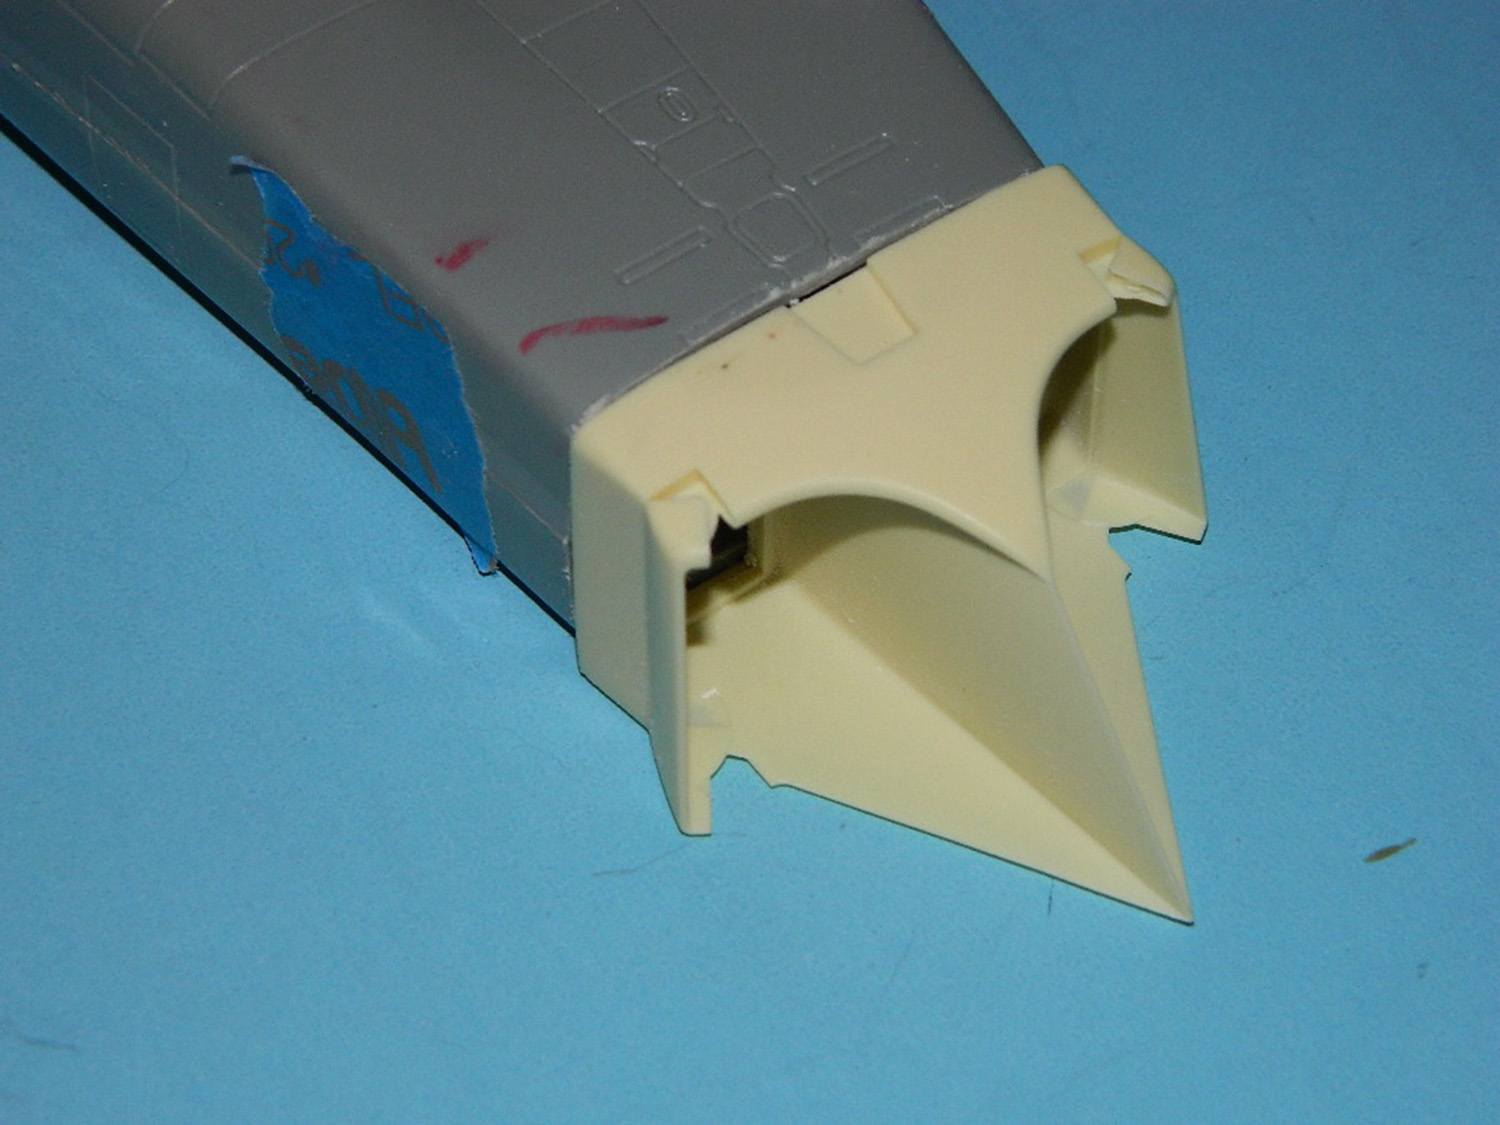
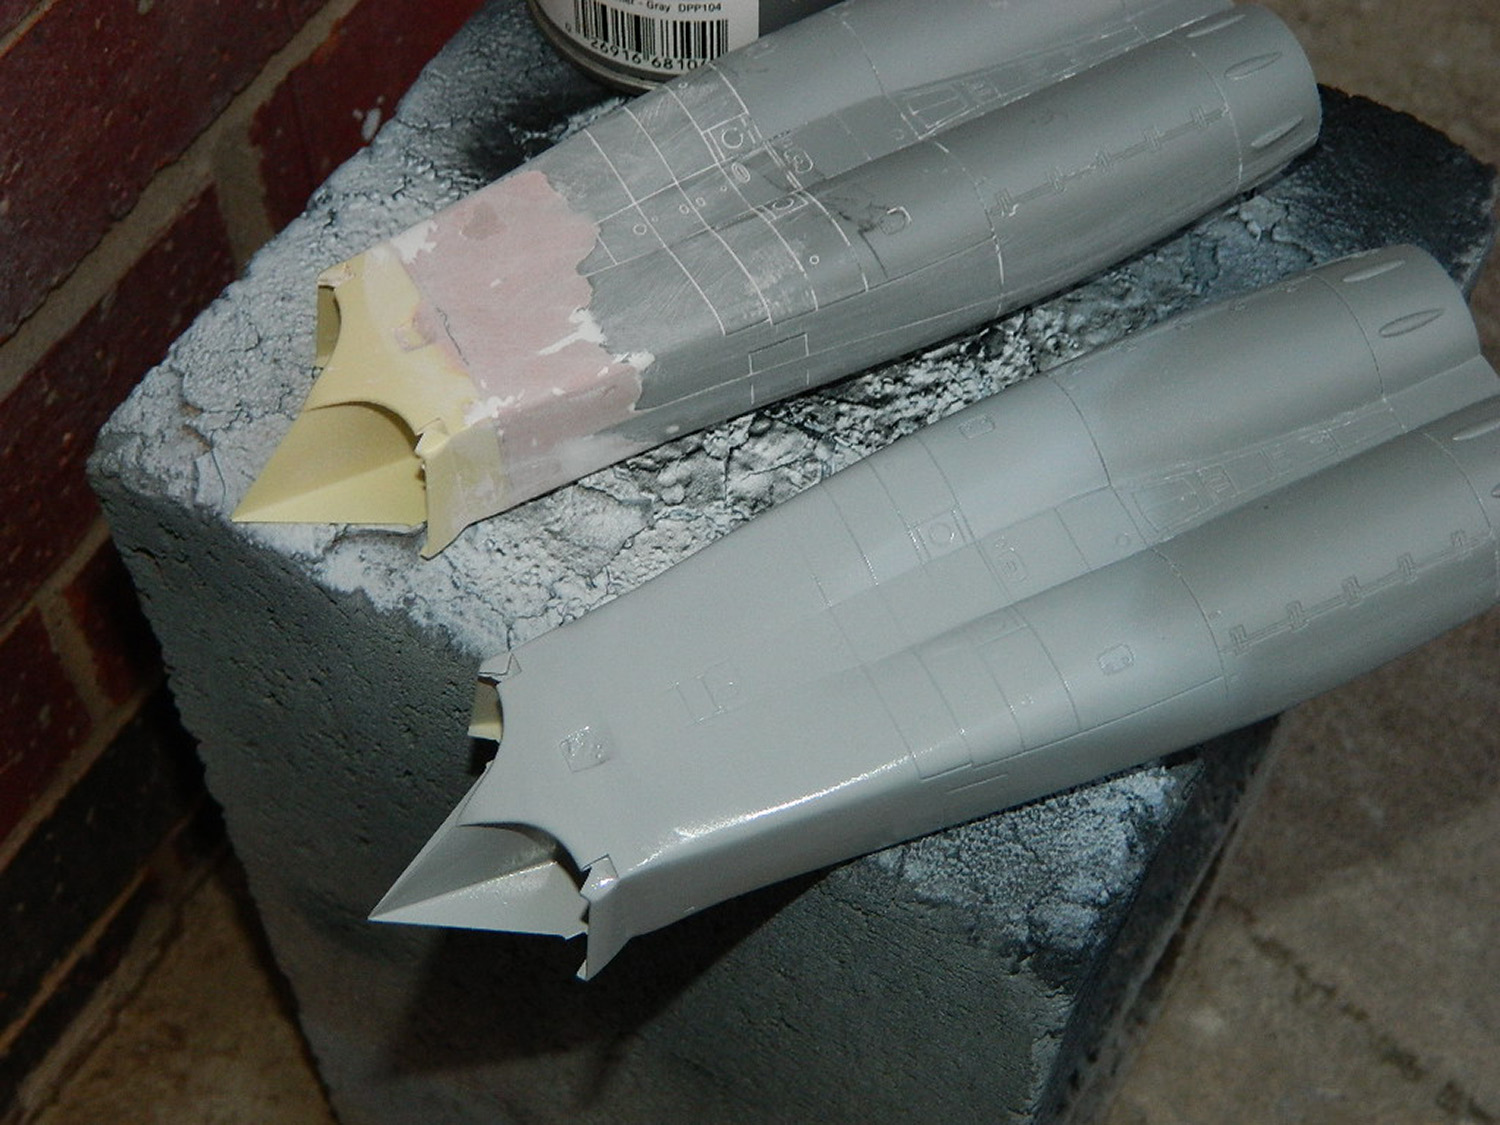
To use this set, carefully use a razor saw to remove the pour stubs. Then, you must remove the kit intakes from the nacelles. To properly do this, assemble the upper and lower nacelle halves, wait for the cement to harden, then use the Mark 1 eyeball to measure and remove the front of the nacelles. I say this because most will either cut off (1) too much or (2) too little. You will have to fettle the intakes into position, and then install the new intakes using superglue.
Measure the first set after assembly, then remove the same amount from the opposite nacelle. This makes them symmetrical.
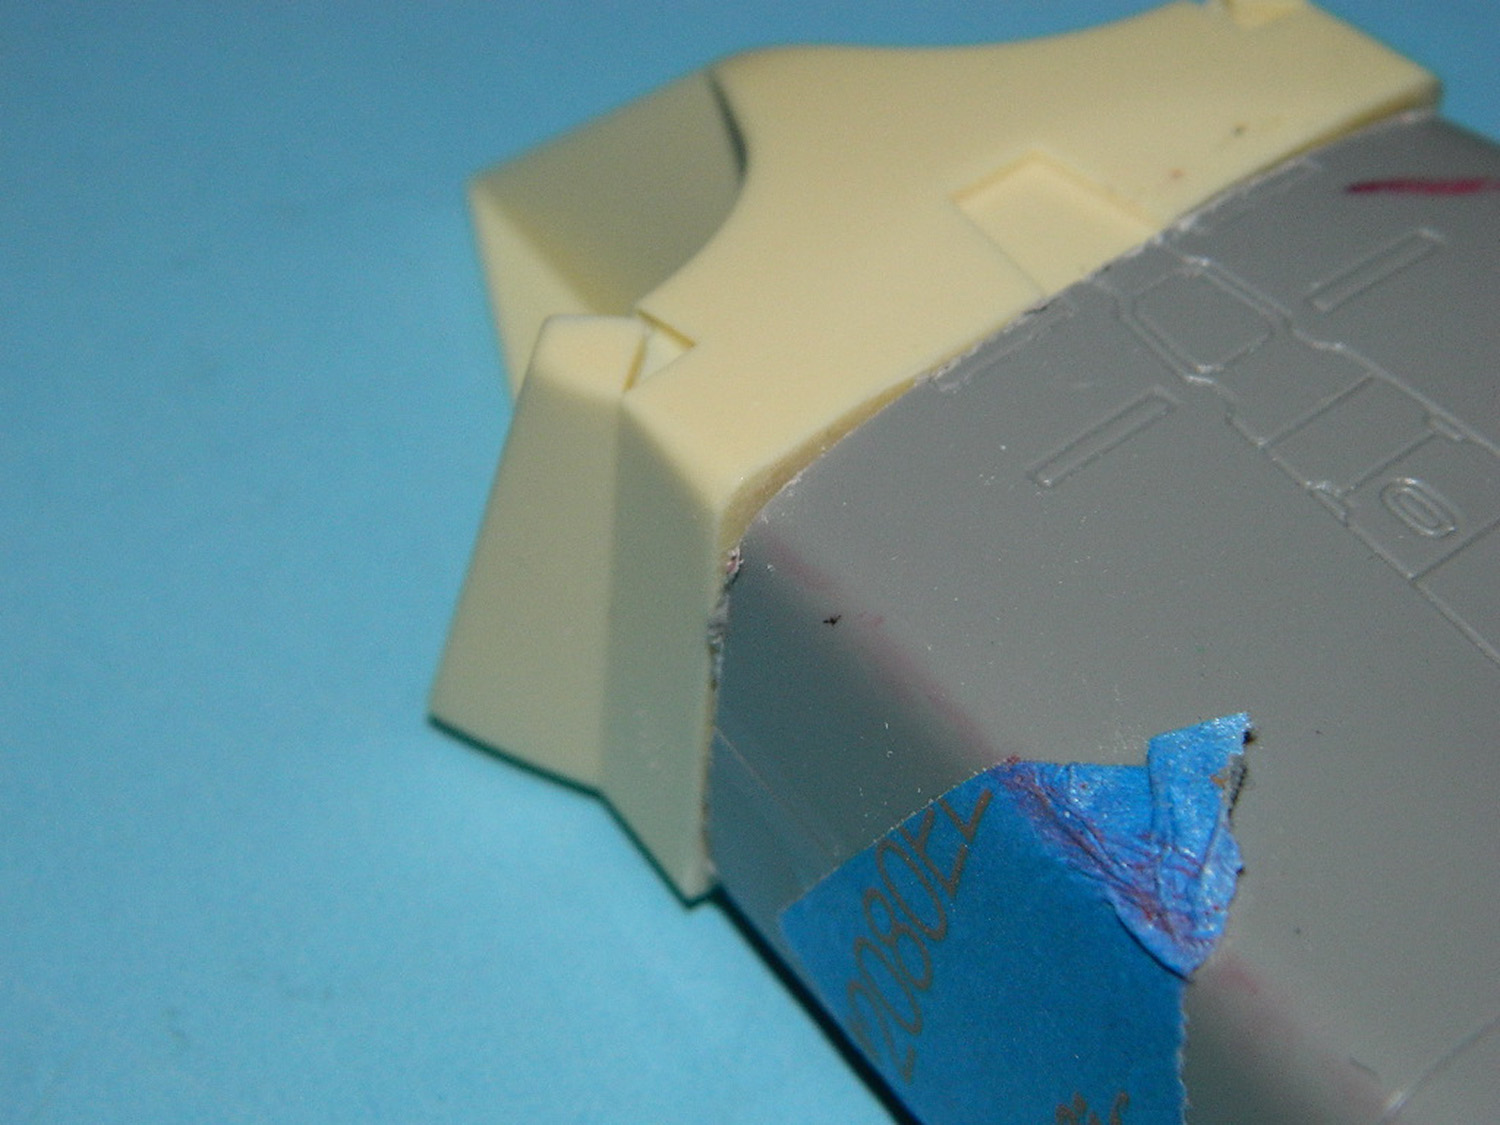
Use your favorite filler (I tried Bondo, did not like it, so resorted to Tamiya putty on the second nacelle. Be prepared to sand away with 60 to 100 grit, then work down to the finer grits.
Once you have faired the new nacelle intakes in to the nacelle bodies, work the panel lines in if you want, primer and prepare for final spray painting.
After the model is assembled, I installed the nacelles. I used Tamiya Gunship gray II spray to finish, with Wet-look Gloss coat lacquer and then decals, then flat coat. Only then did I install the intake plugs. You may note you get two separate plugs, which prevents the “duplicate plug” look. Nice detail, Roy!
In the end, this is one of six aftermarket companies that have products I used on the Revell B-1B kit… Thanks to Roy at Barracudacals for sending it to me so I could use it. If you want them around, support our aftermarket companies!
Product provided by: Roy Sutherland at Barracuda Studios, and my cash.

Comments
Add new comment
This site is protected by reCAPTCHA and the Google Privacy Policy and Terms of Service apply.
Similar Reviews