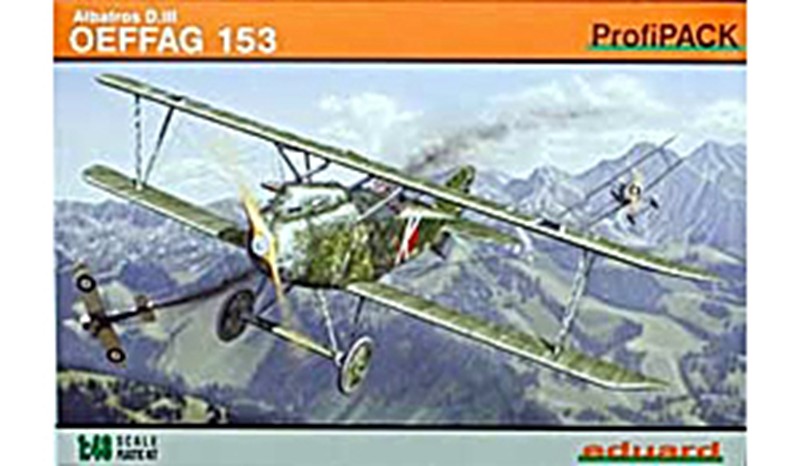
Albatros D.III (OEFFAG) 153
The Albatros D. III was built under license by the Oesterreichische Flugzeugfabrik AG (Oeffag), totaling 281 aircraft (153.01-153.281). These aircraft had beefier lower wings and the powerful 200-hp Daimler engine. The spinner had a nasty habit of coming off during flight and damaging the airframe. Starting with 153.112, the nose was blunted for the remainder of the production run. This change also increased the speed of the aircraft another 9 mph. The main drawback of the plane was the buried and slow firing Schwarzlose guns. At the insistence of the pilots, these were placed on top of the fuselage in the following 253 series.
Godwin Brumowski was the top Austro-Hungarian ace of World War I with 35 confirmed and 8 unconfirmed victories. He was awarded just about every possible military honor that could be conferred on an A-H officer. After meeting with Von Richthofen sometime in late 1917, Brumowski started painting his aircraft overall red with a distinctive skull marking on the sides and surface of the fuselage.
Eduard gives you one of these options for 153.52, which is also covered with thousands of little yellow curlicues. I do not have the patience to even attempt this! However, the old Glencoe kit has decals for the other two. I chose to do 153.209, which Brumowski used for his last four victories.
The Eduard kit consists of 78 tan colored plastic parts, of which, 16 won’t be used. Some of these parts are very fragile and care will be needed to remove and clean up the part. You also get two photo-etched frets, a small Express Mask sheet, and decals for 5 schemes. Be aware that scheme “D” on the cover of the instruction book is really “E” and can be downloaded from the Eduard website.
Building this kit is very straight forward. You start with the engine, which has 14 plastic and 6 PE parts to it and is a mini kit in itself. However, if you plan to use the schemes with the engine hood, just use the engine halves (X8 & X9). Nothing can be seen once the hood is in place and the extra parts will actually hamper the hood seating properly.
The interior is the next big project. Some of the parts are very thin and fragile, and care needs to be taken when cleaning up the plastic. I managed to snap the blast tube off one of the guns. Instruments are decals and colored photo-etch and really add a lot to the interior. On part B7, there is a little tab in the lower left hand corner that is supposed to fit into part A10 when the fuselage halves are joined. It is more of a nuisance and I removed it after struggling to get the fuselage to close up properly.
The Eduard decals are perfect, though I have read complaints that the crosses are too fat for an Austro-Hungarian machine. The decals snuggled down without any setting solution used. The old Glencoe decals were another story and did silver. I never did get it fully cleared. Pheon has a sheet of decals out for the 153 series, if you are interested in doing this or many other schemes.
Biplanes always scare people when it comes to attaching the upper wing. The wing on this kit has four “bumps” where the cabane struts go. I wasn’t sure if the struts went on the outside, inside, or on these “bumps”. Deciding on the inside, I glued the interplane struts to the top wing and the cabanes to the fuselage, getting everything somewhat aligned. As the glue set for awhile, I flipped the fuselage over and glued the cabanes to the “bumps” and, after a few minutes, flipped it back over and glued the interplane struts to the lower wings. Everything lined up perfectly.
The rest of the build goes without any problems. As with all Eduard kits, work slowly and check the fit before gluing. You can detail this kit out as much as you want; since Eduard gives you everything you need to make a fantastic model.
I want to thank Eduard and IPMS for allowing me to do this review.


Comments
Add new comment
This site is protected by reCAPTCHA and the Google Privacy Policy and Terms of Service apply.
Similar Reviews