
Convair B-36D/F/H/J Peacemaker
History
(From the instructions) In 1946, one of the most massive aircraft in the history of aviation came into being, the Convair B-36 Peacemaker strategic heavy bomber. For the next 10 years it became the principal weapon threatening retaliation in the event of a new world conflict, startling the imagination even today with its extremely large size. This was the instrument which was to deliver the deadly nuclear weapon as deep as possible into the territory of a potential adversary, which for the United States, soon after the end of World War II, meant the Soviet Union.
As early as 1947, after testing, series production of the B-36A and B-36B versions began, which started their military service in 1949. Even for such a powerful country as the United States, building such a technologically complex aircraft as the B-36 was a difficult and very costly task. In 1948, the question of terminating the B-36 program was raised, but the sharp deterioration of the political situation due to the conflict in West Berlin forced politicians to heed the military’s advice and continue the program after 75 of the A and B versions had already been built.
The main limitation of the B-36B was its relatively low speed. The quickest way to solve this problem was to install additional engines, beyond the six that were already available. At the same time, the Boeing B-47 jet bomber was already being tested, which was fitted with the latest General Electric J-47 engines with a thrust of 2,720 kgf. The result was an aircraft that has no analogue in aircraft construction today - the B-36D with ten engines: six pistons and four jets. As there was no time for long-term development, the B-36 was simply and quickly reconfigured as a dual-engine design with the J-47, even using a Boeing wing pylon. On the first flight, AN/APG-32A radar significant vibration of this structure was detected due to the influence of reciprocating engines, and therefore the pylon had to be strengthened with a strut - an archaic feature such as had provided structural rigidity to biplanes during the First World War. Since it was decided that jet engines would be used only during takeoff and when gaining speed in a combat situation, it was necessary to design special cone-shaped louvers that closed the air intakes of engines in other flight modes.
The first flight of the modernized aircraft took place on March 26, 1949, and its characteristics were more than satisfactory, which allowed the military to request funding not only for the conversion of the B-36B to the new standard, but also additional construction of a new series of aircraft. A total of 64 B-36B aircraft were converted and another 22 completely new B-36Ds were built. The overall dimensions of the giant remained unchanged, but flight speed was increased by almost 100 km/h; although some characteristics, such as combat radius, deteriorated slightly due to the increase in aircraft weight and increased drag of the new design.
In 1950, a further improved modification of the B-36 appeared, the B-36F, with more powerful J-47GE-19 engines, the latest K-3A radar bombing system and the new AN/APG-32A radar. A total of 34 machines of this version were built.
In 1952, after making a number of changes to the design, the B-36H took to the air. It had even more advanced engines and radar equipment and 84 were built.
The advent of increasingly high-speed interceptor fighters forced the issue of agility of the bomber to be addressed. To this end, a weight loss program was adopted, according to which all protective weapons were removed except for the tail guns. This allowed the B-36H to reach a speed of 671 km/h, the best figure for any of these giants. The plane could carry 8 tons of bombs over a distance of 5,200 km, which was more than the capability of any other military at the time.
The final B-36 variant was the B-36J, of which 33 were built, appearing in July 1953. The main difference from the previous model was the additional fuel tanks in the outer wing sections, which permitted an increase of combat radius to 6,420 kilometers.
In the early 1950s, it was already clear that the era of the dominance of jet aircraft was imminent. The US military command ordered a new jet bomber, and soon the epoch-making Boeing B-52 took to the air, forever pushing all other developments, including Convair’s competing B-60, into the background. With its advent, the role of the B-36 as the maintainer of peace in the air gradually diminished, and in 1959 all B-36s were retired from US strategic aviation.
However, ten years of active combat patrols along the borders of the Soviet Union were undoubtedly one of the main factors in maintaining control over the tense situation in the world during the Cold War, which was gaining momentum year by year.
The Kit
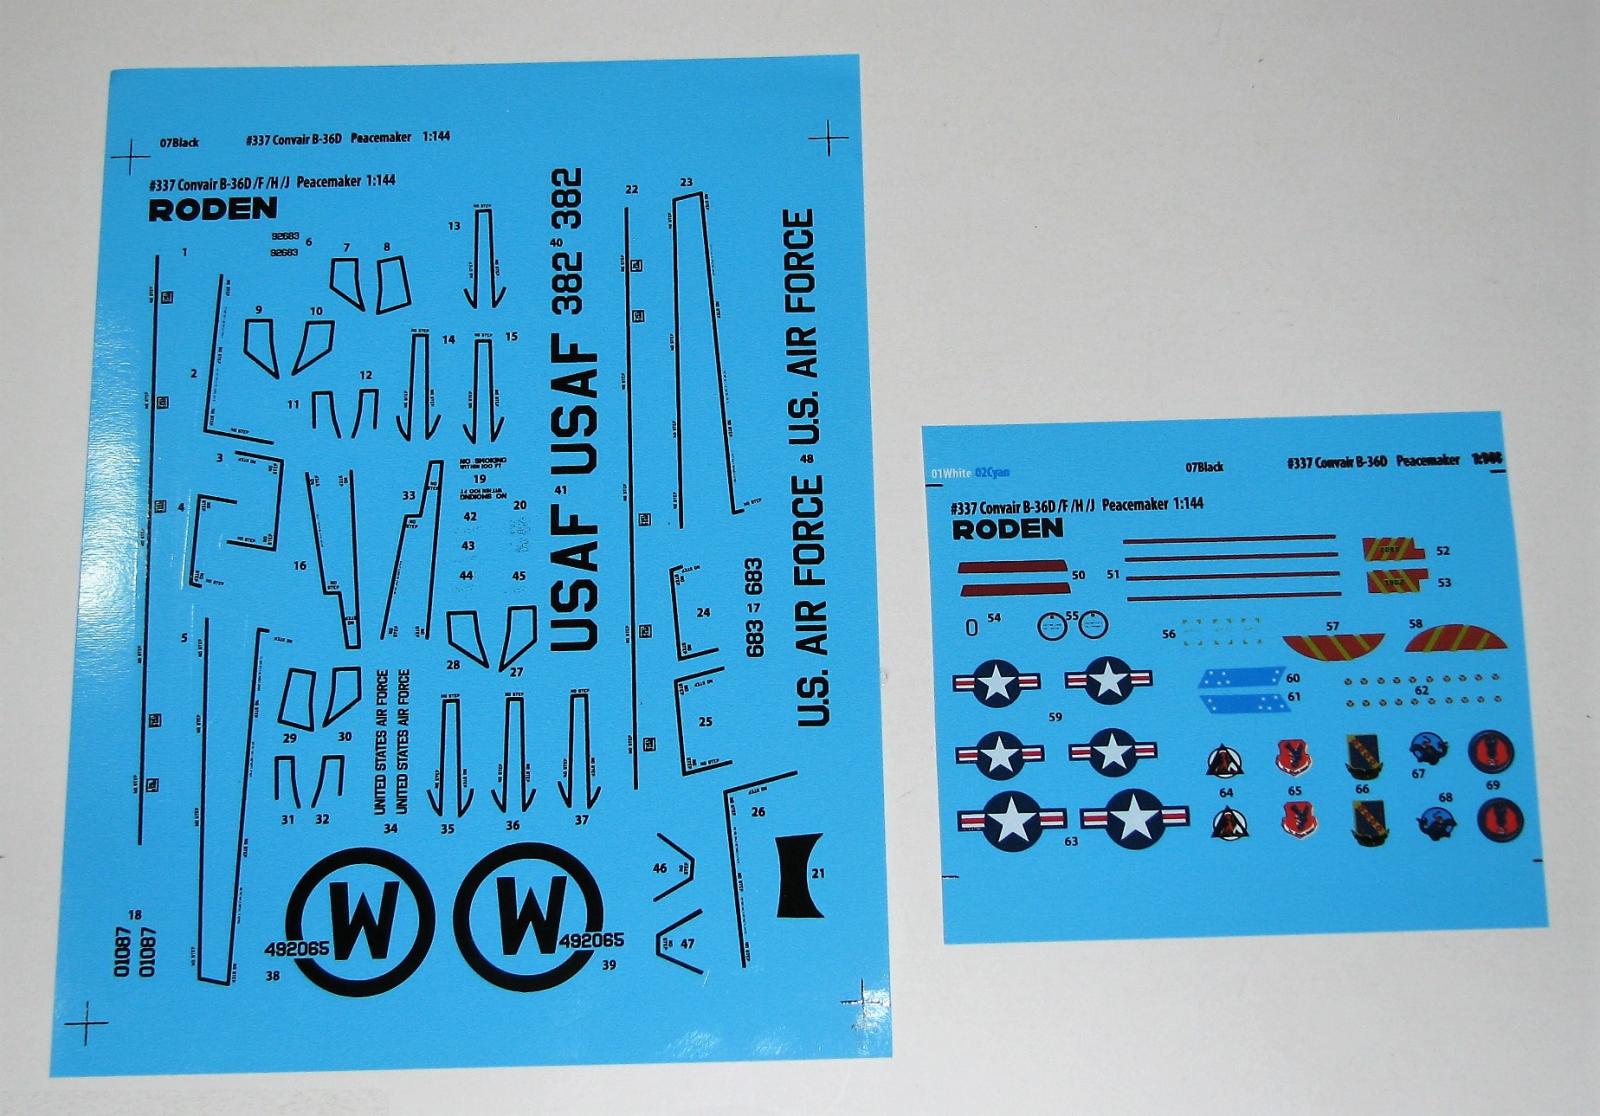
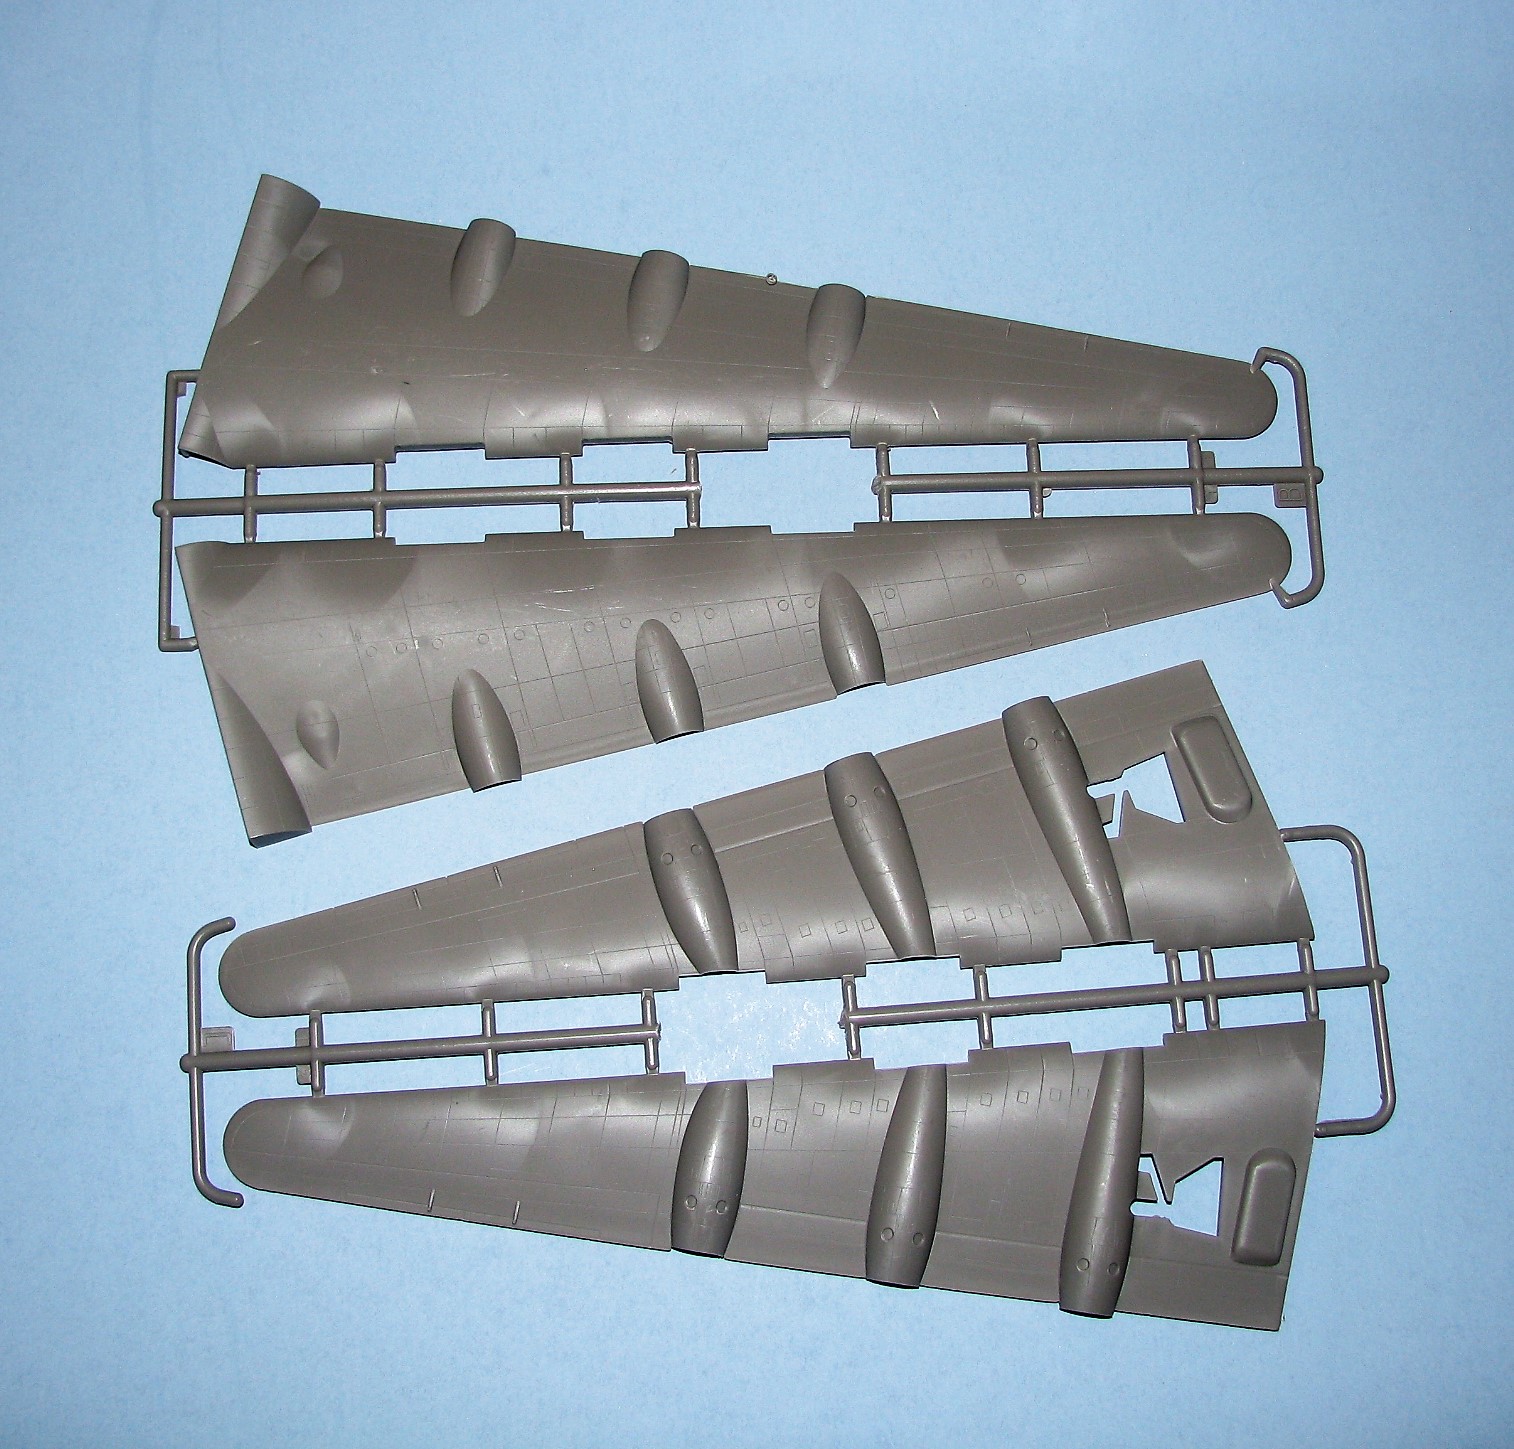
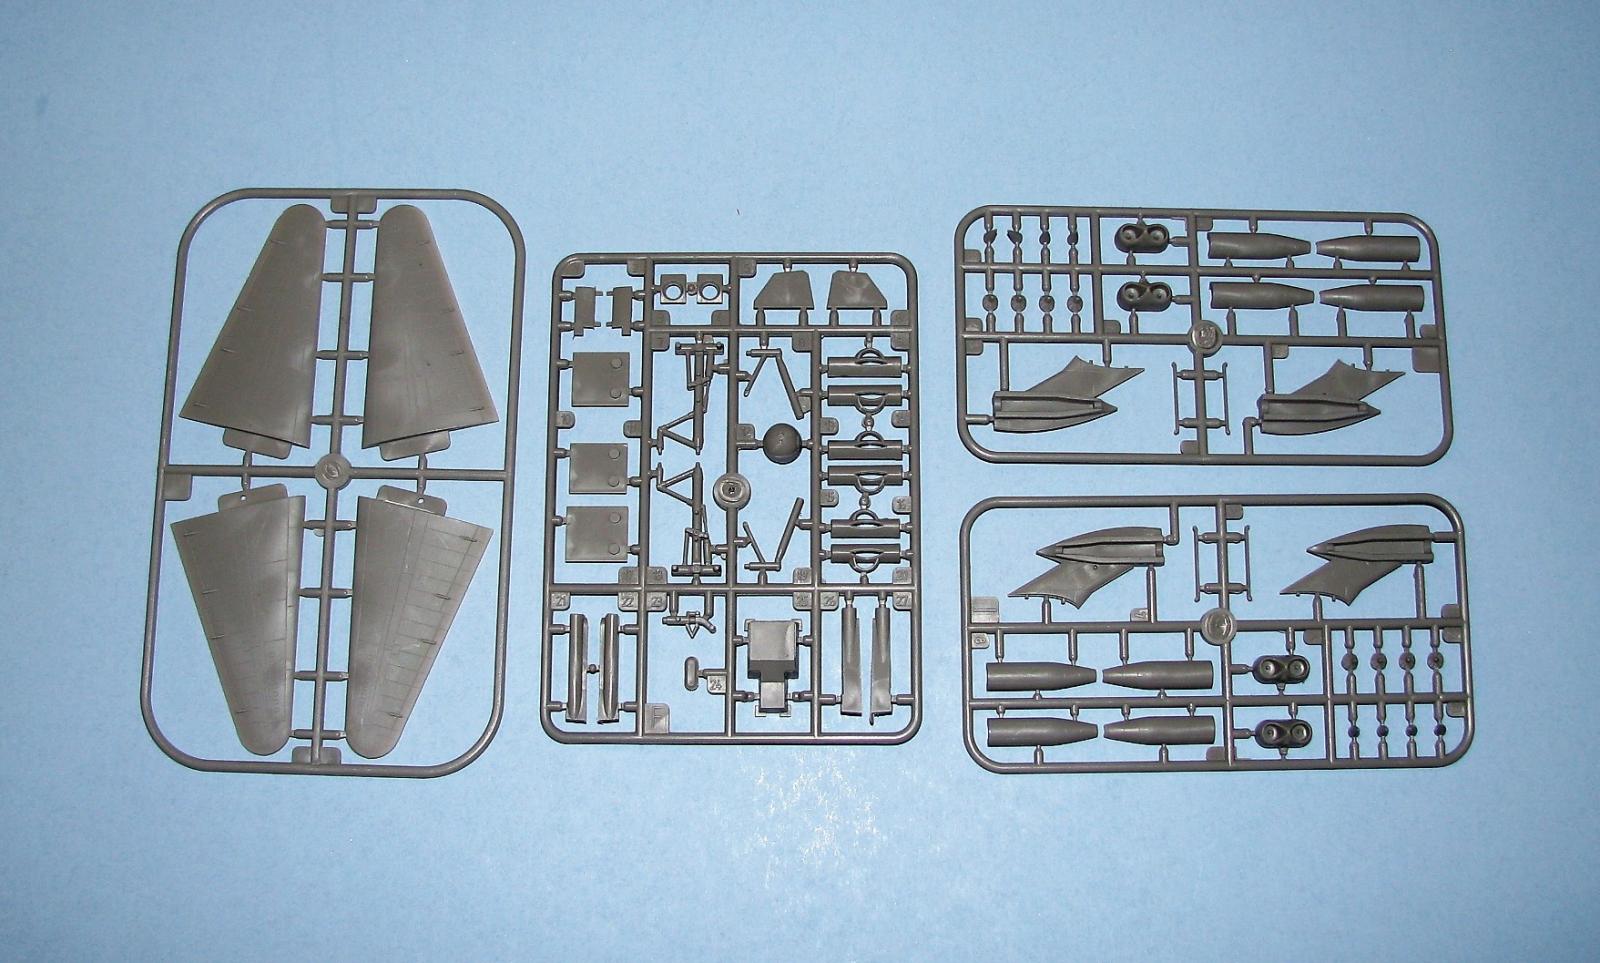
It has been a long time waiting for a new tool B-36 and Roden now has given us the B, D, F, H, & J variants. Upon opening the box, you are presented with 145 grey injected styrene and 10 clear parts on 13 sprues, 2 decal sheets and an 8-page instruction book. The plastic is molded cleanly and there is little to no flash or sink marks visible. The decal sheet on the other hand is not printed very clean and is slightly out of register. One strange thing I noticed is that the sprue containing the parts for the jet engines has two complete engines on it and two sprues are supplied. Not sure why they give you 8 engines….and yes, the instructions show you’re getting those.
Construction
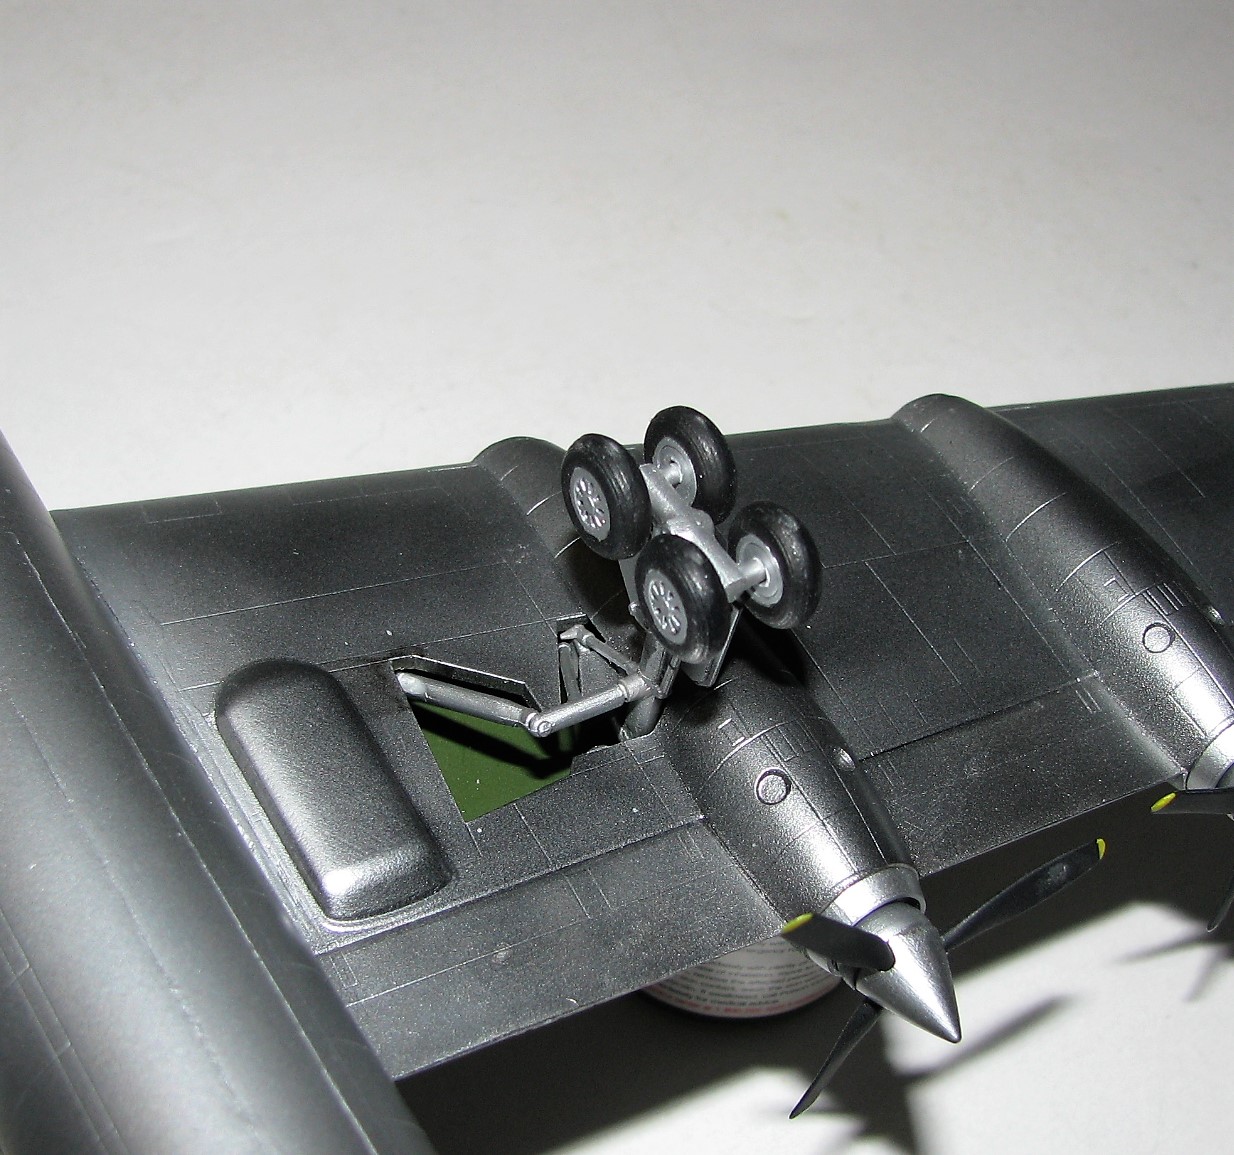
The first 8 steps deal have you working on subassemblies…landing gear, gun turrets propellers, horizontal stabilizers, and tail radome. These are all straight forward assemblies and there were no problems here. Steps 9, 9A & 10 are the construction of the wings including the attachment of the intakes, engines, and landing gear. This is where the first problems I had occurred. The jet engines went together just fine but the wing intakes did not fit well, and they had to be sanded a bit for them to fit, and filler had to be used. Now for my biggest problem….assembly of the wings & landing gear. The only way I could assemble these was to place the landing gear into the wheel bay on the lower half of the wing then cement it to the corresponding hole on the upper half THEN cement the wing halves together…….UGH. This made painting this area a challenge, to say the least. Due to this, I left the gear doors off until last so as not to keep knocking them off.
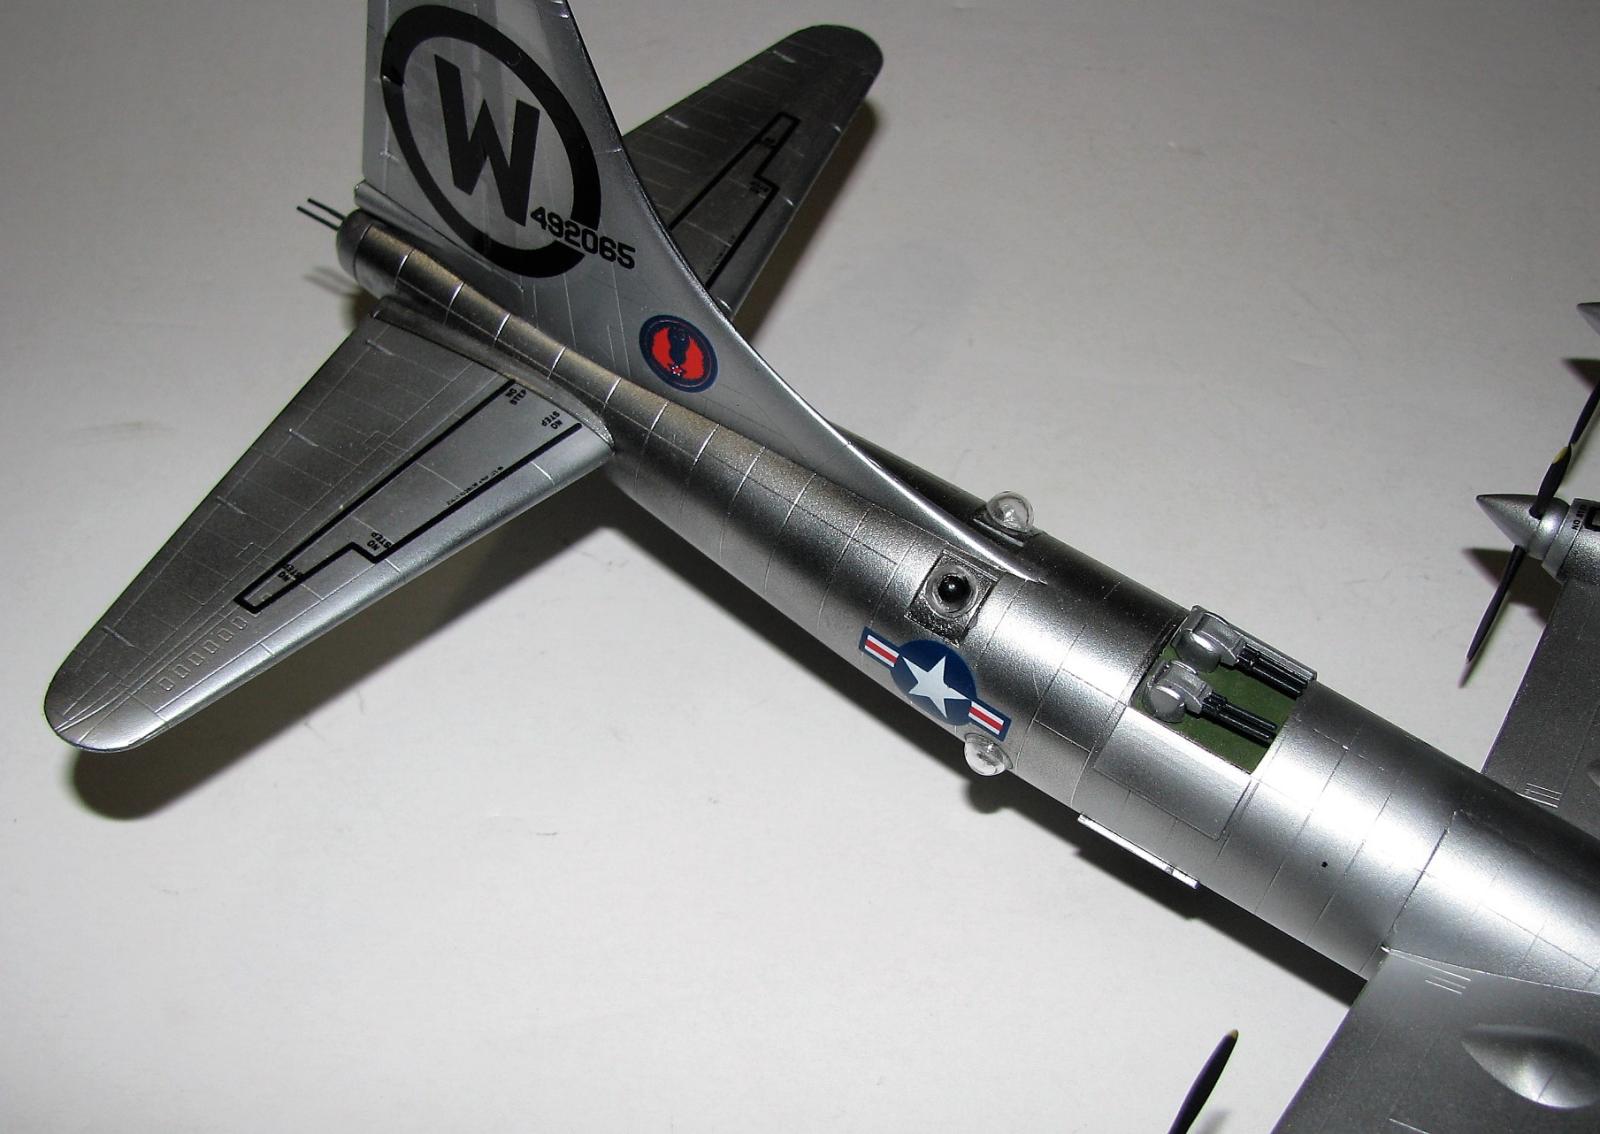
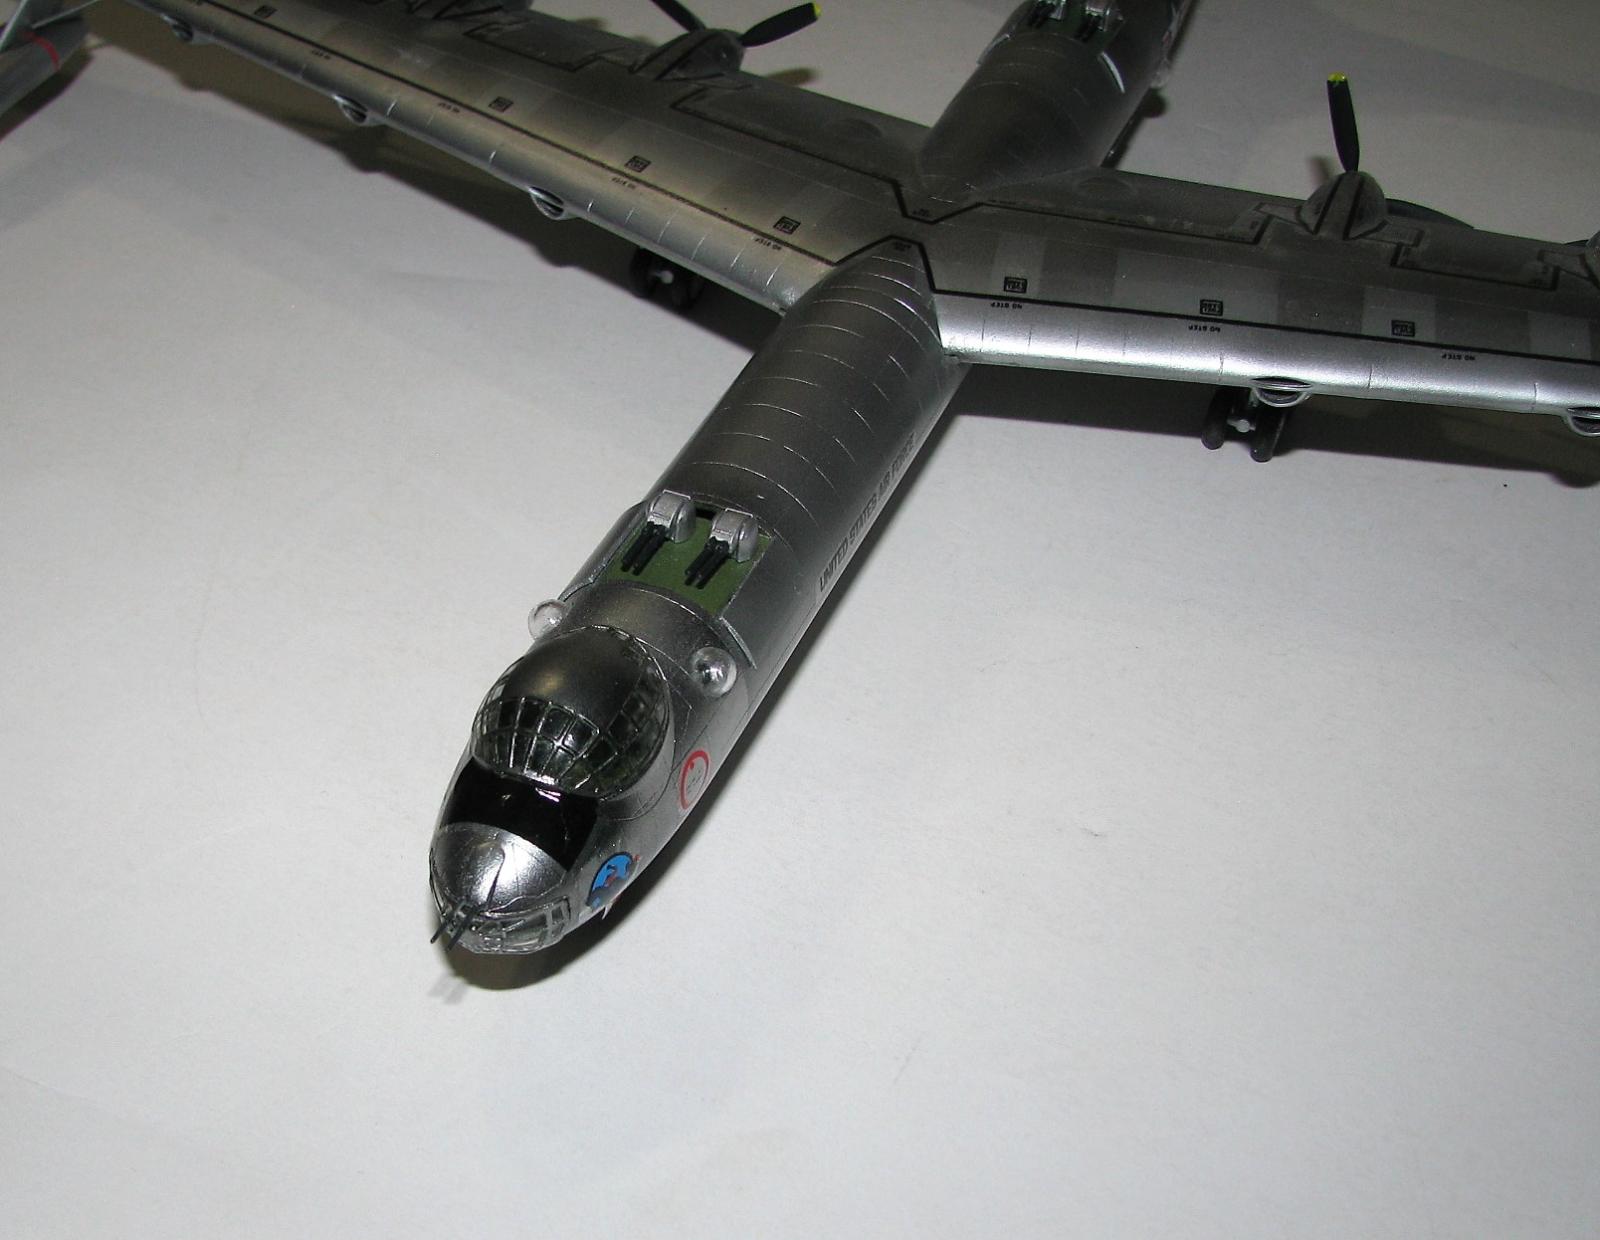
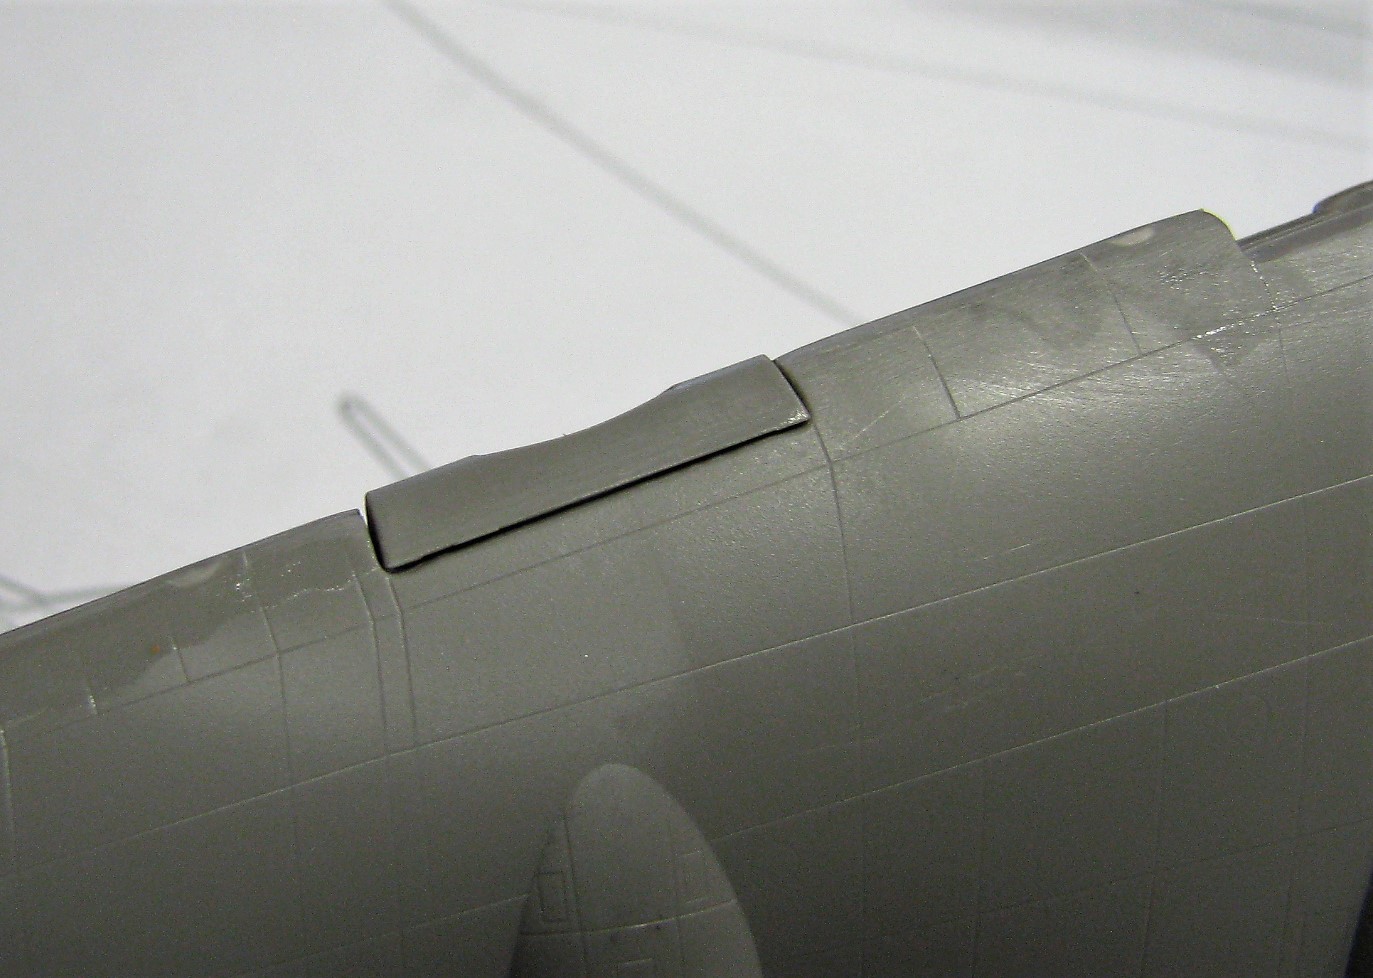
Step 11 is construction of the fuselage with all of the little sub-assemblies added, clear parts and attaching the wings. The fuselage halves in my example went together OK but needed a little filler in a couple areas. A good bit of weight was added to the cockpit area to keep this from being a tail sitter. There is no interior detail for this kit, so you have plenty of space to add the weights. One important item in this area are parts F3 & F4, the inserts for the observation blisters by the tail. You really must add these before closing up the fuselage or you’re going to have problems. I overlooked these and they do not fit well, and It was a struggle to get them placed correctly….and I pretty much failed at it. Once the fuselage is closed up you can add the wings, and these also do not fit just right as they set down a little too low leaving a slight lip at the rear seam. The clear parts went on without any problems and fit well and once they are placed on you can see why no interior detail is given in this kit…..you will not see it.
Step 12 is just adding the underside turrets & hatches and the nose gear & doors, both of which went on easy and fit well.
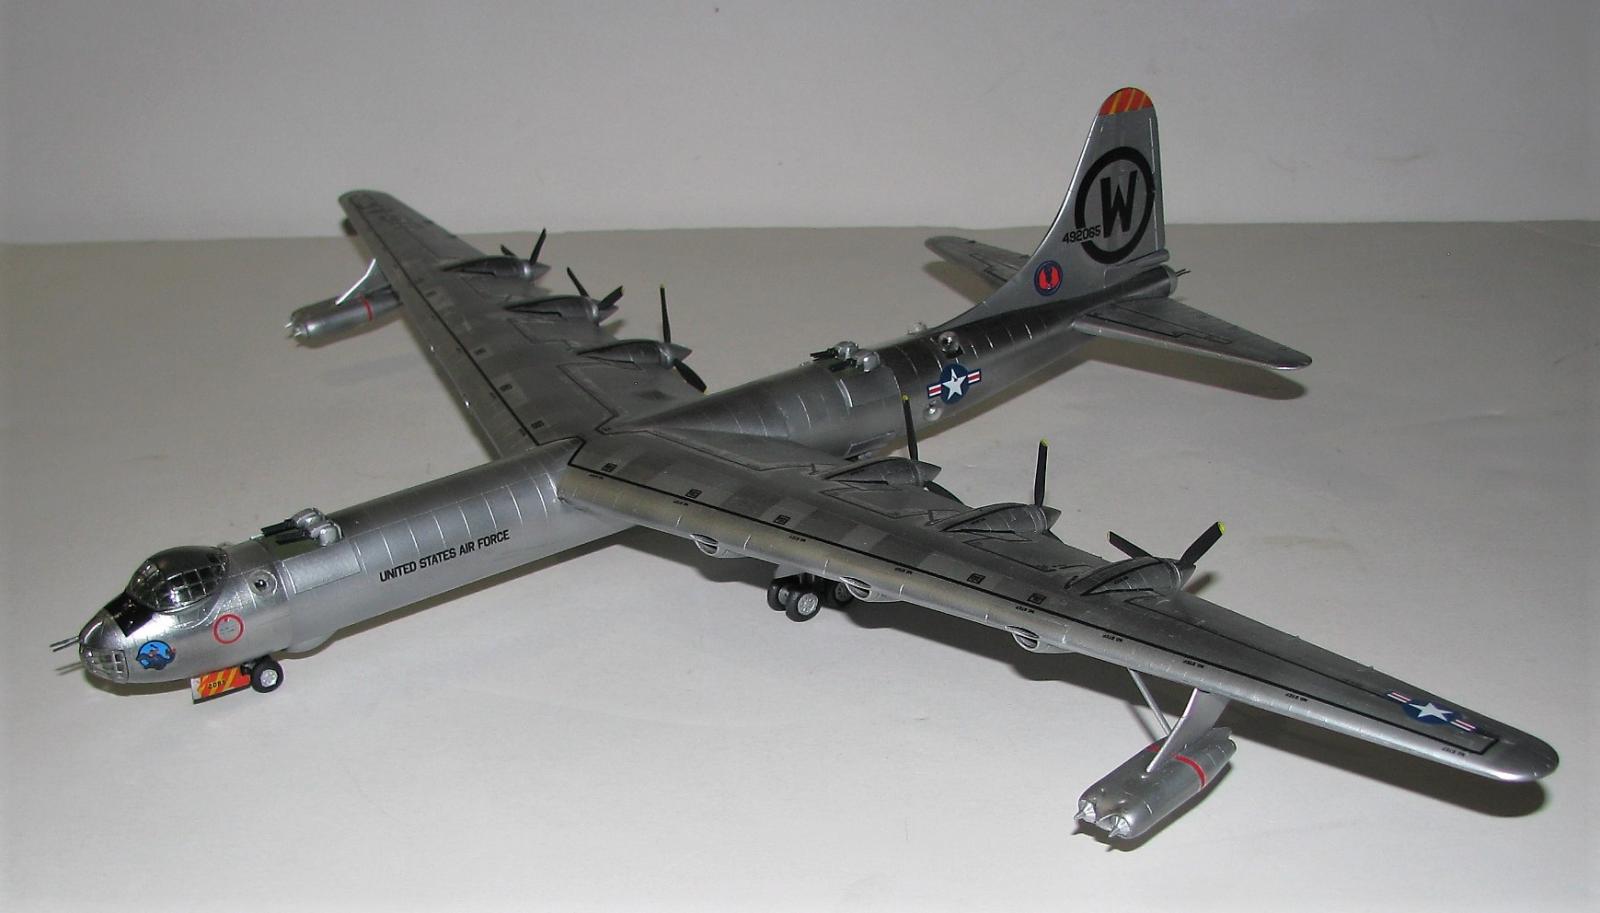
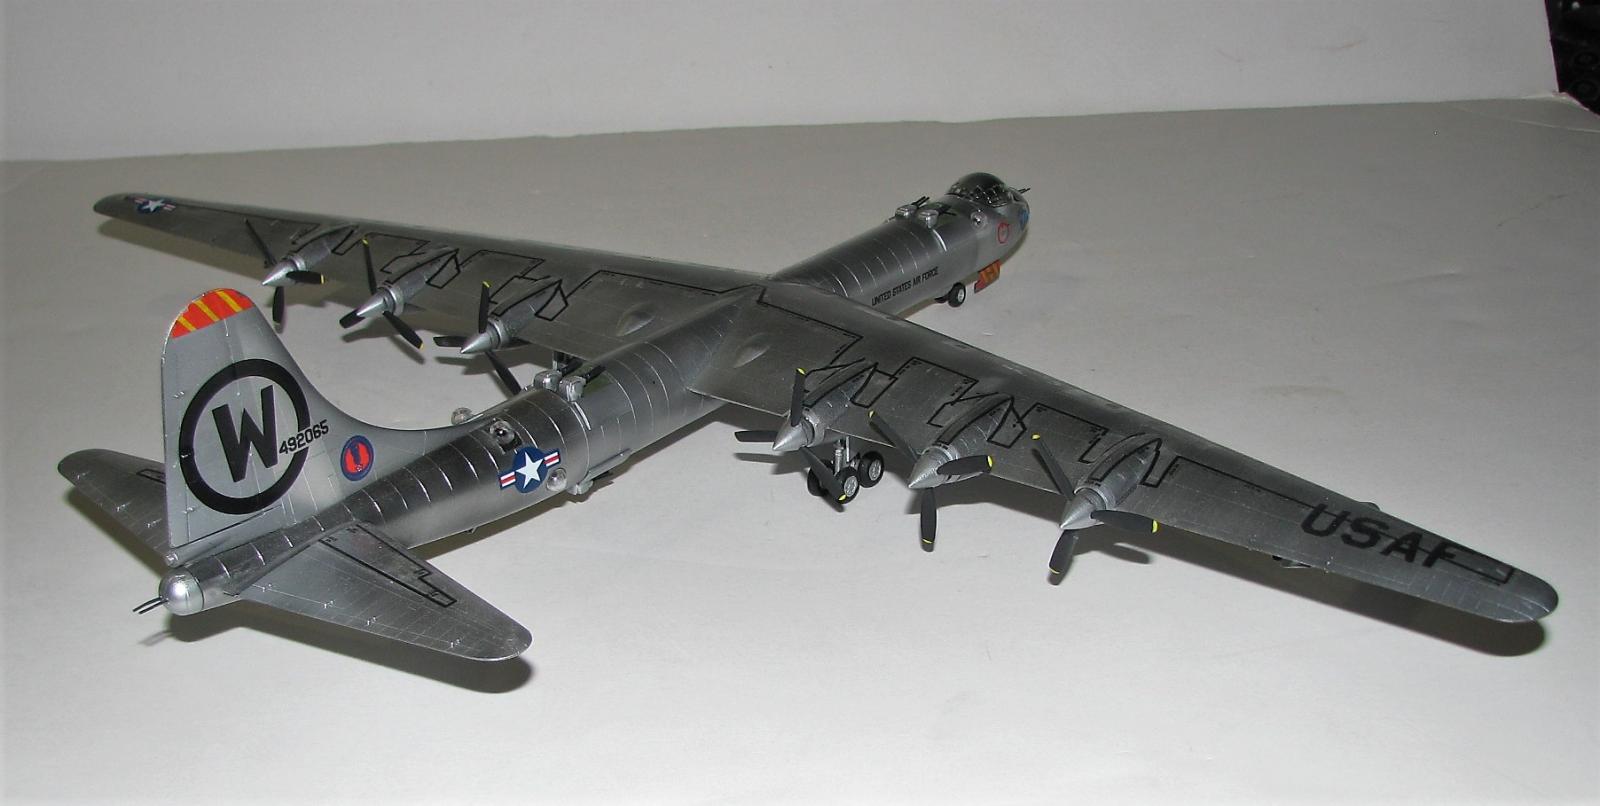
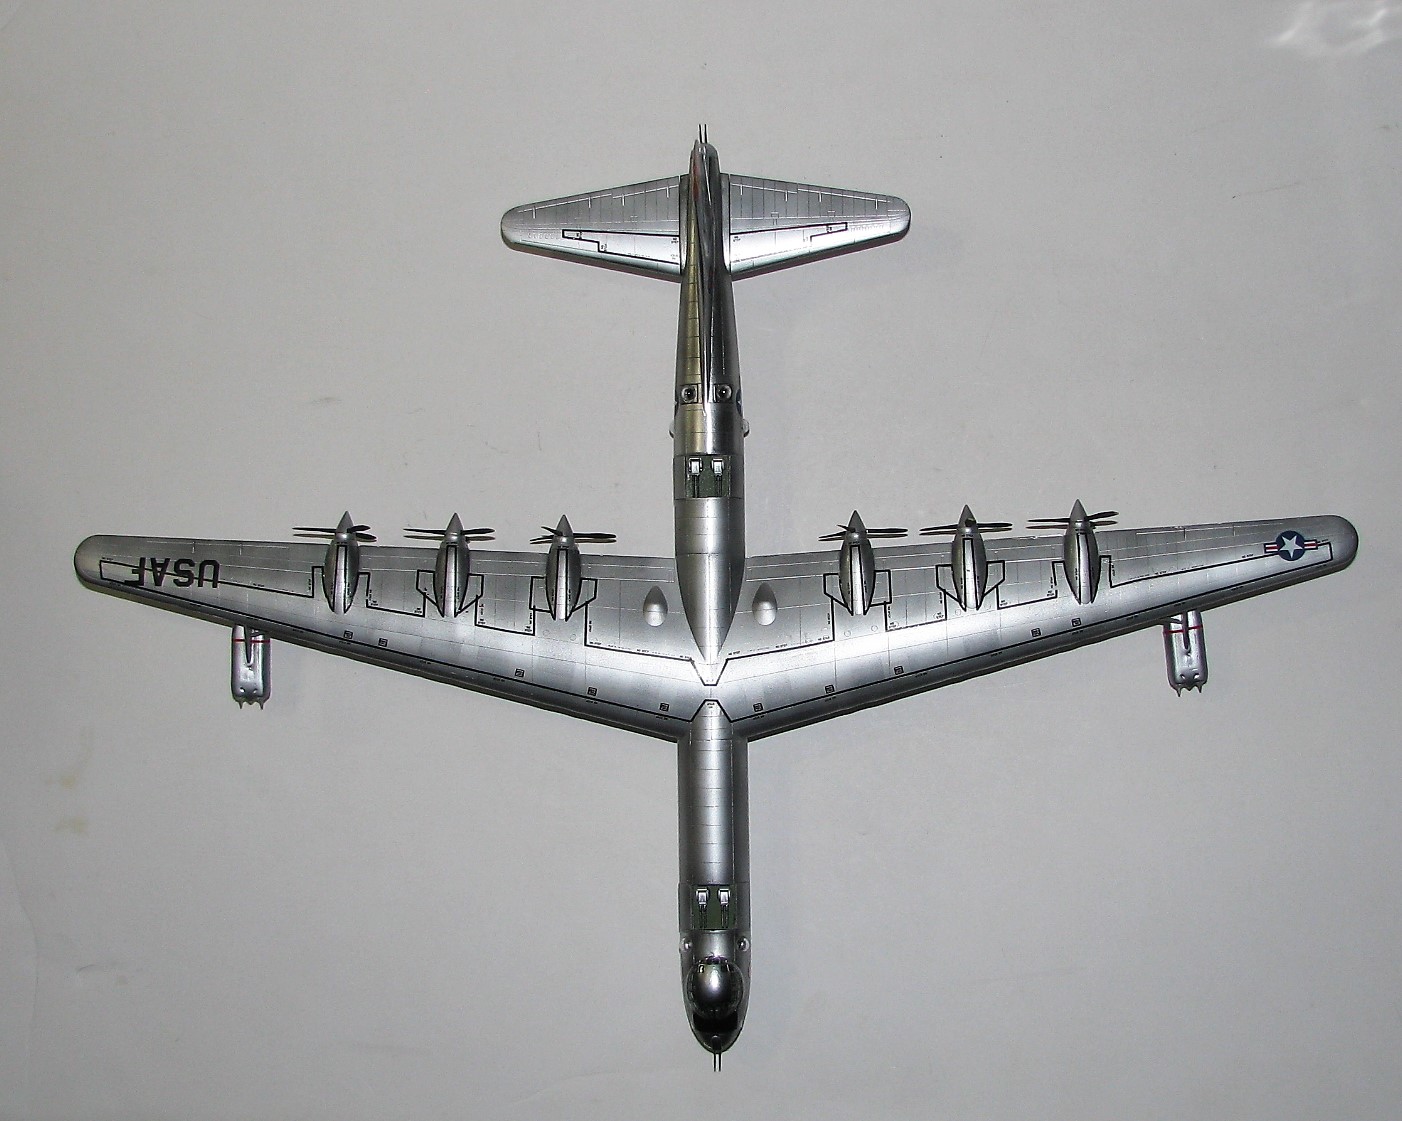
Finishing
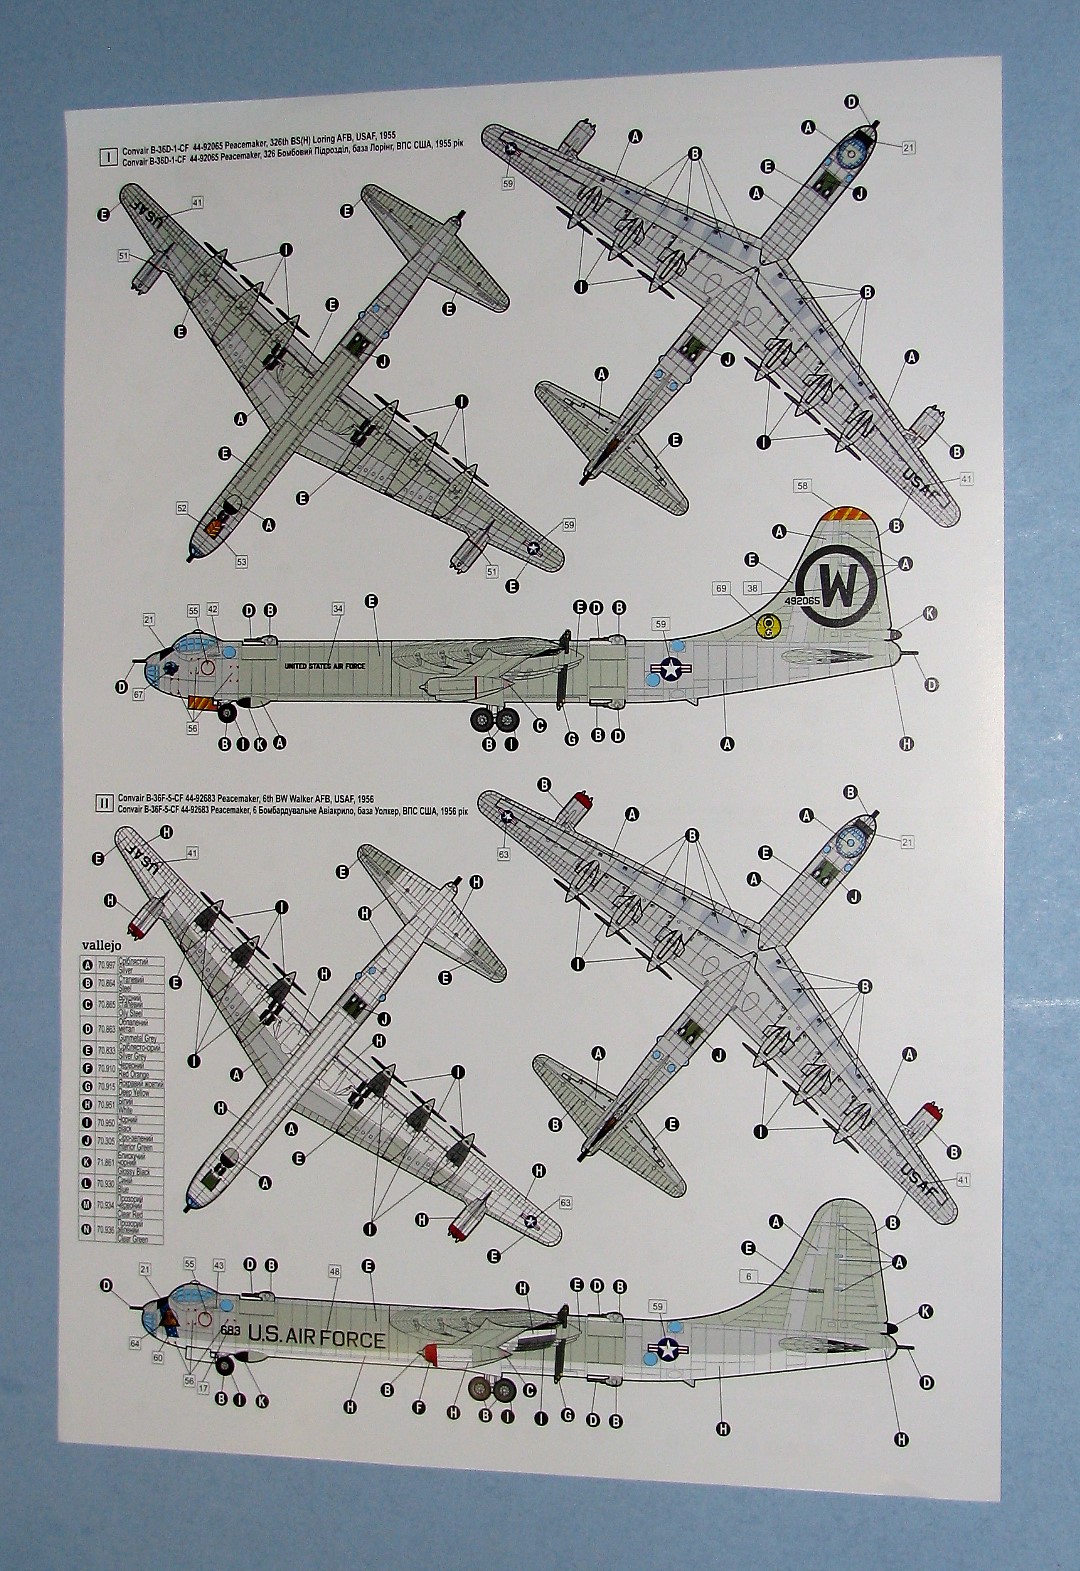
I used Tamiya AS-12 ‘Bare Metal Silver’, Alclad polished Aluminum and Alclad Aluminum to paint this. The decals went on and settled down without any problems except the orange & yellow striped decals for the tail…..those just refused to cooperate. You are provided with 4 marking options with this kit.
- B-36D-1-CF, 326th BS(H) Loring AFB, 1955
- B-36F-5-CF, 6th BW, Walker AFB, 1956
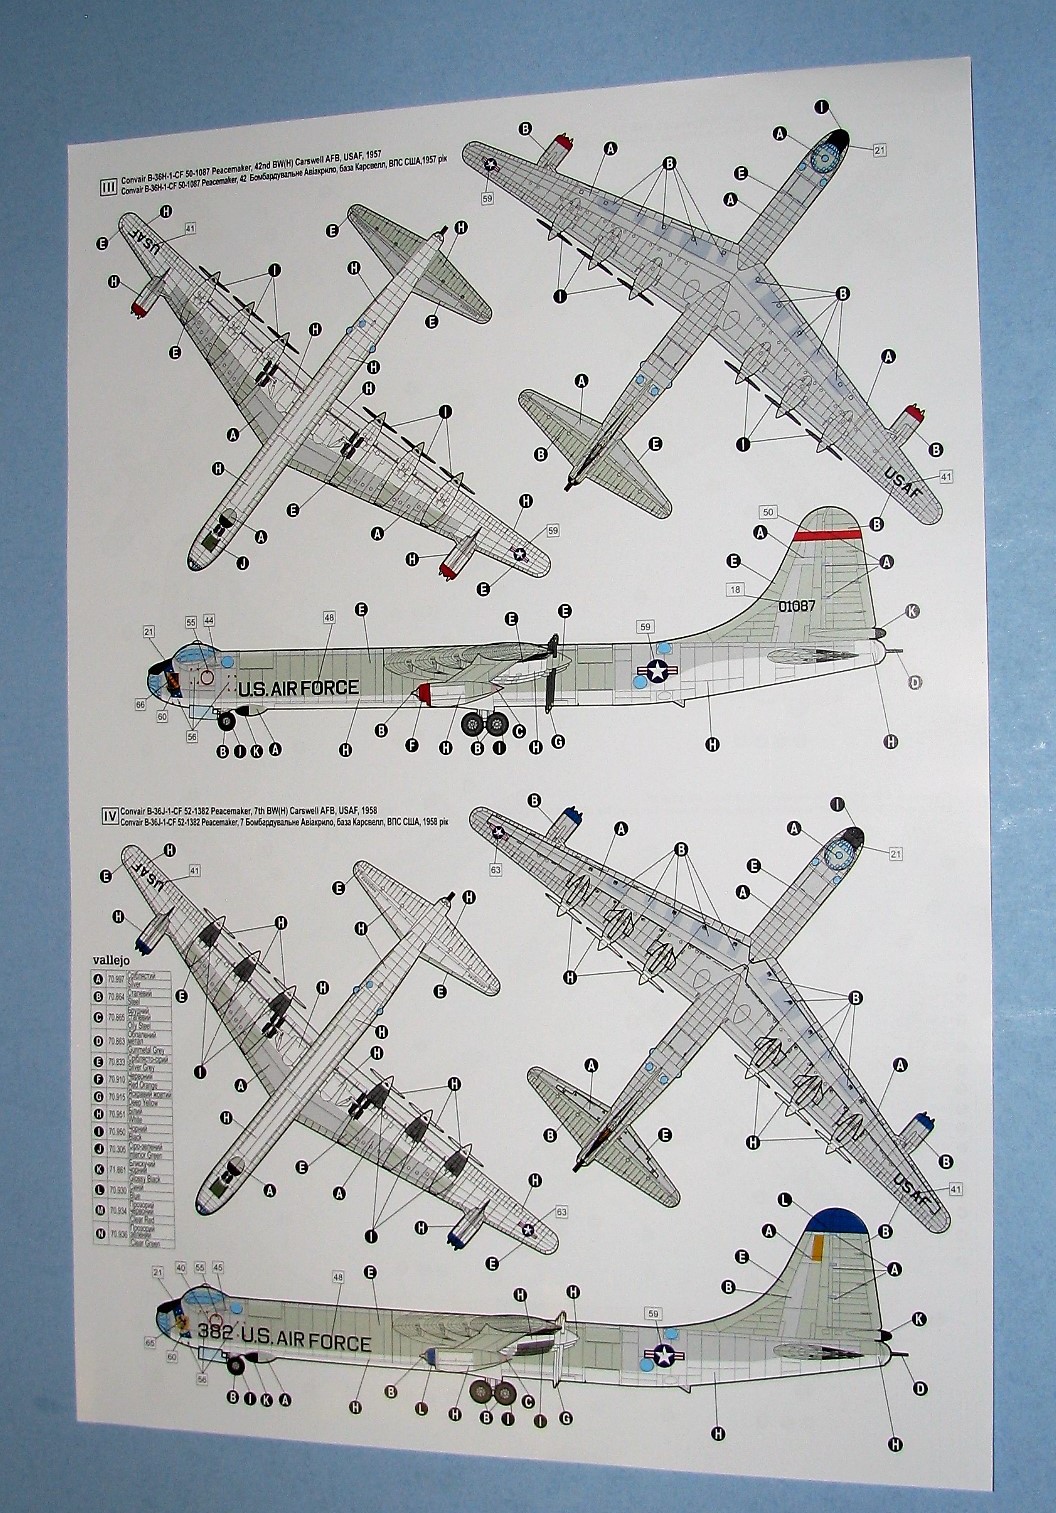
- B-36H-1-CF, 42nd BW(H) Carswell AFB, 1957
- B-36J-1-CF, 7th BW(H) Carswell AFB, 1958
Conclusions
This kit battled me….and pretty much beat me. This didn’t turn out as well as I had hoped for and for that I apologize. I consider myself an average modeler and really can only recommend this kit for experienced modelers.
I would like to thank Roden for producing and supplying this kit and also the review corps for letting me review it.


Comments
Add new comment
This site is protected by reCAPTCHA and the Google Privacy Policy and Terms of Service apply.
Similar Reviews