AGM-114 US Navy Wheel Chocks WWII
Hauler-Brengun is well known as a supplier of high-quality aftermarket detail parts for aircraft, as well as other subjects. In this review, we will look at a set of wheel chocks, the packaging, and parts, and take a look at the finished wheel chock.
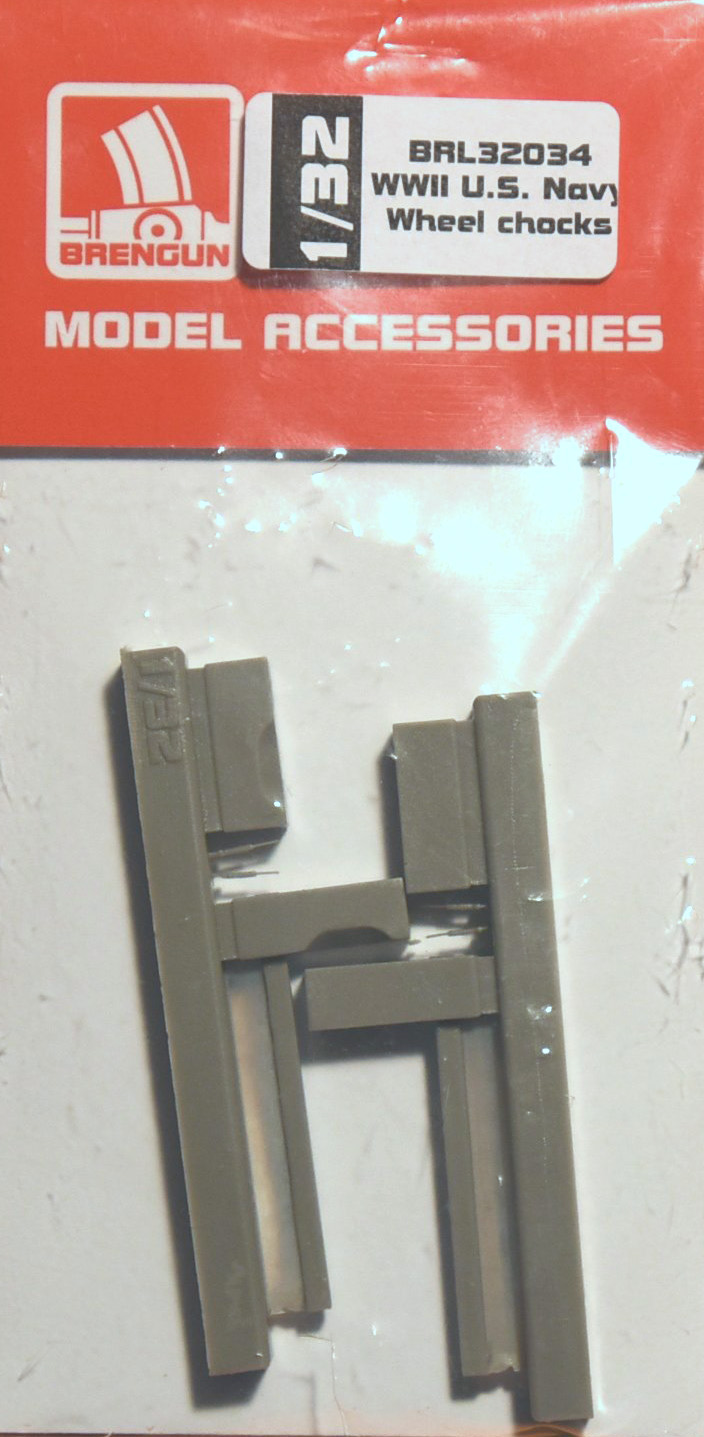
The packaging contains parts for two wheel chocks modeled after those used by the U.S. Navy during World War II. In the images associated with this review, one is labeled as, “Product Packaging”. Take a look at that image to see how the product is packaged. The product instructions are placed behind the white sheet inside the baggie. Included with this review is a snapshot of that instruction sheet. It’s clear, simple, and easily understood with a quick glance.
There are two-part sprues, each holding 4 parts. Each chock is assembled from only three of the four parts. The extra part is a spare tension handle. The chock consists of two blocks which have a concave area removed to facilitate a tight fit when placed against the aircraft tire. One block is molded with a crossbar attached. The second block, without the crossbar, is molded with a hole into which the crossbar is inserted. In this way, the width of the chocks can be adjusted to fit the span between the aircraft tires.
There are two very tiny parts that appear on both part sprues. Look at the “Parts” image. There is a small gap between the rectangular block and the block with the crossbar. In that gap, you will find two “handles” on each part sprue. The handles are extremely small. Only one handle will be used on each chock but Hauler Brengun has supplied the modeler with spares just in case the carpet monster is hungry.
I used a razor saw to remove the blocks, and then a # 11 Xacto blade to remove the thin ribbon of flash which appears along the mold release line on the crossbar. I cut the part sprues in such a way that both handles remained on a small length of the part. Caution is important, otherwise, the handles will be damaged or lost.
The handles were carefully removed from the part sprue and then the residue along with the contact point with the part sprue was removed with a curved Xacto blade on one of the handles. Note that in the image labeled, “Tension Handles” one of the handles (on the left) has not been cleaned up. There is a bit of flash along the top of the handlebar, and a bit of sprue on the stem. The handle on the right has been cleaned and is ready to be inserted into a hole in the block, the hole being molded into the block. Slip the loose block onto the crossbar (no need to glue it in place, leaving it loose allows you to use the chocks of different aircraft models) and glue the tension handle into place. The only step remaining is to paint the chocks! The painting process is not part of this review but should not be time-consuming or difficult.
From start to finish I assembled the example chock in under five minutes. The project was very easy and rather fun!
This product is highly recommended for its ease of construction, opportunity to be used on aircraft with different landing gear spans, quality of the molding, clear instructions, and sturdy packaging. Thanks to Hauler-Brengun for providing this item to IPMS for review.


Comments
Add new comment
This site is protected by reCAPTCHA and the Google Privacy Policy and Terms of Service apply.
Similar Reviews