
‘67 Chevelle Pro Street
The Kit
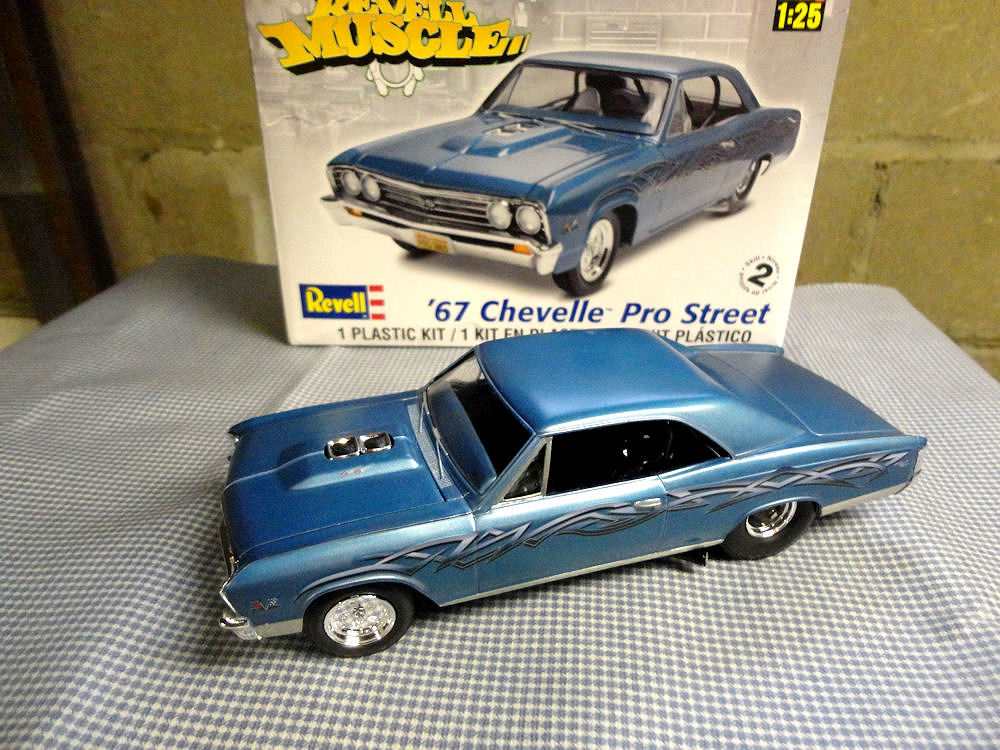
Revell has released a nice kit of a 1/25 scale 1967 Chevelle Pro Street that can be built either stock or modified, using parts supplied in the kit. The instructions are well-illustrated, are both easy to read and follow, and contain photos and diagrams that display all the construction steps you will take.
The Build
The first step is to wash the parts in hot, soapy water. There is a lot of mold residue on them from the manufacturing process, and if it is not removed, your paint will have a rough time sticking to the various parts.
Construction begins with the very detailed engine. It can be built two ways – stock or modified. Either way, it consists of multiple parts, some of which are chromed. Moving along, the chassis is similarly detailed, right down to the gas tank. And the interior is also highly detailed – everything is in there, and a careful paint job brings it all out.
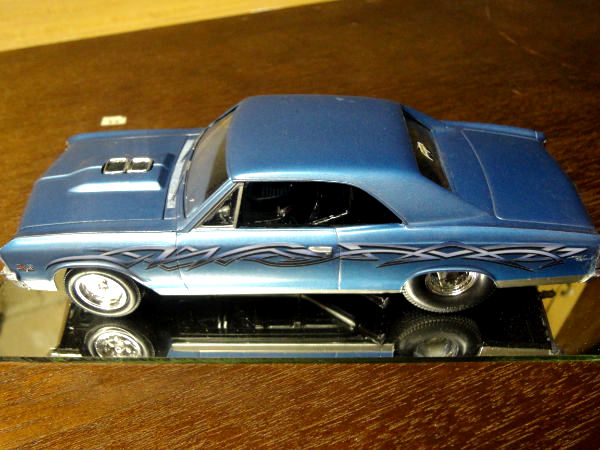
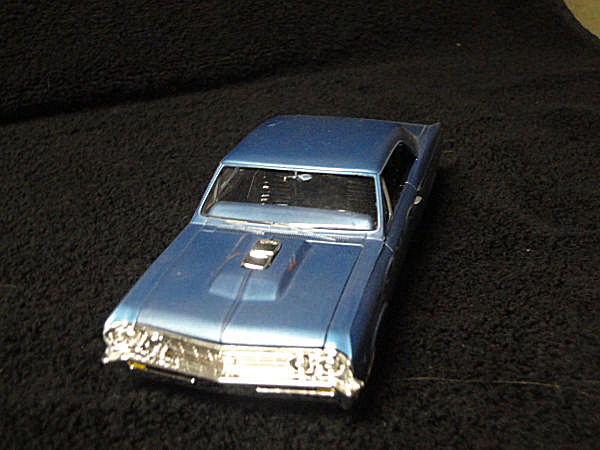
The lines of the body faithfully reproduce the lines of the real car itself. Even the car’s name plates are there, easily painted or decaled. The body needs to be primed for a smooth, painted finish. Afterward, a nice clear coat will both bring out the shine of the paint and seal the decals onto the model.
All the parts under the hood and inside the body should be painted before they’re assembled. There is a lot of detail in the car’s interior if done stock, but some parts need to be replaced by others for the pro stock build: there are no rear seats, the front seats are racing style, and a roll bar is installed beneath the roof.
Final Assembly
The last construction step is to install all glass. Be extremely careful of how much glue you use in these areas. Once the glass is in place, the interior is glued to the body. There are four designated glue spots located on the body’s interior. After that, the chassis is glued to the bottom of the interior and the front and rear of the body. After that, the front and rear bumpers can be glued in place, followed by all the other chrome parts to be attached to the exterior of the body. Use of these additional parts will give it either a stock or modified look. All the lights are in color and fit well in their respective locations.
Decals are applied normally. It’s important to measure the center of the decals you’re applying so as to get them positioned evenly on both sides of the fenders and doors.
The kit is well detailed and looks great when finished. It reflects the look of that era’s Chevelle. Revell did a great job in designing and manufacturing this model.
I’d like to thank Revell for providing the kit for review and IPMS/USA for allowing me to review it.


Comments
Add new comment
This site is protected by reCAPTCHA and the Google Privacy Policy and Terms of Service apply.
Similar Reviews