Review Author
Mark Costello
Published on
June 9, 2016
Company
Academy Models
MSRP
$22.98

From the MRC website listed above,

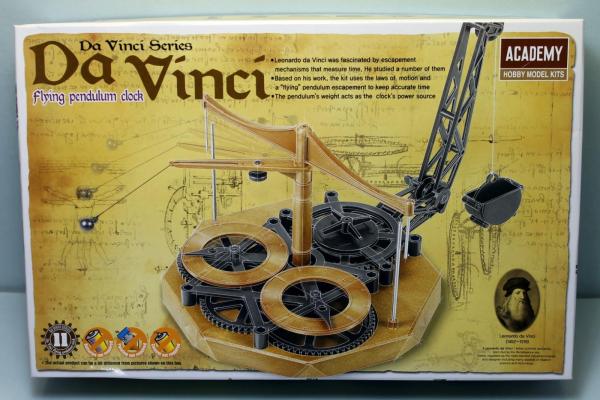
Da Vinci was fascinated by how timepieces operate. Based on one of his sketches, it uses the laws of motion and a vertical “flying” pendulum escapement to keep accurate time.
The pendulum’s weights, in a bucket suspended from a crane-style arm, act as the clock’s power source. The weights propel the pendulum from vertical post to vertical post. As it “flies” it turns precision gears, which in turn keep time. To speed up or slow the clock, adjust the weight-balance of the pendulum by adding or removing weights.

Kit

The kit comes packaged in a sturdy cardboard box with 2 bags of parts and the instruction manual.

One of the bags contains the parts molded in brown plastic that resembles wood grain. Included in this is 1 sprue containing 6 parts, 1 loose base, 1 loose top piece (C2) and 2 loose clock faces.

Review Author
Chad Richmond
Published on
June 9, 2016
Company
Eduard
Scale
1/72
MSRP
$24.95

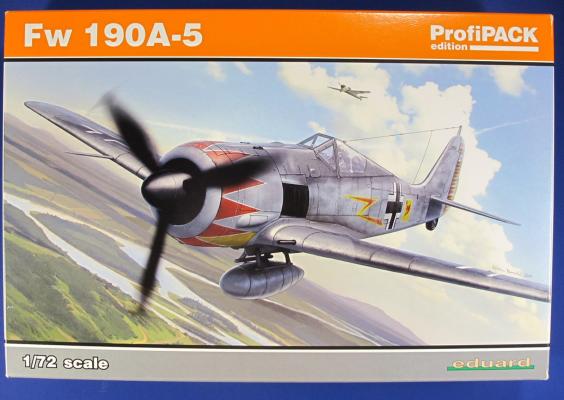
Right on the heels of Eduard’s release of the 1/72nd scale Fw 190A-8 was their Fw 190A-5. When you open the box, you wonder just what kit the parts are for. You see three trees of light gray parts, one clear tree with four canopies on it a great decal sheet, a photo etch sheet and a mask. Of course, many of the parts are for the A-8 and for future variants of the A-8. And, with all of these extra parts, you have to read the instruction sheet for the correct parts number to ensure you don’t go wrong and start building something other than an A-5. Of course you have to decide which of the markings you are going to build, because there are some differences between them.

Review Author
Marc K. Blackburn
Published on
June 9, 2016
Company
Airfix
Scale
1/32
MSRP
$34.99

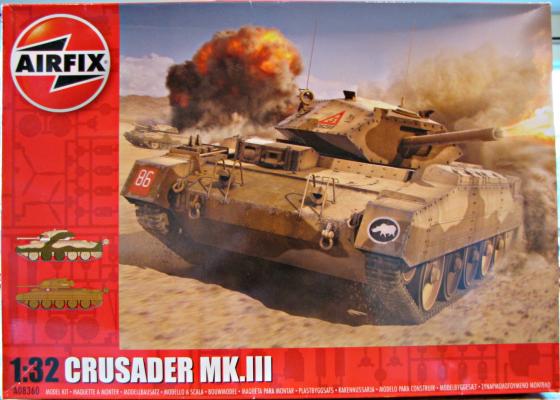
Given the long pedigree of Airfix, it is of no surprise that from time to time, they re-release older kits such as the Crusade Mk. III. The vehicle is iconic and was the mainstay of the British armored force in their extended campaign in North Africa. The vehicle’s history is summed up in the instructions:

Review Author
Chris Smith
Published on
February 3, 2020
Company
Revell, Inc.
Scale
1/25
MSRP
$26.95

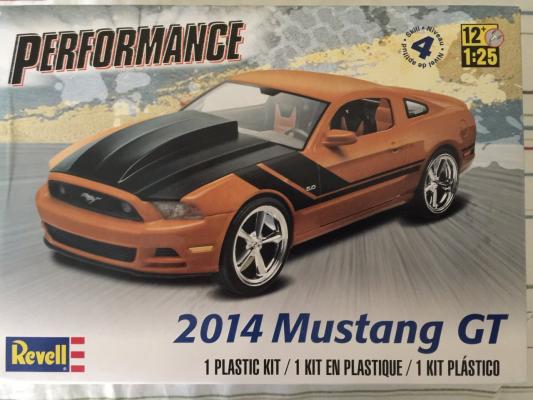
In 2010 Ford introduced a restyled Mustang known internally as the S-197 platform. The fifth generation of the iconic pony car featured design cues from the 1960s fastback including a body shape with hard edges, scalloped side panels and hooded headlights for a more aggressive look. As it turned out, this generation would mark the return of the Mustang muscle car. In 2011 the GT version featured the return of a much improved 5.0 Liter Coyote V-8. This dual overhead cam 32 valve power plant made over 400hp in its normally aspirated form. The S-197 platform was also the basis for the return of the infamous Boss 302 (2012-2013). This kit represents the last year of S-197 body style that was replaced by the current S-550 body style in 2015. In the last few years I’ve reviewed a number of Mustang models on this site so it’s no secret that this is my all-time favorite car. The only thing that’s changed since then is that after a 30 year hiatus I have one in my garage.

Review Author
Allan Murrell
Published on
June 9, 2016
Company
Eduard
Scale
1/48
MSRP
$19.95

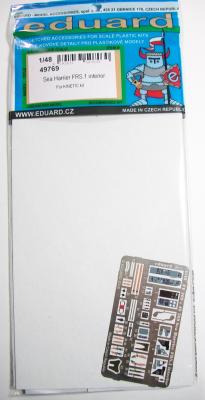
This is a great photoetch set for the Kinetic Sea Harrier FRS.1Kit. This set adds a lot of extra detail to the interior of the kit and makes a great kit even better.

The photo etch parts are for the:

  • Cockpit side panels
  • Instrument panel and various control details
  • Seat belts
  • Canopy guides
  • Main cabin floor details
  • HUD parts.

In the Packet is:

  • 1 photoetch sheet
  • 1 colored photoetch sheet
  • 1 clear plastic printer sheet
  • 1 Instruction sheet

Summary

The added detail to the seat is impressive and really fills out a very plain vanilla seat. This is yet another great Photoetch set. The side panels really make the color pop as well as the multipart instrument panel.

Review Author
Andrew Birkbeck
Published on
June 9, 2016
Company
Tamiya
Scale
1/35
MSRP
$53.00

Background

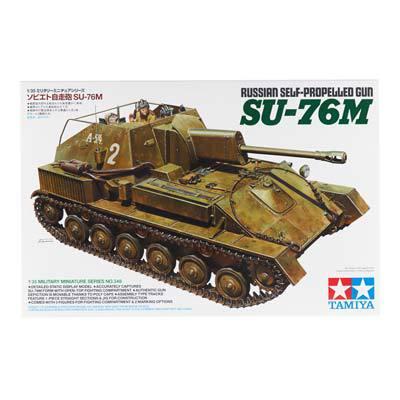
Prior to the start of World War Two, the armed forces of the Soviet Union were lacking in any sort of self propelled artillery. Following the invasion of the Soviet Union by German forces in 1941, Soviet forces suffered massive loses of military material. Hand in hand with these losses came the forced uprooting of many of their key military production plants eastwards, away from the advancing German armies. But these plants were soon up and running again, and with heroic efforts on the part of the workers and plant managers, were soon churning out replacement vehicles in an attempt to cover the initial losses.

Review Author
Jim Pearsall
Published on
June 9, 2016
Company
Master Model
Scale
1/144
MSRP
$6.95

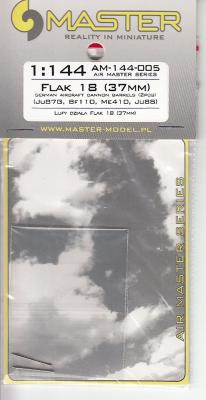
The Ju-87G Stuka was the last of the line. There were some purpose-built G’s, but most of them were D models with the cannon pods added. The first use of the Ju-87G was at Kursk, but there were only a few, and they made no difference.

Master has turned out a pair of new barrels for the 37mm cannon. They are turned brass, and so are much more durable than the original barrels.

I was able to find only one 1/144 Ju-87G kit, Eduard’s. The Eduard kit is very good, I built one for a review back in 2014. So I used the new barrels on the “old” kit.

Prep

I removed the barrels from the underwing pods with a sprue nipper. I then used a #11 blade to form a depression in the front of the pod to use as a pilot hole. The spot is quite small, and small drills have a bad habit of slipping off.

Review Author
Timothy Rentz
Published on
February 22, 2020
Company
Riich Models
Scale
1/35
MSRP
$67.00

The Kit

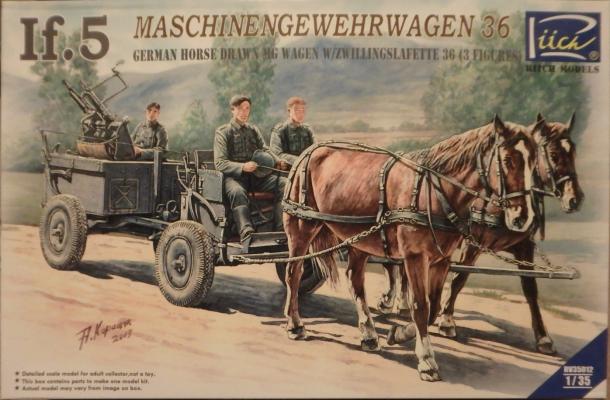
The kit contains four sprues for the wagon, plus sprues for two horses, and three soldiers molded in light grey plastic. The four tires for the wagon are molded in black plastic. Not sure why the separate color for the tires since they are hard plastic and the entire kit would be painted anyway. The kit also contains a metal chain, two frets of photo etch parts, nylon string for the tow cables and a decal sheet which includes markings for the vehicle and uniform patches for the figures. The parts had some minor flash, but not troubles with sink holes or ejector pin marks. The only exception is on the wagon sides above the seat for the drivers and the floor of the machinegun cart. There are some unavoidable ejector pin marks, but they are hidden by the seated figures so I chose not to fill them. The crispness of the detail on the parts could be sharper, but is still pretty good.

Book Author(s)
Graeme Davis
Review Author
James Binder
Published on
June 11, 2016
Company
Osprey Publishing
MSRP
$18.00

The year is 1947, Operation High Jump is under way and will become a disaster. Admiral Byrd says it was due to weather and conditions in the Antarctic, but was it really? Could an attack by Nazi UFO craft have damaged and destroyed the High Jump fleet and aircraft? Did this cause the Nazi’s to then leave for an even more remote location to regroup and plan their ultimate revenge against the allies? That location…. The Moon!

Osprey Publishing brings us the new Osprey Adventures book “Nazi Moonbase”, written by Graeme Davis and illustrated by Darren Tan. This 80-page book gives an inside look at what the Nazi Moonbase is, what it’s made of, and how it got to be up there in the first place.

The book is broken down into chapters that delve into the beginnings of the Nazi space program to its present day status. Some of the chapters include

Review Author
Jim Pearsall
Published on
June 11, 2016
Company
Master Model
Scale
1/144
MSRP
$2.65

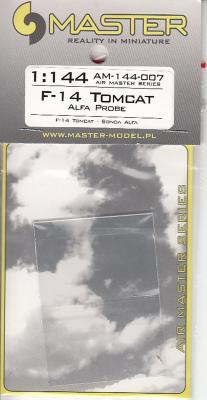
A while back I built Dragon’s 1/144 F-14D Tomcat for a review. Master Models of Poland has come out with a replacement “alfa probe” for the Tomcat. I still think of it as a pitot tube, but I’m pretty 20th Century.

In doing a little research, I found that there are two other 1/144 F-14s available, Revell and Trumpeter. In looking at the “in box” reviews, both of these kits do have alfa probes. The Dragon kit I built doesn’t have one. OK. But I have built more than one model where the pitot tube has been broken, bent or deformed to where it really needs replacement. In the past, a cut off straight pin worked pretty well. Now we have a much better looking part.

The instructions are pretty basic, but so is the procedure. We’re not doing knee replacement here.

Cut off the existing probe. In this case, I just had to use a sanding stick to get a flat spot for the drill.