
Jaguar XJS-V12
Introduction
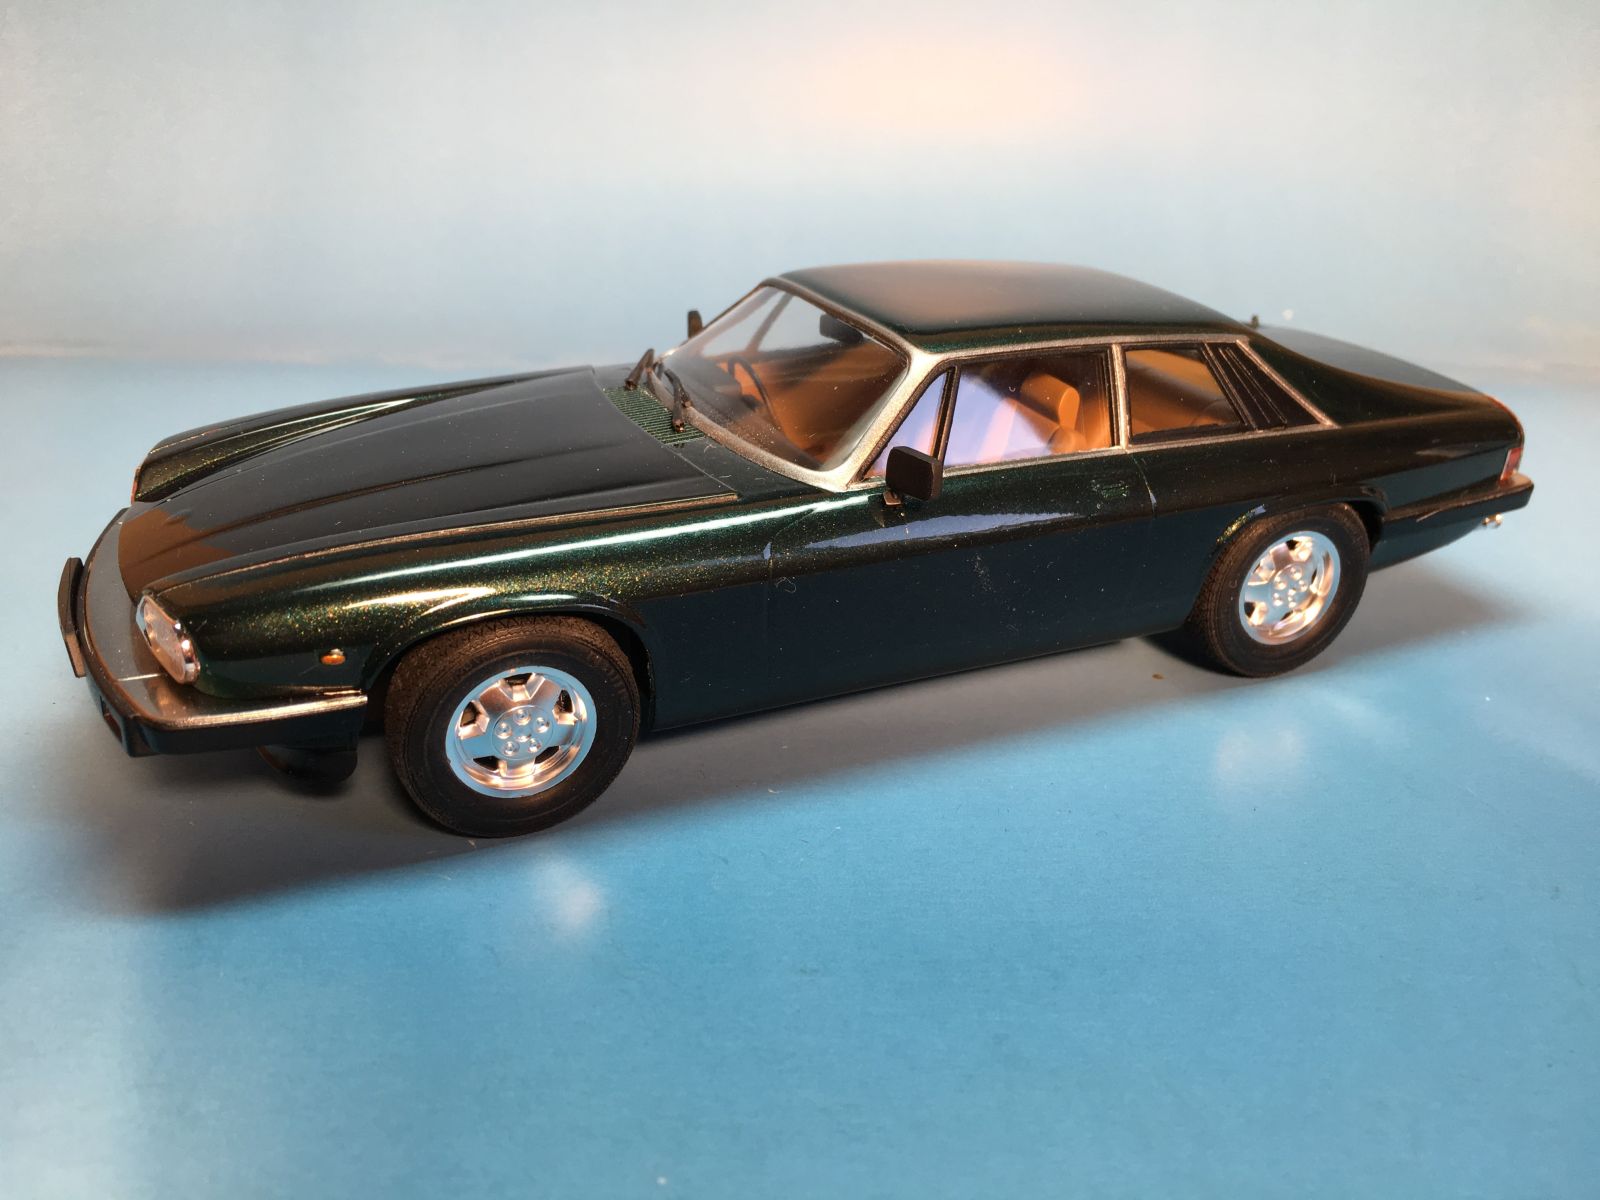
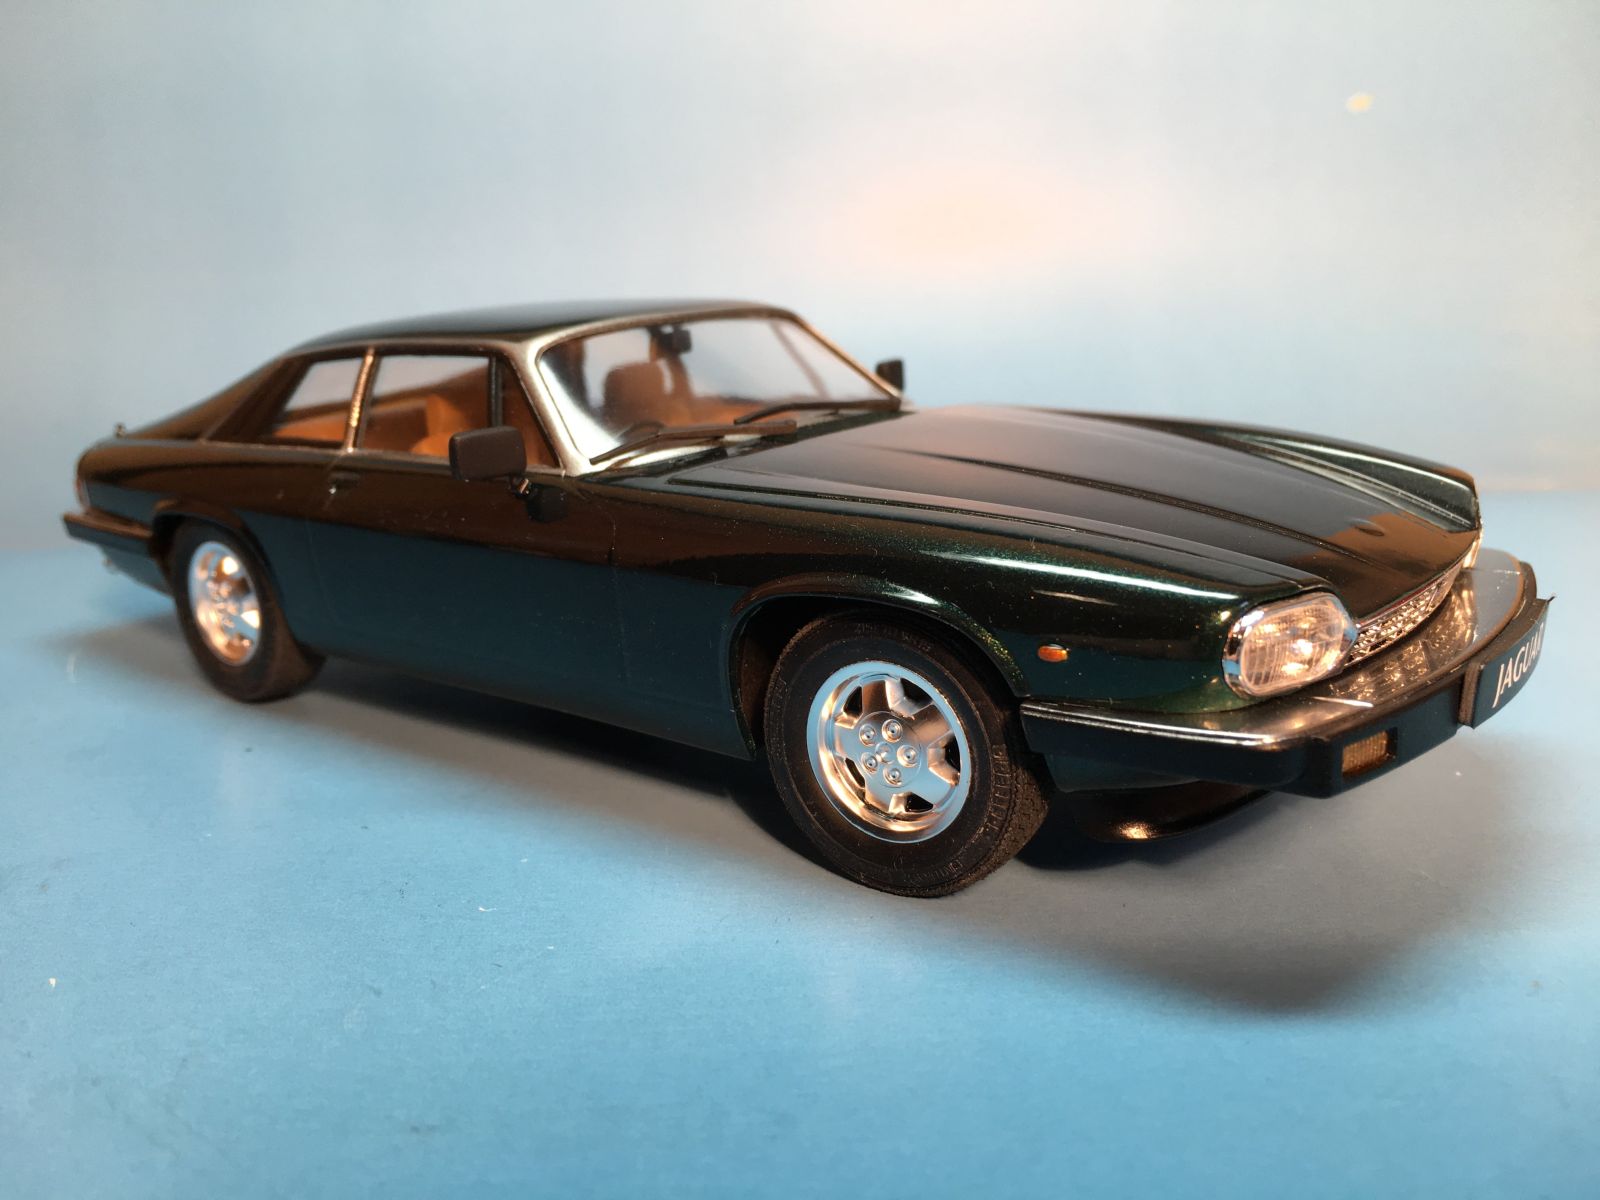
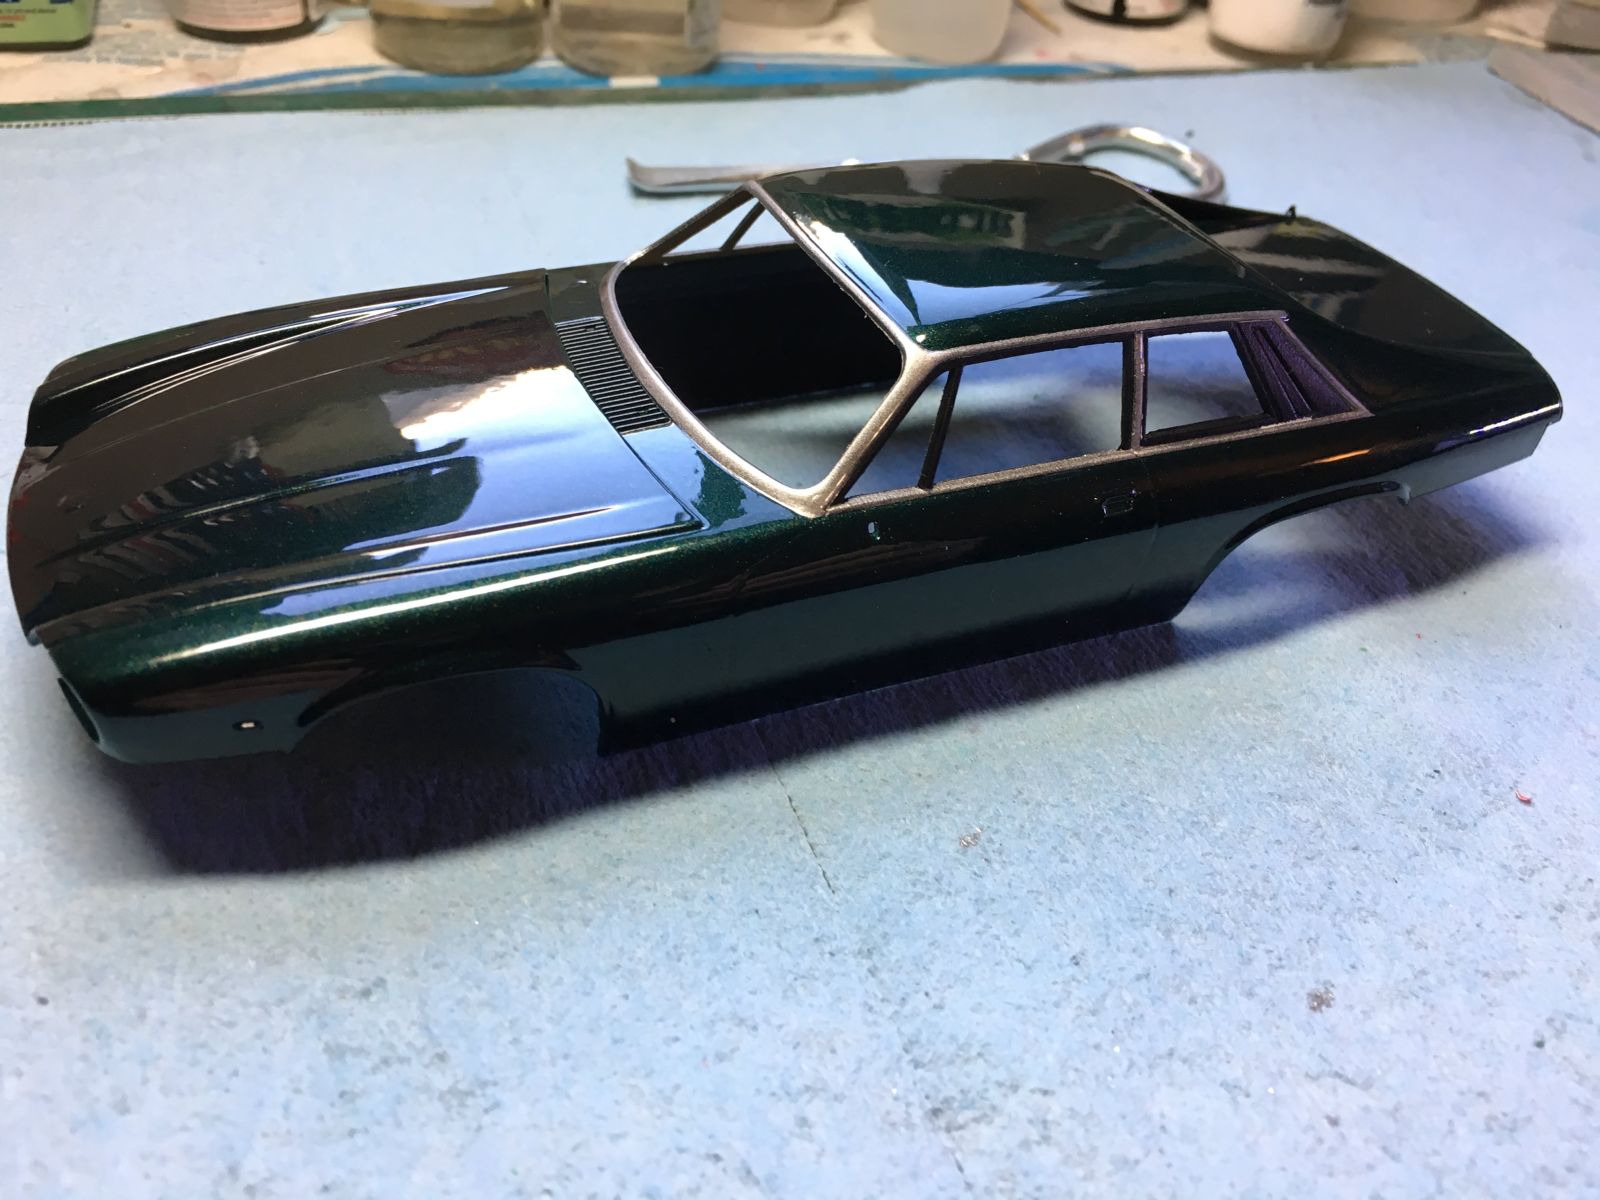
This kit was initially issued in 1983. I first bought a copy from the BX at Sheppard AFB, TX in 1988, mine was the TWR Sports edition and is still in my stash!! I was always a bit nervous about the chrome trim on the body and getting it right, but it turns out I didn’t need to worry, Hasegawa did a great job molding this kit and it was not difficult to get a good result. This kit has held up exceptionally well for being 35 years old. The plastic is crisp and flash free and the fit is what you would expect from this company…..excellent!
Construction
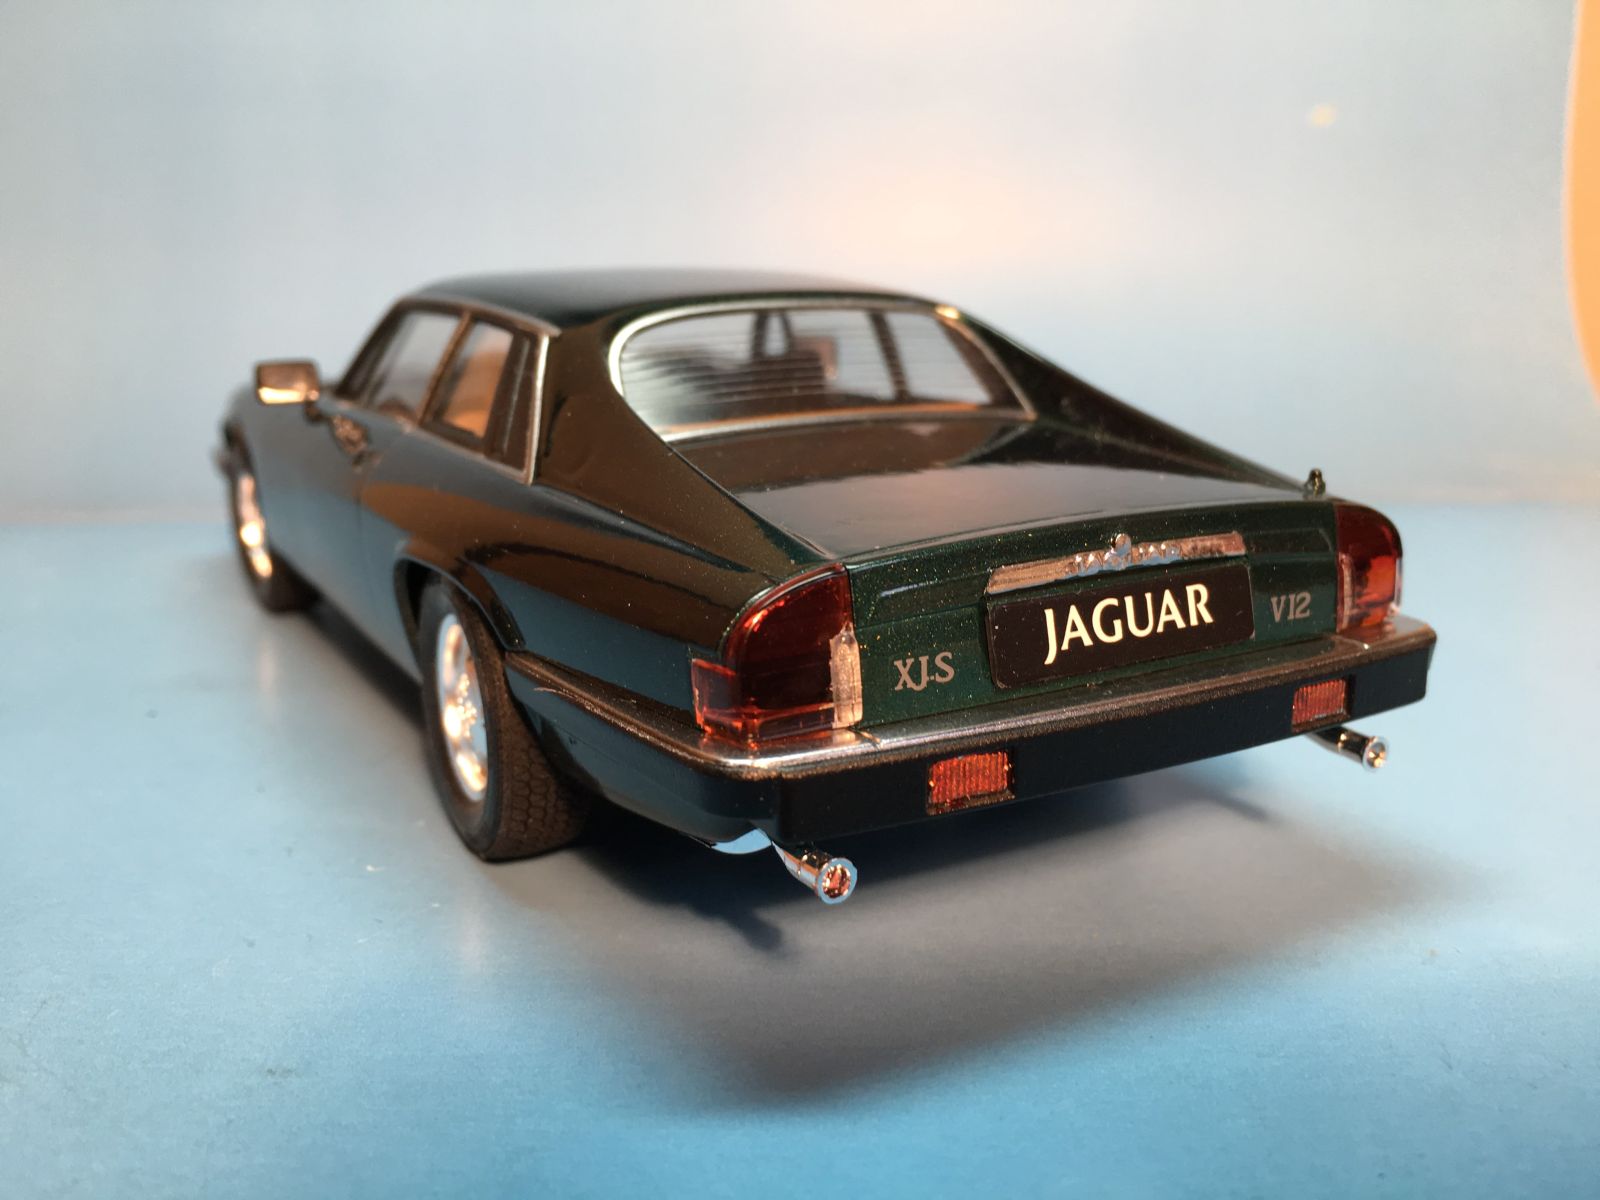
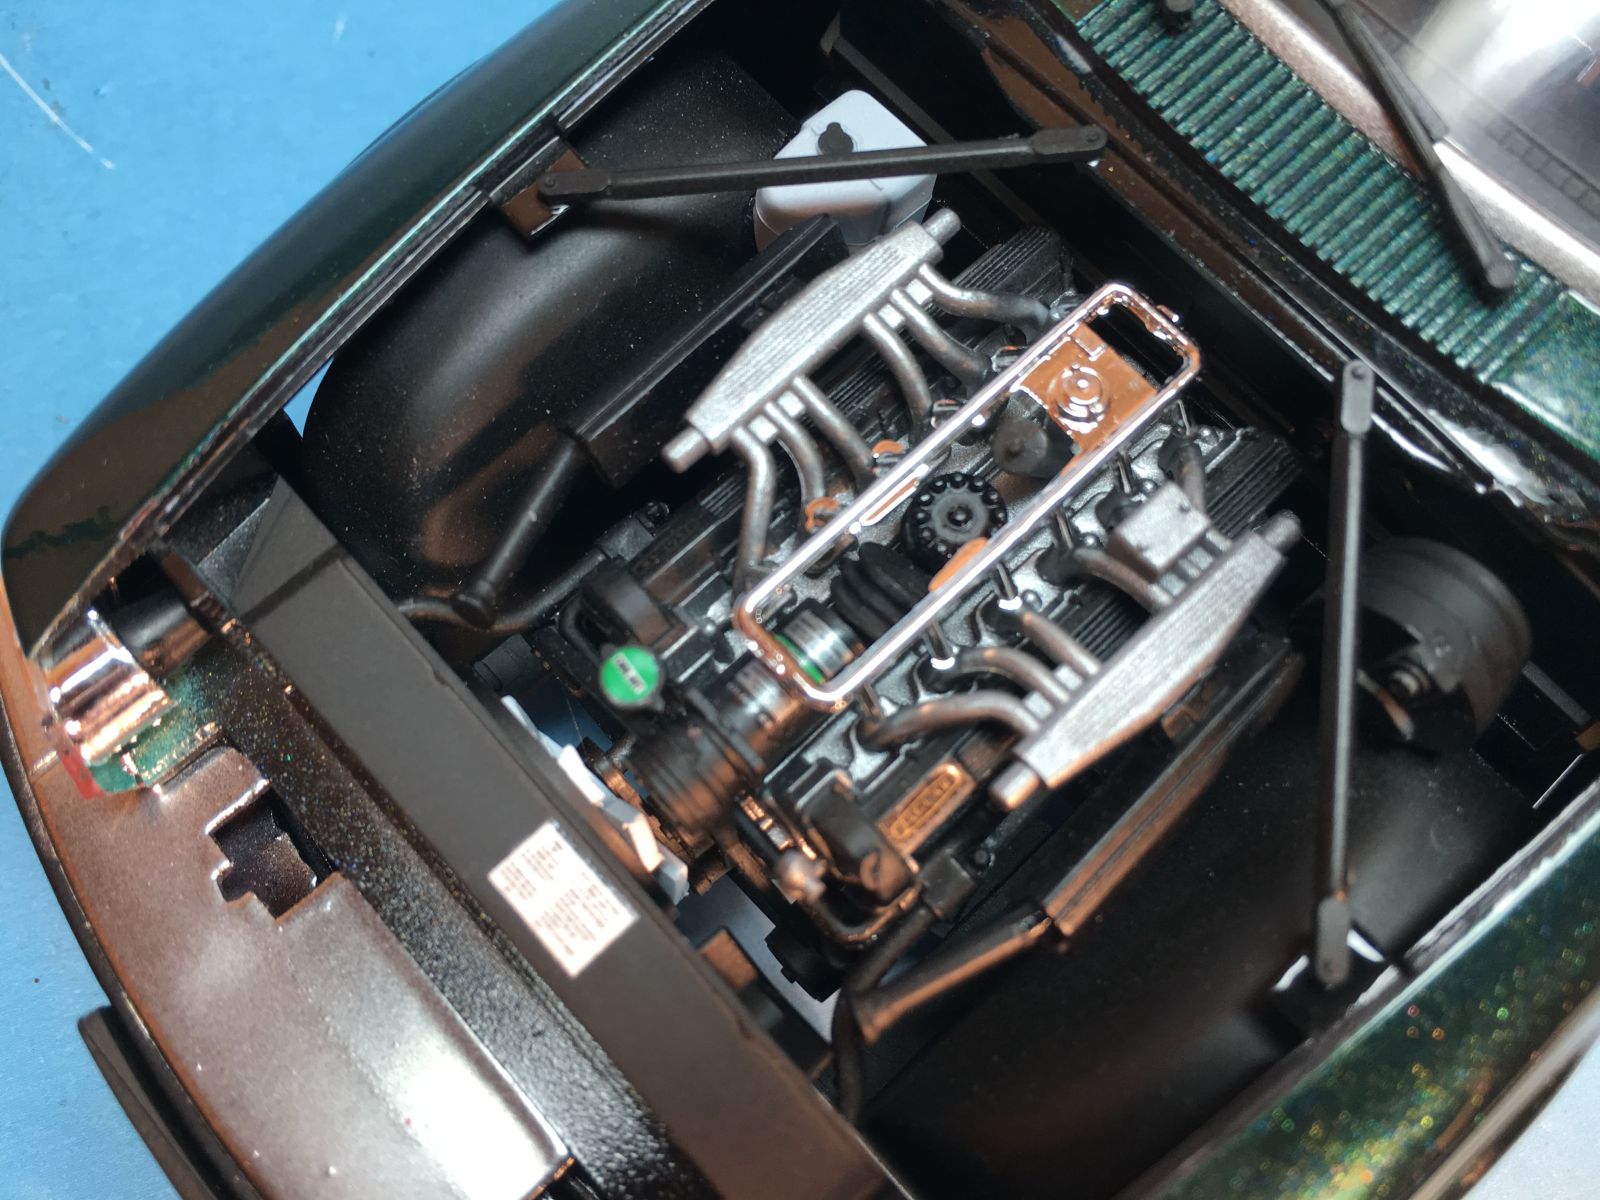
The first two stages are for the engine and it is a great representation of the V-12. Be careful lining everything up, I had to make a last minute adjustment on part E-9 when I discovered it sat too high and kept the hood from closing. The next two stages are all about the suspension. I made the mistake of building the entire rear suspension before installing the exhaust and found it would not fit after the fact. I ended up cutting them right after the mufflers and attached them that way. It worked, but I should have paid more attention. One other note, the rear axles, part F19, was a bit of a loose fit. Make sure they are aligned properly to avoid having the tires not be straight. Stage 5 is the interior and final assembly of the chassis.
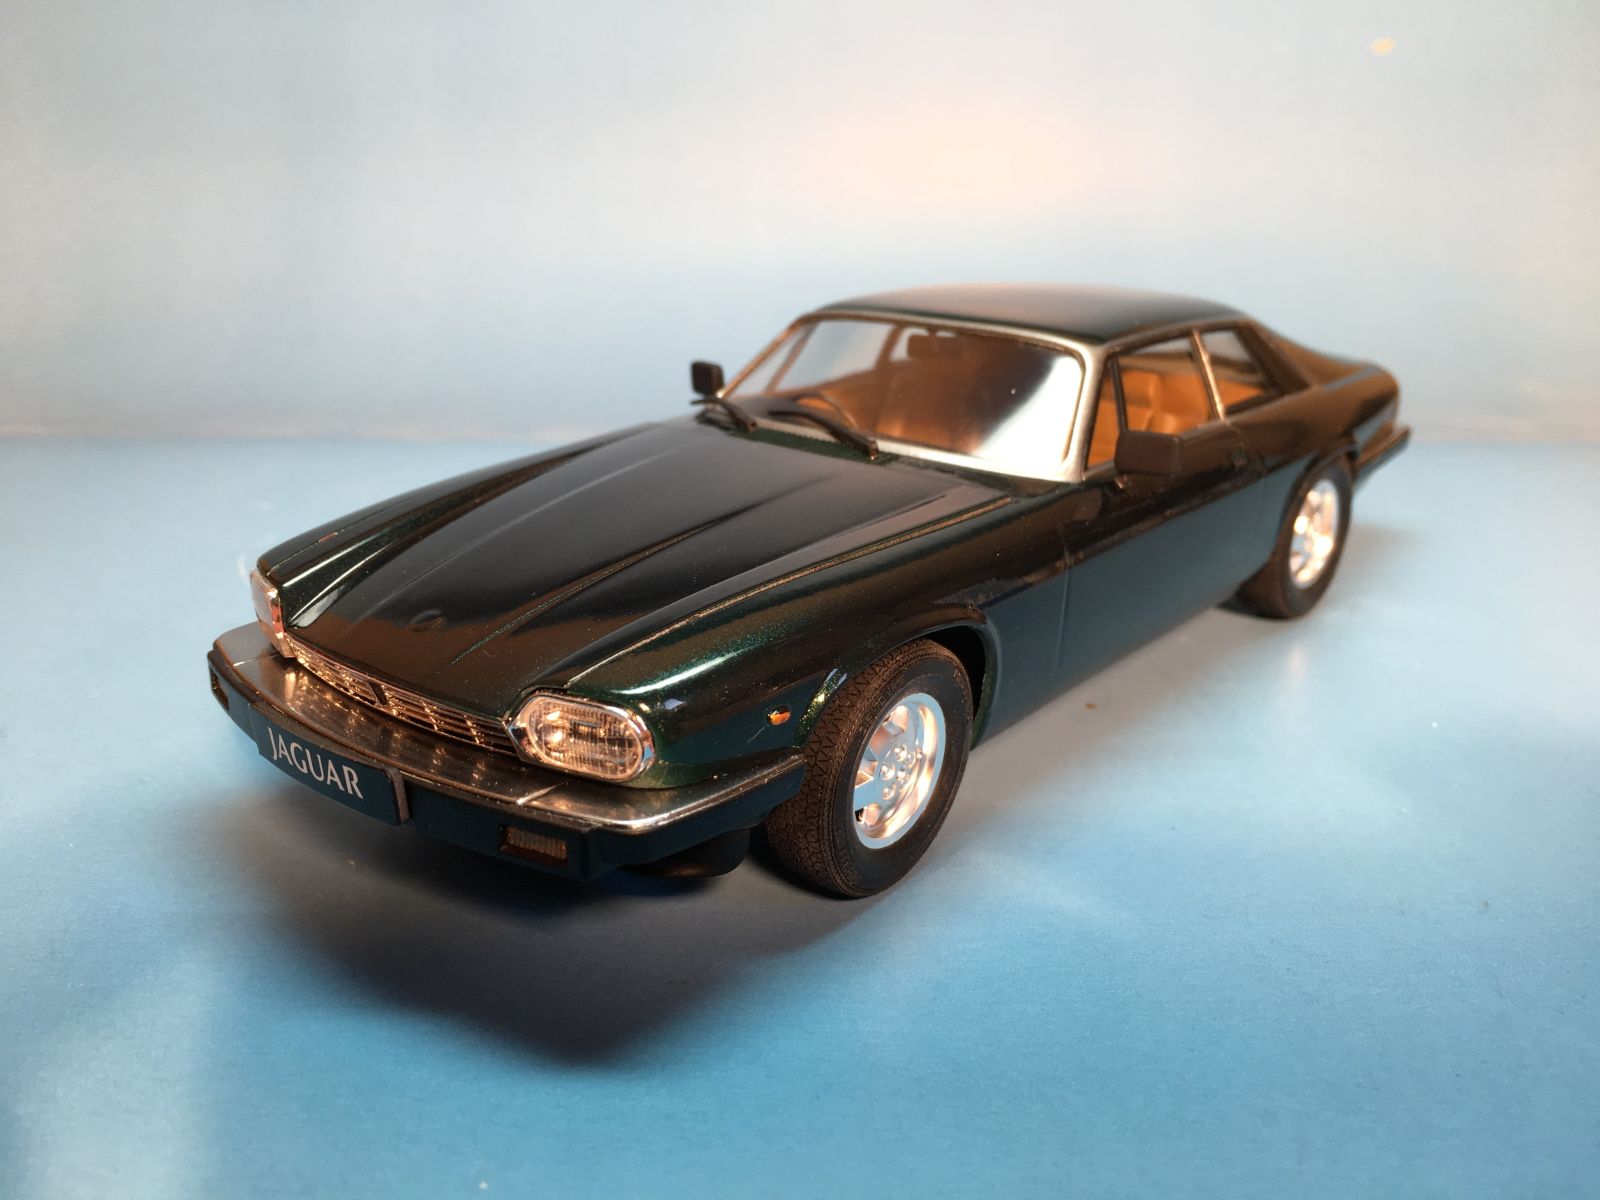
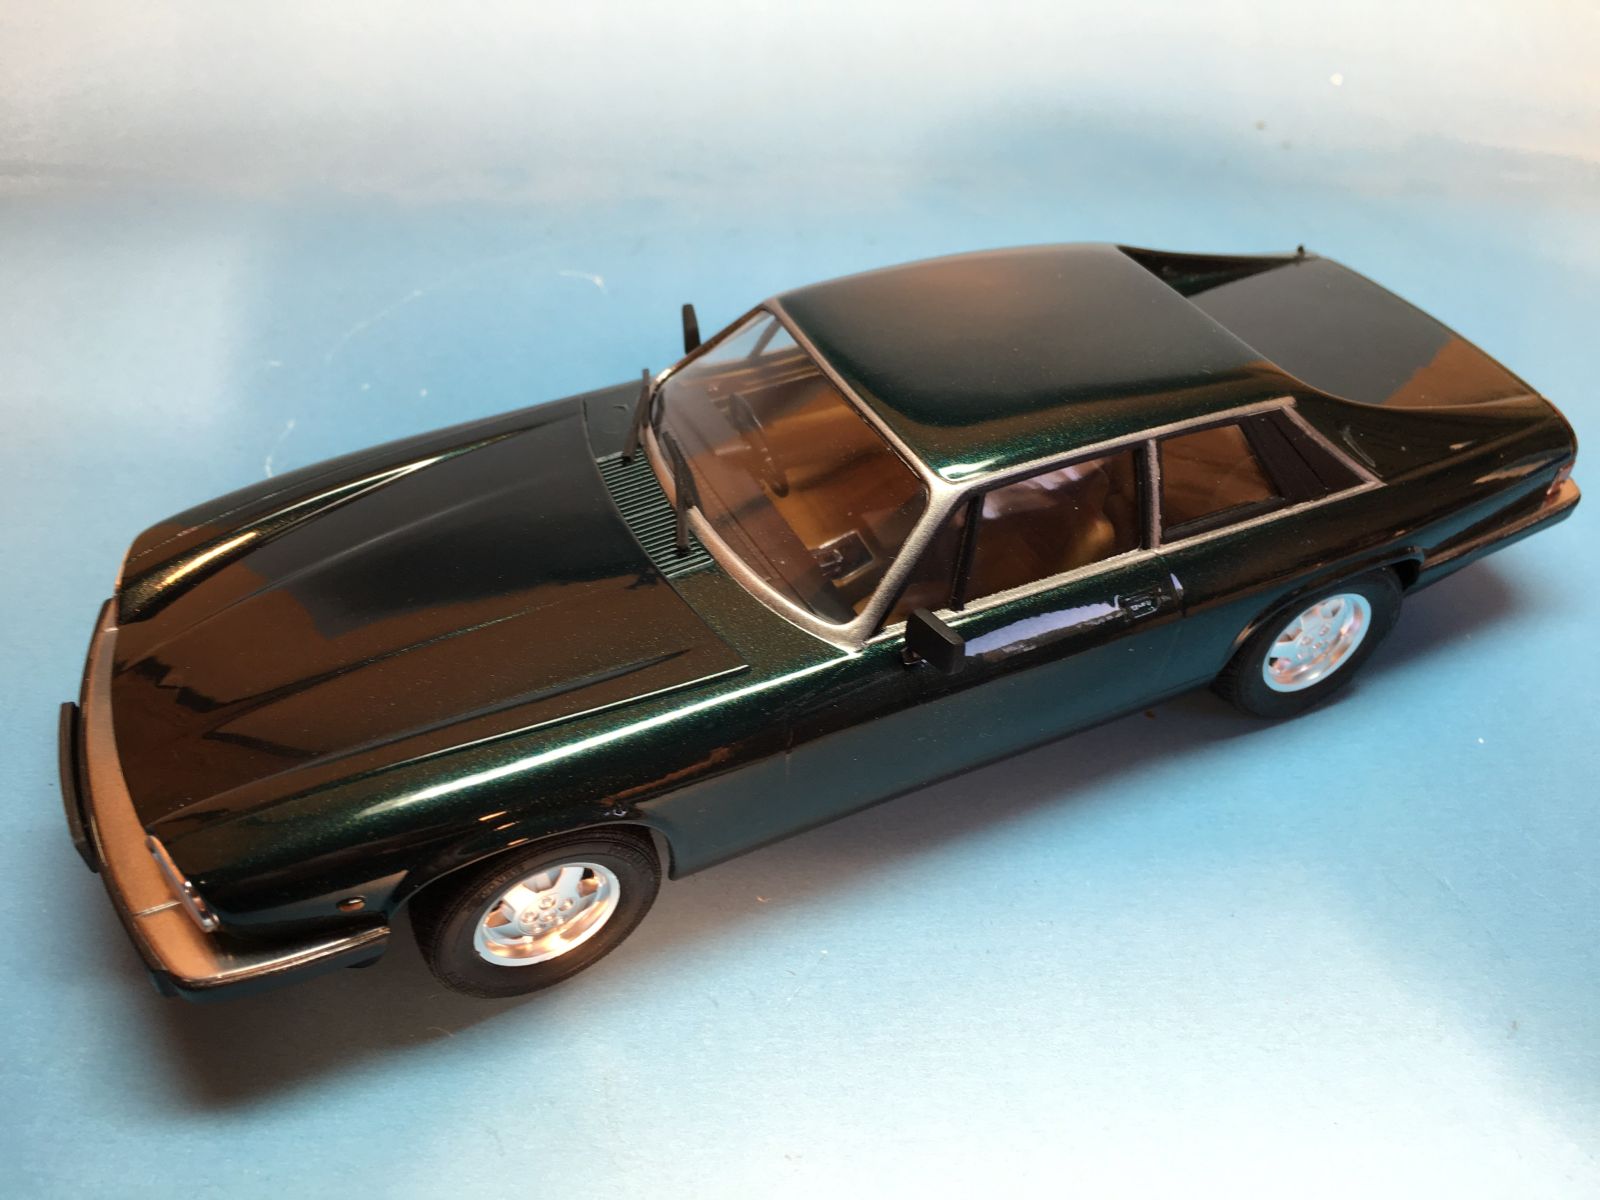
The interior is a bit of a painting challenge so take your time with it. I found the new Molotov chrome pen did a great job on the interior chrome, but a steady hand with a brush would also produce good results. Stage 6-7 is the body and final details and this is the part that had me a bit nervous, but it was actually very straightforward. The chrome trim around the windows is crisp and easy to mask. I masked the trim off and painted everything semi-gloss black. I then masked off the part that was to remain black and sprayed Alclad II chrome. Leaving the mask in place, I clear coated the body. That sealed the chrome and left the black semi-gloss. For the bumpers, I had to go a different route. For them, I cleared the parts after the green was shot. Then I masked off and sprayed the semi-gloss black. Following that, I masked off for the chrome and clear coated it again, then sprayed the chrome. This way I did not have to mask it off twice. Overall it was easy to do and looks great! For the final details, I left off the headlight wipers, parts D14 and D15 because they looked a bit oversized and did not fit well.
Summary
This kit is really good and very straightforward. All parts fit well and positively. Unlike some car models that have a dodgy fit that you don’t realize until final assembly, this one goes together amazingly, attesting to the great engineering in this kit. Highly recommended! I would like to thank Hasegawa, Hobbico, and I.P.M.S. for giving me the chance to build this one!!


Comments
Review Hasegawa Jaguar XJS
Hello Gregory,
I enjoyed your review of the Hasegawa Jaguar XJS kit you made back in 2018.
My name is Henk Visser (in English; Fisher), 59 years aged modellist who started way back in the early 70’s.
I’m right now working on the TWR Sports and the Cabrio version simultaneously.
What struck my attention, in the Introduction, you mention the TWR XJS kit but the pictures show clearly the basic XJS V12 model. No double exhaust pipes, no spoiler, no aerodynamic features as in the TWR kit. Gregory, can you please explain this to me? The works version, as in the box art picture, is sitting in my display case.
Yep, the Hasegawa products are excellent and of the same quality as Tamiya. After spray painting I use Bare Metal Foil for the chrome parts and for the fine chrome details (interior), like you, a chrome pen. Without booze, I have a steady hand. 40+ years experience helps too.
I like the detailed underside. It inspires me. Even considering going back to the IPMS meetings here in the Netherlands.
You are correct Gregory, Hasegawa ommited to mention the installing steps for the rear suspension and exhaust pipes. Also missing are the brake calipers on the rear axle discs.
If you ever want to built the Hasegawa XJS TWR Racecar, whitch I have seen in action and built, prepare for some more challenges. Thanks to Studio 27 decals, the ’82, ’83 version can also be built. But with a lot of adjustments.
OK, modelling friend. Thanks again for your review. Great work. Keep it up.
Greetz from the Netherlands,
Henk Visser
kodiak44@kpnmail.nl
Add new comment
This site is protected by reCAPTCHA and the Google Privacy Policy and Terms of Service apply.
Similar Reviews