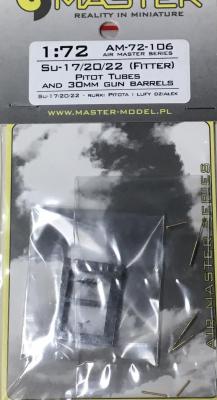
This set provides replacements for the two nose mounted pitot tubes and the 30 mm gun barrels for Su-17/20/22 kits. The set is designed for the Modelsvit series of kits, but as I had an Italeri Su-22M-4 kit in the stash and Modelsvit kits are not seen often in my neck of the woods, I used the Italeri kit for comparison.
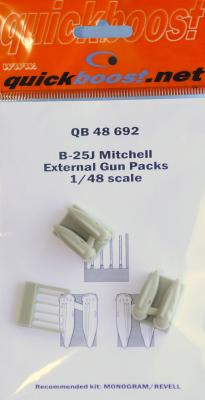
Aires Quickboost has released a replacement for the Monogram (and later Revell) series of 1/48 B-25J kits that replaces the cheek gun packs. There are no instructions but this is direct a replacement for the kit part. No modifications to the kit are required; the assembly simply goes in the same place as the kit parts.
Quickboost has molded the external gun packs in light grey resin with no apparent bubbles on three resin sprues. Each Quickboost twin gun pack is supplied on its own resin sprue with a separate sprue for the four .50 caliber gun barrels.
Although most paints will adhere to resin alone, I would recommend that you wash this part to remove any remaining mold release and prime it first. This part will need to be installed with your favorite CA (super glue) or epoxy, as the normal plastic glues or solvents will not react with the resin.
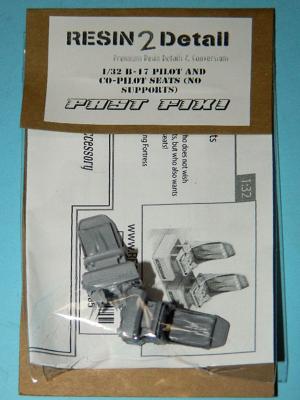
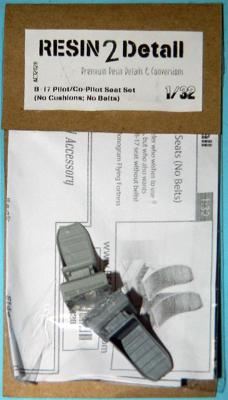
This upgrade provides a 1//32 scale improved seat for the HK B-17. It comes in three different options, with two seats to a package. One is the plain seat, one has basic seat cushions and backpad, and one has seat cushions, backpad, and the lap-belt, as the B-17 was (from my references) rarely equipped with over-the shoulder harnesses until later versions. The lap belt is the ultimate in final detail. As you can see in the side-by side view, the kit seat (in basic gray plastic) is about 3/8” taller than the Resin2detail seats; I believe the Resin 2 detail seats are more accurate.
A generous thank you goes to Aires Hobby Models/Quickboost for this review item.
The German Heinkel He111 civil prototype was demonstrated publicly in 1936. By the end of 1936 the bomber version, He111B, was entering service with the Luftwaffe. There were dozens of He111 variants developed over its 10 years of service making it a popular aircraft in the modeling world.
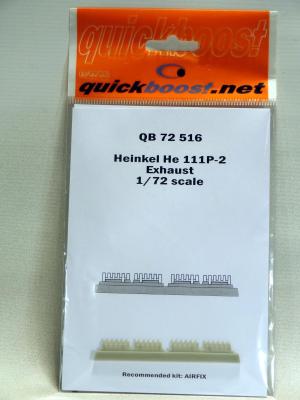
Quickboost has released a nice set of resin exhausts for the Airfix Heinkel He111P-2. The delicate parts come in a clear re-sealable plastic bag packaged with a small card insert showing a photographic image of the parts, part number, name of the parts and the recommended kit, Airfix. What is not included in the bag is a set of instructions. This is not a problem as the resin parts fit the exhaust locations the same as the kit parts.
The Eduard Bf-109s are some of my favorite models to build. They look great when done up. Of course there are limitations that plastic can do. So that is one of the reasons that we do resin aftermarket parts. Brassin is the Eduard resin line. It combines resin and photo etch in perfect harmony.
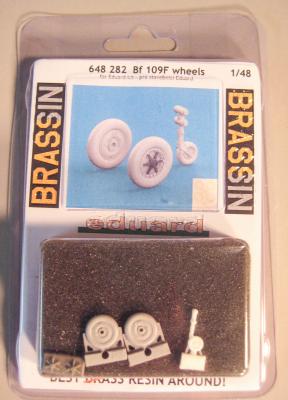
This set is designed for the Eduard Bf-109F series. Contained in a typical vacuformed plastic container you get five pieces of perfectly cast light grey resin and a masking set.
Removal of the parts from the sprue is easy enough. Nothing dramatic except the molded in detail which is impressive to say the least. I did have to sand down the spokes for both wheels. Each wheel is beautifully rendered. The tail wheel assembly is a single piece and looks great despite being a single piece.
Adding the parts to the kit is fairly straight forward. Don’t forget to add the tail wheel before you close up the fuselage.
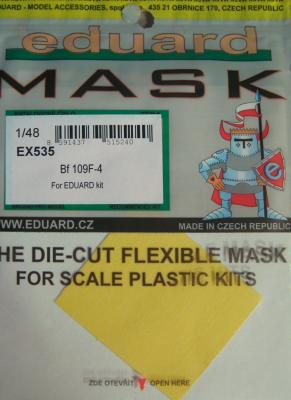
The Eduard Bf-109s are some of the best engineered models ever. I’ve enjoyed building them from the get go but there are parts of modeling I don’t overly enjoy. The main one is masking the canopies. Eduard has designed the kit and the canopy masks.
The Eduard masks are made out of Kabuki tape similar to Tamiya tape. I think this is some of the best masking material available. It is pliable and conforms to compound curves.
Since Eduard makes the kit and the masks they fit perfectly. The Eduard masks for the G-5/6 gives you the inside mask for the rear canopy. This set does not. No big deal just an observation.
With the release of the new Bf-109F-4 from Eduard we are treated to numerous ways to upgrade the kit should you want to. Eduard has always been known for their photo etch so it is to be expected that they would offer something in photo etch for this kit.
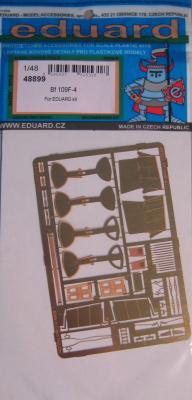
This set of photo etch comes in the normal Eduard resealable package with card stock keeping the photo etch safe. The actual fret is brass with really good detail. The primary areas addressed by this set is the wheel wells, landing gear doors and the flaps.
The wheel well portion offers an accurate rendition of the wheel well insert with the appropriate cutouts. The landing gear doors provide you with two different styles of landing gear covers. I chose to use the ‘normal’ doors. They worked out just fine but you will need to curve them slightly to be accurate. They are suitably thin too. Also to the landing gear are the brake lines and the tie down rings on the bottom of the landing gear strut.
This upgrade provides a 1//32 scale improved seat for the HK B-17. It comes in three different options, with two seats to a package. One is the plain seat, one has basic seat cushions and backpad, and one has seat cushions, backpad, and the lap-belt. As the B-17 was (from my references) rarely equipped with over-the shoulder harnesses until later versions, the lap belt is the ultimate in final detail. As you can see in the side-by side view, the kit seat (in basic gray plastic) is about 3/8” taller than the Resin2detail seats. I believe the Resin 2 detail seats are more accurate.
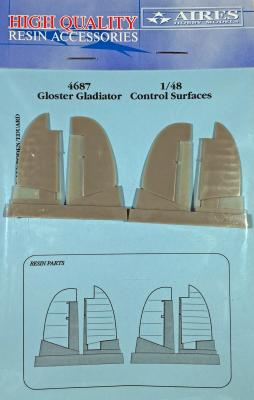
I’ve always had a soft spot for the Gladiator, as in my opinion it is one of the best looking biplane aircraft ever designed. The Gladiator prototype first flew in 1934 and entered service in 1937, just a year and a half ahead of the Hawker Hurricane. The Gladiator was utilized by 18 nation’s air forces during the war, and its last recorded combat operation being flown by the Finns in February of 1943 ended with a Soviet R-5 recon plane being shot down.
This resin set by Aires is not my first experience with their products. Like their other products, the resin is smooth, bubble and blemish free. What I really like is that the part includes the attachment tab for locating the stabilizer to the fuselage. As a builder, you really only need to know that the part will drop right in and a resin friendly glue will be necessary to attach the fuselage. Certainly don’t forget to wash the part clean before priming and painting.
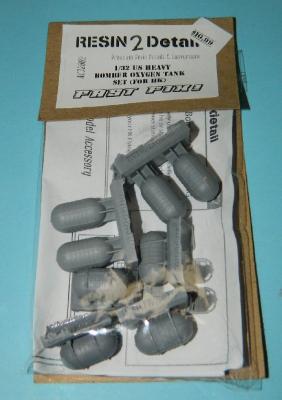
This upgrade provides a 1//32 scale improved Oxygen (O2) tanks for the HK B-17. It comes in two different options, with four each (eight total) O2 Tanks. Four tanks have mounts and brackets, and four are just O2 tanks with no brackets or mounts.
When held next to the kit O2 tanks, the size difference is very noticeable. The HK tanks are all too small; the Detail2Resin tanks are correct. Remove the tanks from their pour stubs, then primer with gray or white , (I used Tamiya White) and then paint gloss yellow(again, I used Tamiya Camel Yellow) . Weather a bit, then paint the mount straps silver or steel; the mount itself was usually interior green.
As this is a basic seat with all parts molded in place, the overall work goes very quickly, with no parts or additions required. The detail really stands out once all the drybrush work has been accomplished. Much easier than making your own mount and straps out of foil In my opinion!

