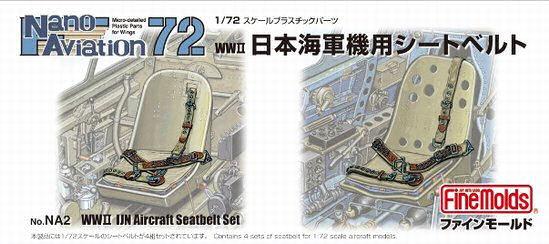
I am presently working on the new Airfix A6M2 Zero right now; the Fine Molds 1/72 IJN seatbelt set came just in time for me to incorporate them into the cockpit. This new seatbelt set comes four in the package, molded in ABS plastic, and can be formed to the contours of the seat. Be very careful when bending these belts as they can be broken easily, I used brass rod of various diameters to bend the belts. I started by using a larger diameter rod first and gently rolled the belt around it, using progressively smaller diameter rods until I got the desired bend. Once the belts are bent as desired, they keep their shape. I used superglue to fix the belts to the seat with no problems.
What's New
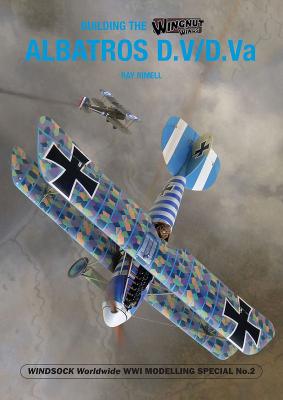
This 48 page booklet is the answer to a maiden/builder’s prayers! There are ten parts to the book that cover all that the casual to dedicated builder can desire.
- A survey of all the parts in the box.
- A D.Va “quick” build for those not so inclined, to an in-depth build for those who are.
- Step-by-step instructions accompanied by a plethora of very useful photographs.
- A “walk around” section of photos of the actual aircraft.
- A “décor” part with 12 alternate color schemes! However, decals are not provided in the kit for any of these.
Part 7 has info for what I would call super-detailing. Again, great photos accompany it with adequate instructions.
Part 9, Decals and Accessories, provides all the material needed for that super-detailing! I’ve already purchased the Pheon decals and the RB Productions rigging turnbuckles!
Background.
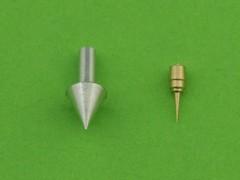
Some plastic model kits may include the Angle of Attack (AOA) sensors as teeny, tiny separate parts that are most difficult to remove from the sprue, with clean up of the attachment point being most challenging. Oftentimes, these tiny parts are lost or broken while being transported from cleanup to the model. Some kits reproduce the AOA as merely a non-descript bump on the surface. Master Model has a whole different approach.
The Company
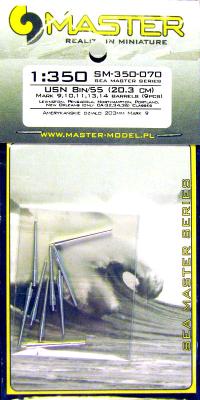
This set of finely turned stainless steel gun barrels for early U.S. Navy 8” gunned cruisers and carriers is the latest in a long line of superb replacement parts for 1/350 naval vessels. Each of the open-ended barrels is slightly tapered with very finely defined segmentations. The short stubs at the end of the barrel allows for easy insertion into the kit’s turret or blast bag. The accompanying comparison photos show the Master metal barrels next to the 8”gun kit parts from the Trumpeter Saratoga. The Master barrels are noticeably longer and, no doubt, more accurate than the kit parts.
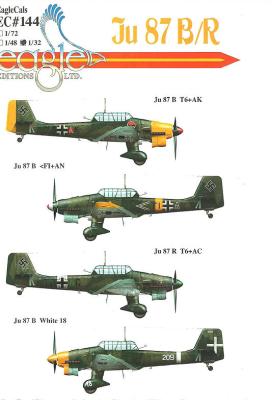
Eagle Editions has followed their earlier release of Ju-87B/R markings with a very nice set that gives you the option of three German or one Italian aircraft.
All four aircraft are from the 1941 period and finished in RLM 65 under surfaces with the RLM 70/71 upper surface splinter scheme.
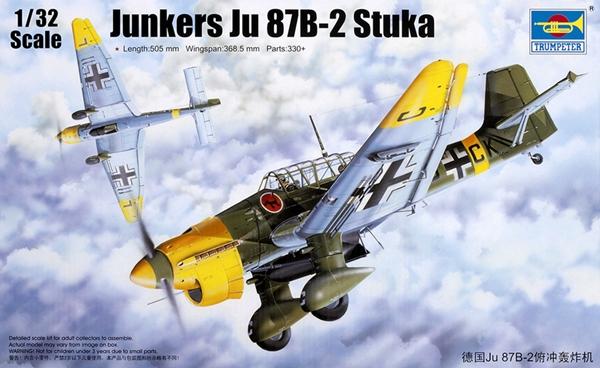
The Junkers Ju-87 Sturzkampfflugzeug, or Stuka, was a two-seat dive bomber designed for the German Luftwaffe. Its first flight was in 1935 and it made its combat debut in 1936. Sturdily built with many innovations, it was highly accurate and very effective, and it became the symbol of German airpower during the Blitzkrieg victories at the beginning of WWII. Its lack of speed, maneuverability, and defensive firepower showed themselves against more modern fighter aircraft during the Battle for Britain. The Stuka continued to operate with success, but only in theaters where the Germans held air superiority. Once that was lost, they once again became an easy target for Allied fighters. The Ju-87B was the first mass-produced variant, with a total of 697 aircraft produced from 1937-1940. It was powered by a Junkers Jumo 211D inline engine, generating 1184 hp.
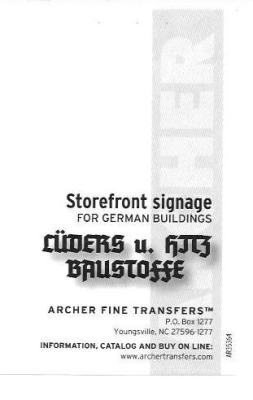
- Transfer Sheet # AR35364B (black lettering), Price $6.95
- Transfer Sheet # AR35364W (white lettering), Price $6.95
I asked to review these sheets listed as decals on IPMS, listing thinking they were water transfer decals. To my surprise, they are actually dry transfers. Back in the 1970’s, between my aircraft engineering jobs, I had a Civil Service position as a Cartographer, making various maps for my County. I was introduced to dry transfers on the job, using a burnishing stick to place letters and numbers onto Mylar maps. It was nice but you had to line up each character precisely. Fear not, this isn’t the case with these Archer transfers as the signage is already spelled out, properly spaced, and a number next to each signage to be used for a building address. But before you rush out to purchase these, read on carefully, for there are issues.
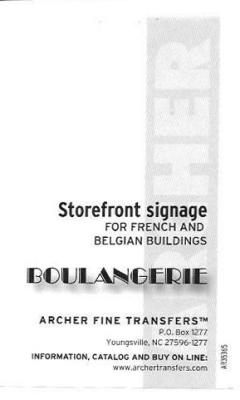
- Transfer Sheet # AR35365B (black lettering), Price $6.95
- Transfer Sheet # AR35365W (white lettering), Price $6.95
I asked to review these sheets listed as decals on IPMS, listing thinking they were water transfer decals. To my surprise, they are actually dry transfers. Back in the 1970’s, between my aircraft engineering jobs, I had a Civil Service position as a Cartographer making various maps for my County. I was introduced to dry transfers on the job using a burnishing stick to place letters and numbers onto Mylar maps. It was nice, but you had to line up each character precisely. Fear not, this isn’t the case with these Archer transfers as the signage is already spelled out, properly spaced, and with a number next to each signage to be used for a building address. But before you rush out to purchase these, read on carefully, for there are issues.
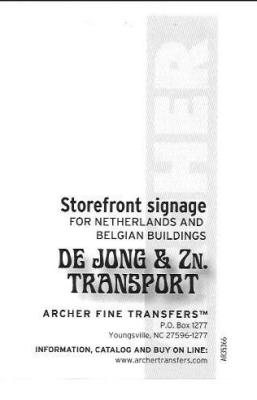
- Transfer Sheet # AR35366B (black letters), Price $6.95
- Transfer Sheet # AR35366W (white letters), Price $6.95
I asked to review these sheets listed as decals on IPMS, listing thinking they were water transfer decals. To my surprise they are actually dry transfers. Back in the 1970’s, between my aircraft engineering jobs, I had a Civil Service position as a Cartographer making various maps for my County. I was introduced to dry transfers on the job, using a burnishing stick placing letters and numbers onto Mylar maps. It was nice but you had to line up each character precisely. Fear not, this isn’t the case with these Archer transfers as the signage is already spelled out, properly spaced and with a number next to each signage to be used for a building address. But before you rush out to purchase these, read on carefully, for there are issues.
History Brief
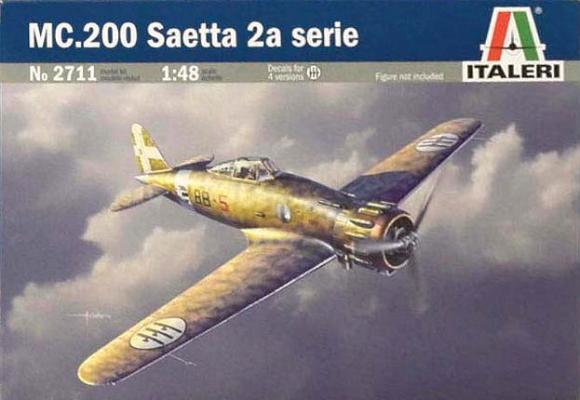
The most common fighter used by the Italian Regia Aeronautica during World War 2 was the Macchi MC.200, over 1150 being built in various versions. From the Mediterranean area and North Africa to Russia, the MC.200 saw action on all the main fronts. Based on the Fiat G-50 all-metal construction design, it was powered by the A-74 RC 38, a twin row 14 cylinder air-cooled radial engine. The engine produced 840 HP and was mated to a 3-bladed propeller, tightly packaged in its cowling, giving it distinctively bulged rocker covers. The Saetta was well liked by pilots for its maneuverability and rugged construction; however, the Saetta, when compared to its counterparts, was underpowered, outgunned, and outdated. These shortcomings were addressed with the next generations, the MC.202 and MC.205

