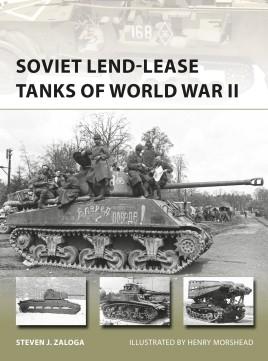
Osprey’s latest publication is this study of the types of tanks shipped to the Soviet Union starting in late 1941 and continuing through the end of the war under the Lend-Lease Program. Due to their armor losses following the success of Germany’s Operation Barbarossa, the Red Army desperately needed replacements and turned to their allies for help.
What's New
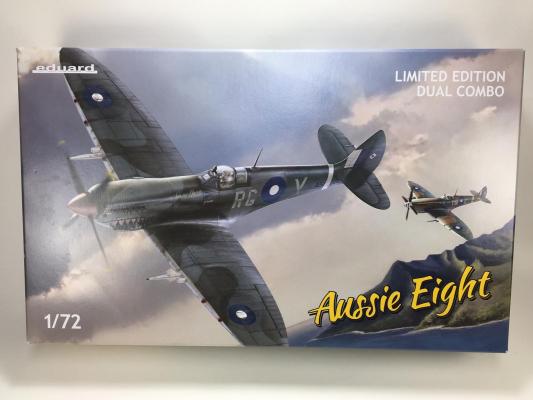
The Supermarine Spitfire is one of the iconic fighters of World War Two. Entering service at the beginning of the conflict, it was continually upgraded and improved throughout the war. As Japanese Navy air attacks on Darwin demonstrated, the Royal Australian Air Force needed a high altitude fighter to supplement its low altitude fighters, such as the Curtis Kittyhawk (P-40). After reviewing the projected performance of the Spitfire Mk. VIII, the Australian government requested delivery of Spitfire Mk. VIII’s to fulfill this role. The RAAF eventually received over 400 of this version of the Spitfire and operated it in several theaters.
Introduction
Much has been published on the Tamiya 1/48th scale F-14A Tomcat already. Finally an F-14A kit that is fun to build, with outstanding detail, fit and engineering. By itself, out of the box, the kit build will result in an amazing model. However................many of us cannot leave well enough alone and need to add some aftermarket accessories. Eduard offers aftermarket accessories that are hard to resist no matter the quality of the base kit. With the Tamiya F-14A they have done it again.
Personally I prefer to add add photo etch and some resin aftermarket items to many of my builds. When I aquired my Tamiya Tomcat I began to purchase several aftermarket items. When the opportunity arose to volunteer to review the Eduard Big Ed set of photo etch, canopy mask and seat belts I could not resist.
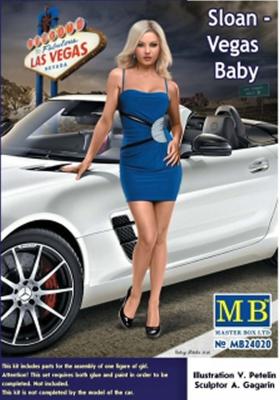
Masterbox Models in the Ukraine has been at the forefront of the figure end of the modeling business for some time now, never fearing to take some interesting chances on the market. This latest series of figures, designed to accompany most car models with some lovely ladies, has been no exception.
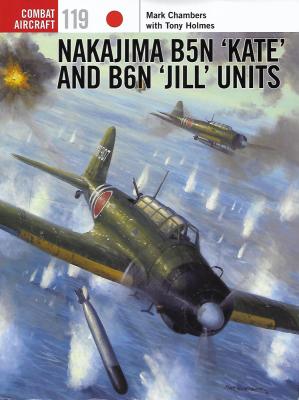
The Imperial Japanese Navy entered the Pacific War with the most advanced ship-based attack bomber in the world, flown by the most experienced aircrews of any service. First flown in 1937, and introduced into squadron service during the Sino-Japanese conflict in 1938, the Nakajima B5N was faster, flew farther and carried a heavier payload than either of its British or American contemporaries (principally, the Fairey Swordfish and Douglas TBD Devastator, respectively). When used as either a level bomber against stationary targets, or as a torpedo bomber against ships, the “Kate” (as it came to be known to the Allies) would wreak havoc against Japan’s enemies for the first year of the war.
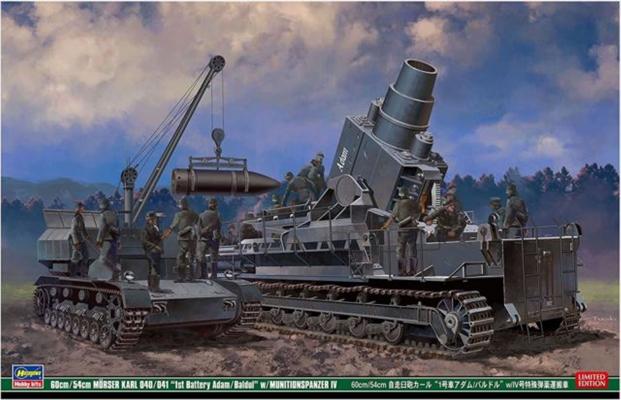
The Karl “Gerät” (device) was a huge self-propelled siege mortar. The 60cm shells weighed around 5000 pounds and contained several hundred pounds of explosives. Hasegawa says that the Karl made a “significant impact” wherever it was used. The problems with Karl were that it wasn’t very mobile, and it required special ammunition. When a Karl was in use, it had to be in a special firing position, which should be level and support the chassis.
This is Hasegawa’s release of their Karl Mortar in 1/72. It includes the “Munitionschlepper” Panzer IV. This kit has been released before, with the Munitionschlepper or with the railway transport add-on. What makes this kit desirable is that you get more options for the basic Karl mortar.
The two big options are:
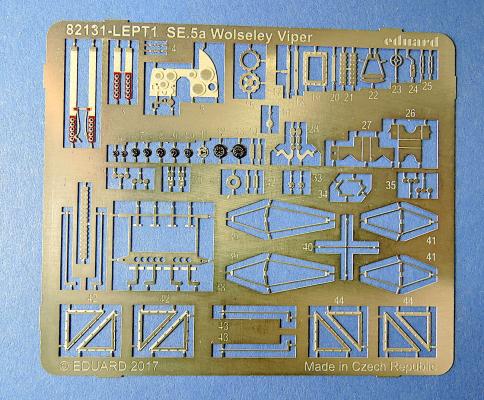
This is the photoetch fret for Eduard's 1/48 SE.5a. It is listed for the Wolseley Viper Version of the kit, but can also be used for the Hispano-Suiza Version of the SE.5a. This is the same photoetch fret included with Eduard's Wolseley Viper, and with the Royal Class edition as R0015-LEPT 1. It can also be purchased separately from either kit. The photoetch fret is not required for completion of the kits, but adds more accurate scale detail than the kit parts.
The steel fret is about 2-3/4 x 2-1/4 inches and includes photoetch pieces for the seatbelts, instrument panel and gauges, machine gun magazine upgrades, several different cockpit levers, brackets for the exhaust pipes, cables and stanchions for the control surfaces, bomb rack, and frames for the wing pulley observation panels.
IPMS USA appreciates Revell USA sending us this model, and I also give the nod to our leadership within the reviewer corps for forwarding me the kit to review.
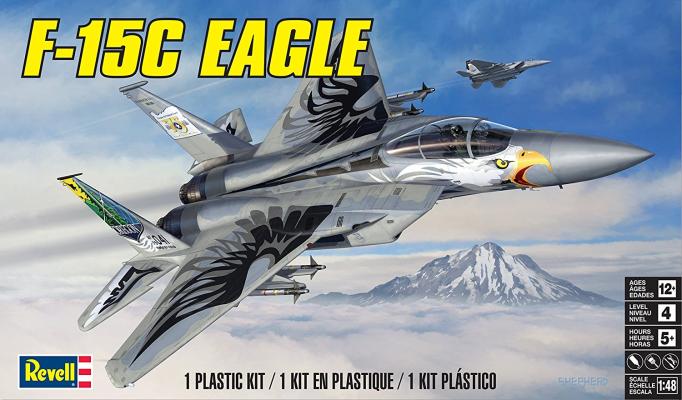
A personal note concerning the actual aircraft: To use an Eagle painted on an Eagle, what a great recruiting tool!!! Eye-catching and unique, interesting markings, and even this older version F-15C is still a viable Air Superiority weapon. When I first saw it I was skeptical, but having built this kit, I found the scheme rather well thought-out and not overbearing. Not just another gray airplane.
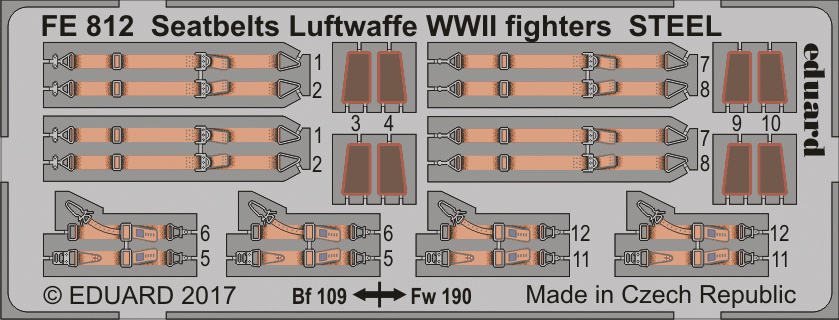
The one thing that is a visual interest in a cockpit are the seatbelts and shoulder harnesses. Regardless of what type of aircraft the first thing you see when you look inside the cockpit are the seatbelts.
Eduard has been trying to perfect the use of photo etch seatbelts from the very beginning. Their latest efforts are really nice. This fret includes enough seatbelts for FOUR single engine Luftwaffe aircraft. The STEEL seatbelts are very thin and bendable. The fret is .002 thick and realistically pre-painted. The paint is shaded and looks very realistic. I was able to bend them without the paint coming off which can sometimes be an issue with thicker belts.
If there is a downside, it is that the belts are only painted on one side, but depending on how you bend them they won’t be an issue.
The Kit
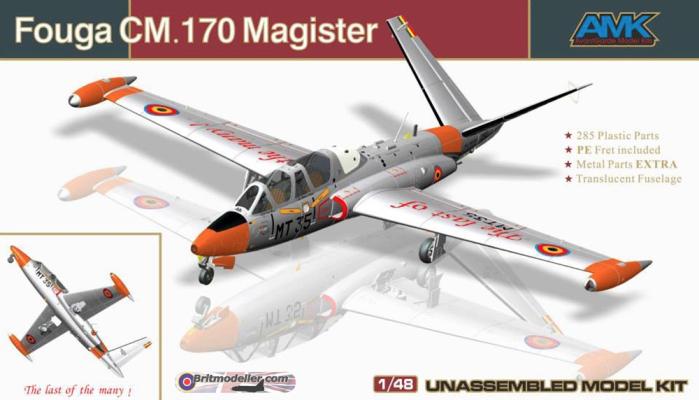
When you open the Box you find all the sprues nicely individually bagged in resealing bags. Over to the side there is a cardboard cutout that holds a very nice plastic case containing all of the white metal parts. These parts consist of replacement main wing spar, tail spar, landing gear, guns, ammo belts, and a couple other replacement bits. Also included are nose weights. With the sprues they have included a full clear sprue which is just the same as Sprue A so you can do a Skeleton view of the fuselage. Under all of the sprues you find a small fret of Photo Etch for seat belts, air brakes, and landing gear door latches and a very large decal sheet that gives you the option for 5 different markings options:

