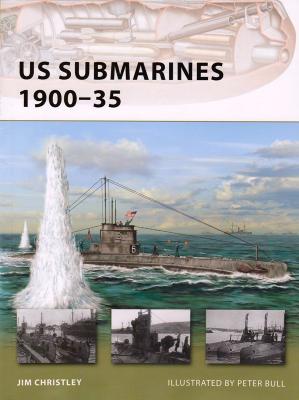
Thanks to Sara of Osprey Publishing and to IPMS USA for giving me the opportunity to review this wonderful book!
What's New
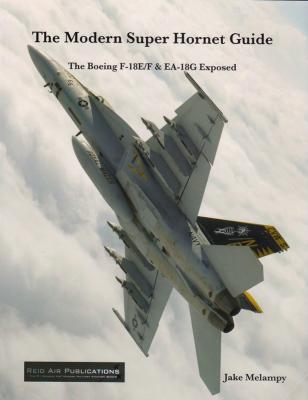
Thanks to Jake of Reid Air Publications and to IPMS USA for giving me the opportunity to review this astonishing book.
I do not use the term astonishing lightly. I have quite a few built-up F-18A and later models in my collection, dating back to a highly modified and corrected Testors F-18 in 72-scale, ca. 1982. I swore at the Italeri kit, released and built about 9 or so years ago in 48-scale. I started research on an EA-18G recently. Every single question, concern, and nagging detail consideration on any Super Hornet kit I’ve wrestled with is answered by this book. A modeler in research mode will find answers less in the chapter text, but more in a very thoroughly documented or captioned series of photographs, often referencing back to page numbers in the text. Reproductions of some tech data are included, for example, weapons and stores loadout charts.
The Story
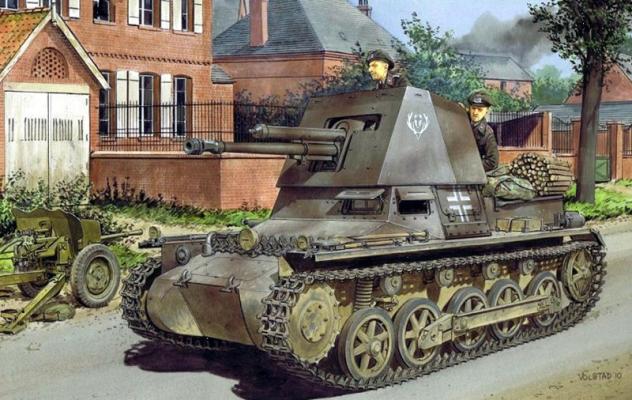
Short History:
When WWII broke out in 1939, Germany relied heavily on the 3.7cm PaK 36 antitank gun. However, this puny weapon was no match for armored vehicles like the French Char B1 or British Matilda II. One solution was to mount the more powerful Skoda 4.7cm PaK(t) gun on the chassis of the Panzer I Ausf. B. This had a double advantage – a more capable antitank weapon was created, and it permitted an extended use of obsolete Panzer I tank chassis. Called the Panzerjäger I, this new vehicle was Germany’s first of many tank destroyer designs. Between March 1940 and February 1941, 202 such Panzerjäger I vehicles were converted in time for service in the Battle of France, in North Africa, and in the invasion of Russia. By the end of 1943, the Panzerjäger I had been phased out. The Skoda 4.7cm PaK(t) gun was mounted in an open-topped Panzer I fighting compartment with its original gun shield still affixed.
Thanks once again to Aires for providing IPMS/USA the opportunity to review yet one more of their excellent cockpit sets.
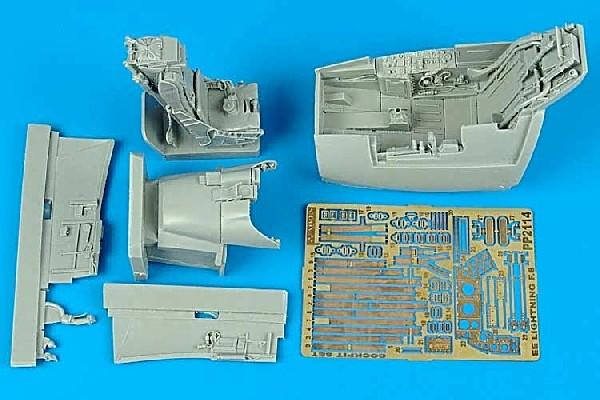
Included are 10 resin parts for the cockpit tub, seat, instrument panel, and a control stick; there are also a couple smaller resin parts to represent the whiskey compass on the forward canopy framing. A photoetch fret is included to provide realistic seat harness components, including buckles, etc.
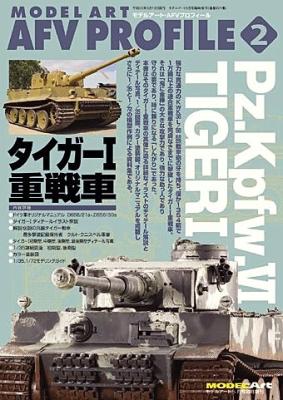
This book is the second of a series on German armor in World War II. These are written specifically for the AFV modeler. The subject of the book is the Tiger I. It is written entirely in Japanese with English subtitles on some of the pictures and illustrations.
The book begins with an illustration of the driving mechanism and part of the transmission. It is taken from the German manual on the Tiger I. These pictures are without English subtitles. Next the book shows us 18 color plates of the Tiger I from the early version to the late version. These illustrate camouflage patterns and markings. These are very good color renderings in fact. The title of each drawing is in English.
After the color plates, there is a short section, once again entirely in Japanese, which appears to discuss the formation of Tiger units. After the Tiger unit part is a small comic book like section covering some of the great Tiger commanders.
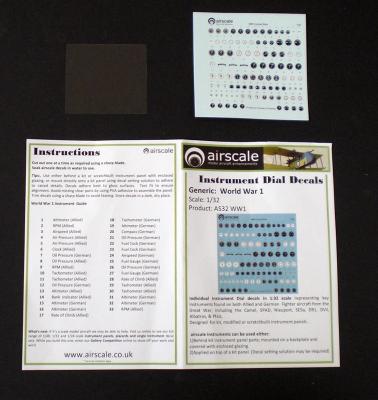
The product is well packaged, protected and includes the instrument decal sheet measuring 2 ¾ inches x 2 ¾ inches and a 1 ¾ x 1 ¾ thin clear plastic sheet for lenses. Explanations for the 33 World War One instruments are indexed on the instruction sheet which is very simple. The decals are very high quality with superb registrations and vivid sharpness even under magnification. This product works well with Microscale and Tamiya decal solutions. Care should be taken when using Solvaset, too much can almost melt the smaller ones.
Sadly, I could not apply these to a 1/32 scale WW1 aircraft, because I don’t own any. But this would be a dandy excuse to start into them. I did use some of them on another project I’m involved with. A scratch built 1/9 scale science fiction fighting suit. These worked great and gave the interior a nice retro industrial look.
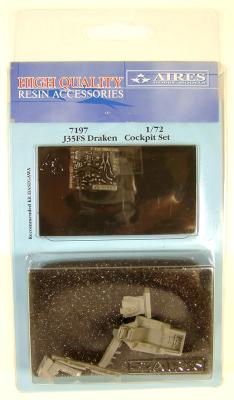
Another outstanding addition to the Aires line of resin cockpit sets. This set for the Hasegawa 1:72nd scale J-35 Draken is beautifully cast in a medium grey resin and features extremely minute details to include sidewall structure. Anyone who loves The Saab Draken will want to add this set to their model. .
The only problem I had and one to pay attention to is fitting of the glare shield under the front windscreen. I inadvertently removed too much plastic and this left gaps near where the windscreen fits to the fuselage. I recommend test fitting often and only remove a very small amount of the plastic at a time. It is way too easy to remove too much material.
The two decal sets are in clear register, well printed and of great use to the aircraft modeler. Those that scratch build their own instrument panels will find these immensely useful. As one who builds a lot of resin kits I can see these being of great benefit there as well. They also will enhance a kit instrument panel going over the raised detail. Lastly, the gauge decals also include a small rectangle of clear, thin plastic so those with a punch and die set can make their own glass covers for the instruments.
The Story
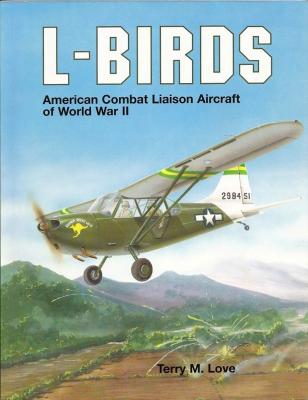
I bought this book because it was recommended to me by David W. Menard, the noted aviation historian and photographer, after I asked him some questions about American liaison aircraft used in Europe during World War II. Dave suggested that I contact Terry Love, the author, and the result was that I now have a copy of the book. I’m glad I bought it, because it certainly fills a gap in my library, and fills me in on some of the “L” types that were used during the war, and the reason why they were developed at that time. Although the book was originally published in 2001, I was not aware of it until now.

