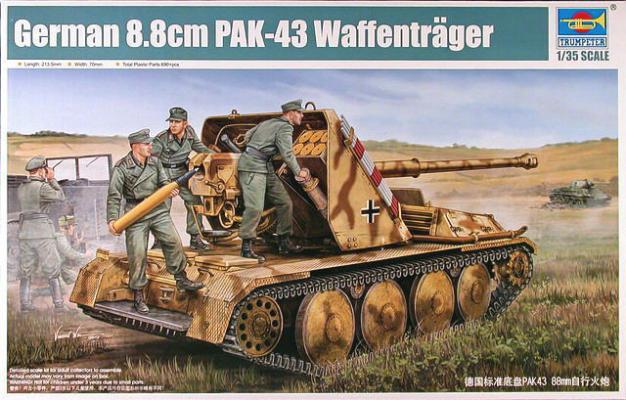
Upon receiving this kit, I was thinking why was Trumpeter making one of these? I didn’t know anyone else made one until doing some research, and I found a few companies did. ARK models from Russia makes a Waffentrager, along with Alan Models. Whether or not this is the same mold, I can’t say. Upon opening the box, you get 10 sprues of orange plastic (very similar to that which ICM uses), 10 sprues of gray plastic link-to-link tracks, 5 PE frets, a steel tube, an aluminum barrel, and a sheet of decals. A 16-page black and white instruction booklet, with easy-to-follow directions, and a painting reference sheet with one scheme are also included. The color reference has call outs for Mr. Hobby Vallejo, Model Master, Tamiya, and Humbrol paints.
What's New
History
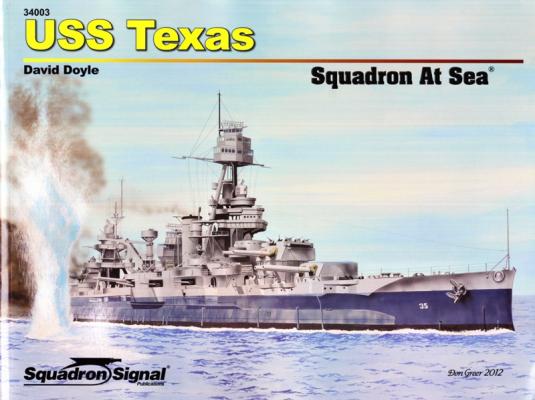
The USS Texas was commissioned 12 March 1914. The USS Texas served in both World Wars and many other conflicts during her service in the United States Navy. Her first call to action was immediately following her commissioning, when she was stationed of the coast of Vera Cruz, Mexico as a show of force.
During World War I, the USS Texas’ main duty was convoy escort. In 1919, there was even a movie shot on the Texas starring Chester Conklin. In 1925, the USS Texas was brought in for modernization. This was completed in 1926. After this time and up to the beginning of World War II, the Texas spent time operating in both the Atlantic and the Pacific.
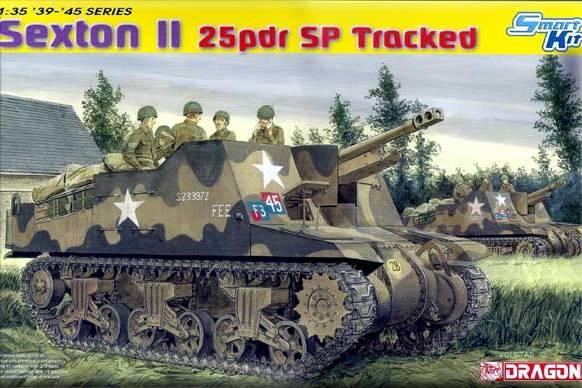
Dragon Models has released the Sexton II Self-Propelled Gun in 1/35 scale. Out of the box, the detailing looks absolutely stunning, even for Dragon. The engineering and detail of the on-board stowage, radio equipment, driver’s compartment, and surface texture is as good or better than any release I’ve seen. Their excellent 25-pdr Mark II main weapon has been pulled from a previous release, and the chassis contains all the good stuff from their equally superb Dragon Models M4. The Commonwealth makeover of the U.S M7 Priest sports over 150 new parts, including a completely reworked driver’s compartment and transmission, radio sets, ammunition lockers, etc. An engine is not provided, but everything that is exposed is brilliantly represented.
Background
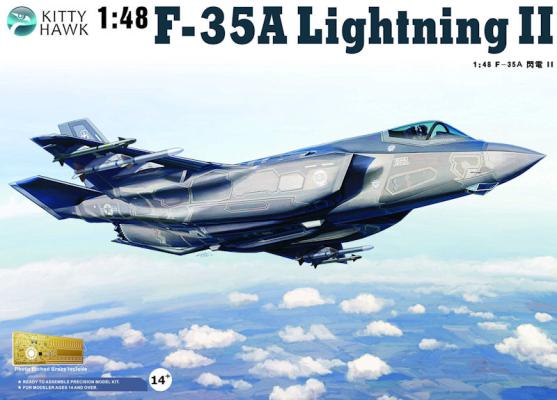
The absolute latest in American manned fighter aircraft, Lockheed Martin's F-35 Lightning II is slated to replace aging F-16, F-18, and AV-8B aircraft in the lightweight fighter attack role in the US Air Force and US Navy in the next several years. The land-based F-35A will replace the F-16, the vertical-takeoff F-35B will assume the Harrier's role, and the carrier variant F-35C will take over for the F/A-18. Several other nations, including the United Kingdom, are expected to purchase variants of the F-35 for their air arms. This fifth-generation fighter employs many advanced features, including low-observable (stealth) technology, to ensure its effectiveness in the 21st Century combat environment.
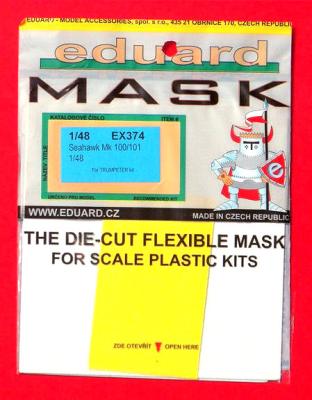
The package says this mask set is designed for the Trumpeter Seahawk Mk. 100/101. However, it also can be used for masking the canopy in the Trumpeter Seahawk FGA.Mk.6 kit (if you are unable to find Mask set EX220), since these kits share the same clear parts. With a little adjustment here and there, set EX 374 may also be usable for masking the canopies in Classic Airframes1/48 scale Seahawk kits.
Like other Eduard mask sets, this one is made of Kabuki tape (similar to Tamiya’s masking tape) and contains precut masks for the kit’s windscreen, canopy, gunsight, and wheels. The masks will adhere well to any flat or curved surface, so masking is easily accomplished, and the masks can be removed after paining is completed. A simple instruction sheet is included to guide the masking process.
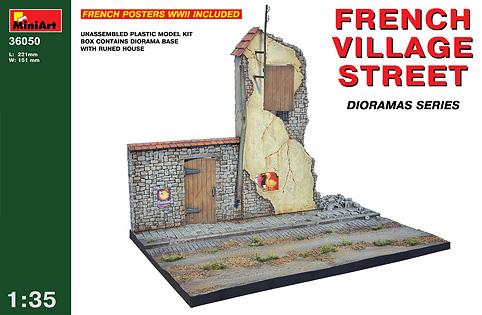
MiniArt is a Ukraine company that was established in 2001 and released their first kit in 2003. They have released many of these diorama series kits over the years.
Upon opening the box, you will find several vacuum formed sheets that make up the base and the structures, with a couple sprues of injection molded parts and sheet of posters. This has been the norm for MiniArt in their “Diorama Series” kits.
This was the first vacuum formed kit that I have ever worked on, so there was a learning curve for me. If you have never worked with a vacuum formed kit, this is a great starter kit for you to practice on. MiniArt also provides step by step instructions on how to assemble their kits at https://miniart-models.com/wp-content/uploads/2016/06/36050_instr.pdf
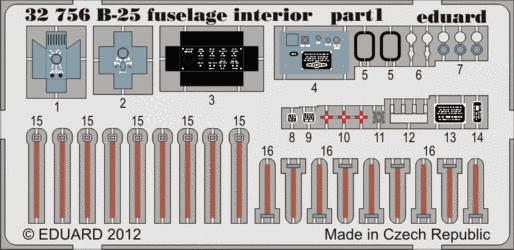
The set consists of three photo etch sheets. Two of these are unpainted brass color the other is pre- colored for you. You get parts to replace and also detail the upper turret and the rear gun position. Also included are parts to replace the front and rear entry hatches and ladders. Additionally, there are new shelves for the waist gunners’ ammo boxes and new ammo boxes to sit on them. The final parts are new gun barrels for the many machine guns (13 in all).
The instructions are quite adequate in explaining the bending and placement of the details. They also tell you what you have to remove on the existing parts so they will fit.
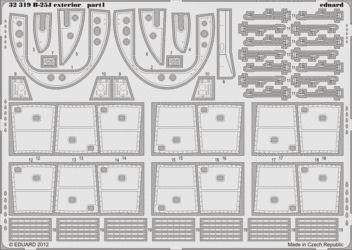
The set consists of two photo etch sheets, both unpainted brass. You get parts to add details to the main gear areas of the engine nacelles. These consist of new ribs and frames. Also included are details to enhance the already very detailed engines. There are parts to detail the inside of the engine cowling access doors and engine cooling doors. You also get framing detail for these access hatches.
The instructions are quite adequate in explaining bending and placing the details. They also tell you what you have to remove on the existing parts so they will fit.
The down side of these beautiful detail sets is that once the plane is completed, it is hard to see all the work you have done. But I know they are there and if you look real real close you can see them.
HIGHLY recommended. One should have experience working with photo etch and using ACC glues or epoxy.
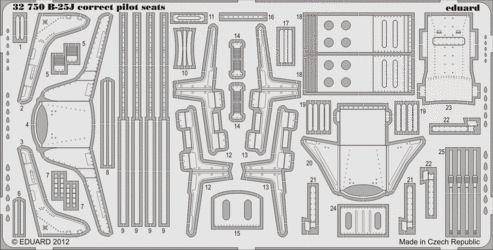
The set consists of one photo etch sheet in an unpainted brass color. You get parts to build complete new seats for the pilot and copilot. I thought the kit seats were nice, but these are really nice. Once completed and painted, they simply dropped in.
The instructions are quite adequate in explain the bending and placement of the photo etch parts. The seats really call out for the additional Eduard Seatbelt Set, 32746…which I would highly suggest getting.
The down side of these beautiful seats is that once the plane is completed, it is hard to see all the work you have done. If you do add the additional seat belts from Eduard, their placement and attachment are a little fuzzy and you will have to figure it out.
HIGHLY recommended. One should have experience working with photo etch and using ACC glues or epoxy.
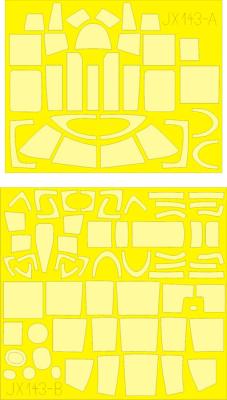
The set consists of two paper tape sheets. These are pre-cut to fit the clear parts on the Mitchell. If you were only going to buy one detail set for the B-25, this would be the one you would have to get. The masks are designed to fit each clear piece on the model. Once they’re applied, you can leave them on for the duration of the build and let them be the last thing to remove before showing off your masterpiece.
I used two of these sets to do my plane. You only get enough to do the outside of the clear parts and I wanted to show the framing on the inside, too. They are easy to apply and can very easy to line up. A little burnishing is all that is needed before your first coat of paint. Try not to go too heavy on the first coat; you might get some seepage under the masks.
The instructions are quite adequate in explain the placement of each mask. The downside of this beautiful masking set is you only get enough to do the outside.

