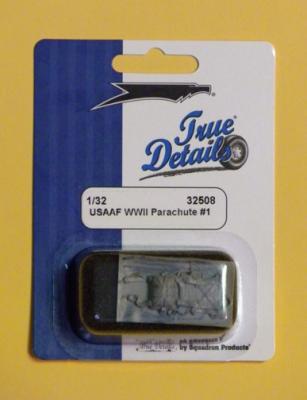
MMD-Squadron has released two unique detail parts in their True Details line that 1/32 scale model builders should find very useful. True Details USAAF WWII Parachute #1 (#32508) is a highly detailed 1/32 scale replica of a Type AN-6510 parachute that is casually posed as an aircrew chute would appear in pre or post-mission repose with integral pack (upturned), cushion, harness and intricate hardware. It is molded in gray resin on a very thin amount of resin molding scrap. This is a perfect accent for any 1930s-WWII US aircraft model. It is posed in the way parachutes were typically placed on the wings or stabilizers of fighter aircraft prior to a mission so pilots could quickly ‘suit up’ for a takeoff. This unique detail part is sculpted with an amazing amount of detail and is packaged on a blister card with a foam pad backing to protect the fragile features of the casting. No assembly is required.
What's New
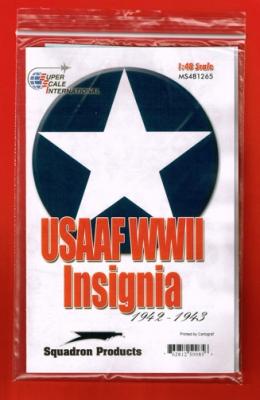
This 1/48 scale decal sheet provides multiple sizes of the type of US Army Air Force national insignia specified for application to aircraft from May 1942 to June 1943. The insignia consisted of a white star on an insignia blue disk. The set includes 41 separate decals sized to scale diameters for 25”, 30”, 35”, 36”, 40”, 45”, 50” and 60” insignias, making them useful for most aircraft in service during that time period.
These decals are manufactured for Squadron by Cartograf. They are crisply printed on thin film. The decals release easily from their paper backing after immersion in warm water for 15 - 20 seconds and should then be applied to a glossy painted surface that has been pre-moistened to allow repositioning. They will respond well to most decal setting solutions (but the solution should not be allowed to puddle on decal or surrounding surface for very long).
I would like to thank Master Model for this review sample.
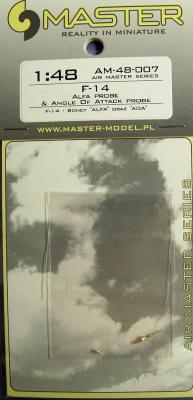
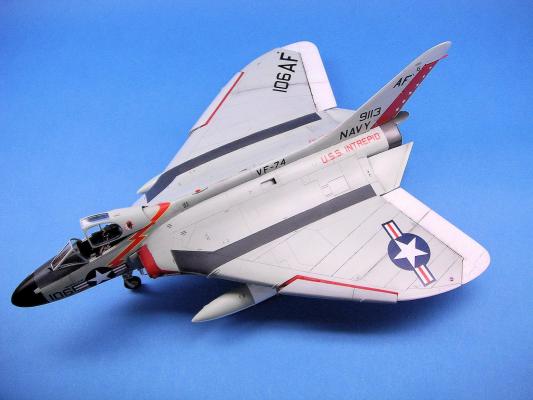
Master Model has been literally “turning” out numerous metal details for the model maker. This latest offering is the Alpha Probe and angle of attack probe for the F-14 in 1/48. The alpha probe is the pitot at the forward end of the radome. For a model this is a very vulnerable place and no doubt, like me, you have managed to bend or snap off the plastic one provided in the kit. Quite frankly, they never look as crisp as the real thing and once the mold seam is removed can be a bit oblong in cross section. The angle of attack probe is the pointy short probe on the left side of the F-14 below and forward of the cockpit. On the Hasegawa kit it is molded with the fuselage. I managed to snap mine off while assembling the model. It is not an easy thing to replicate.
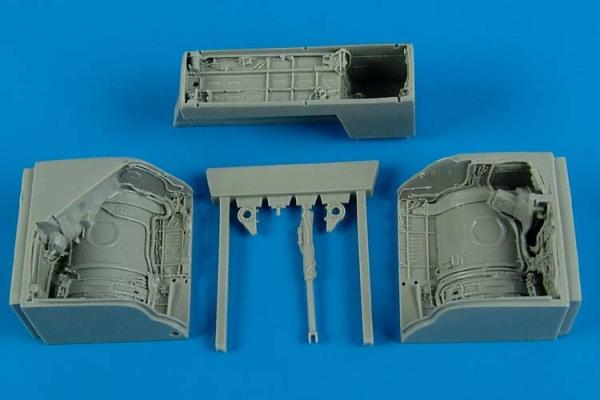
The Trumpeter Mig-23M and MF kits in 1/48 finally give the modeler an alternative to the Esci Mig-23/27 family of kits. While it has its own issues, the Trumpeter kit renders the other one obsolete. One problem with the Trumpeter kit are the main wheel wells. Trumpeter’s wells are under detailed and worse yet are symmetrical from port to starboard. This is not the case with the Mig-23; the wheel wells are quite different from one side to the other. Aires has crafted a solution!
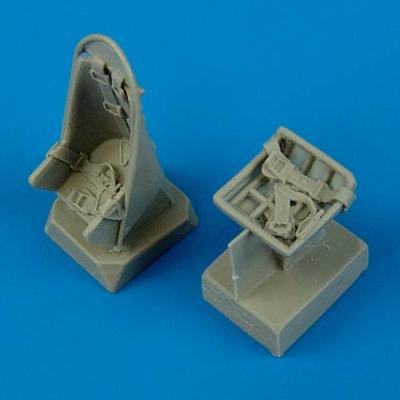
Hasegawa's 1/48th scale kit of the Stuka is a gem with great fit and detail and there are several aftermarket parts available for it. One thing that is lacking in the basic kit is seats with belts. Quickboost latest issue has that covered and is a two piece set with the pilots seats and gunners seat as separate parts. The parts are Quickboost's excellent, bubble and flash free gray resin. To use the parts is simple, cut the mold block off of each and sand.
I want to address the two parts individually. The attached photos of the pilot seat show the enormous improvement that the Quickboost seat is with its corrected shape, seat belts and much finer detail. in a word, the kit part is wrong and Quickboost fixes it in spades.
The gunners seat has the seat belts and the open structure. When compared to the kit seat (which I have already added PE seat belts too), the parts are pretty close for either. The Quickboost parts does have the belts so a slight edge to it.
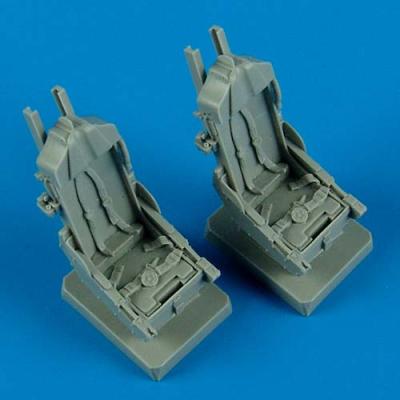
AFV surprised a lot of people with a aircraft release as they normally do military vehicles. The f-5E/F series us superb and has all the needed detail for a great build. As with a lot of kits, the one thing they have trouble replicating is the ejection seat. Quickboost to the rescue with two sets of seats. one is for the single seat F-5e and one set for the two seat F-5F. The seats are the same in both sets which is why I combined the review. The casting quality is all the we have come to expect with no flash, zero bubbles and that nice firm dark gray resin.
The comparison in the photo of the kit seat versus the Quickboost show just how much better the Quickboost seat is and it includes all the belts. The addition to the kit is simple, cut of the casting block, paint the seat and install it. Also shown in the pictures is a shot of the Quickboost seat in the cockpit of the kit- fit is perfect.
History
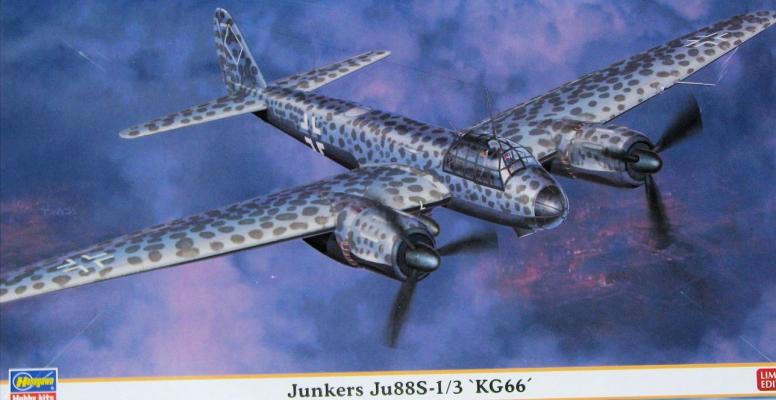
The Ju88 was first flown in 1936 and remained in production until the end of the war (or as factories were overrun). Probably the most versatile aircraft flown by the Luftwaffe in WWII as it was used as a level bomber, dive bomber, torpedo bomber, reconnaissance, photo reconnaissance, day fighter, night fighter, pathfinder, pilotless missiles… (You get the picture). The Ju 88S version was developed to be a high speed, low drag bomber. Due to increasing armor and armament, the idea of a ‘Schnellbomber’ that could evade or make interception a tough thing to do was becoming a problem for the Ju 88s by the summer of 1942. The S version used an A-4 airframe as a starting point that was aerodynamically refined and was first flown in 1942. The refinements included deletion of the ventral gondola, a smoothly rounded Plexiglas nose and reducing the armoring. Also the defensive armament was reduced to 1 MG 131 firing aft.
After Dave Morrissette performed his construction magic, he returned the subject to me for paint, decals and find assembly. I cannot say enough about the quality of this kit and it’s all there. The only items used other than kit supplied were “Remove Before Flight” ribbons and intake covers.
As to paint, I wet sanded the entire model with 600 wet sand paper followed by Alclad II grey primer with microfillers. I was concerned that the primer might fill the exquisitely engraved panel lines, but not so. They took a brown/grey acrylic wash perfectly. The underside white used was Tamiya gloss white, decanted and sprayed through a Paasche “H” model airbrush at 12 lbs pressure. This dries quickly to a high gloss in about 30 to 45 minutes. The light gull grey used on the topside was Floquil S.P. Lettering Grey, a perfect match for the Gull Grey.
History
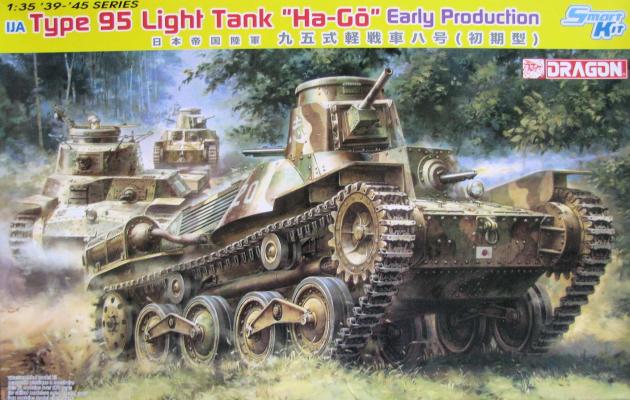
Production for the Type 95 began in 1936, and was first introduced in combat in 1937. The type 95 was a small, light tank weighing in at 7 tons and having a crew of 3. It was armed with a 37mm main gun augmented by 2 Type 97 light machine guns. The early version was powered by an 110hp Mitsubishi diesel engine for a top speed of 25mph (road) and was later replaced by a 120hp Mitsubishi NVD 6120 diesel that brought the speed up to 28mph. The Type 95 was obsolete by 1941 but soldiered on till the end of the war being used mainly in banzai charges or dug in as pill boxes. It was a good tank in the 30s but should have been replaced by 1941. There are at least 11 Type 95 survivors in the world today with 1 that is operational.
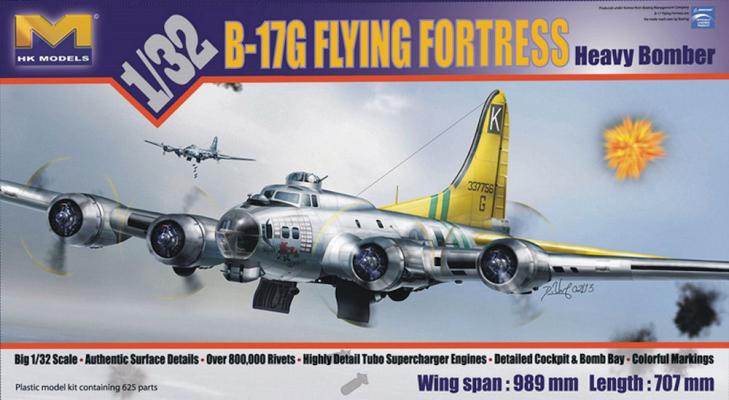
Thank you to Mr. Neil Yan of HK Models and the IPMS Reviewer Corps for the opportunity to review a wonderful new model release in large-scale aircraft. This final installment will describe the surprisingly quick last steps, and my thoughts and conclusions about this great kit.

