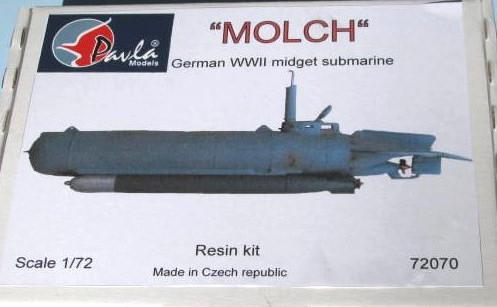
The “Molch” (German for "Salamander" or "Newt") was the first midget submarine developed by the Kriegsmarine, with the intention being a single person manned delivery vehicle for a pair of torpedoes. The first Molch was delivered on 12 June 1944, and AG Weser in Bremen would build nearly four hundred (depending on the reference, the number varies from 363 to 393). The electric propulsion system was designed for coastal operations, providing a range of 40 miles at a submerged speed of 5 knots. The complicated trim and dive controls made combat operations hazardous at best for the submariners, and the boats were later relegated to train submariners for using the follow-on, more advanced mini-subs.
What's New
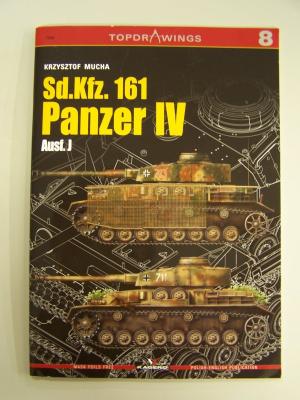
Kagero has come up with another winner if you’re a Panzer IV nut, like I am. The book is soft cover with heavy stock and full color art on the front and back covers. This book covers the Panzer IV J. The strength of the book isn’t the text, unless you read Polish. The 1/35 scale drawings are beautiful, showing all the angles of the tank, in all twenty seven pages. The drawings do have some text in English, so you know what variant you’re looking at. The reader does know which production version is being represented. Included are exploded drawings of the different muffler systems, return rollers, idler wheels, road wheel assemblies, treads, muzzle brakes, cupolas, and armor skirts. There are also four pages of 1/48 and 1/72 scale drawings. Thirty one pages in all. Add to this four pages of full color prints, with two tanks on each page.
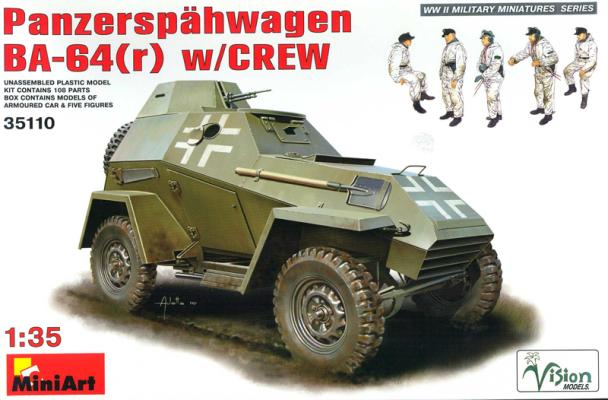
This kit is a re-box of the Vision model 35002 WWII Russian BA-64 Armored Car with new decals to depict a captured armored car in German service. Plus the addition of a MiniArt figure set that calls them the “crew”.
Looking over the figures, they had very minimal flash, and no ejection pin marks. What mold lines that were there were easily removed with a sharp blade. There are no decals provided and the painting instructions are for Vallejo only. You will need to refer to what you see in the illustration or any references that you may have access to. There is not even any part numbers on the sprue, just a picture on the back of the box with the numbers listed next to the part.
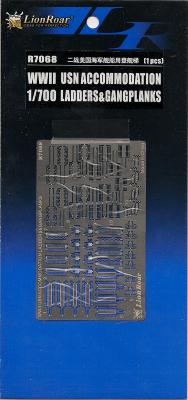
I was intrigued by the title of this PE set when I was notified by John Noack of its availability and was very excited when it arrived. You would think that a set titled “WWII USN Accommodation Ladders and Gangplanks” would not stir the imagination, after all accommodation ladders are available in other sets. But I have never seen gangplanks offered anywhere. It is a subject often neglected by PE manufacturers – “how do you get on and off a ship.” Well, this PE set is the answer.
There is a lot of detail and options packed into this small set:
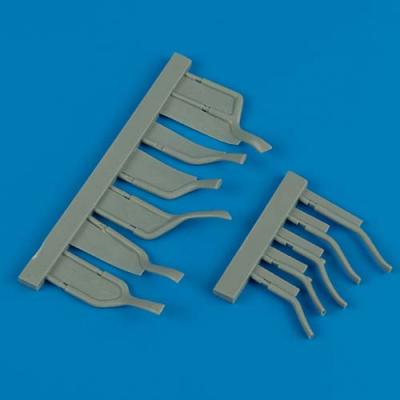
The latest release from Quick Boost is a complete set of resin exhaust tubes for the 1/32 scale A6M5 Tamiya kit. Once again the quality of the molding is flawless, no bubbles, or pin holes and the only flash is between pipes where there are more than one. I strongly suspect this is intentional for added strength while being shipped and handled. The resin is the light blond color we have become accustomed to. And of course the ends of the pipes are hollow.
As can be seen in the photos of the packaging, each pipe is numbered and each number is referenced to the Tamiya part number that the part replaces.
If you have or anticipate getting a Tamiya 1/32 A6M5, you will want these exhausts to enhance the detail of the kit engine.
I can highly recommend this set.
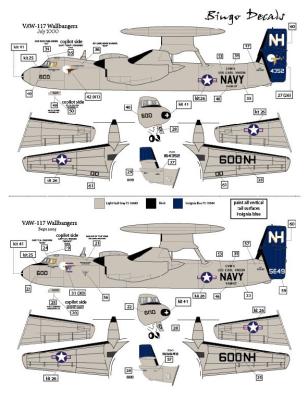
On the heels of their earlier releases, Bingo Decals has released an all new sheet that includes selected markings from VAW-120 “Greyhawks” and VAW 117 "Wallbangers".
Printed by Micro Scale, these are of the same excellent quality as those previously reviewed on this site. This particular sheet contains markings for 5 aircraft and 2 of them are the “salad shooter” style prop blades. They come nicely packaged in a large see through envelope and are exceptionally well done. I couldn’t help but notice that the pricing of the sheets with respect to the size and complexity vary. Still, in all, they are well worth the price of admission.
Most highly recommended.
Many thanks to Steve Ognibene of Bingo Decals for the review samples.
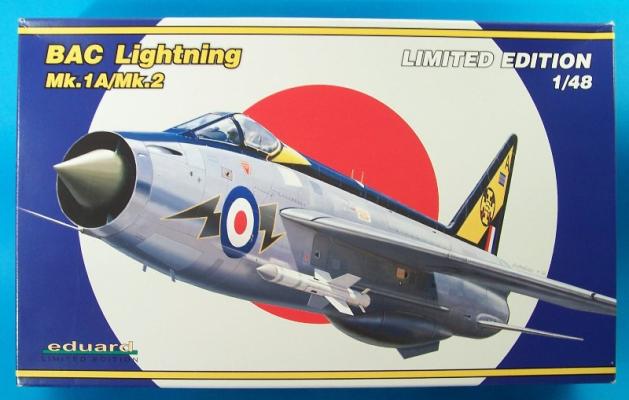
The BAC Lightning was Britain’s first and last supersonic interceptor. This Mach 2 jet was in service for nearly 30 years with its retirement in 1988. The Lightning’s clean lines and unique over and under engine arrangement make it a must have for any modern jet collection.
Eduard’s new kit of the Lightning is from their Limited Edition series and contains essentially EVERYTHING the modeler needs to build a stunning replica right from the box. All that the would-be 1/48 Lightning builder needs to add is paint, glue, and time.
Striking box art adorns the sturdy and rather tight opening box, an Eduard hallmark. Cracking the lid open reveals (8) sprue trees, (1) large decal sheet, (2) photo etch frets, (1) canopy Mask, and a nice resin seat from their new Brassin line. A multi lingual instruction sheet and a fold out full color painting guide are provided, offering the modeler a choice of (4) paint schemes.
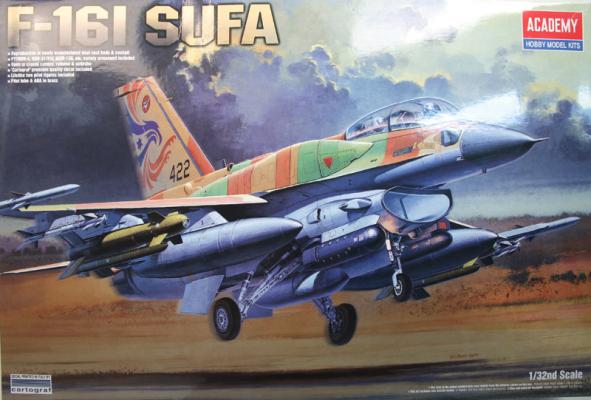
Modelers rejoice! Finally, a 2-seat F-16 in 1/32nd scale! Academy comes to the table with an F-16I Sufa. The Sufa (Storm) is the Israeli Air Forces advanced tactical aircraft based on the Block 52 F-16’s. Visual differences between standard F-16’s and the Sufa include the addition of avionics in an enhanced spine and conformal fuel tanks.
On to the kit. Many of the kits parts are shared with Academy’s first release. I know some modelers had issues with the cockpit/coaming and nose on the first kit and Academy has listened and addressed those issues.
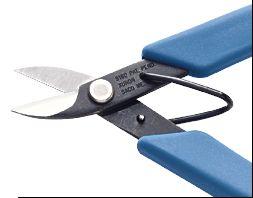
Let me start out by saying that I am a photo etch (PE) addict. Yes, that’s right - if there’s a model I’m preparing to build and there’s any type of PE available for it, I will buy it and I will use it. I just can’t seem to help it. OK, I feel better getting that off of my chest. I just love PE detail parts and what they do for the scale appearance of my models. However, I have always struggled with removal of the parts from the frets, not only in making a clean cut, but in not damaging or bending the PE part being removed. I’ve tried about every PE part removal technique known to model-building man (or woman) and have never been totally happy with any of them. So when given the opportunity to review this new PE scissor from Xuron, I jumped at the chance.

