
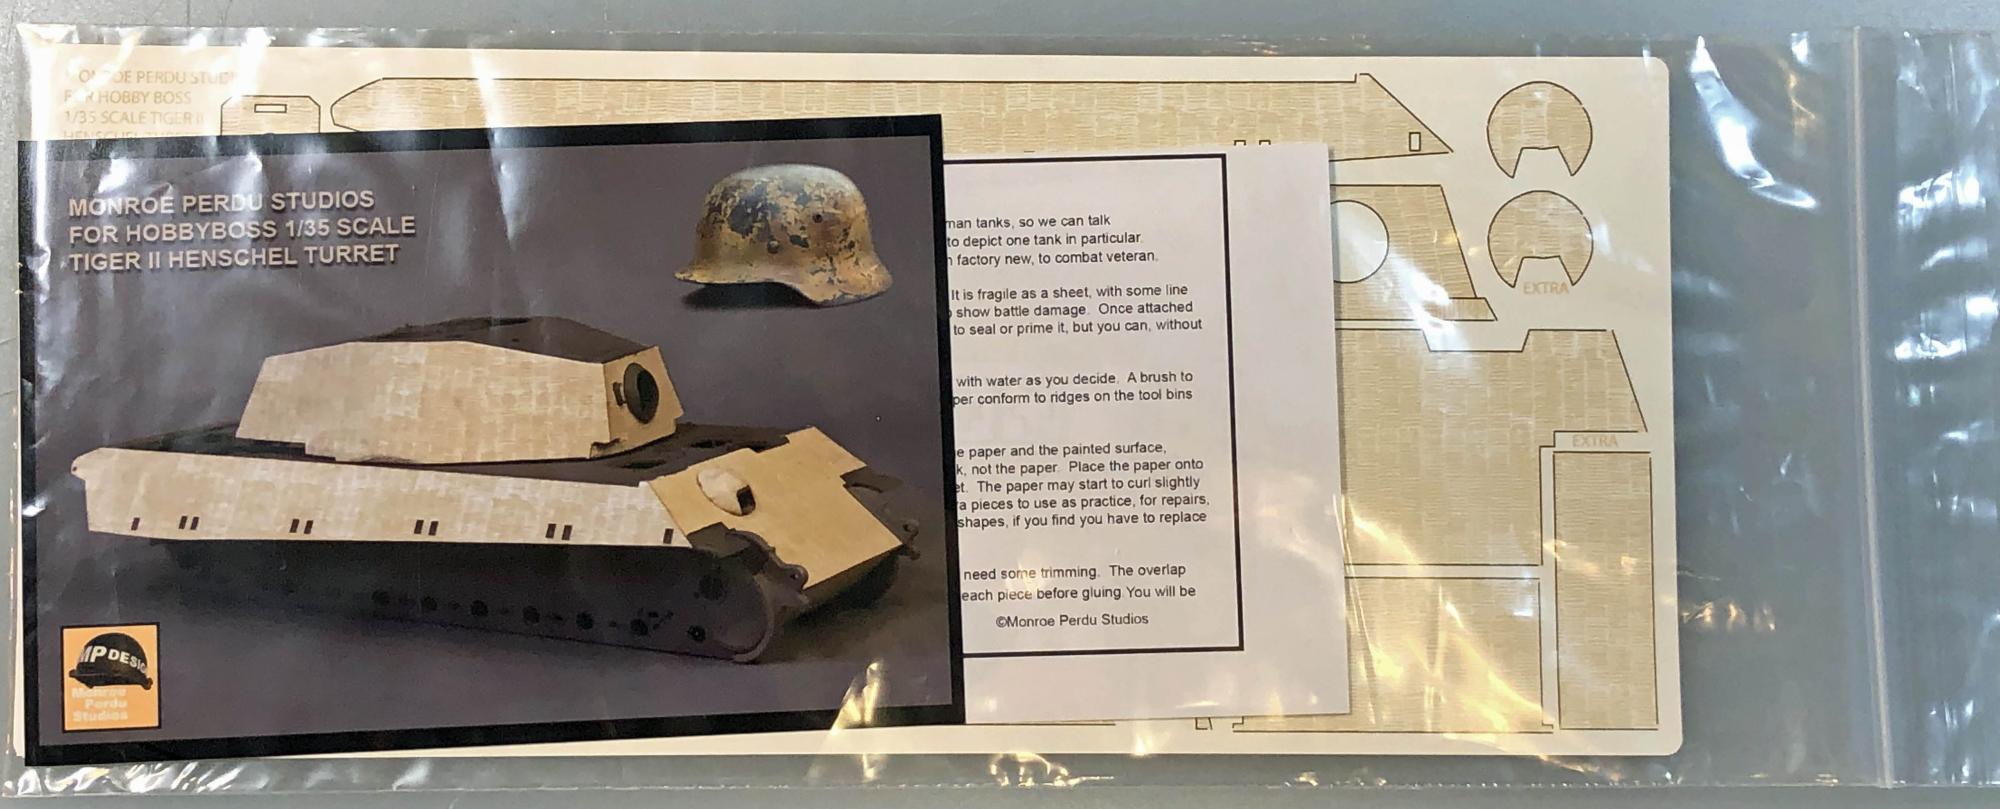
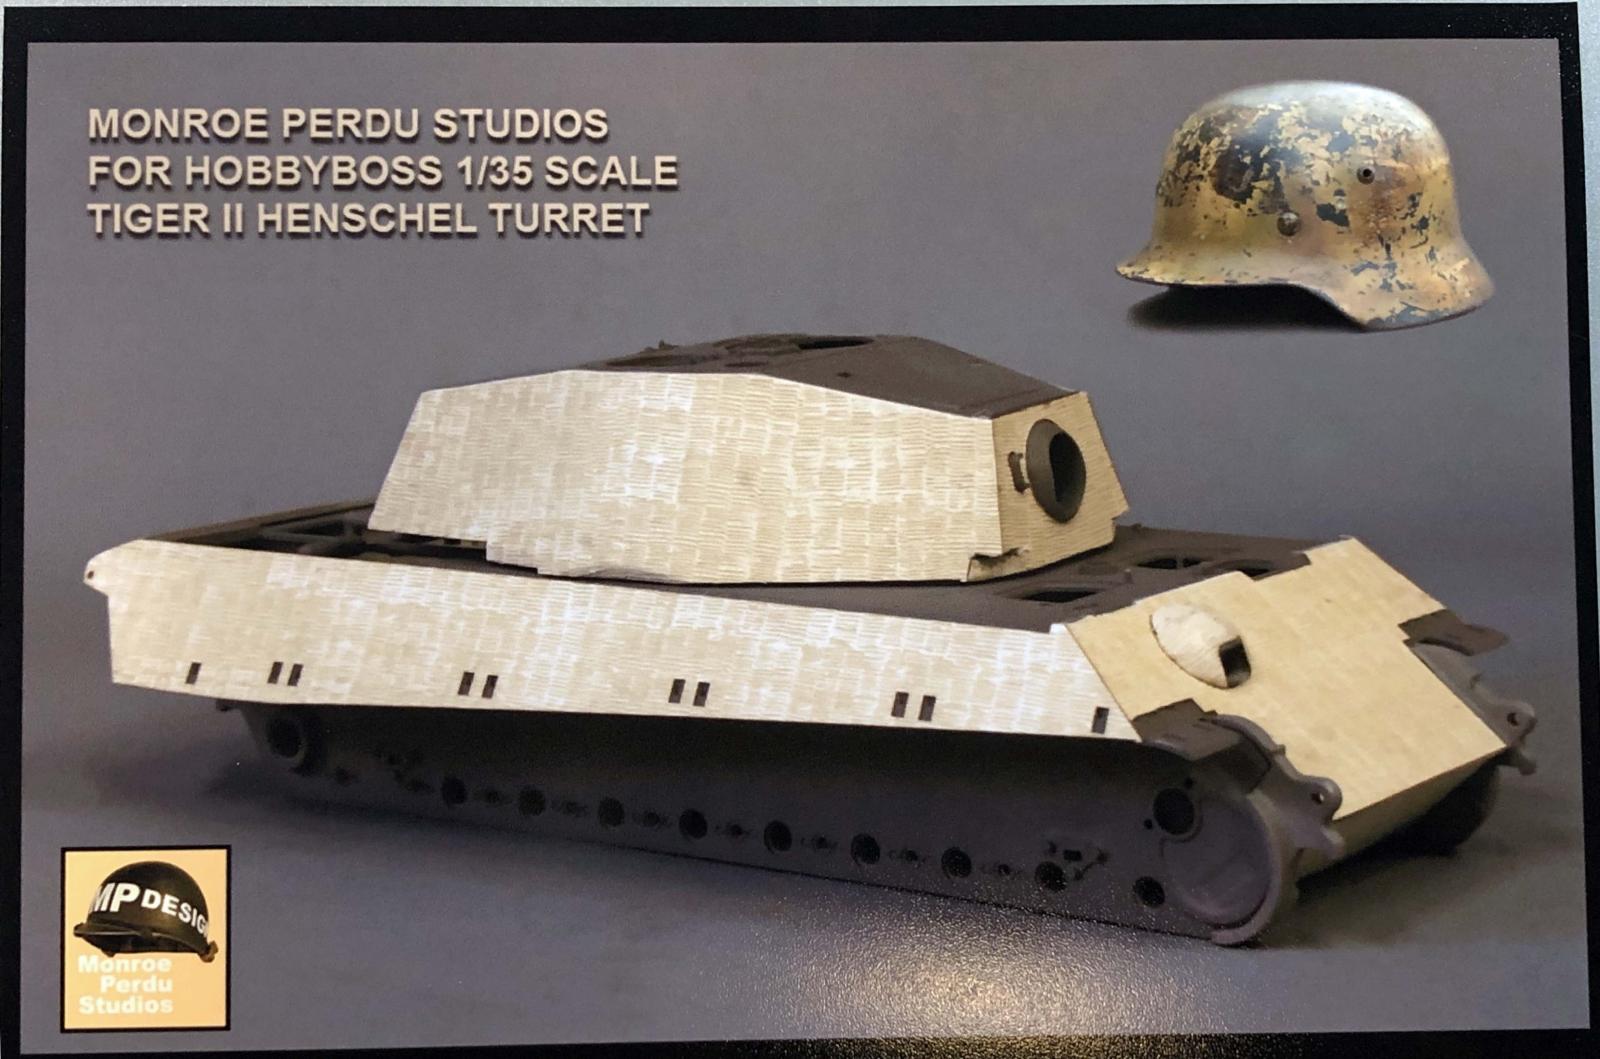
Zimmerit Set for Tiger II Henschel Turret
Perusing the website of Monroe Purdue Studios (MPS), out of Simi Valley CA, will uncover a variety of unusual modeling products, including a growing set of very affordable laser-cut wood and paper Zimmerit sets, among a lot of other interesting items. Visiting their booth at the 2021 Las Vegas IPMS Nationals, I looked at a dozen or so build-ups in various stages of completion, demonstrating the uniqueness of their products. I came home with two sets; one a complete zimmerit set for the 1/35th scale HobbyBoss King Tiger II (the subject of this review), and a 1/35th scale laser-cut wood set for cases of wine (the subject of a separate IPMS review).
Description
The set for the King Tiger is purpose-designed for the HobbyBoss (Henschel Turret) kit, but also closely fits the Tamiya kit as well, parts of which I used for this review since I do not own the HobbyBoss offering.
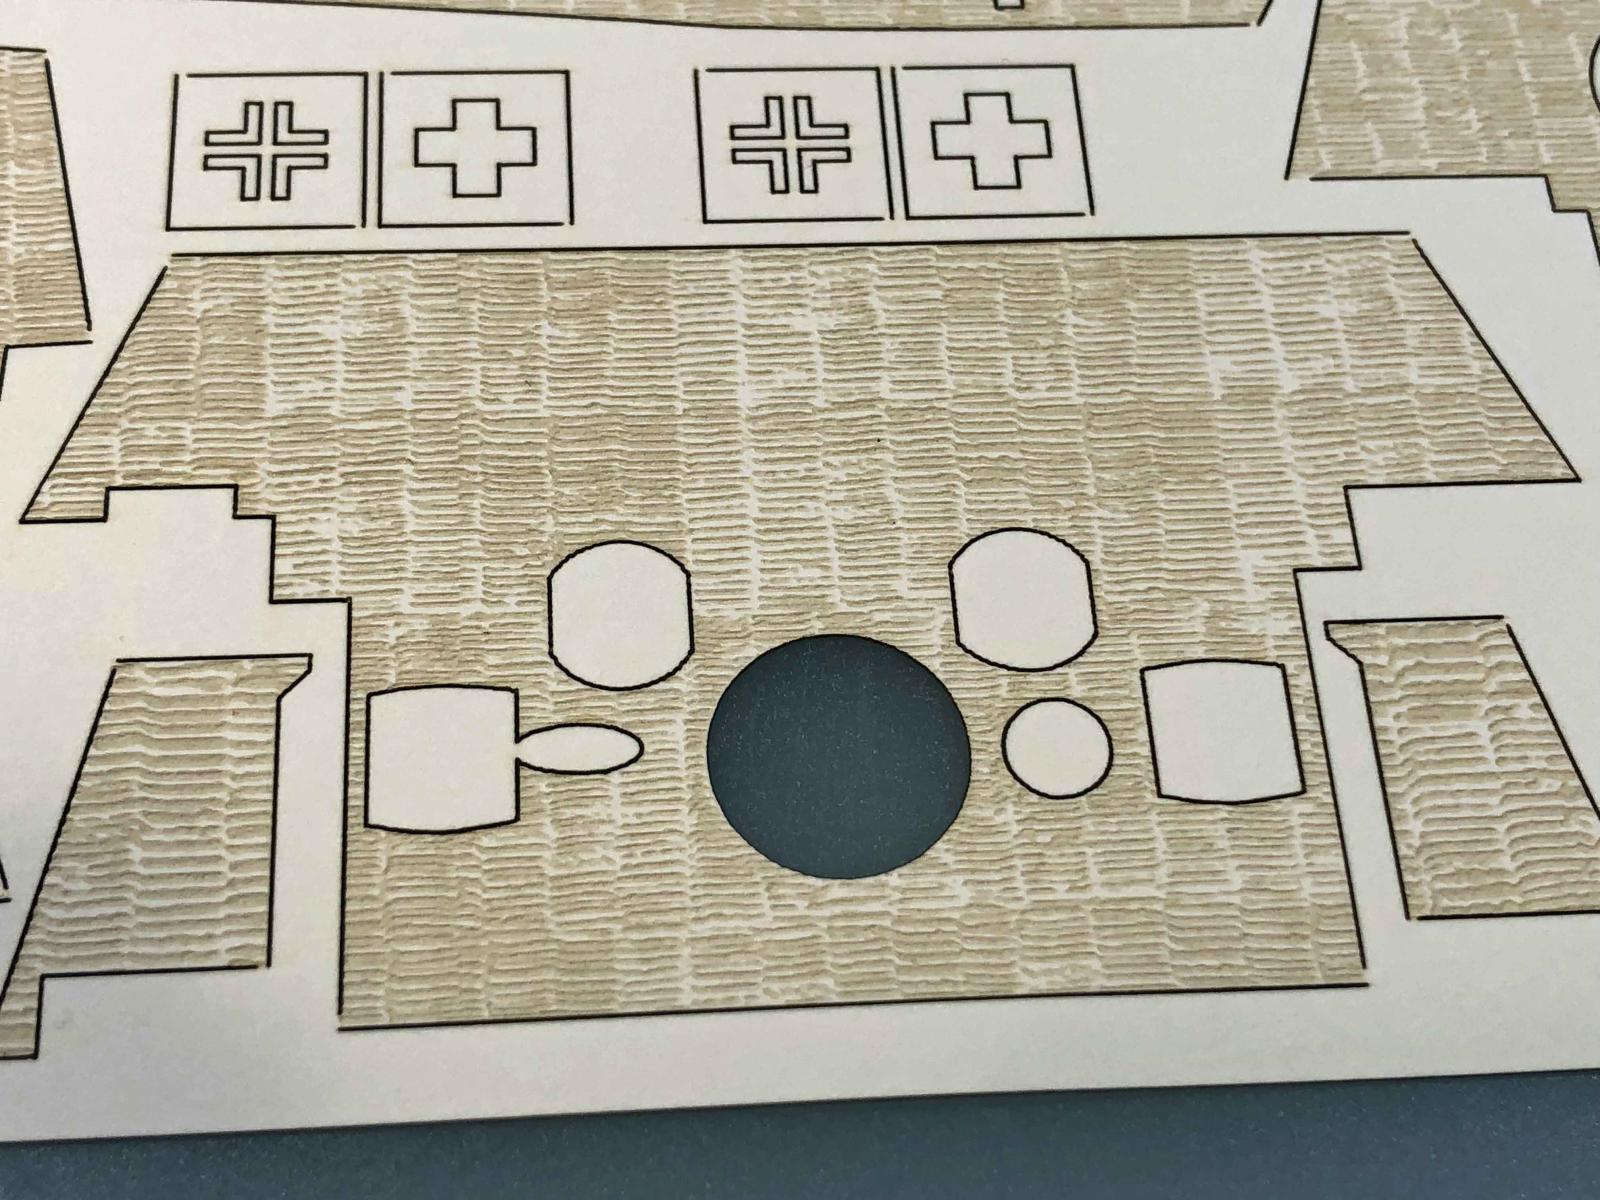
The product comes on a single, laser-cut ‘paper’ sheet that is very thin yet somehow stiff enough to hold its shape. Think of something in-between the floppy latex zimmerit and stiffer photo-etch/metal zimmerit offered by other manufacturers. Each piece has just a few tiny ‘nubs’ that connect it to the overall sheet, much like photo-etch. For example, the long, single-piece side panel of the Tiger has only four tiny nubs to push your hobby knife through to release the piece – very nice.
Application
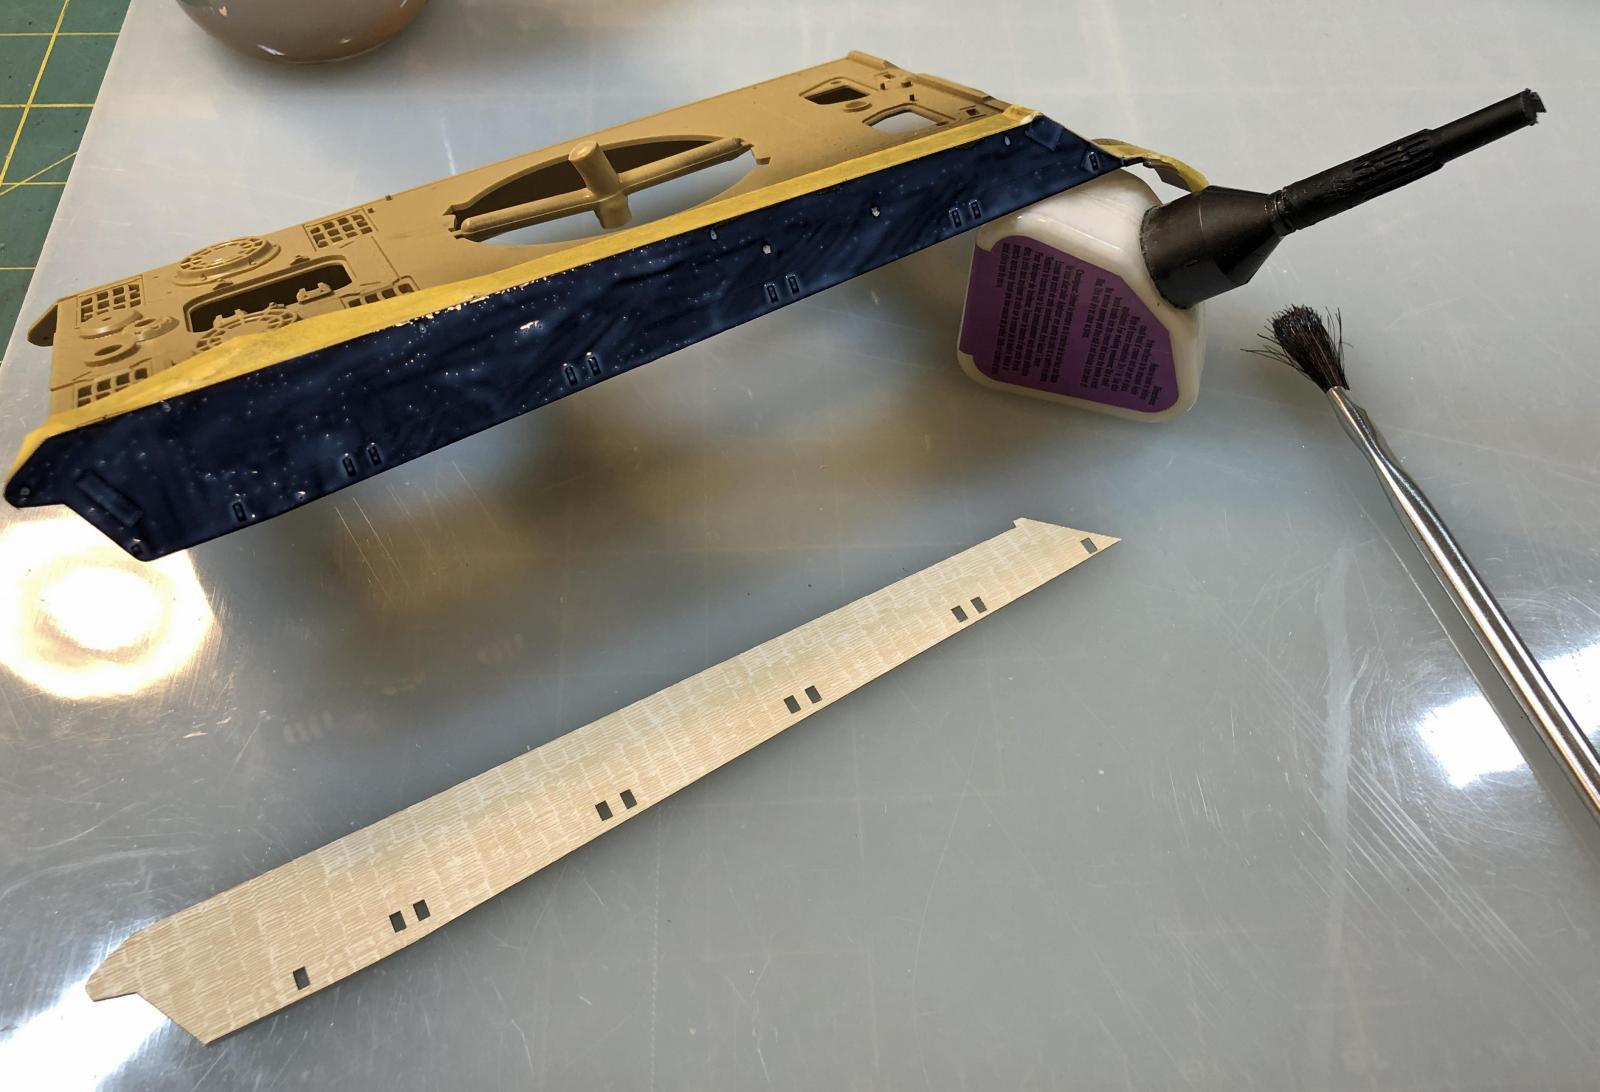
MPS suggests that the zimmerit be applied with a white glue over primer as it will not adhere well to bare plastic. The glue is applied with a brush to the primed plastic, not to the zimmerit. Once pushed down into the glue, you have some time to adjust things before the product starts to cure. Once cured, it is set and will take all types of paint and weathering products.
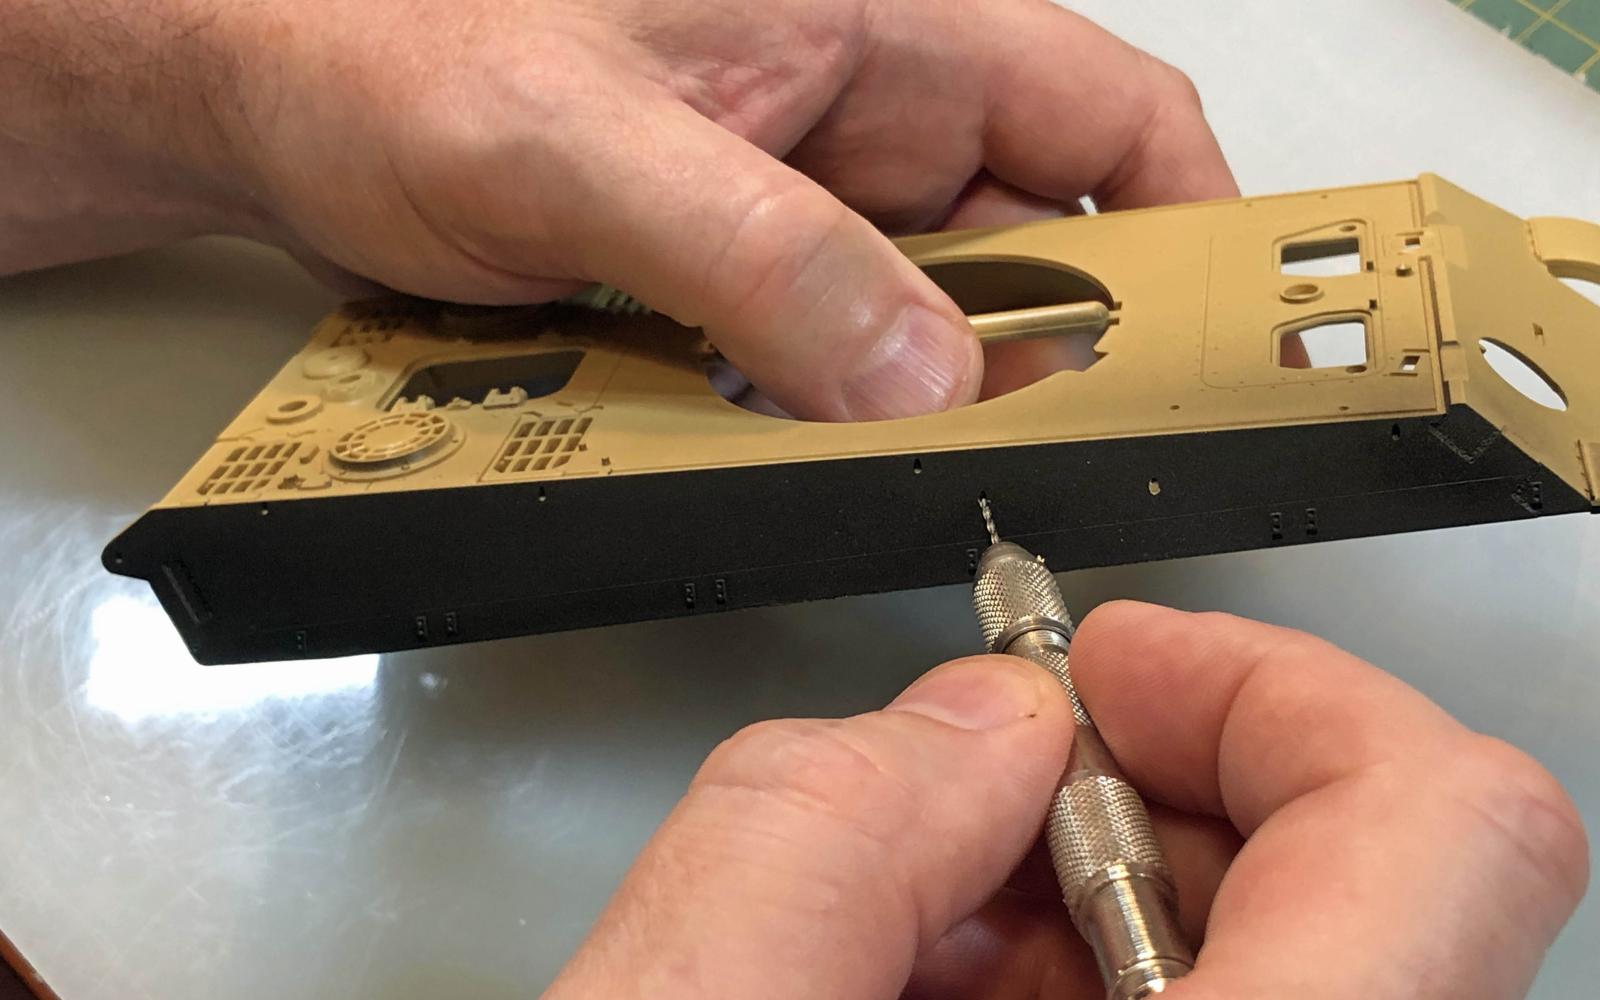
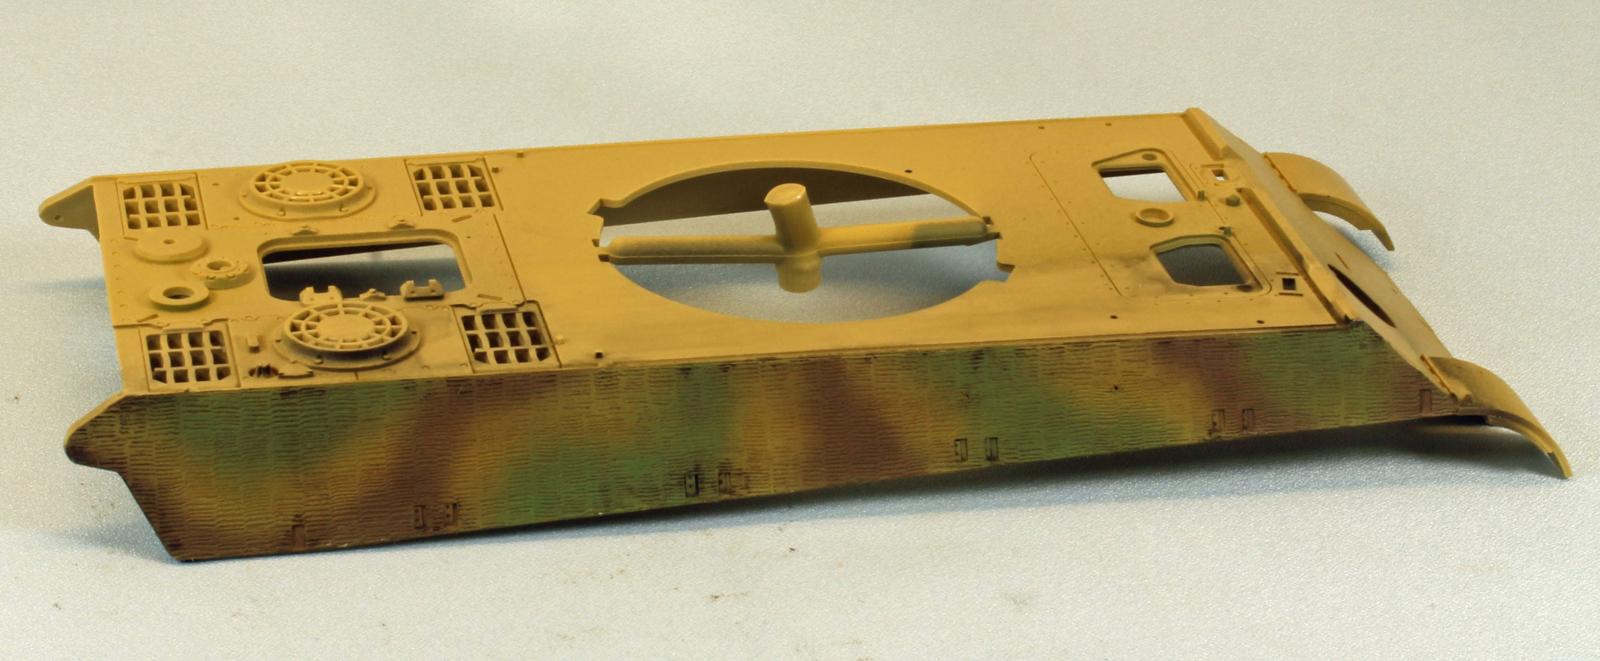
I started by marking the various holes and attachment points on the hull side with a drill, so once the zimmerit was set I would re-open what I needed from the inside of the hull (see image). Once that was done, I laid down a coat of my go-to primer for small projects, un-thinned Alclad II (lacquer) ALC309 Black Primer and Microfiller. The lacquer adds ‘bite’ to the plastic surface and burns through any mold release agents and oils.
MPS suggests any kind of white (PVA) glue, so I used Testor’s Clear Part Cement and Window Maker, a thin, white glue used for aircraft canopies. The key here is to create a thin coverage over the entire surface, thin enough to help minimize any glue from squeezing out of the sides, which can be cleaned up with a damp cloth or paper towel.
Once the zimmerit is down it can be adjusted until placed right where you want it. MPS doesn’t provide any specific drying time, so I followed the instructions for the brand of glue I was using (1 hour).
After drying, I carefully opened the holes I had drilled before, and used a scalpel to shave off a tiny amount of overhanging zimmerit along the bottom edge. Once satisfied, I painted the hull side following my typical late-war German camouflage and weathering routine. This would show me if the zimmerit pattern would survive the layers of product typical in (my) building process.
Products used, in the order given:
- Lacquers: Alclad II (lacquer) ALC309 Black Primer and Microfiller along the edges and panel lines.
- Acrylic-Lacquers: Tamiya German Yellow, followed by AK Interactive RC47 OliveGreen and RC68 RedBrown, followed by a dusting of Tamiya XF-57 Buff.
- Oils and distillate thinners: A filter of Mig Wash Brown, thinned with Mona Lisa White Spirit.
- Acrylics: A glossy coat of Pledge floor product (Future) for decaling and washes.
- Enamels, Linseed-free Oils and distillate thinners: Layers of Mig enamel washes and Mig ‘Oil Brushers’, stumped with Mona Lisa.
- Acrylics again: A final coat of Vallejo Matt Varnish.
Results
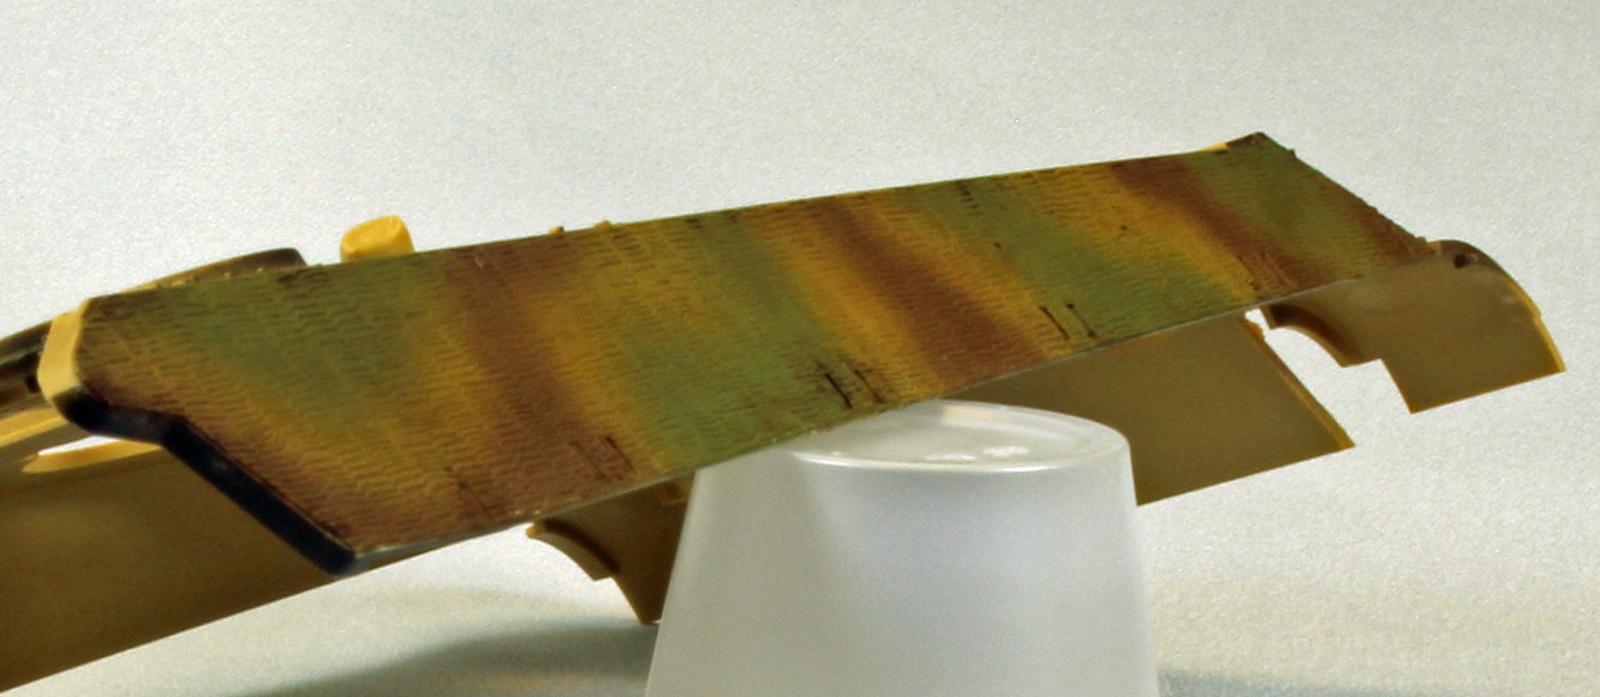
I was pleasantly surprised to see that the thin paper zimmerit physically held up to multiple layers of various products, and the light zimmerit pattern held through as well.
Conclusion
I really like these MPS products; simple to use, affordable, and they can turn your good ‘eh’ model into a nice build if you take your time and go easy on the glue. The zimmerit pattern itself is very light, but it takes a wash well, and it is probably more in scale with the real thing than many of the other zimmerit products on the market, most of which are over-scale.
I would like to thank the good folks at Monroe Purdue Studios for providing this product for review, and to IPMS USAfor giving me the opportunity to review it.


Reviewer Bio
Eric Christianson

Eric Christianson is a father to two boys (Reed and Dean), the President of the Seattle Chapter of IPMS, and a long-time Little League umpire. He is also a devoted husband and companion to a wonderful woman named Jackie who enthusiastically supports his passions. Recently retired as a programmer, his home office has been scratch-built into ‘a perfect model room’. Modeling since he was a boy, Eric mostly builds armor these days, but still dabbles in 1/32nd aircraft and other types of models from time to time. He also enjoys presenting seminars on weathering and technique at local shows. Many of Eric’s kit reviews can be found on the IPMS USA website.
Comments
Add new comment
This site is protected by reCAPTCHA and the Google Privacy Policy and Terms of Service apply.
Similar Reviews