
The World's 1st Automobile
Today, we take the ever-present automobile for granted, but as with all things, it too started with a vision and a pioneering inventor. As the legend has it, in 1885 Karl Benz produced the prototype of Benz Patent Motorwagen is widely recognized as the world’s first practical automobile. Patented in 1886, it was demonstrated on July 3, receiving enormous attention. He continued making improvements for years until his wife, Bertha, decided to take matters into her own hands, loaded up the kids and hijacked the car to prove the car’s practicality by driving to a nearby town. That demo was the foundation of the global automotive industry.
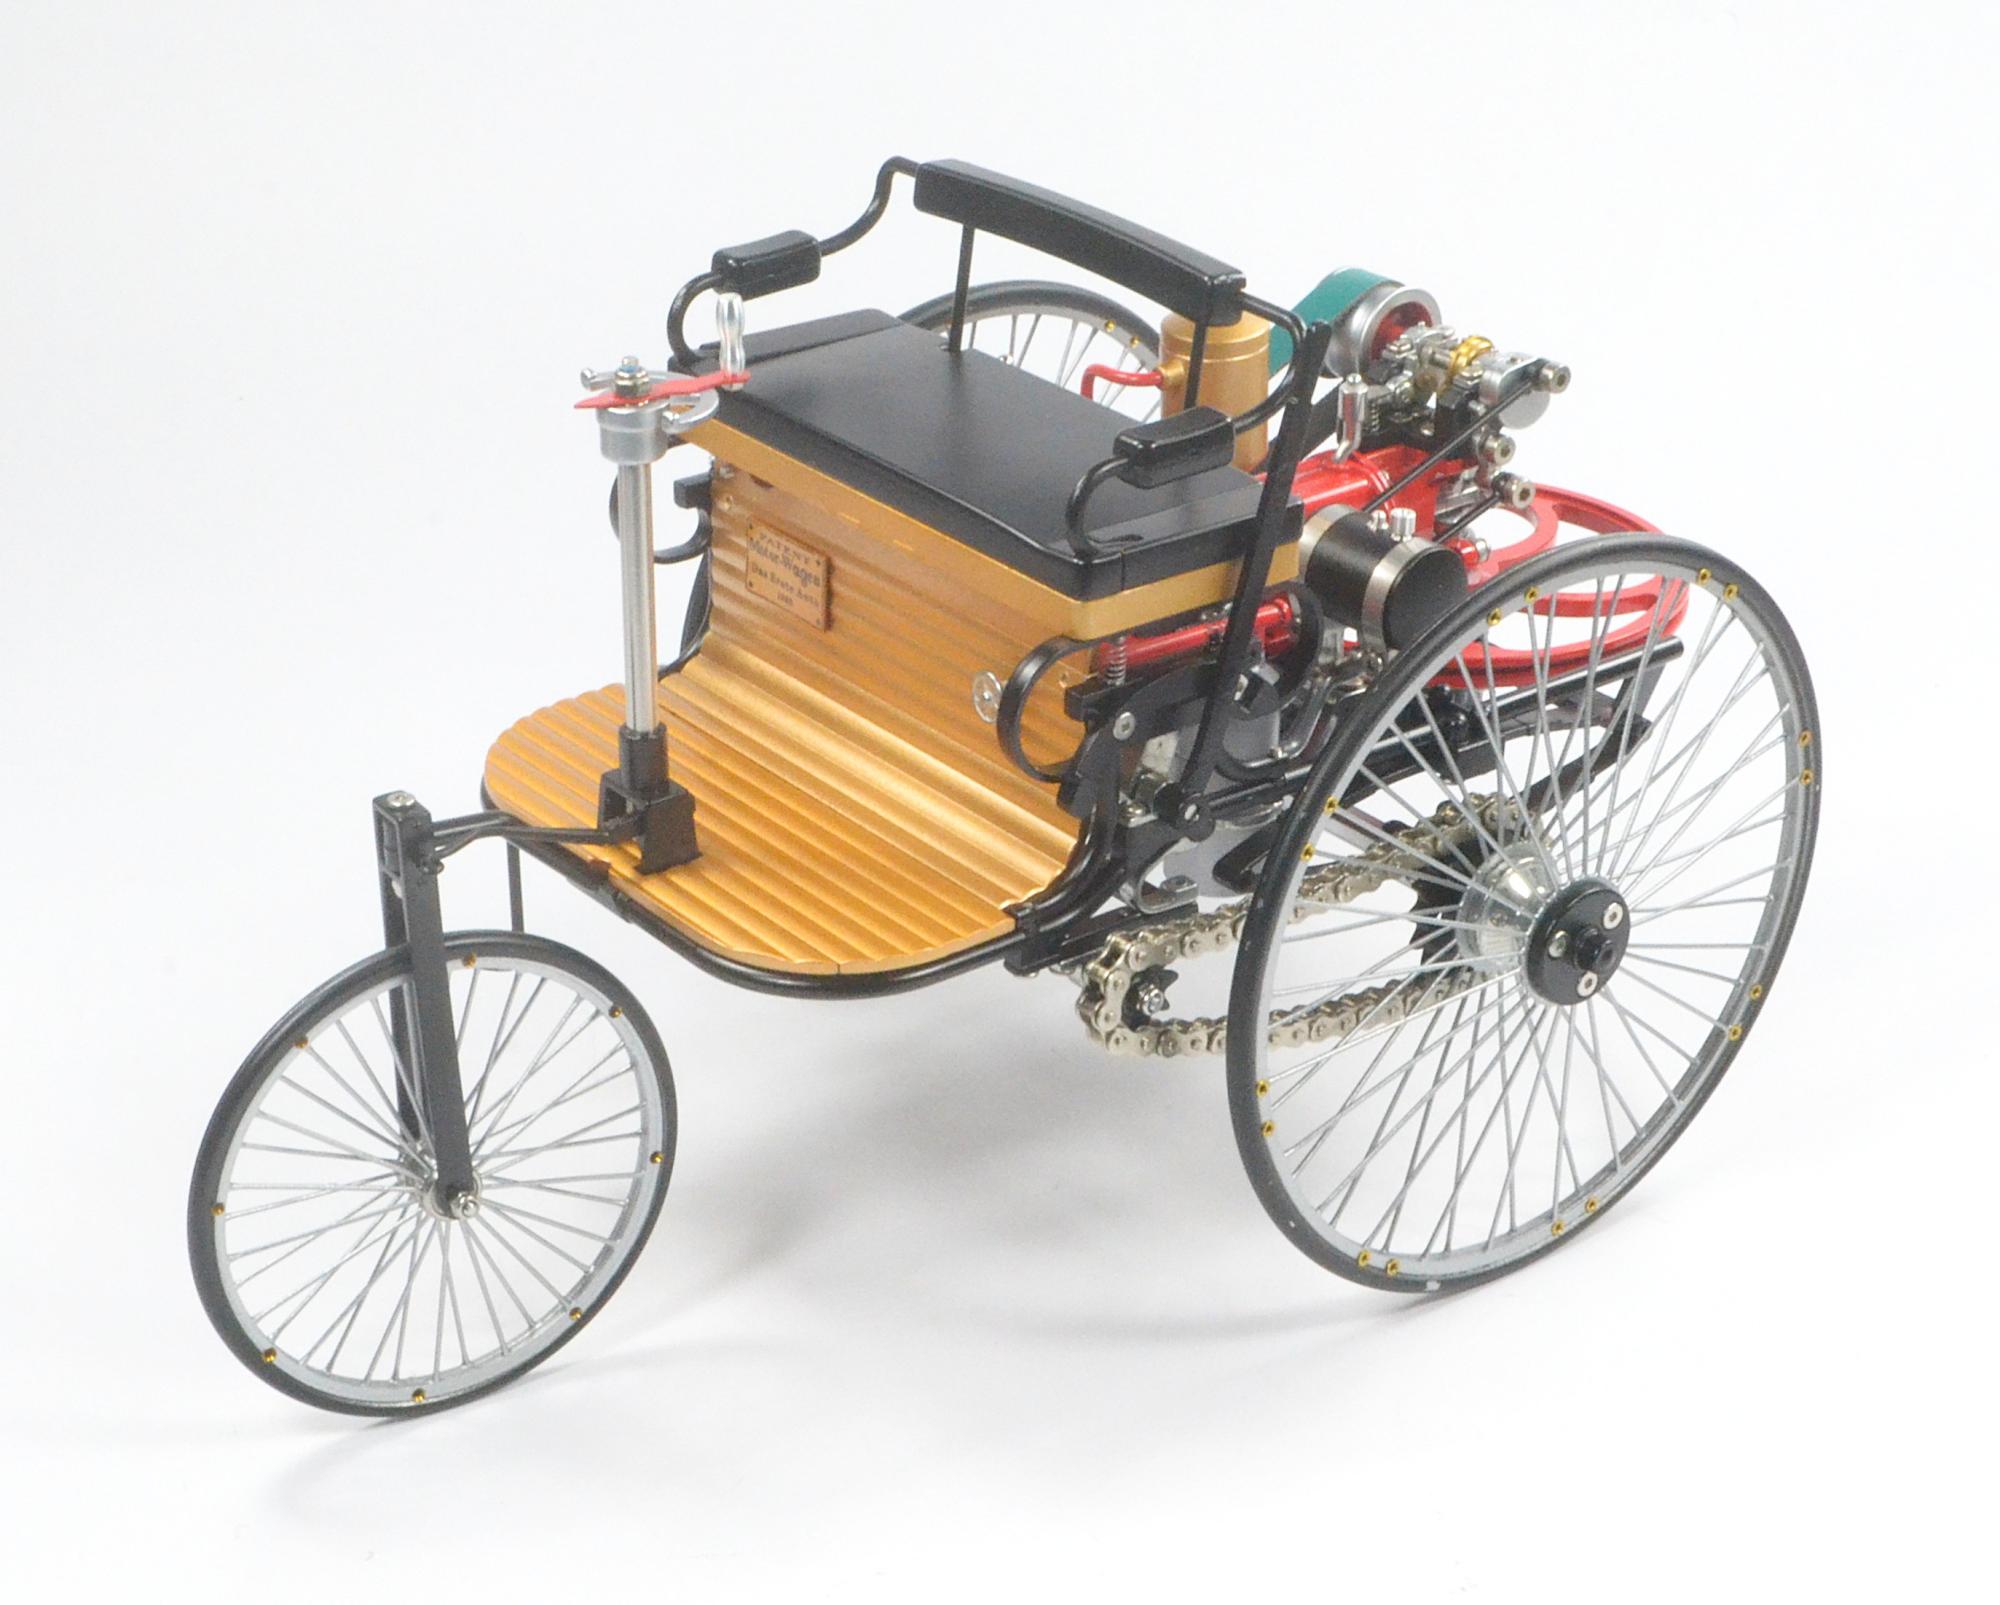
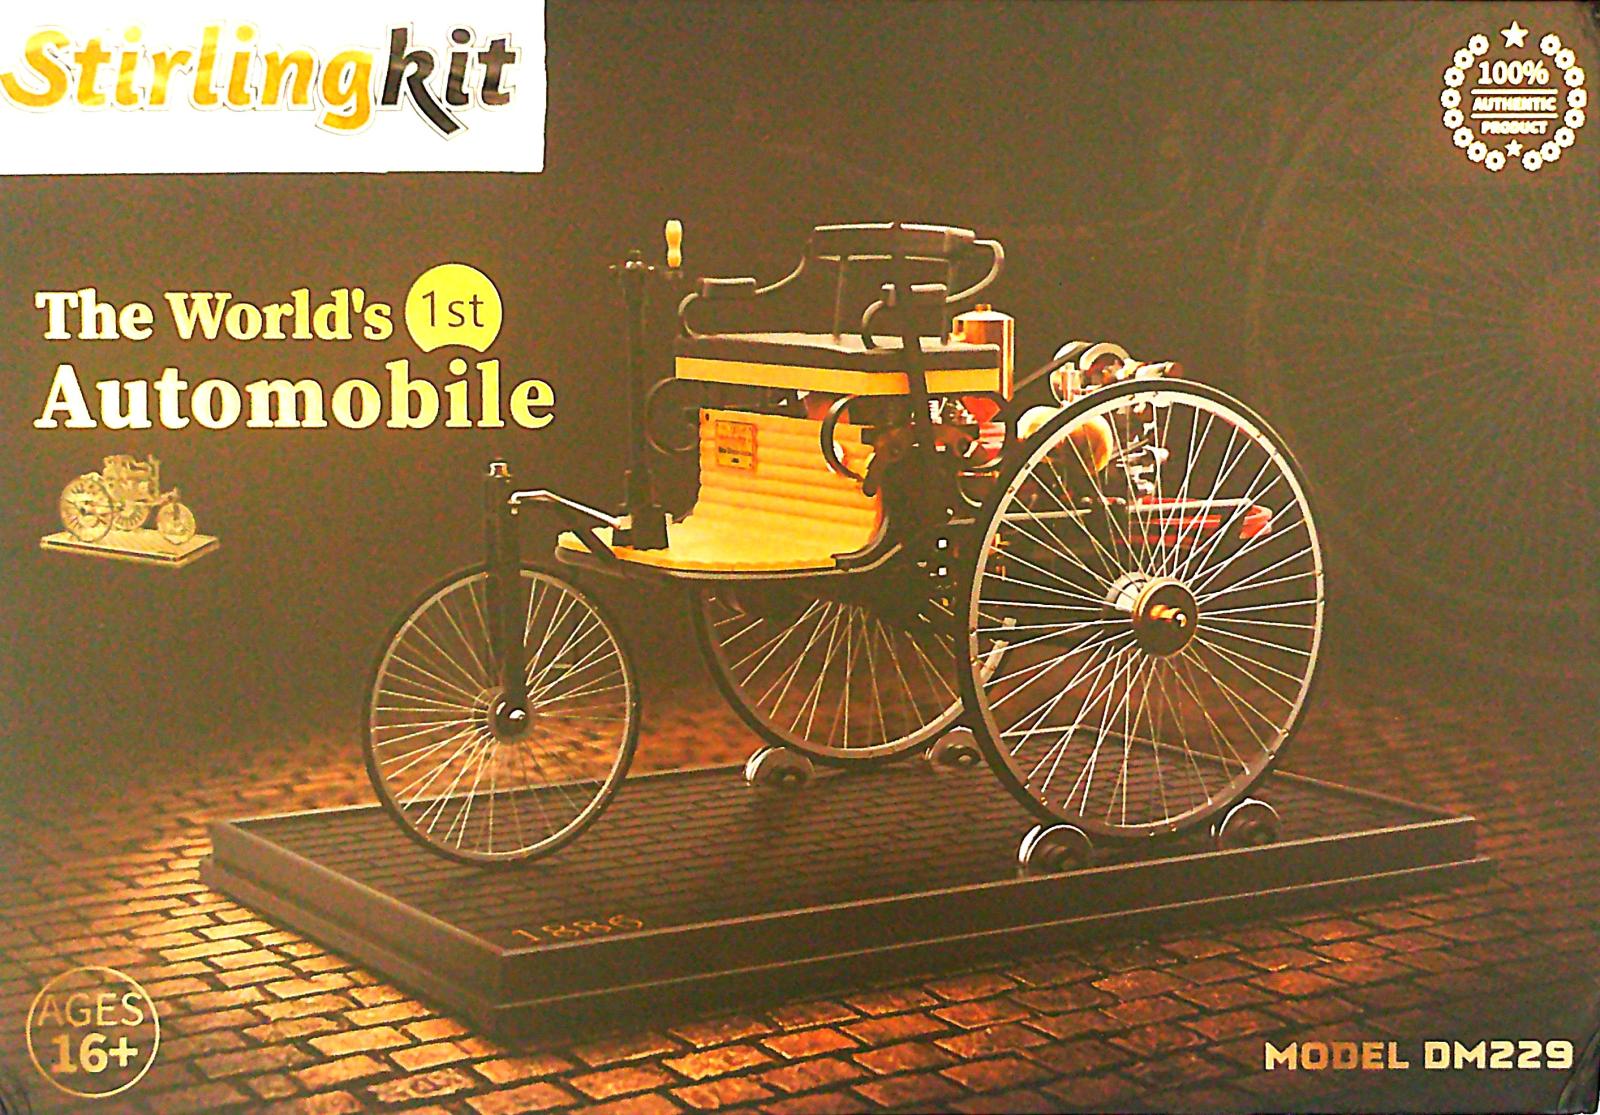
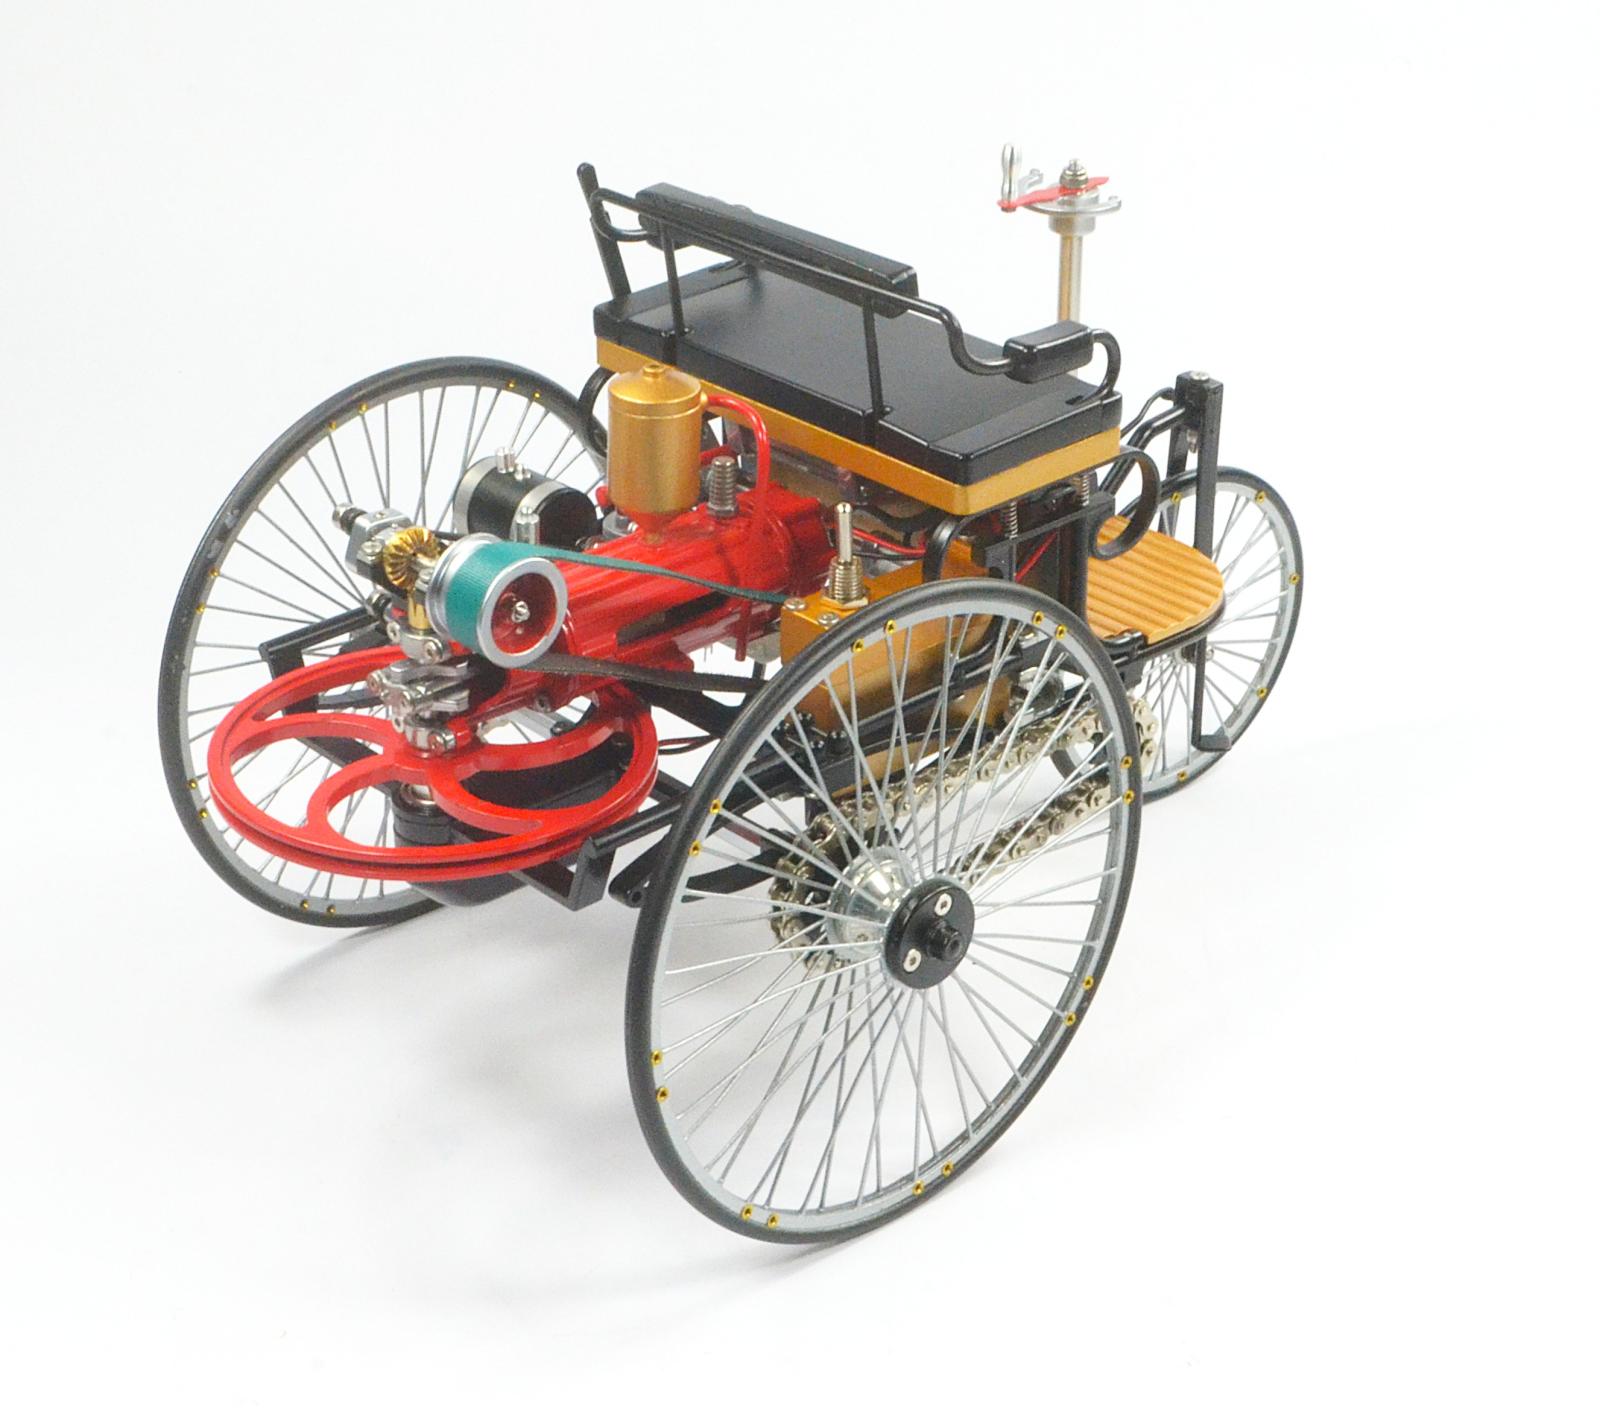
Stirling Kit has provided one of its working models of that first automobile in intricate and accurate 1:8 scale for review. The absolute thrill of this kit is that it’s not just a static model; it actually operates much like the original car’s design (albeit with the use of an electric motor) demonstrating the basic mechanical principles of the 1:1 vehicle.
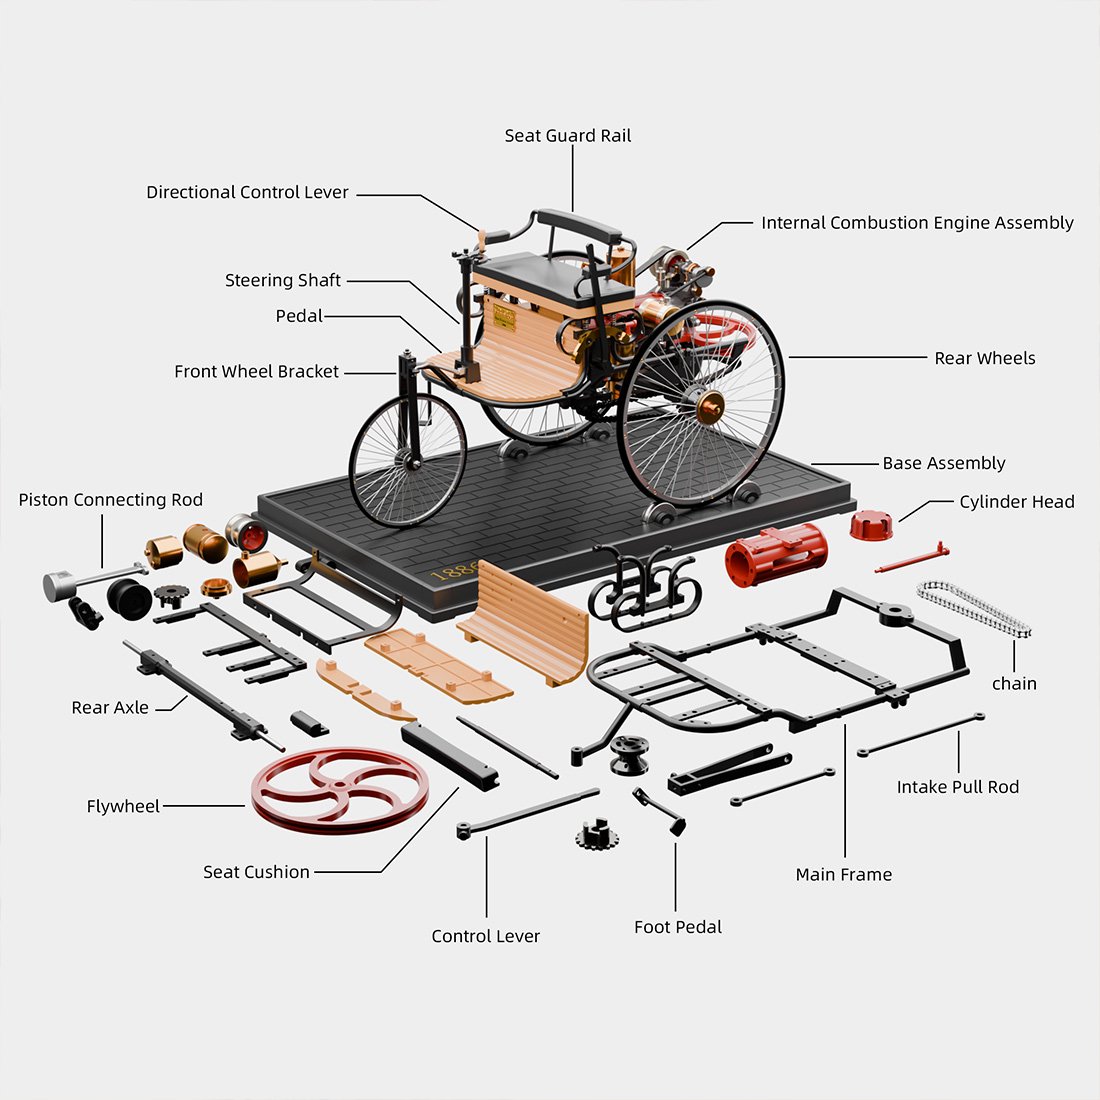
The DM229 kit is packed in a sturdy box with three layers of dense foam packing for the 80 main parts in individual compartments. There are also two metal plates that make up the display stand and a 95-page, full-color instruction manual.
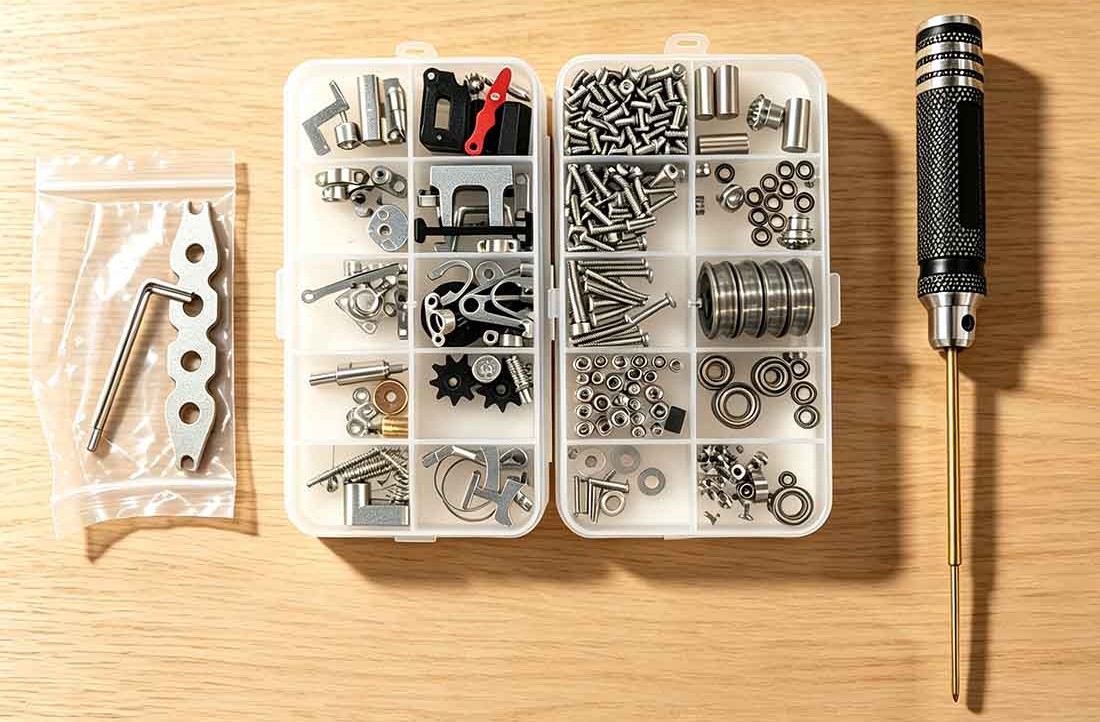
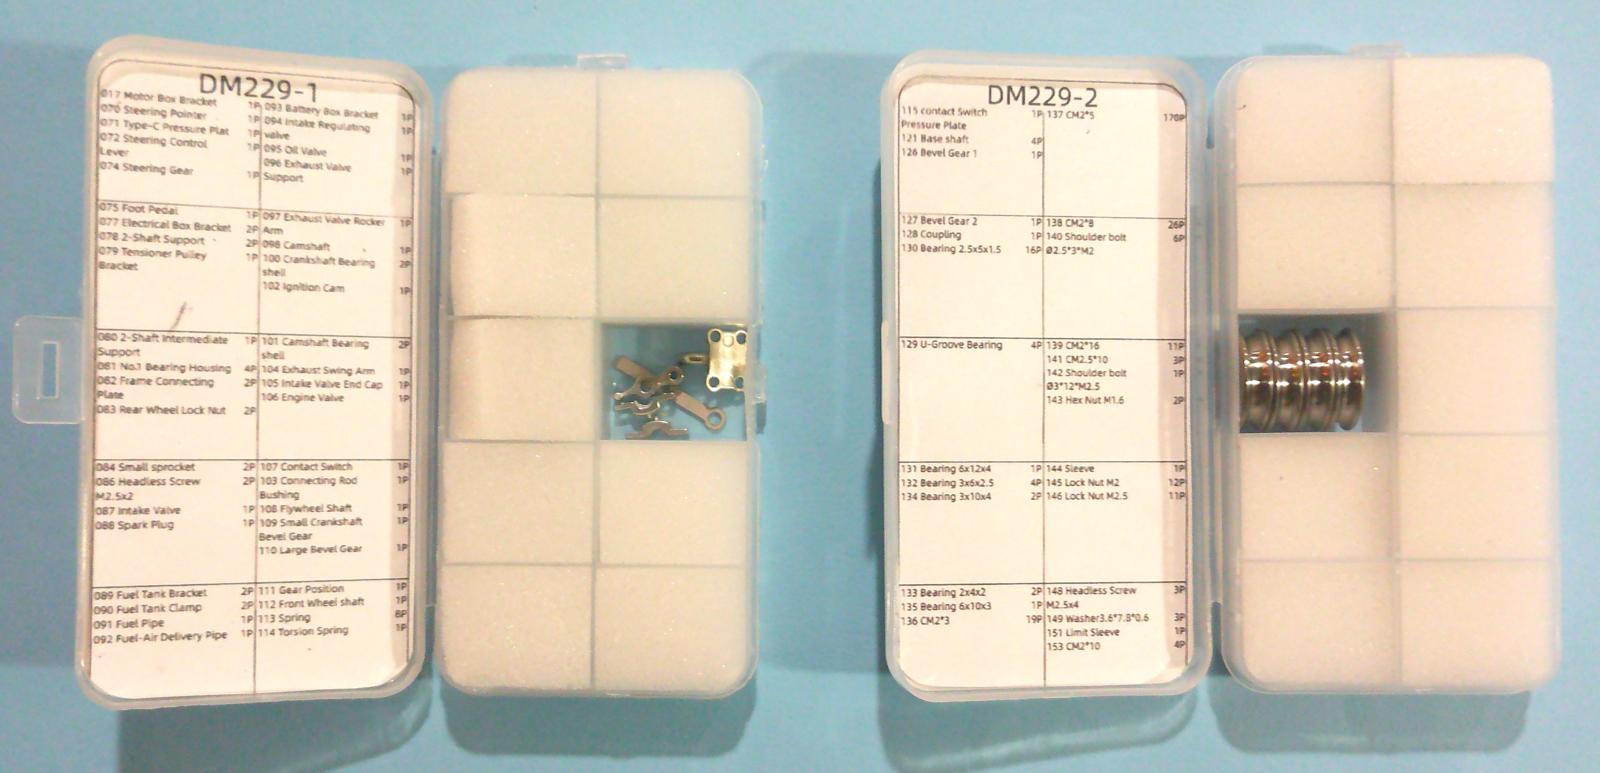
The rest of the kit’s 430 parts are small components and fasteners. Hand tools are also included to build it.
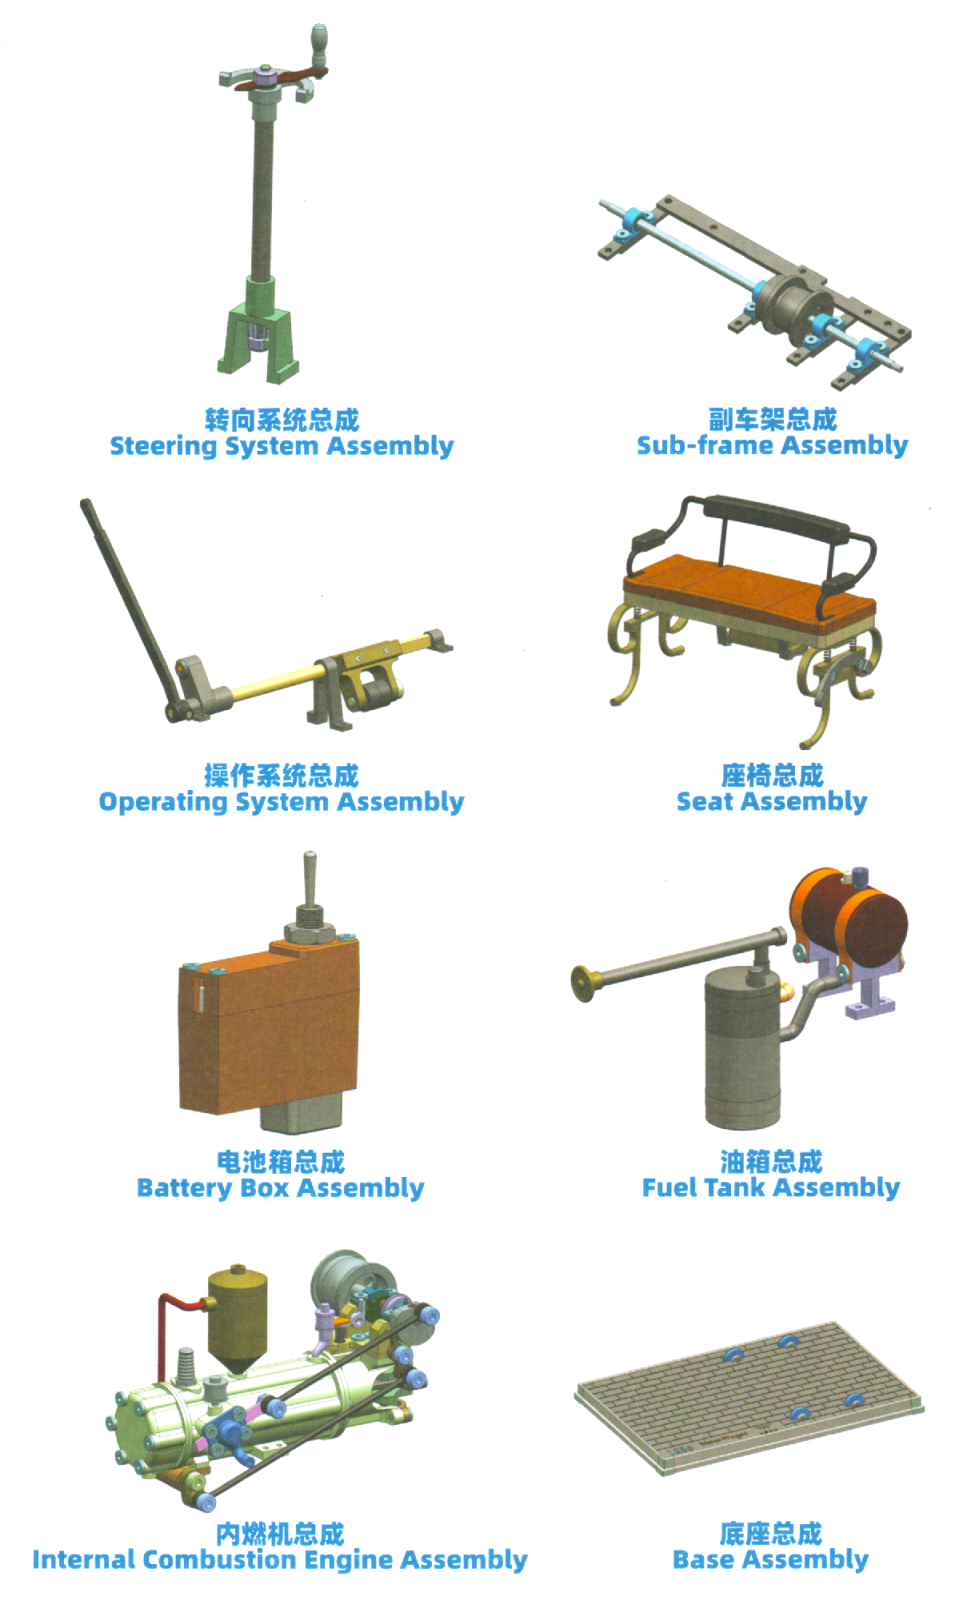
Main construction is divided into nine sections plus a 10th Final Assembly section for everything else. Section 10 comprises most of the build sequence, consisting of 50 pages of the instructions. Overall, the kit is extensive but not overly complex and most of the instructions are easy to follow. The included tools work but having a set of small, magnetic-tip hex nut/screwdrivers, a small magnet to extract parts/screws from the small compartments, and, if needed, an optical magnifier are helpful. The Stirling Kit website suggests a 6-hour build time but expect it to take 12 hours or more to make sure the parts are installed in their proper orientation.
One thing you can do to aid in choosing the right screws/parts is to copy the parts listing on the small-parts boxes. Cut them out and lay them on the inside of the lid.
Of the main construction segments only the Internal Combustion Engine and Final Assembly section require extra attention to detail; the other segments are straightforward.
In all cases, make sure you carefully look at the illustrations to determine the proper orientation of the parts. Not all of them are designed to go together in only one way, and can be assembled incorrectly, leading to disassembly and reconstruction.
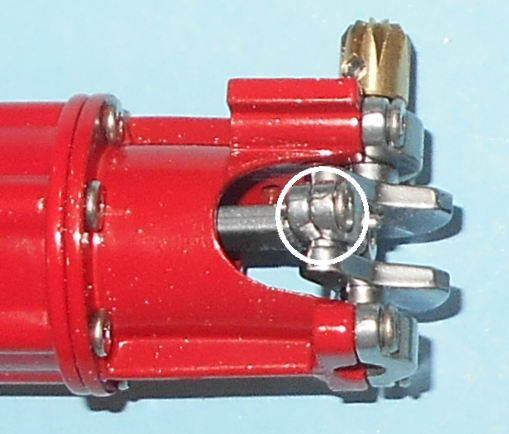
After installing the head onto the cylinder, it pays to check the unit for smooth operation. I found that the outside of the connecting rod was a bit wide and caused a sticking point against the inside of the crankshaft. Use a flat file to narrow it and round the edges. Use set screws to adjust the position of the bevel gears to ensure a smooth rotation.
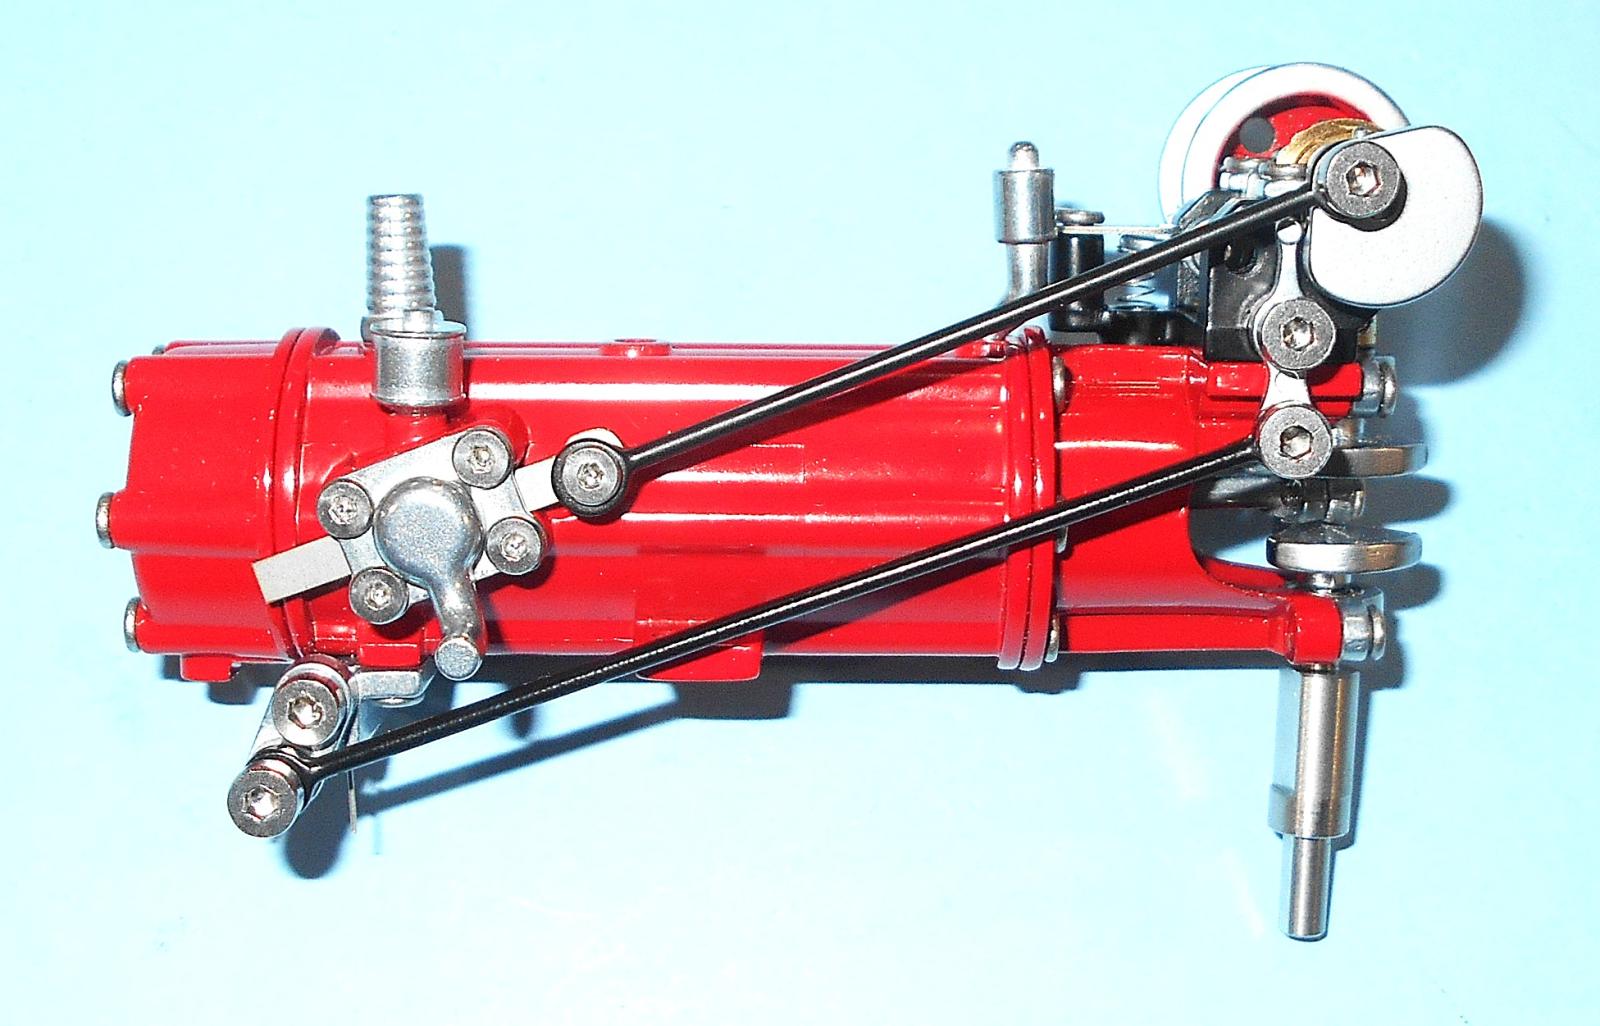
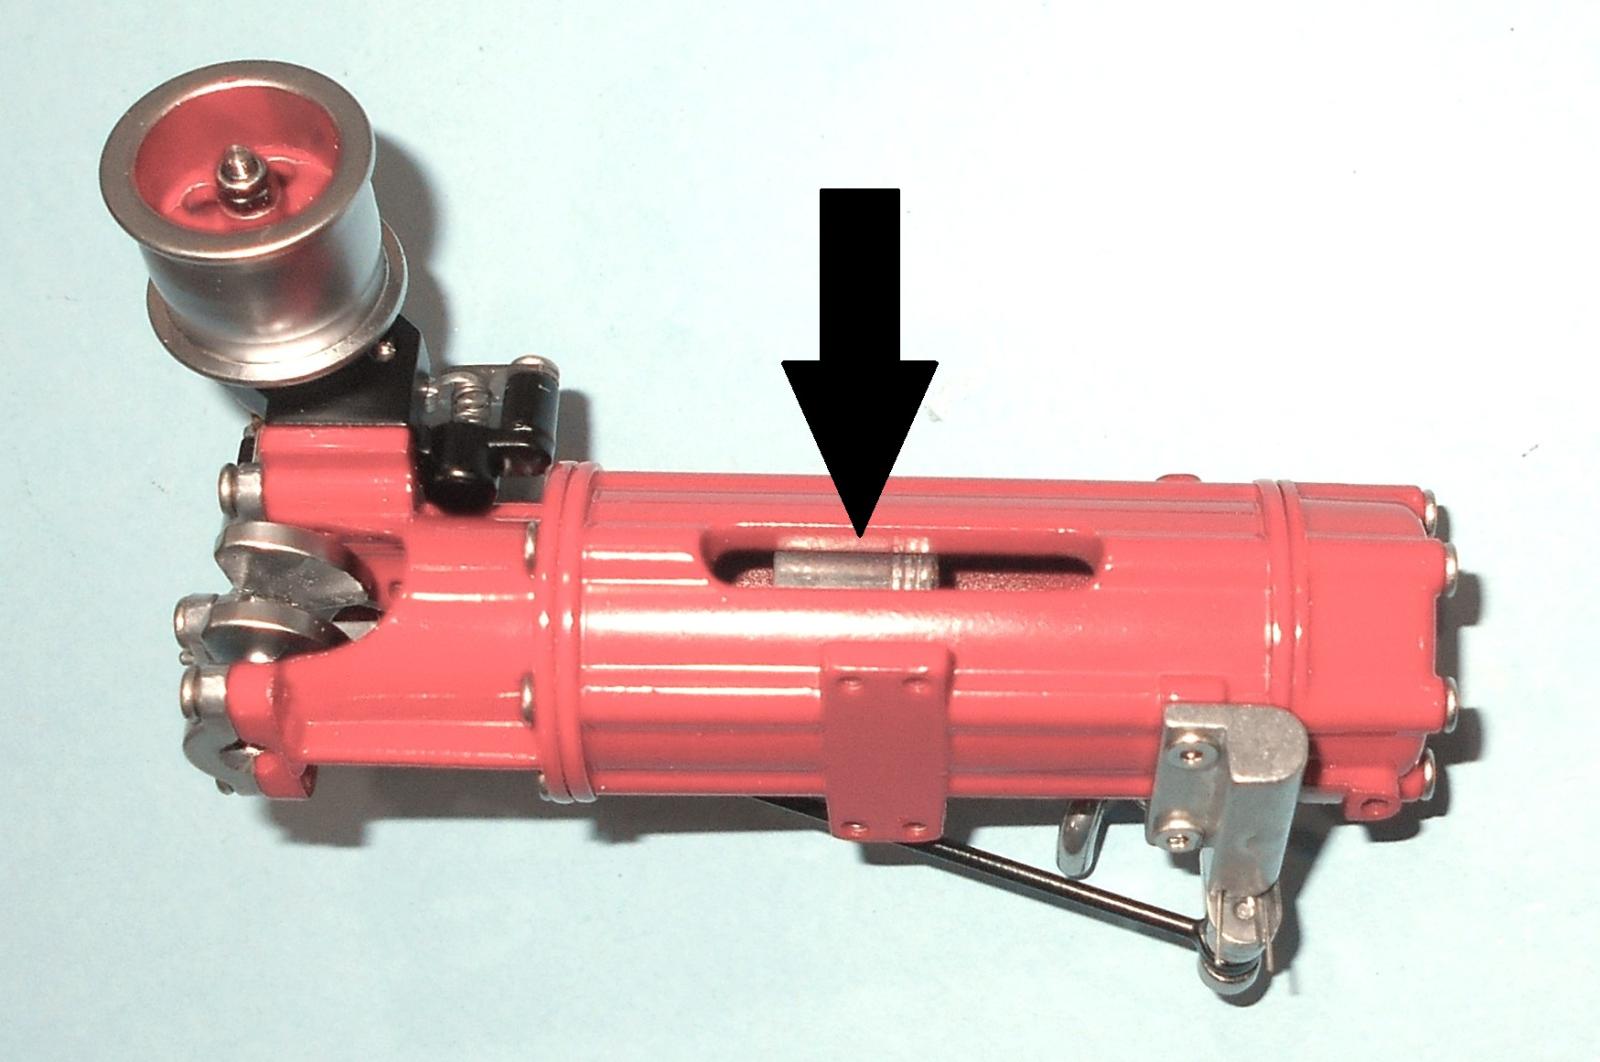
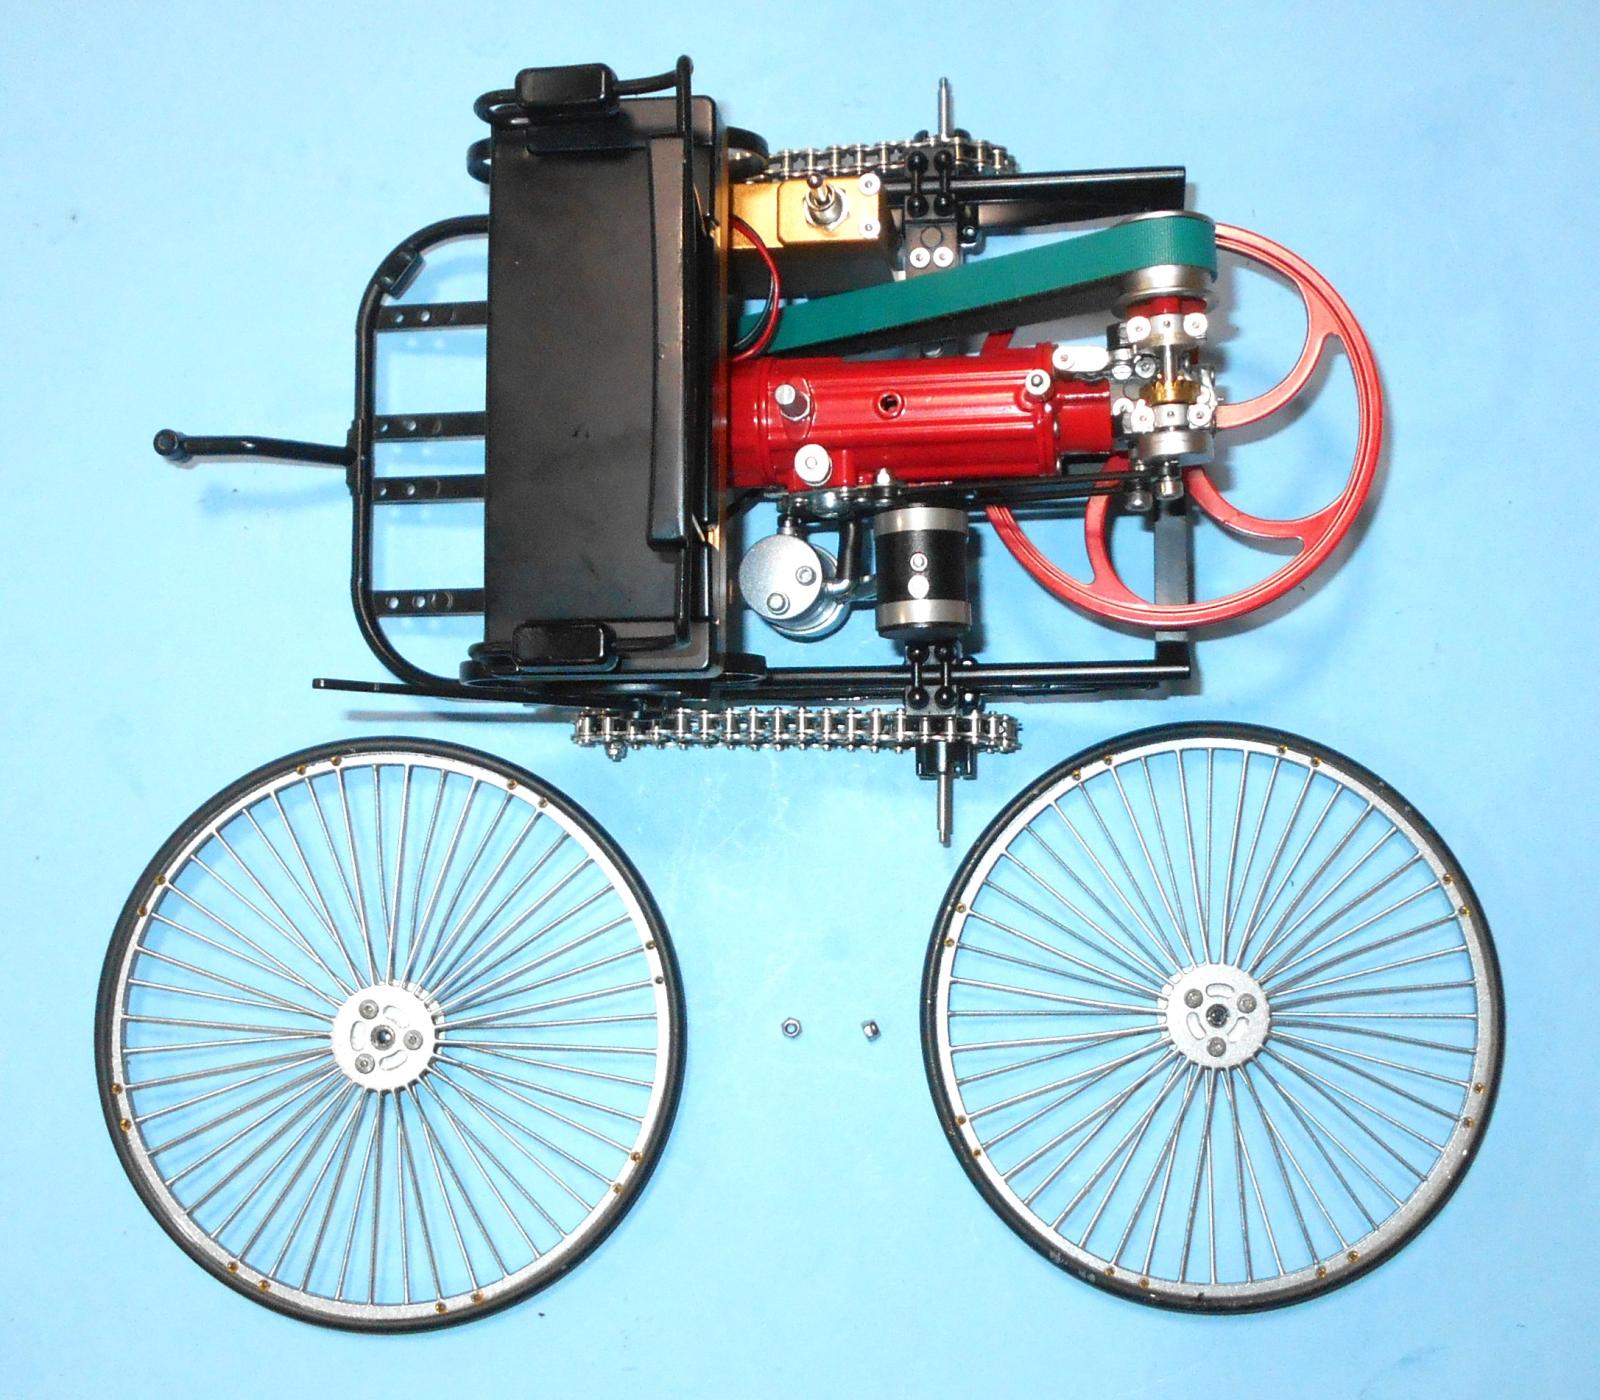
The engine is cleverly designed to replicate the actual functions present on the original car’s 1 HP power plant including intake and exhaust valves.
It also has a viewing window to show the action of the piston’s internal motion.
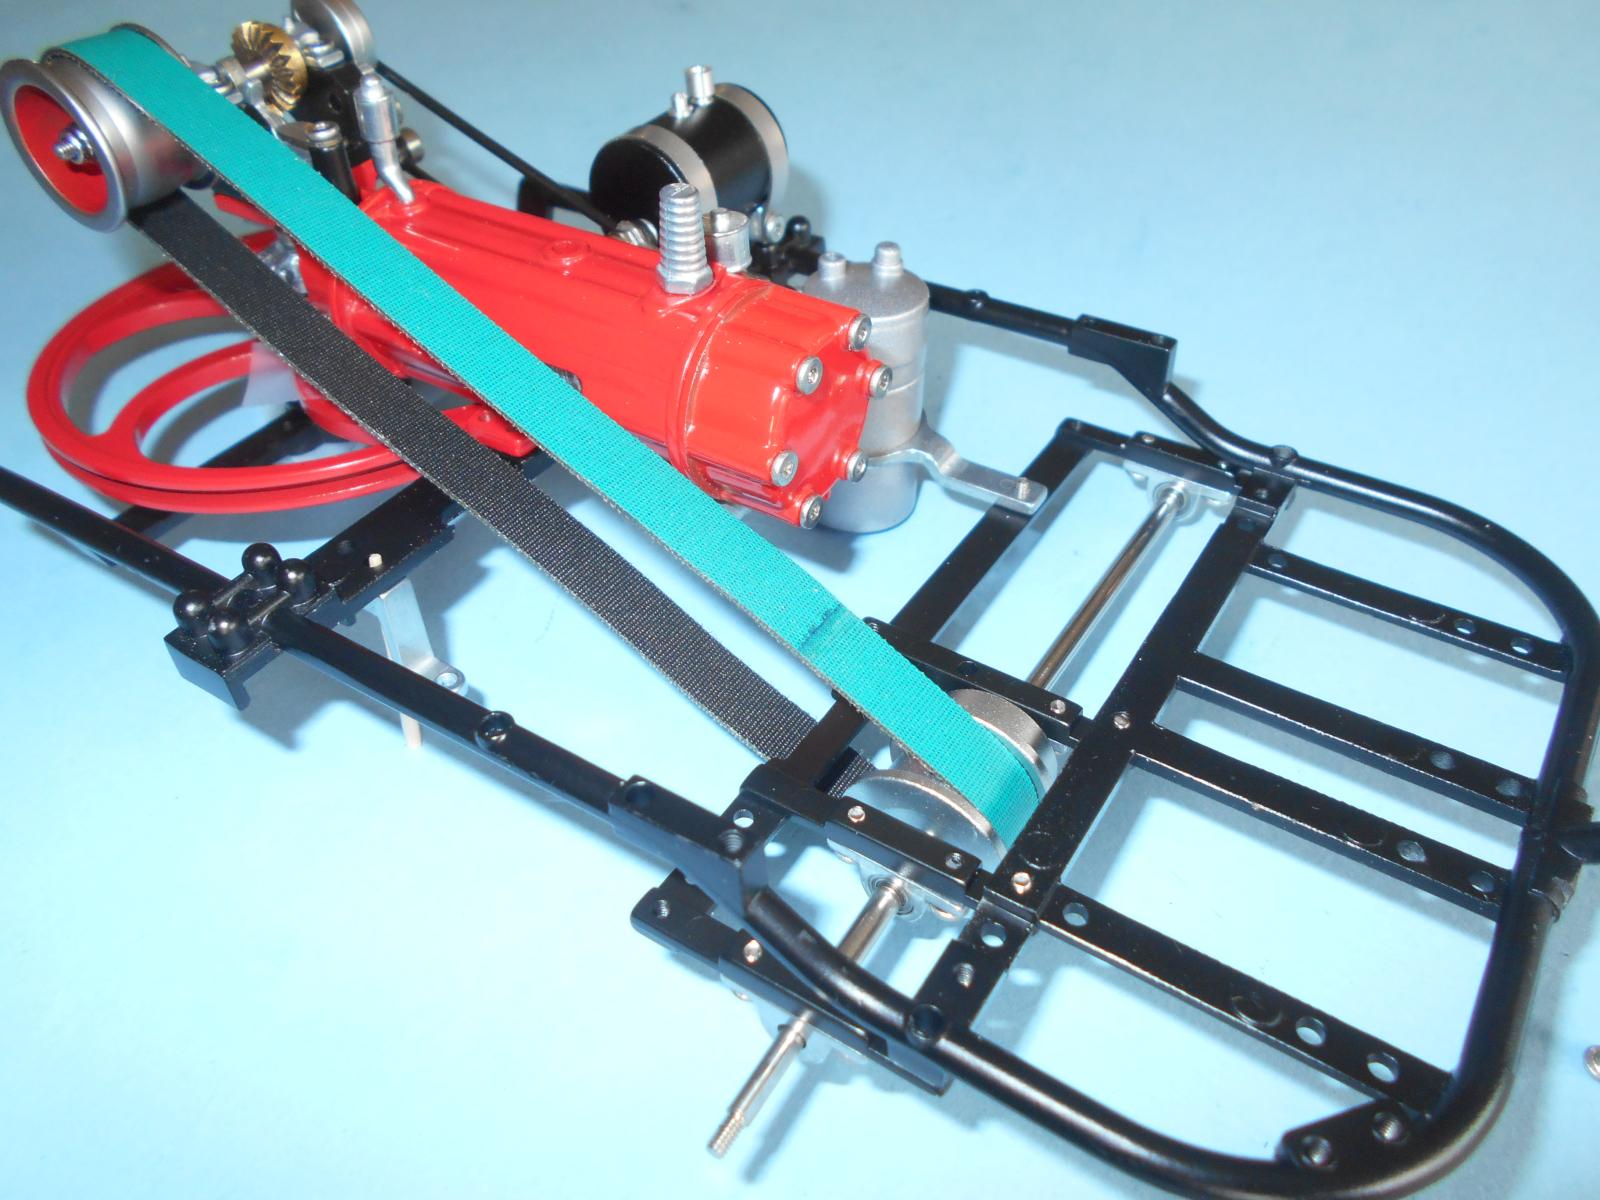
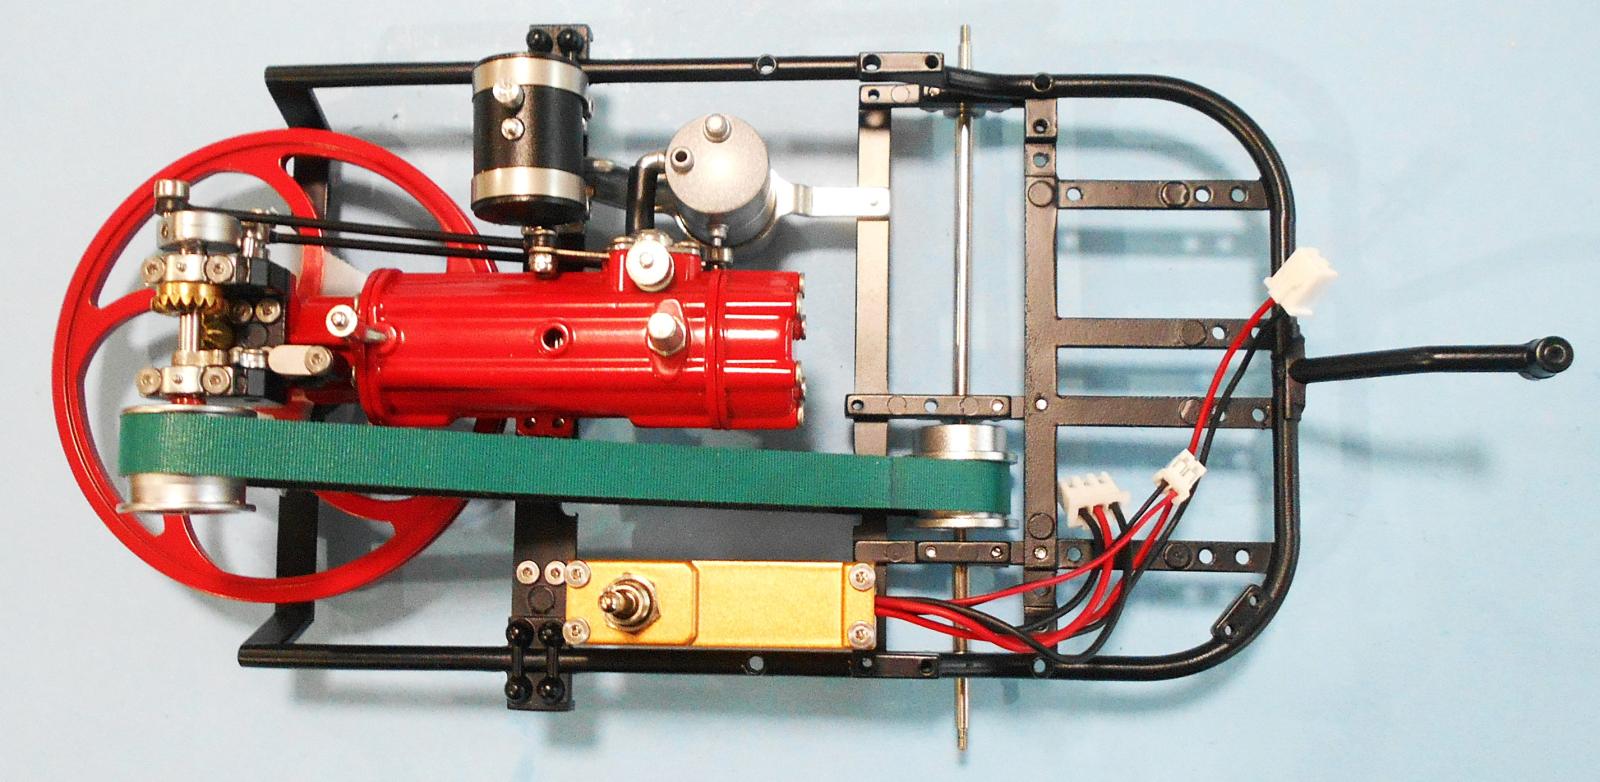
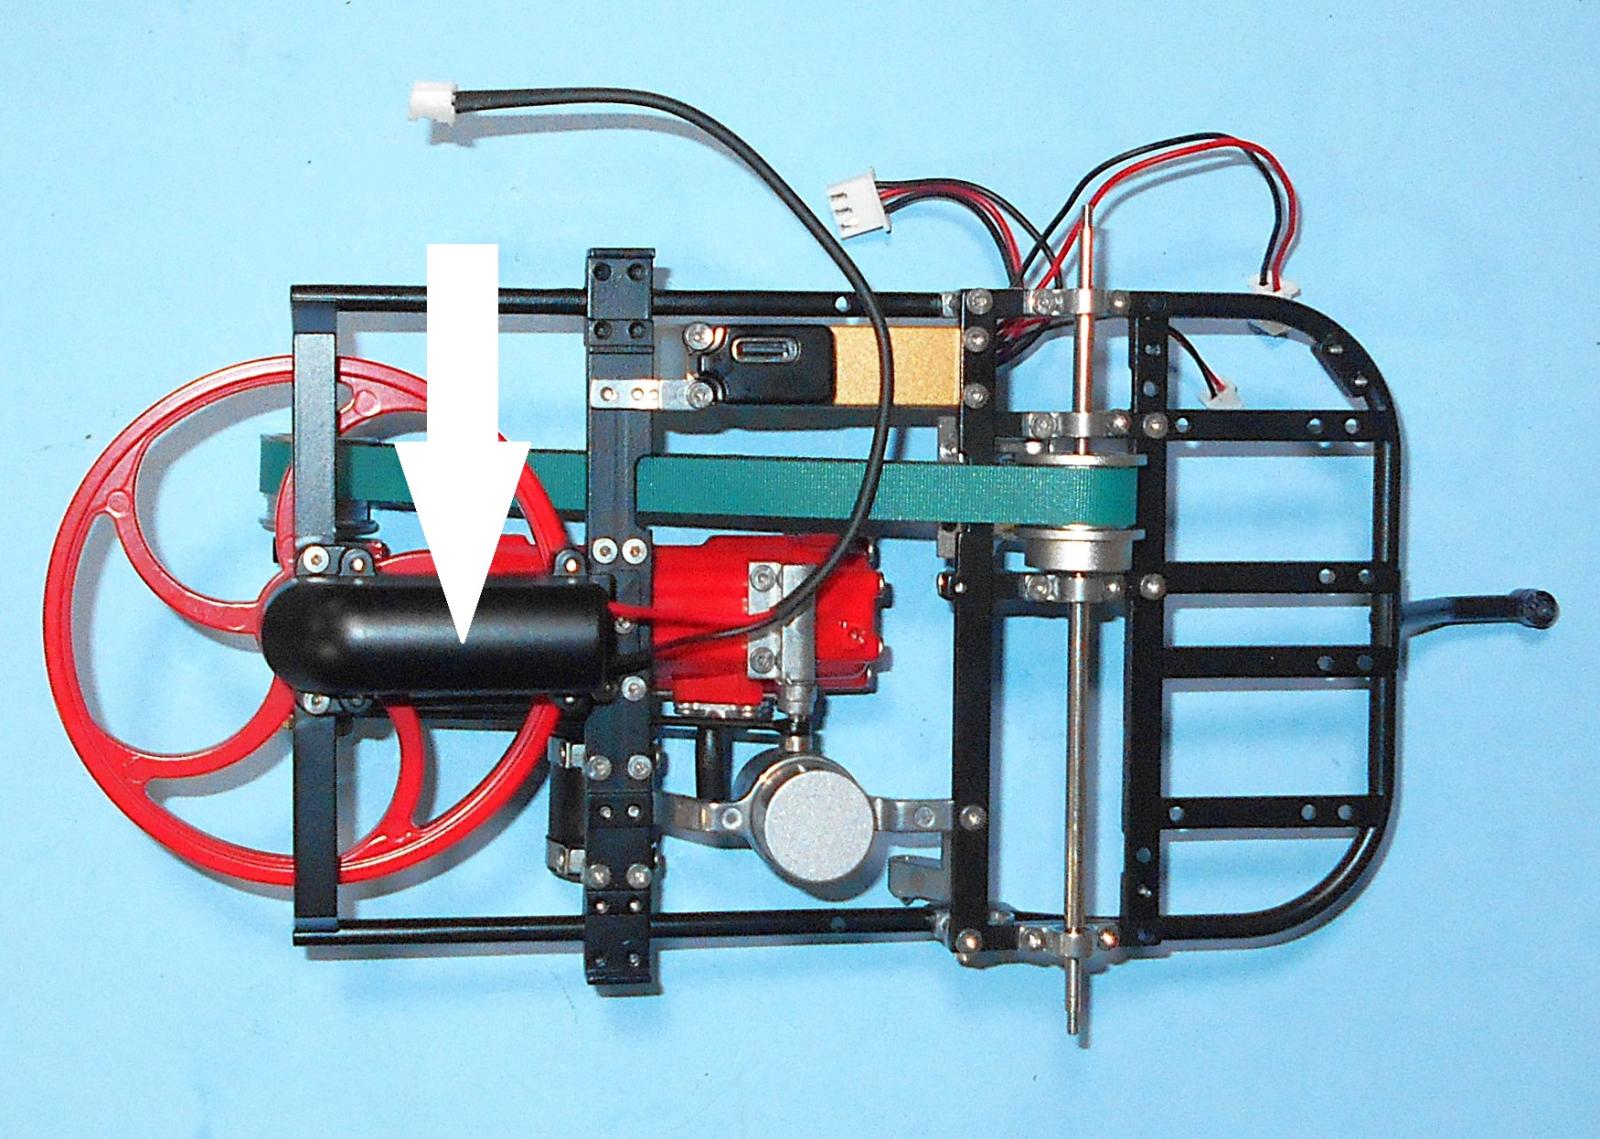
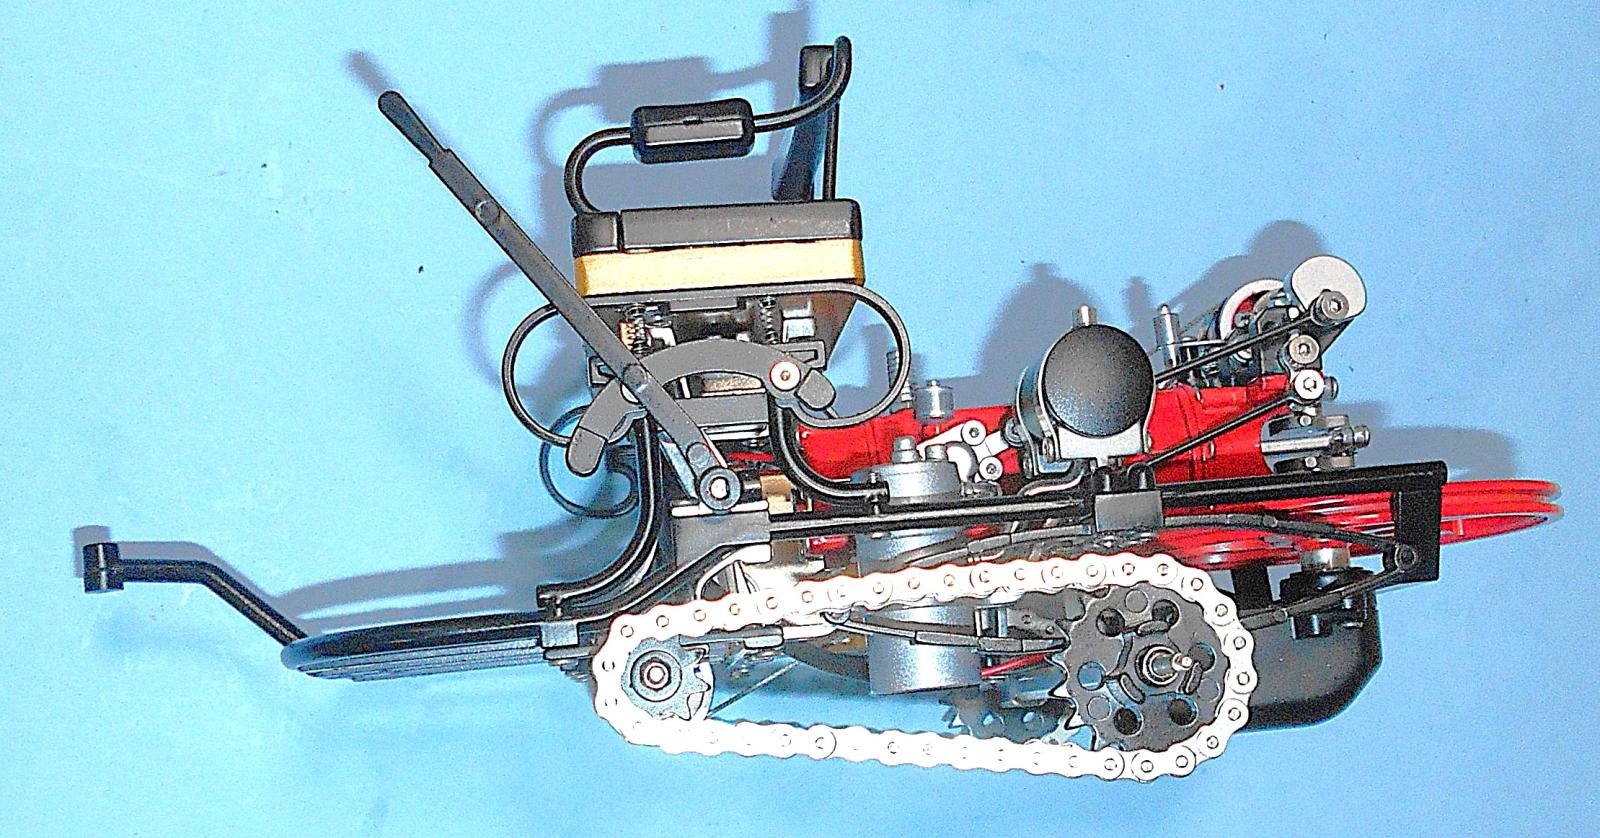
The frame goes together easily, and the flywheel is added to the lower end of the crankshaft. Use some tape to hold the flywheel in place until the large bevel gear and motor box cover it up. With all its gears, shafts, and chains the car was actually driven by a large belt attached to a takeoff drum like the old steam engines.
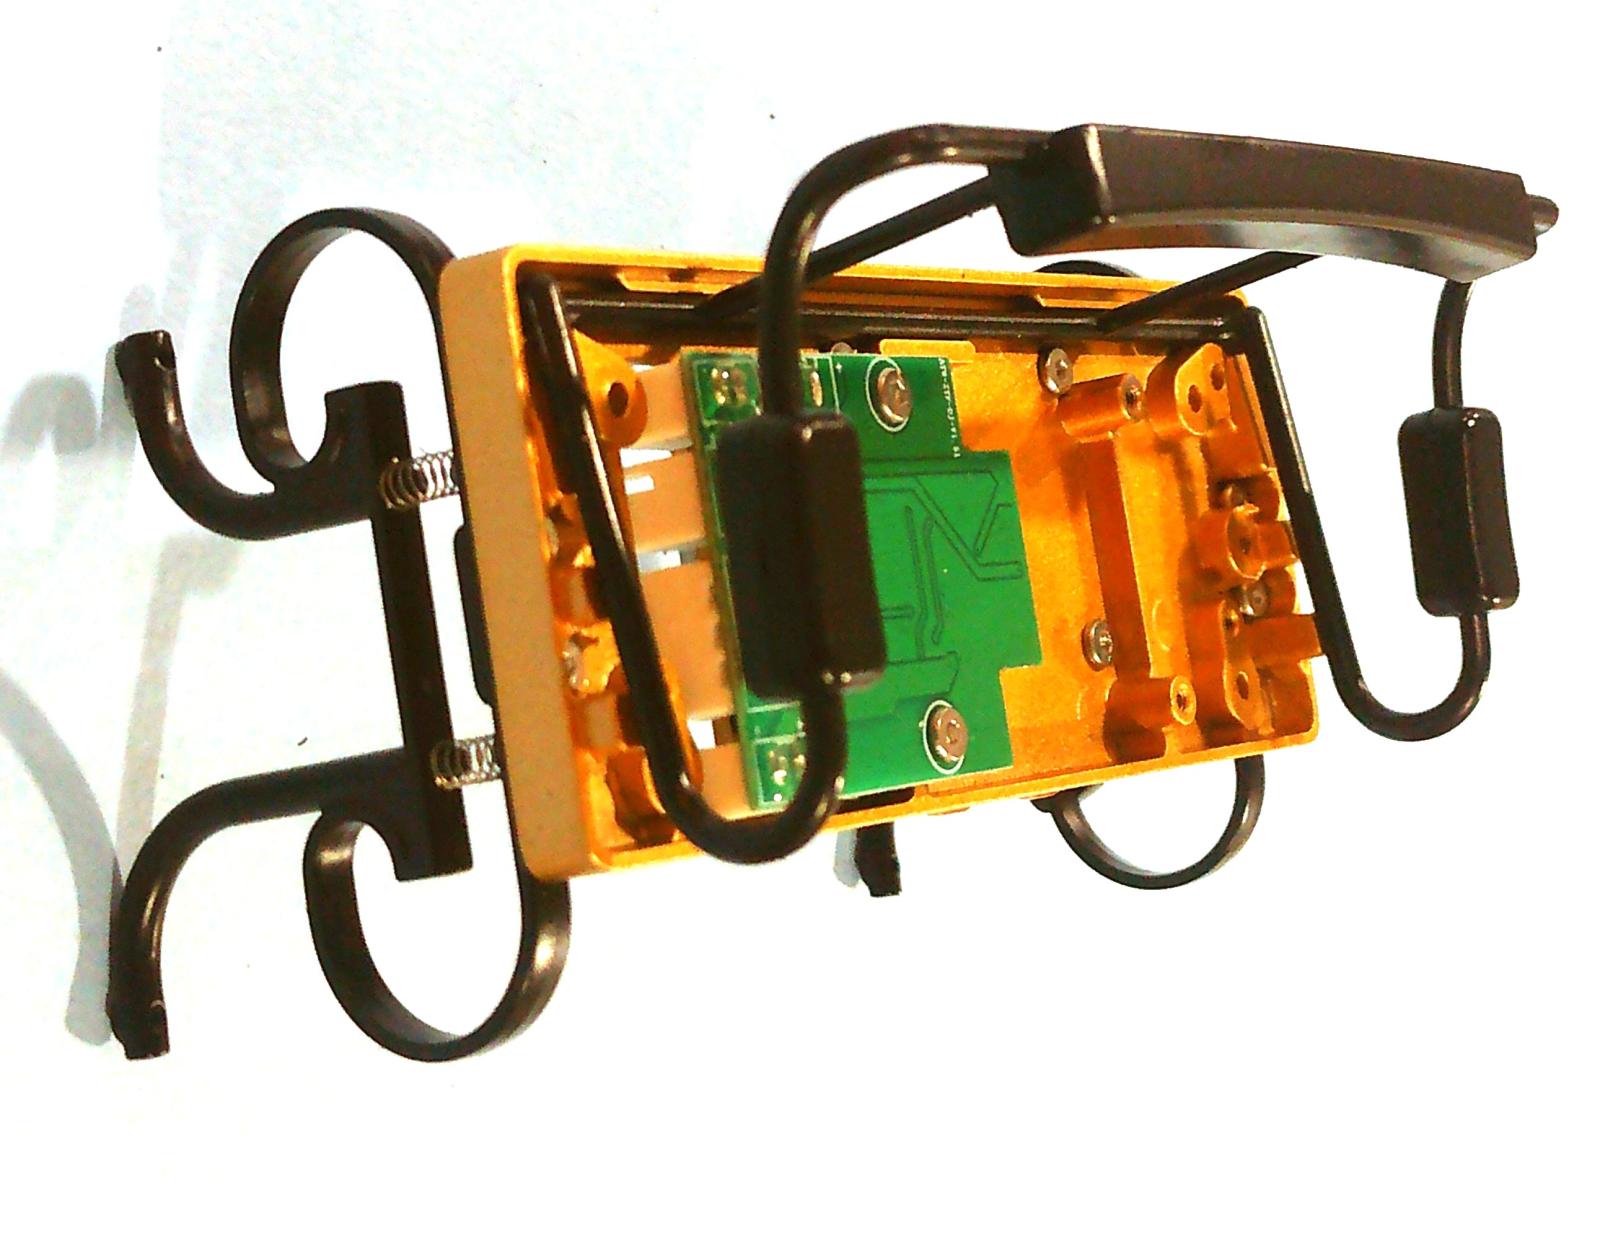
Construct the seat and note that the main electronic board and connector plugs are in it. Assemble the battery box, and you can hook it up to the connectors for motion checks throughout the build.
Install the battery box and add the fuel and carburetor tanks.
Put the motor box together, then turn the unit over and screw it into place on the end of the flywheel shaft/hear. Check it for smooth operation.
Assemble the wheel sprockets and bearings and fit them into the chains. Slip them onto the axles on each side.
Place a wheel bearing inside each hub and slide the wheels onto the axles. Secure them with a hex nut.
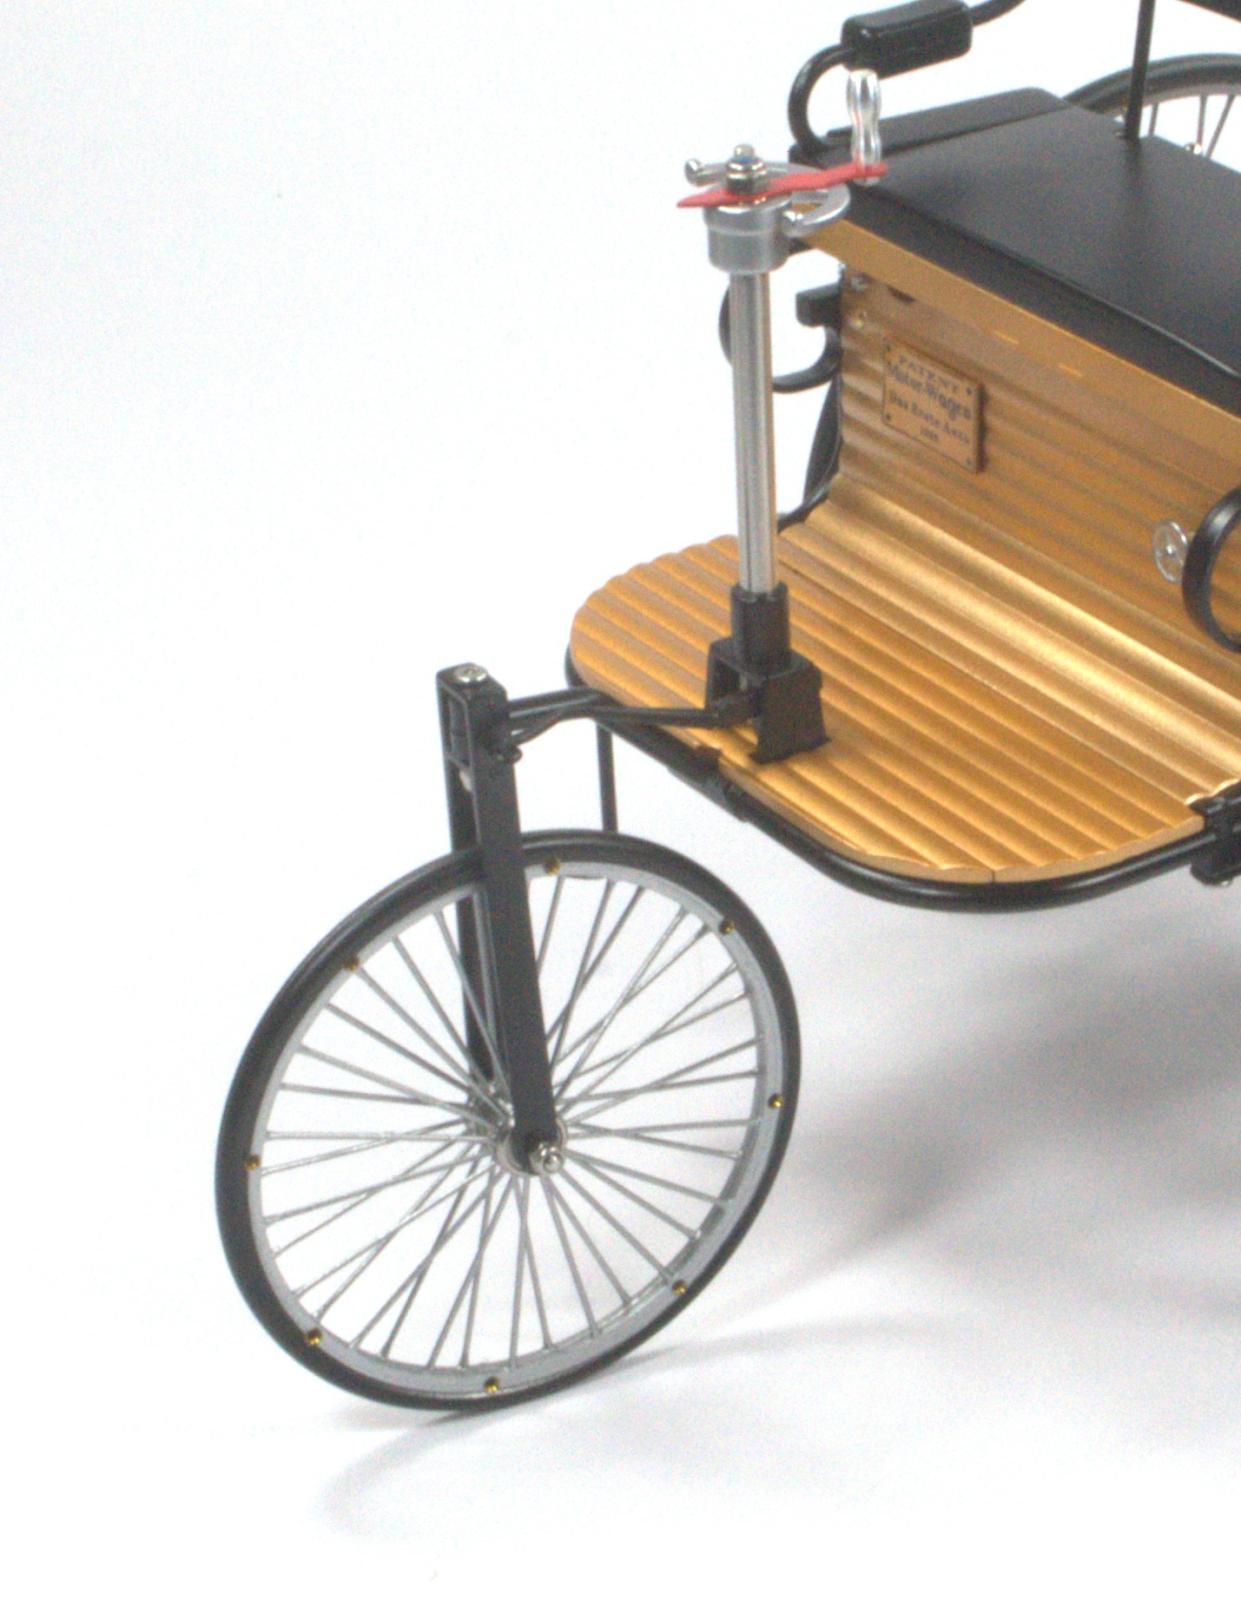
Add the front forks, steering mechanism, and wheel to the front end and your working model is finished!
The display base for the model builds quickly. Oddly enough, the roller wheels positioned under the wheels don’t actually contact the car’s wheels because the axles are held above them with two stanchions in the currently shipping kit.
This kit is an excellent study in automotive mechanics, as well as a great-looking action model in itself. I would recommend it to experienced builders that also have some familiarity with building metal models in general. That said, anyone with a general knowledge can put it together with an ample amount of patience and attention to detail.
Highly recommended for mechanical studies and as a unique action model of the world’s first automobile.
I would like to thank IPMS for giving me the opportunity to build this model and to Stirling Kit for providing the sample.
Comments
Add new comment
This site is protected by reCAPTCHA and the Google Privacy Policy and Terms of Service apply.
Similar Reviews