
USAF/USN Seatbelts (Beige)
RB Productions makes an assortment of aftermarket seat belts, photoetch and other items to dress up a wide variety of models.
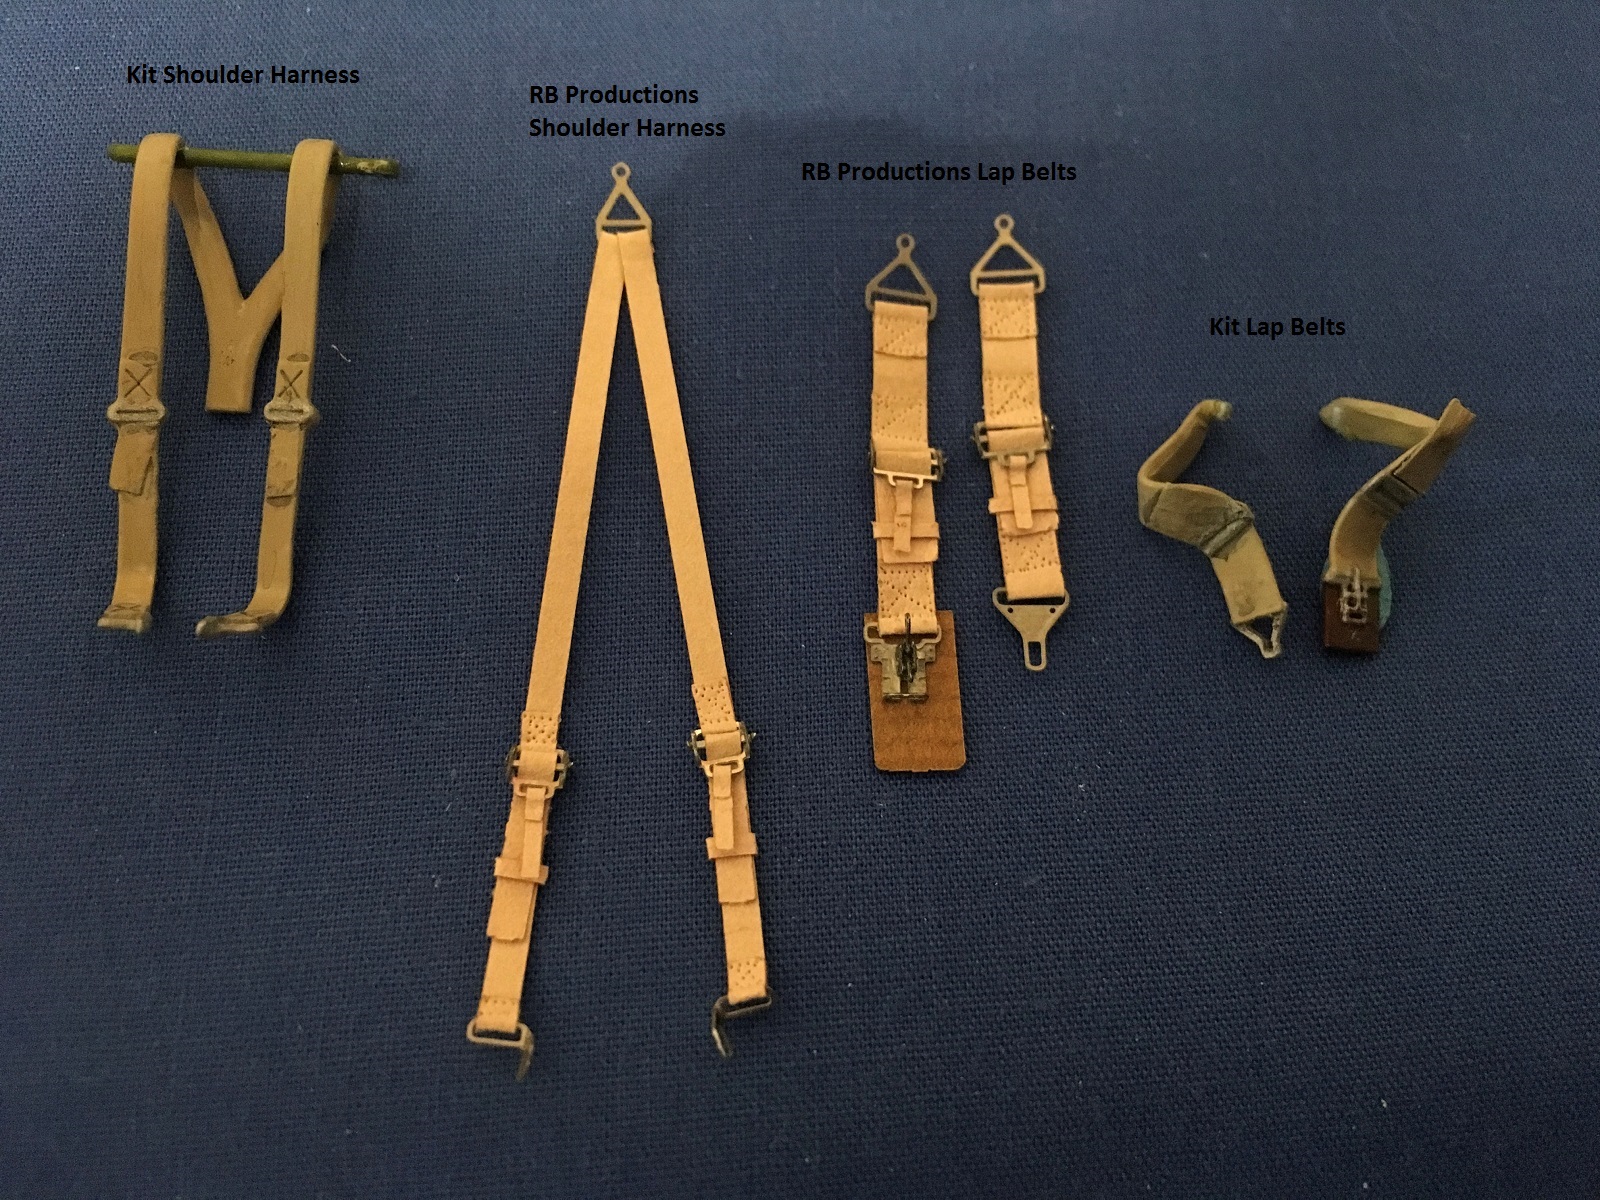
While building the 1/24 scale Airfix F6F-5 Hellcat these seat belts were offered for an IPMS review. The timing was perfect as I had completed the cockpit and kit supplied belts, and was about to close up the fuselage.
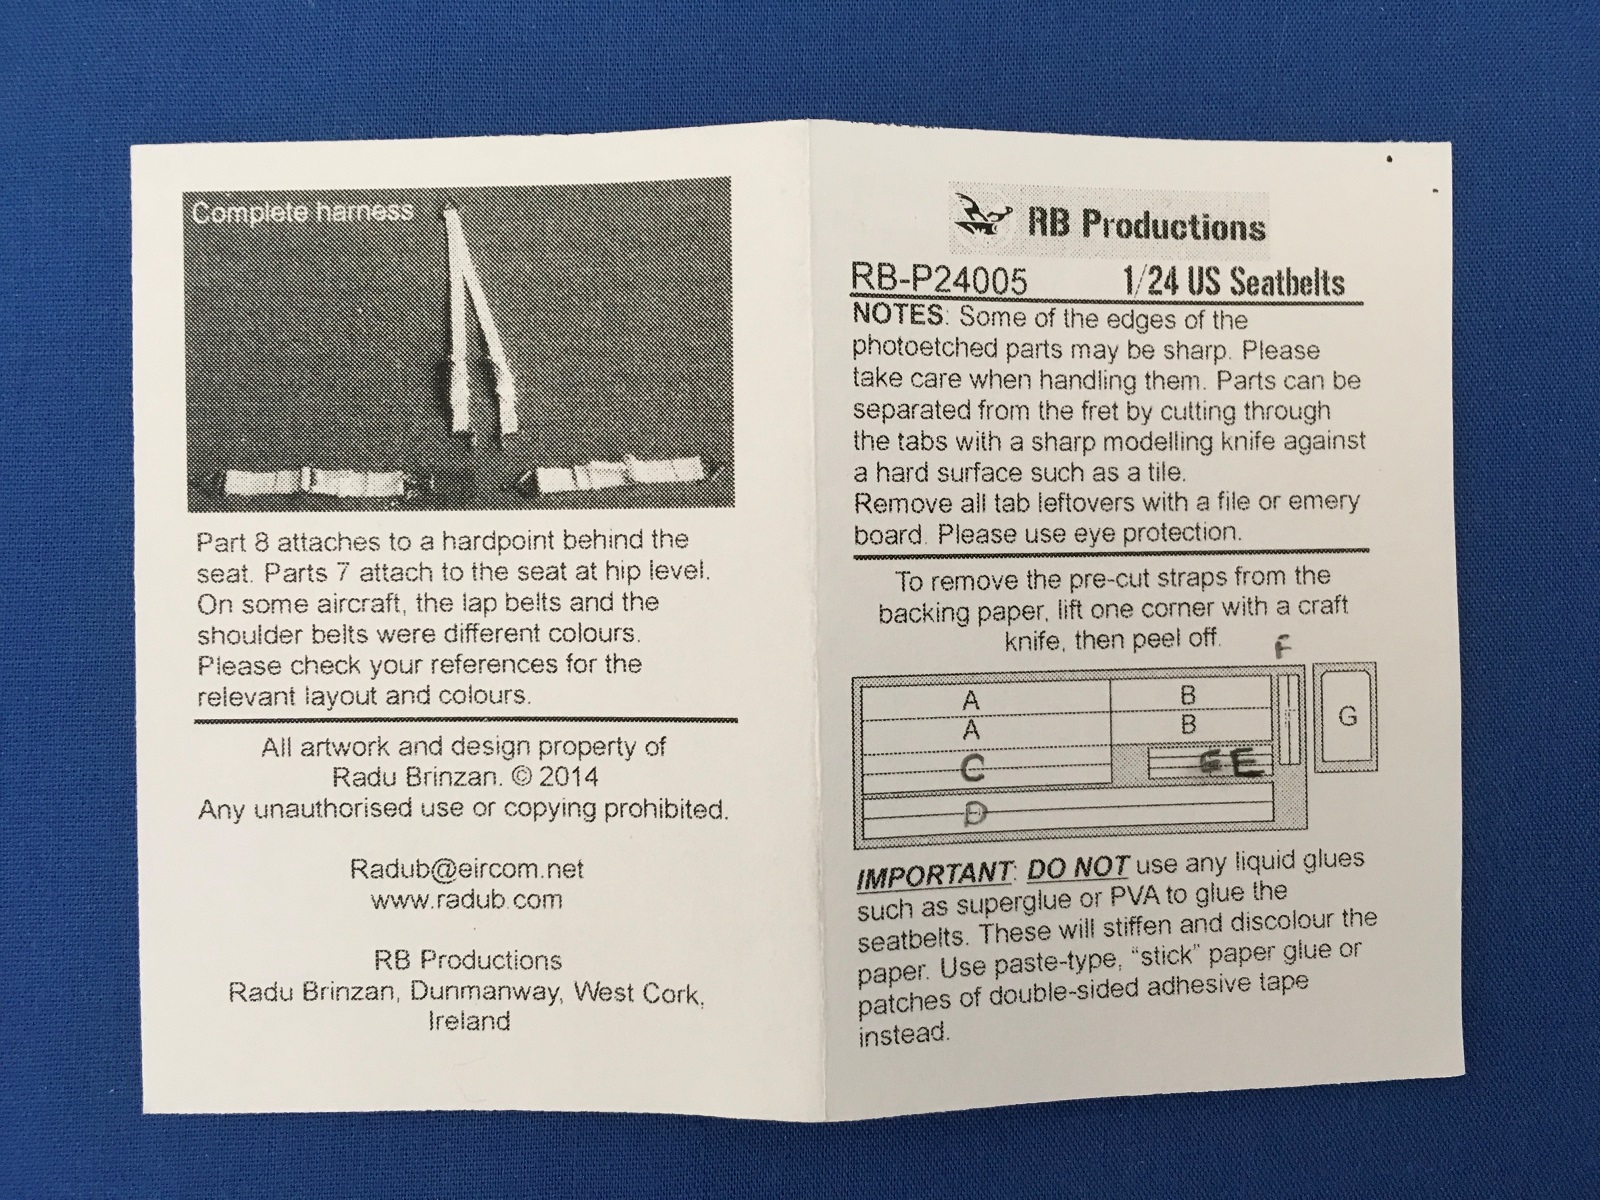
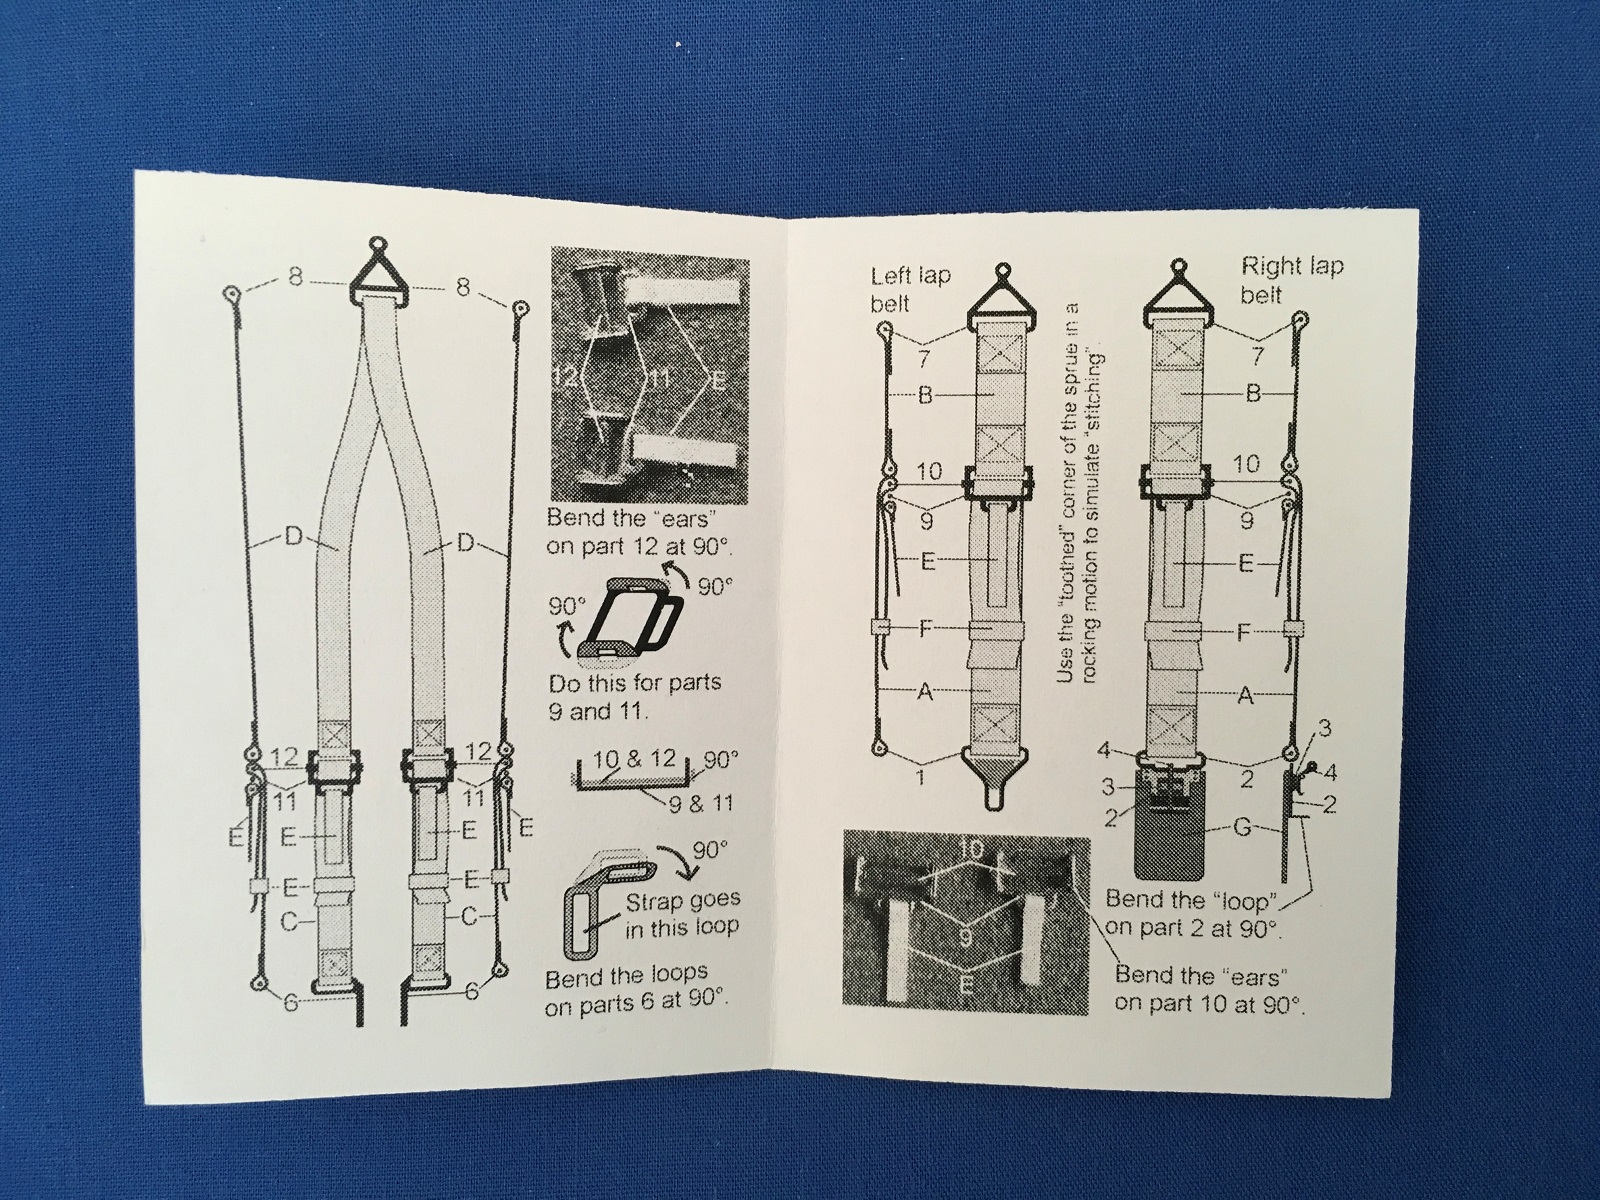
The small package was nicely presented with a cardboard cover folded and stapled over a plastic bag. Inside was a sheet of paper belts, a small paper sheet containing the lap pad and photo etch buckles, all protected by a black cardboard sheet. Behind this were the tiny fold out instructions.
I spent some time studying the instructions and going online to see how others built these. I have plenty of experience with photoetch belts, but I had never tackled paper ones before. I printed an enlarged diagram that showed more clearly how to feed the belts through the buckles. Once I was confident on how to build these belts, I gathered my tools and Micro Krystal Klear. The instructions state to only use paper type adhesive and not super glue or liquid glue as these last two would stain the paper. I practiced folding and gluing using a corner of the paper.
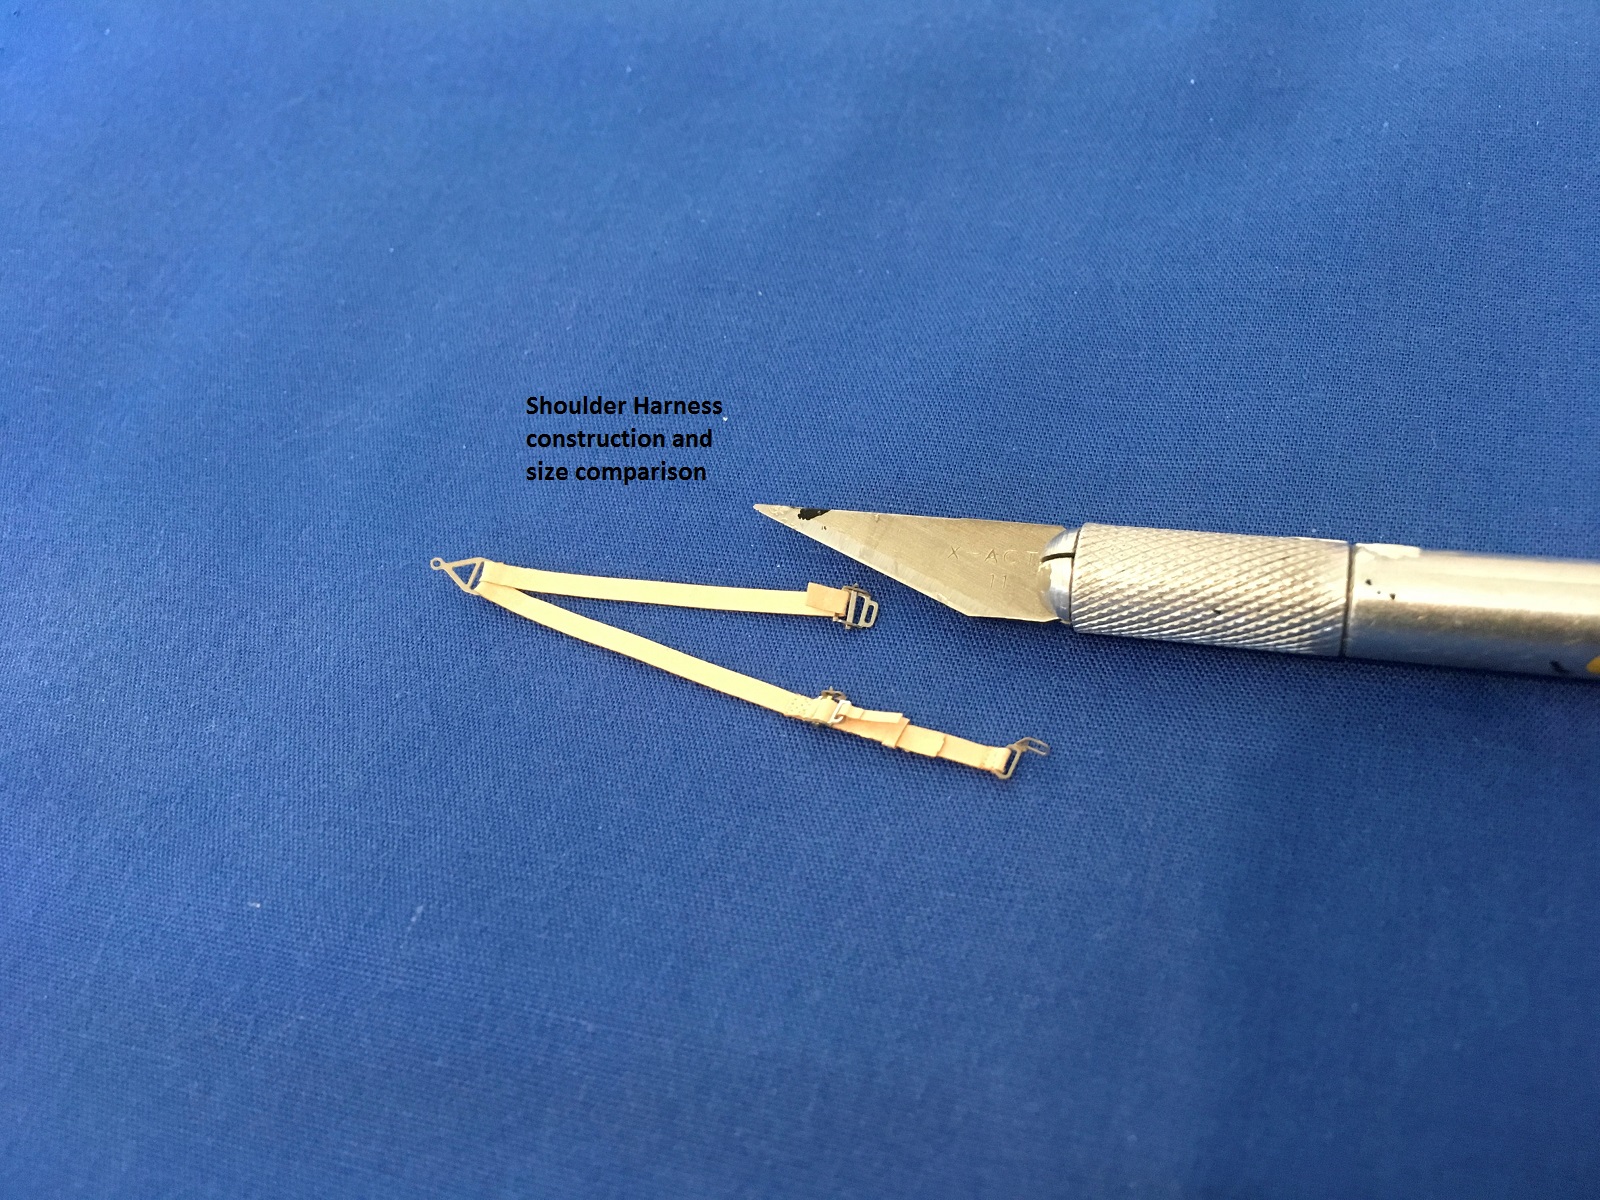
The paper sheet containing the belts appeared to be laser cut, leaving small attachments that I sliced through with a new Exacto blade and ruler. Each belt group is identified by a letter on the instruction sheet. The photoetch fret was a harder metal than “standard” photoetch and each buckle part needed a couple of swipes with a knife to remove. They folded easily but are quite strong. One corner of the photoetch fret was “toothed” and was used in a rocking motion to create the seat belt stitching. I also used this as a guide to determine the length of belt to fold over and feed through the buckle loops.
I started building the shoulder harness and followed with each lap belt. I removed and assembled one part of the belt at a time. The end of the belt was folded over, inserted through the loop in the buckle, glued on one mating surface and clamped together with tweezers. Short of actually stitching the belts, they went together just like the real harness would have been made. When it came time to attach the belt to the adjustable center buckle on each of the four belts, I removed the appropriate photoetch parts and assembled the buckle. Construction continued in this fashion until I had all four belts made.
The left and right lab belts are identical except for the two buckles, numbers 2 and 4. Check your references to see which side these go on. In most cases “2” was on the right belt and “4” was on the left. To complete the left hand lap belt a photoetch locking clasp was glued between a folded bracket and attached to the middle of the buckle. A large dark pad (leather in real life) was glued underneath this buckle and belt.
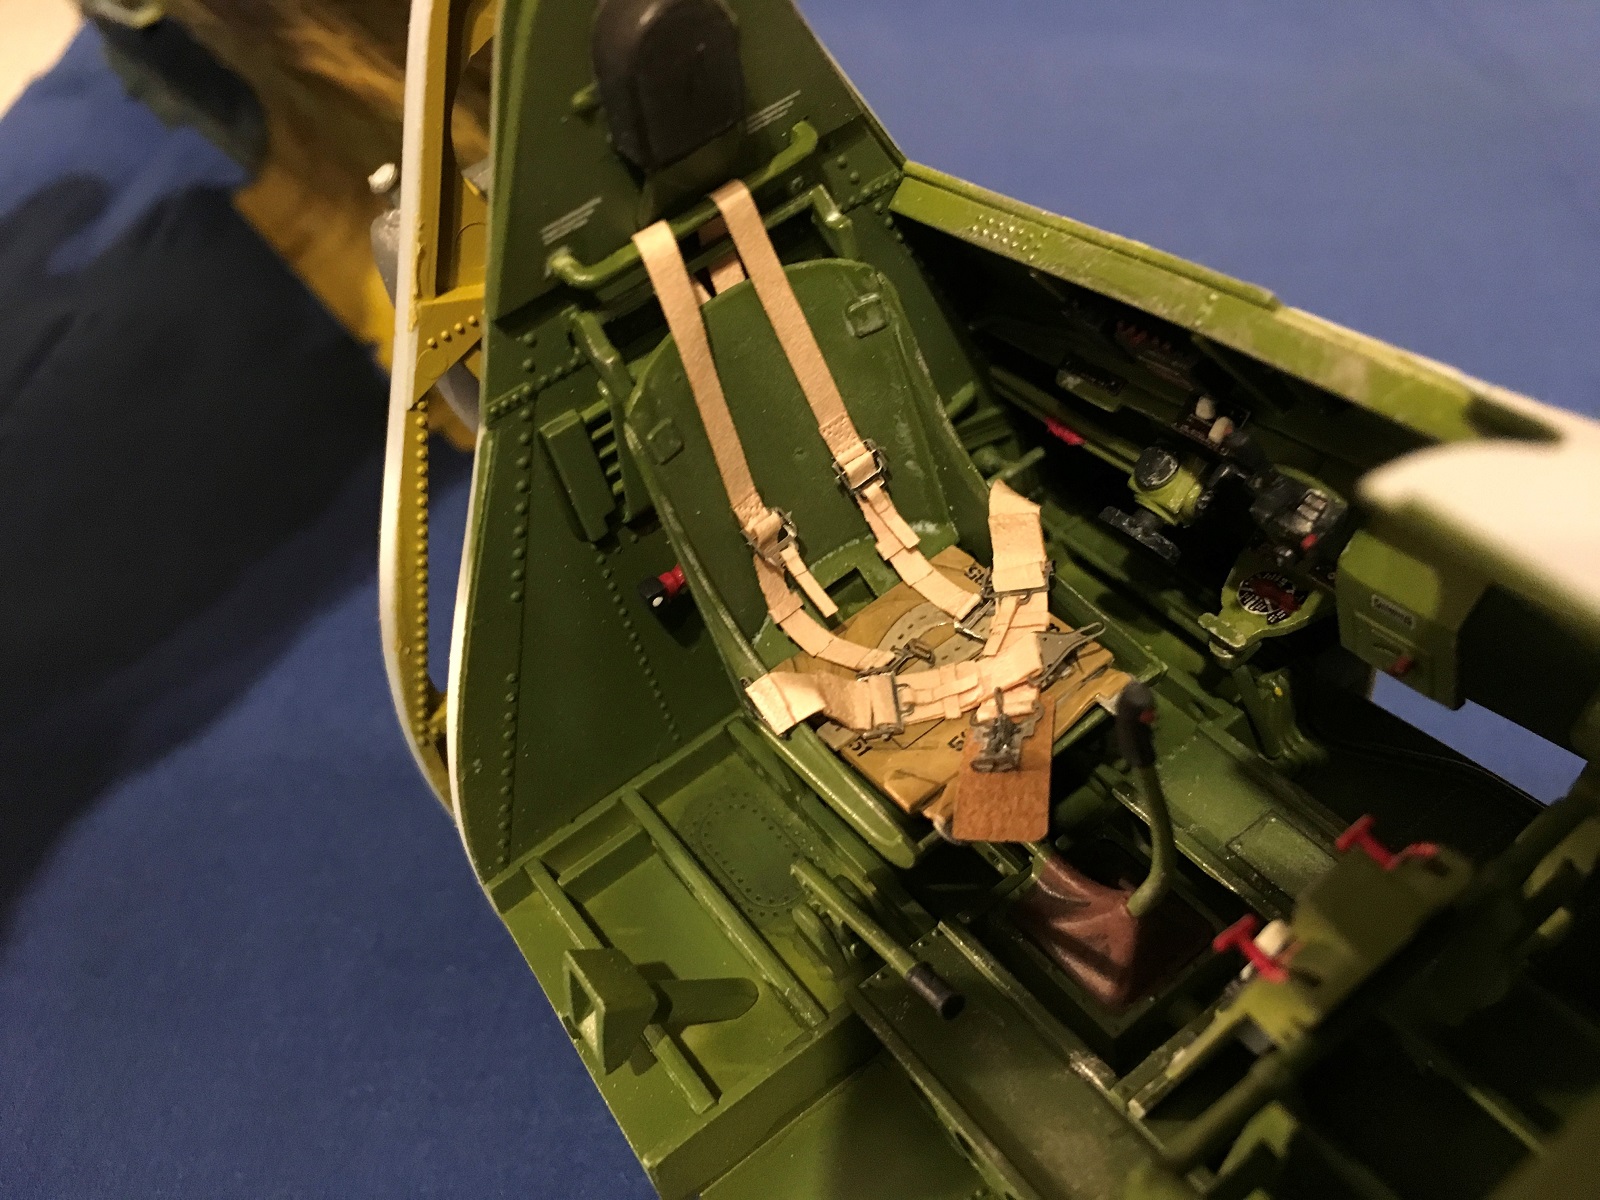
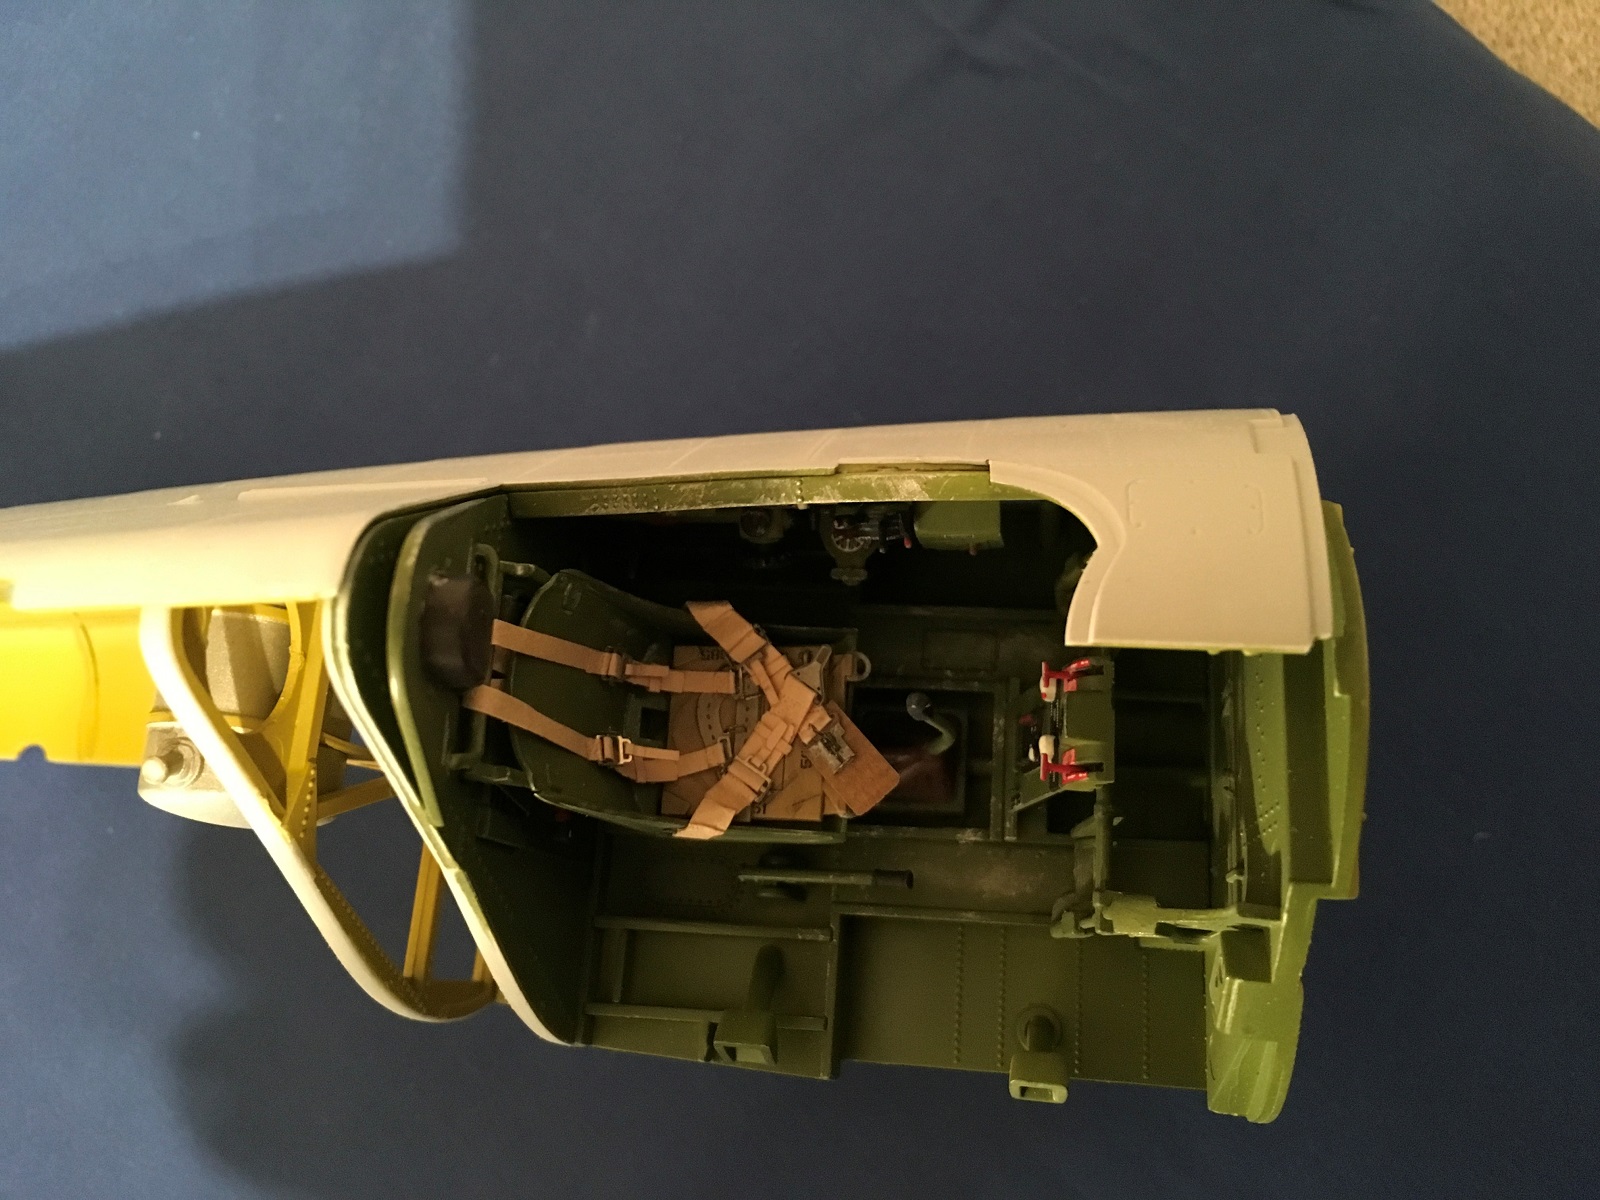
Attaching these belts to the seat was a simple matter of gluing the attachment buckles of the lap belts to each side of the seat and the shoulder harness buckle to the back of the seat. It is suggested to wet the belts with water to help form them to drape naturally over the seat.
The Airfix kit comes with a representation of a parachute pack that sits in the seat pan. The kit belts are designed to lay on top of this parachute, and they won’t reach the bottom of the seat pan. I quite liked the parachute, so I left it in and laid the RB belts over the top of it.
I carefully removed the Airfix molded on shoulder harness from a bar that is mounted to the rear cockpit bulkhead. The paper shoulder harness were then bent over the bar and down the seat back.
While the kit supplied plastic belts were absolutely fine and looked good, these RB-Production seat belts are simply stunning. They complement the Airfix F6F Hellcat perfectly. With some forethought they are not particularly difficult to build and I had them completed, from start to finish, in about 4 hours. I will certainly use RB seat belts again. I’d recommend them to modelers with some experience with photoetch and small parts.
I would like to thank RB-Productions and the IPMS for the privilege of reviewing this great product.


Comments
Add new comment
This site is protected by reCAPTCHA and the Google Privacy Policy and Terms of Service apply.
Similar Reviews