
Mercury Atlas
Following on the heels of the release of the Mercury Capsule model, Horizon Models is breaking ground with the release of a 1/72nd scale model of the Mercury-Atlas. This release includes parts to construct one Mercury capsule with the addition of the parts needed to build the Atlas launch vehicle. In the way of a preview of things to come, Horizon has also announced the release of an Atlas ICBM version in the near future. It will use the same basic parts as the launch vehicle in the Mercury-Atlas kit.
Something of historical note, Horizon Models shared that while (or “whilst”) if you speak “Aussie”, the previously released Mercury Capsule kit, 2003, was designed in Australia, it was tooled in China. However, we are informed that the Convair Atlas rocket itself, was designed, tooled and molded in Australia. It is thought that it may the first “full production” model kit tooled in Australia, with the exception of some limited run models. That truly represents “Thunder from Down-Under”!
The parts and decals are such that the builder can model any one of the Mercury-Atlas missions from the “Big Joe”(September 9, 1959) to MA-9 (May 15, 1963) when Gordon Cooper became the last American to go into space alone.
The box art is very well done and is the work of Paul Renwick Farley, an Australian artist. The box is quite sturdy and the back of the box provides some very attractive and useful “profile illustrations” of the Atlas and Mercury capsules in three configurations.
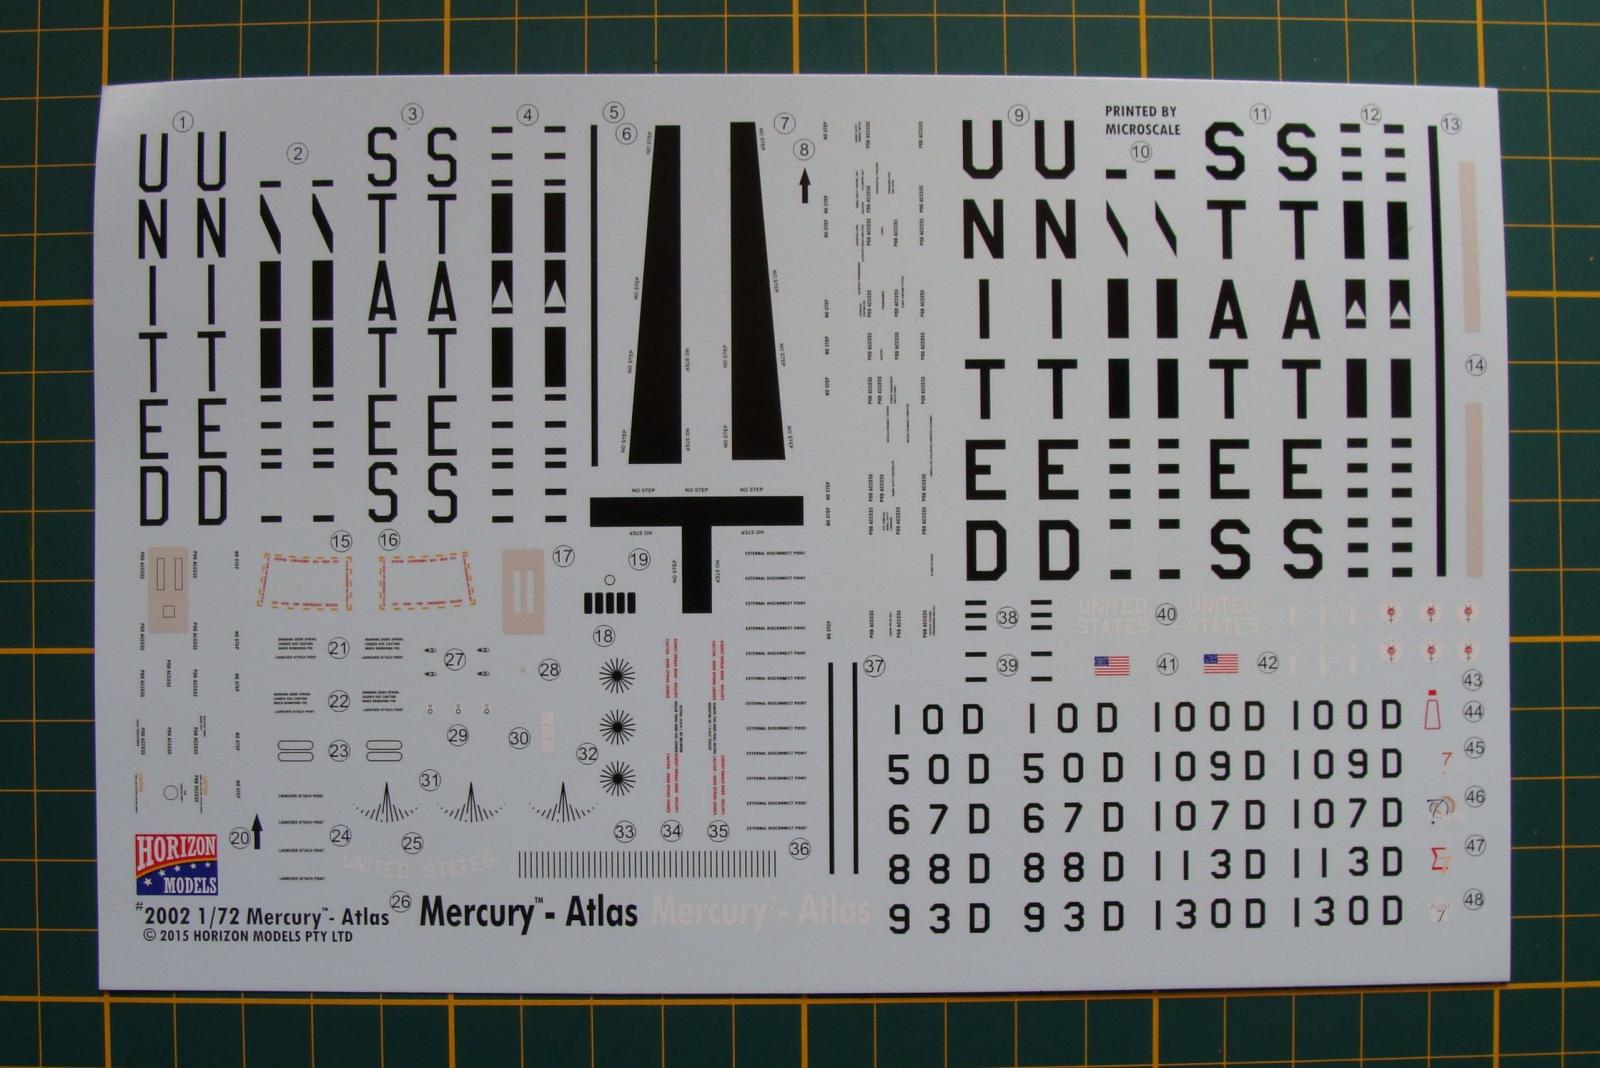
The decals are printed by Microscale and, at first glance, appear to be of high quality with no off-centered registration. There are quite a large number of stencil markings for the launch vehicle, so my expectations are high that this will be quite a fine model when completed.
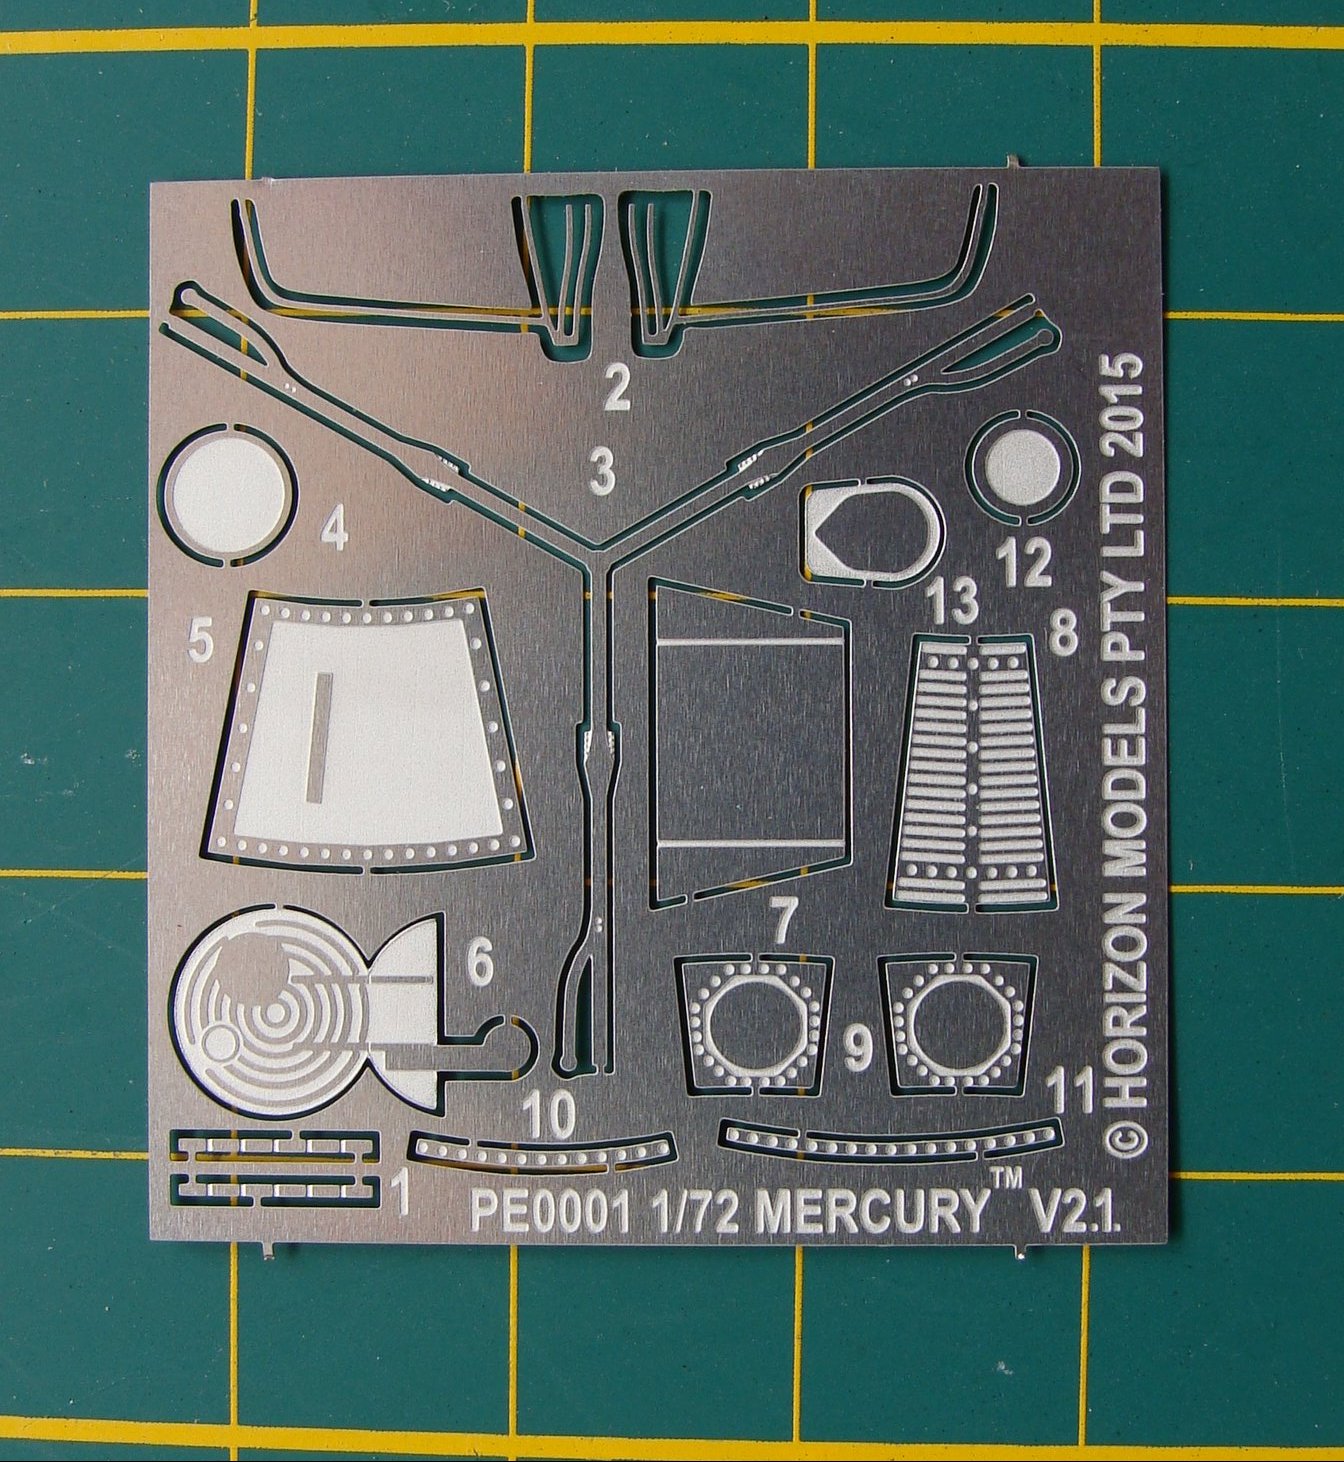
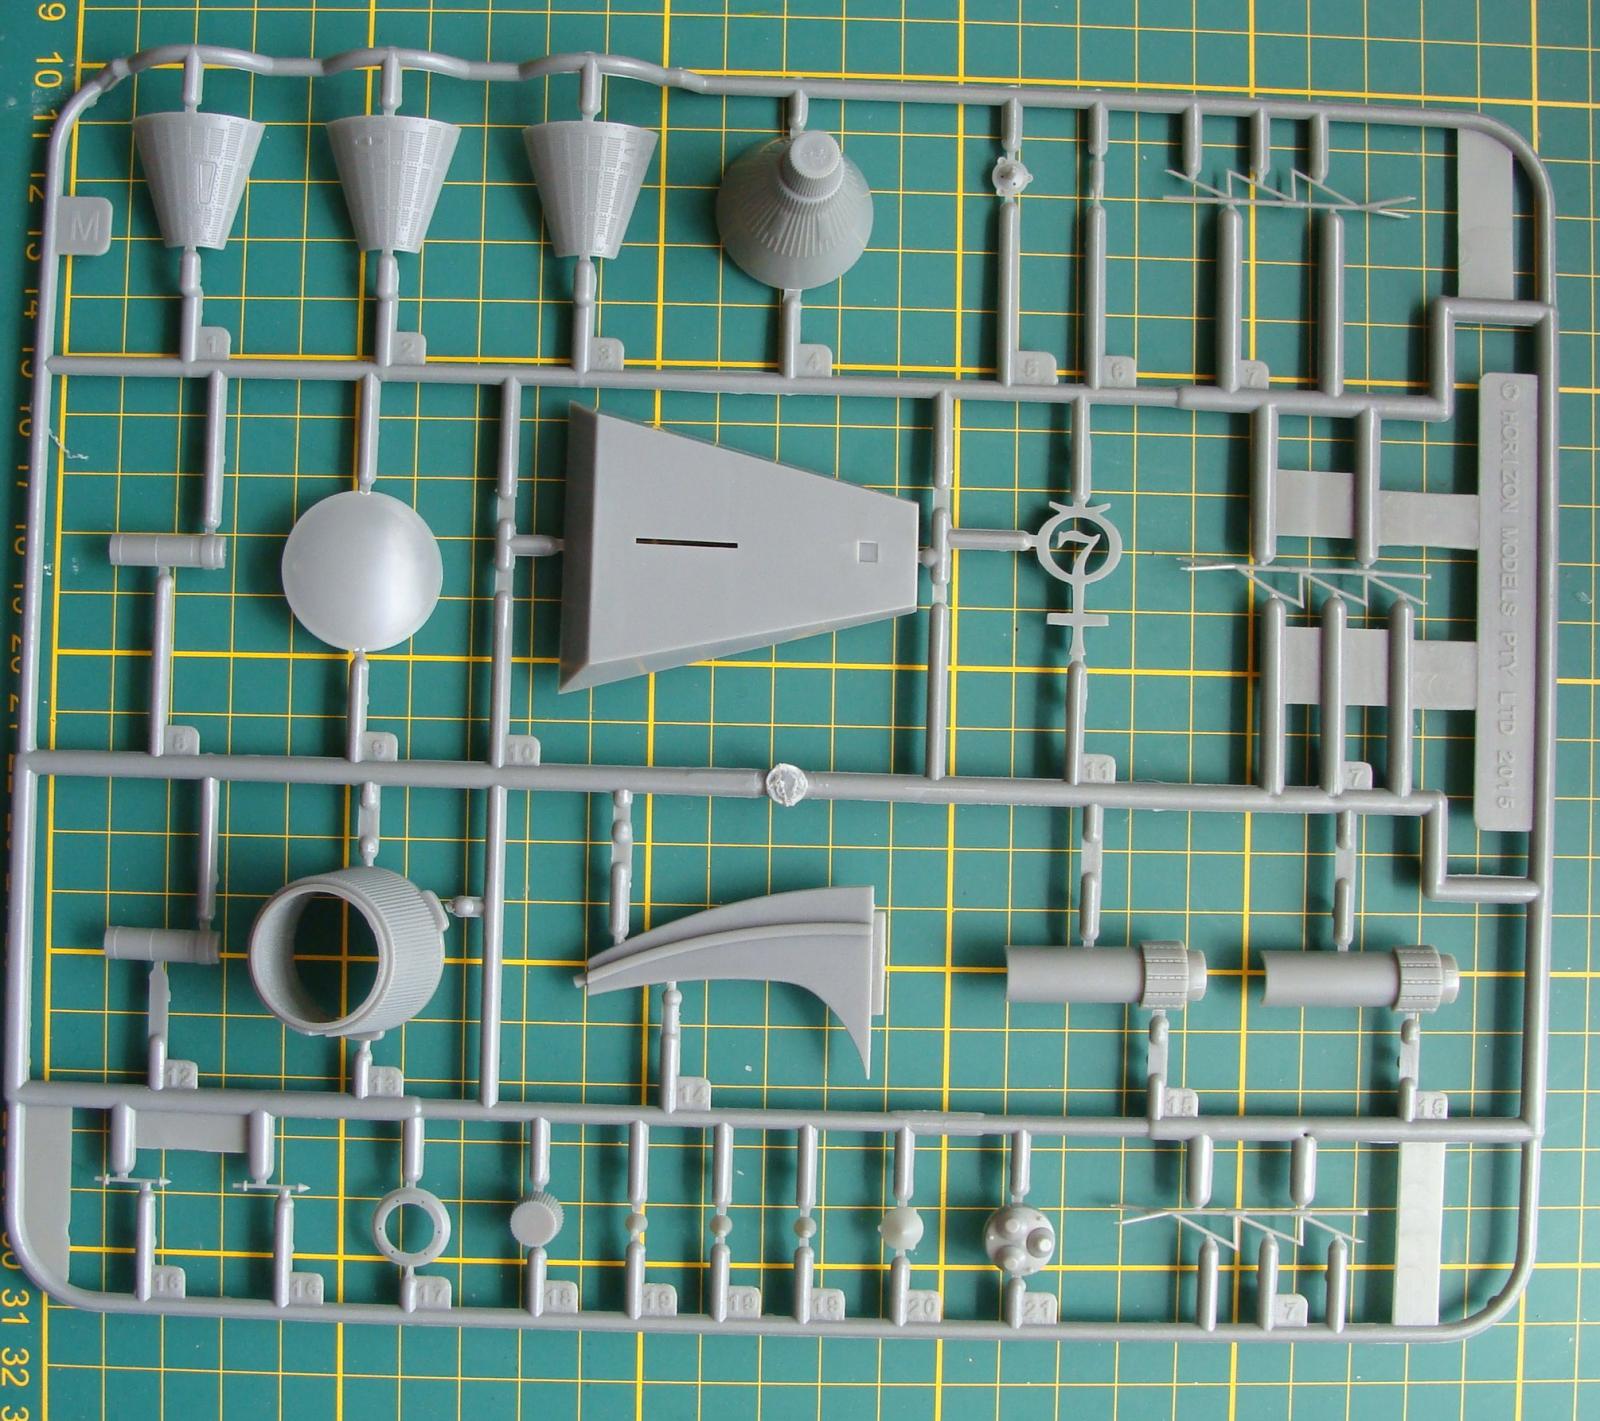
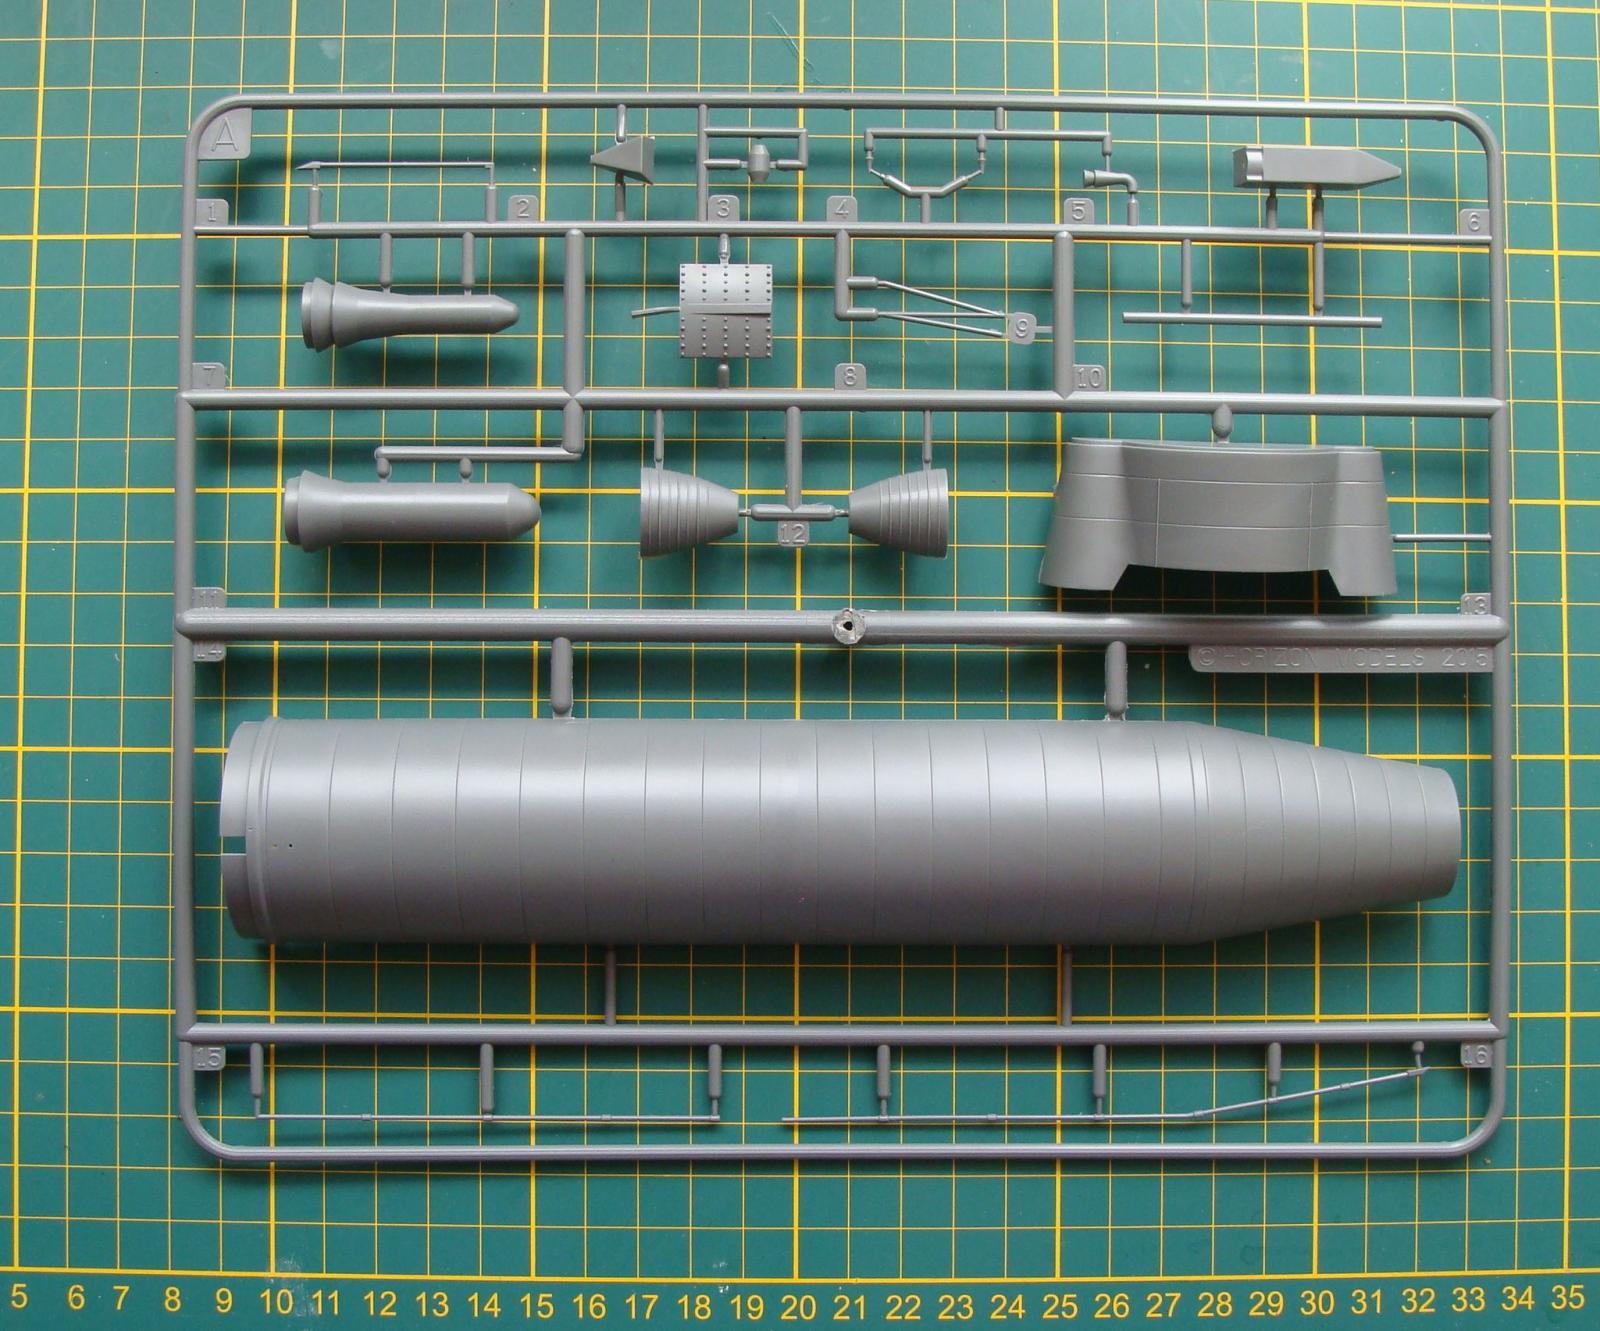
The instruction sheet is printed on eight “pages” and includes the generic “Assembly” suggestions that often accompany models, and well as some decal application suggestions. The part sprues are lettered A, B, and M and small illustrations of the three sprues are included with a list of parts below the illustrations that list the parts found on each sprue. There is a PE sheet included in this kit and an illustration and parts list are provided for it as well. A “color code chart” is provided at the top of page two, just above step 1.
It is advisable to study the instructions prior to starting the project as there are some comments of a “Version XYZ” nature. It is, therefore, necessary to select which version, or MA mission that one will model, prior to being construction.
Steps 8 and 9 are rather detailed, and that is a good thing. Both steps address the location and placement of the myriad of stencil decals and markings that are provided for this kit. Paying attention to the proper placement and use of the correct decals will result in an accurate and authentic representation of this historic vehicle.
Be aware that there is a problem with the instructions. In Steps 8 and 9, the small “Insignia” decals that are identified as #41 are actually decals # 43. In short, any decal identified on the instruction sheet as #41 is not #41 on the decal sheet, but is # 43 on the decal sheet. The ID #s on the decal sheet are correct. Horizon is aware of this problem and the instructions will be edited, but if you get one of the original releases of this kit the error will be present. Also note that when Horizon was alerted to this small problem via email that a reply appeared in under an hour. Now that’s customer service!
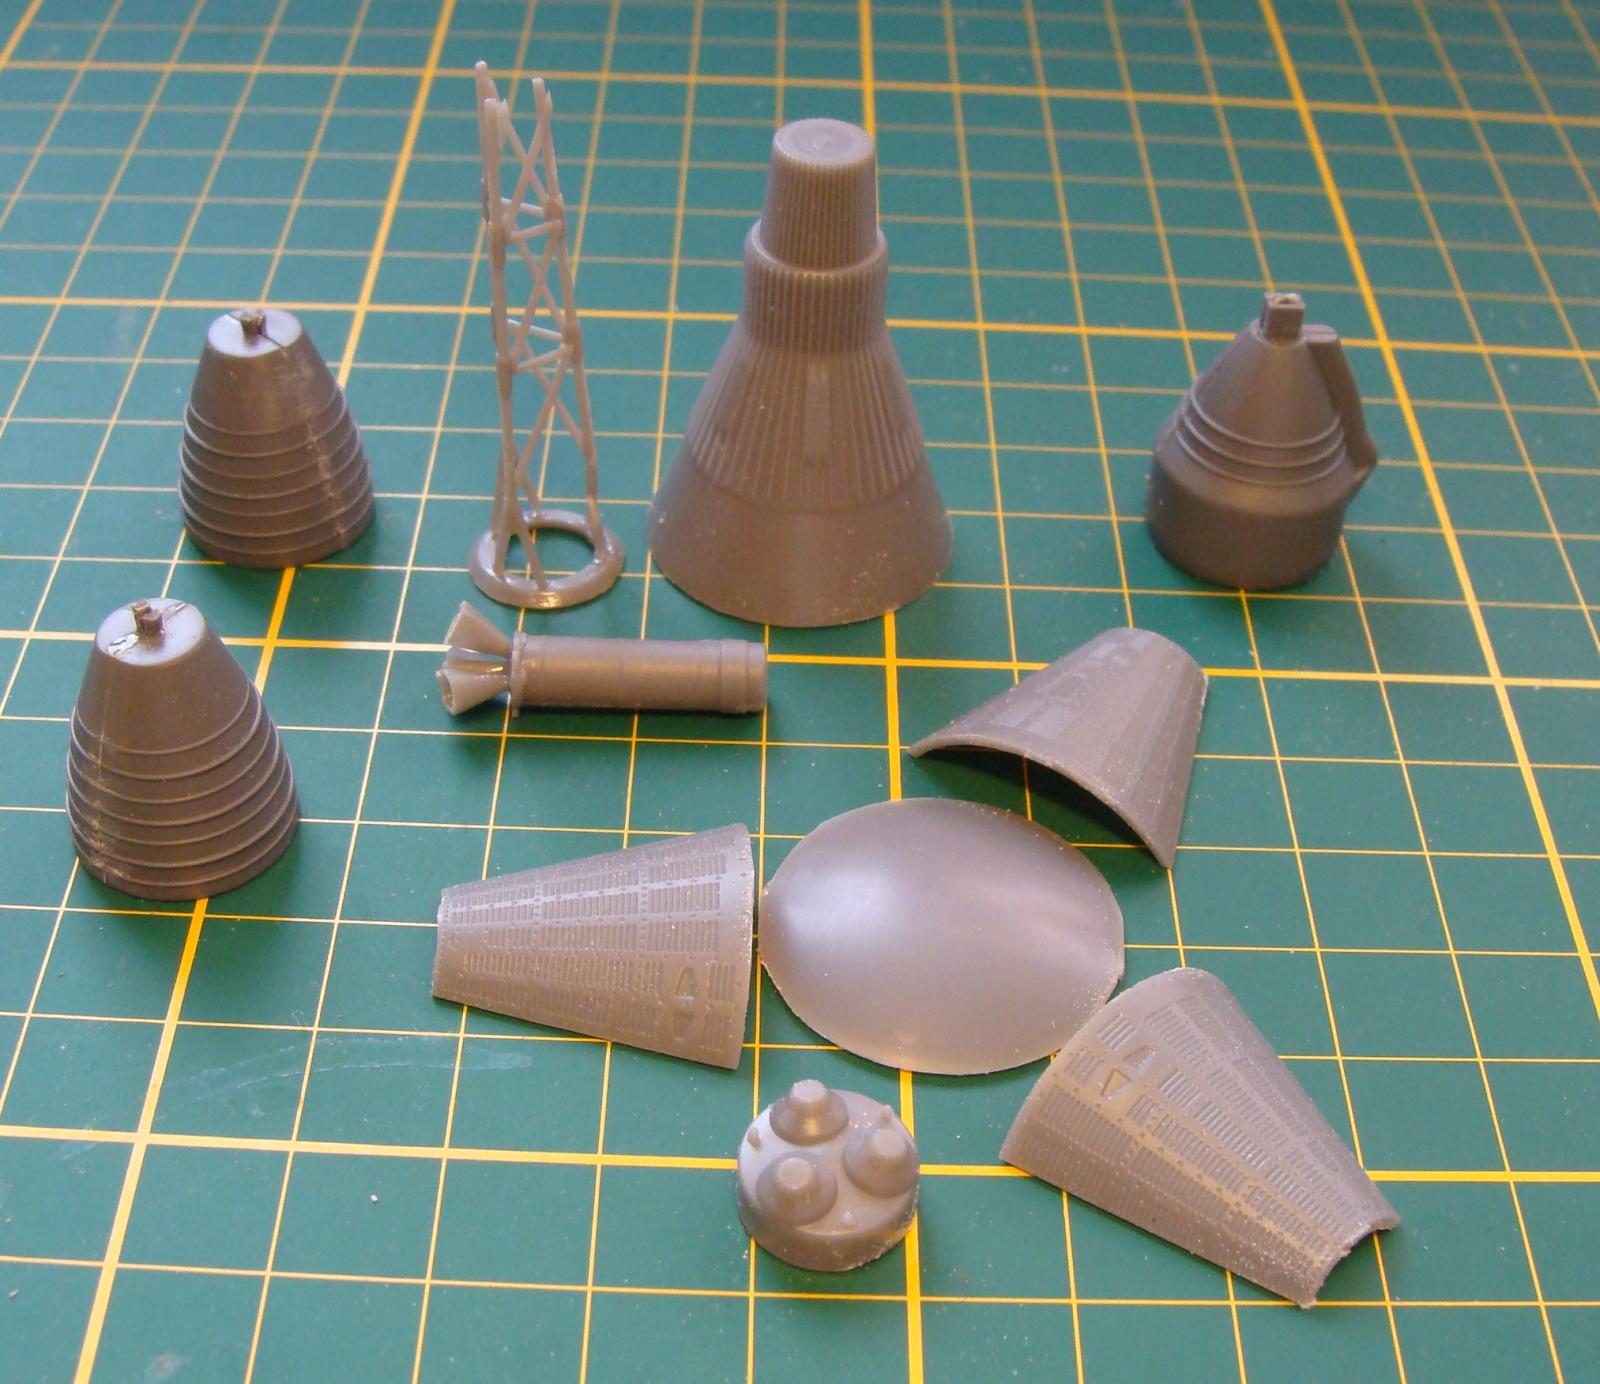
I’ve built my kit Out of the Box. Frankly, for me, there is sufficient detail provided to negate any need for me to add to it. The build is straight-forward, but again, Read and Study the Instructions! Here are some points to note:
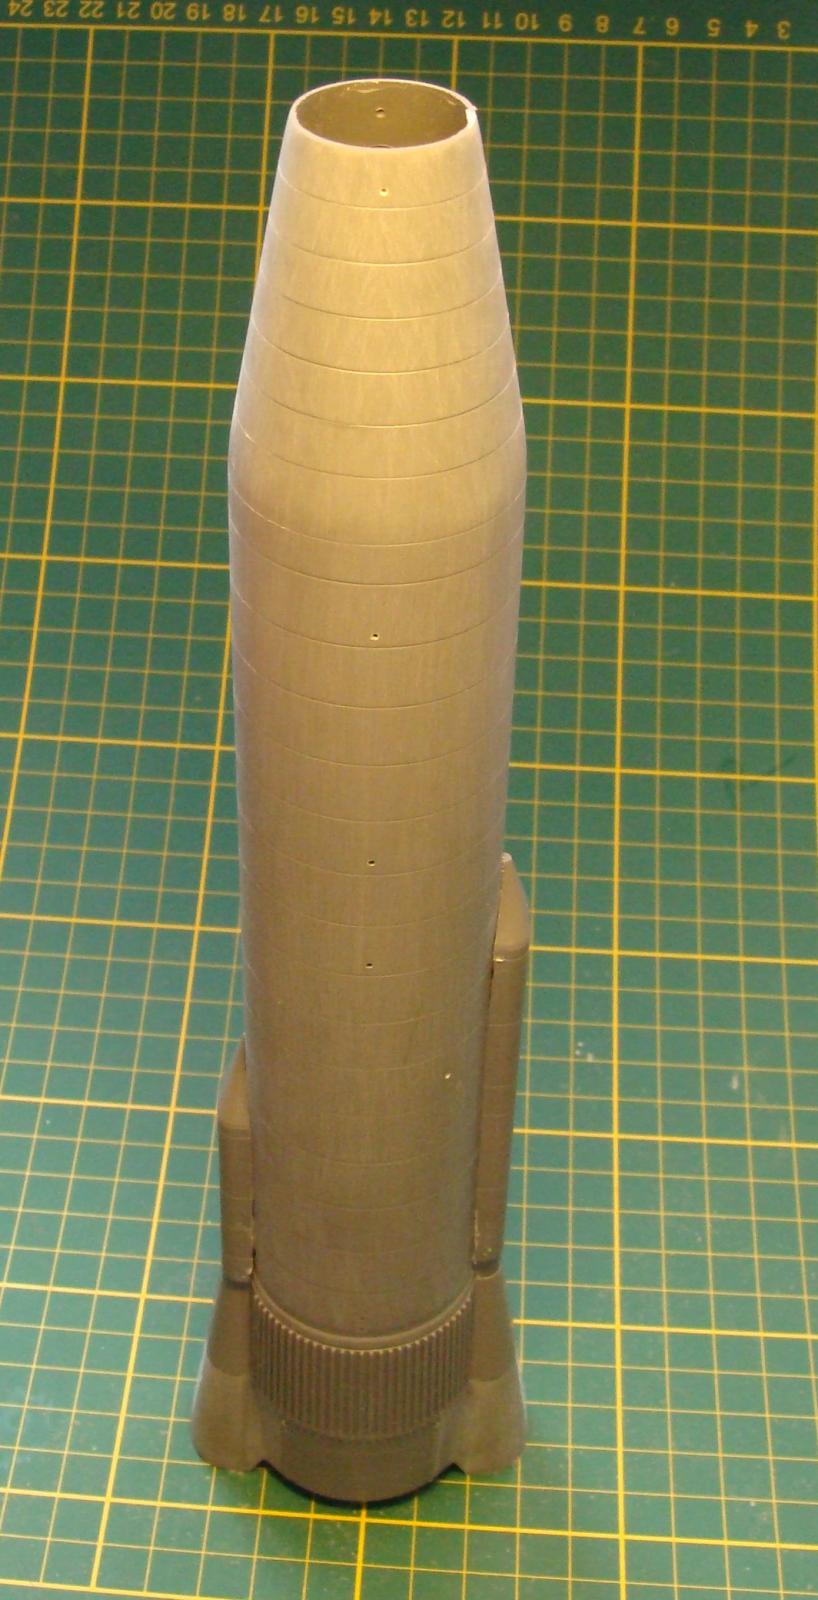
- In steps 1 and 2, you are directed to drill out some holes in the rocket fuselage. Inspect the fuselage halves, on the interior surface, and you will see where the holes are to be drilled. Look at the locating pins on those parts that will be attached to those holes and pick a drill bit that will pop out a hole of the proper size.
- Pay attention to the “Rear” and “Front” identification of the fuselage halves. Just study the instructions and you’ll see which is Front and which is Rear. The same holds true of Parts A 13.
- In step 3, note the comment box that suggests that decals should be applied before certain parts are attached.
- I found it helpful to widen some of the locating holes and slots before gluing particular parts in place. To make it easy, it is recommended to open all of the locating holes before painting the parts.
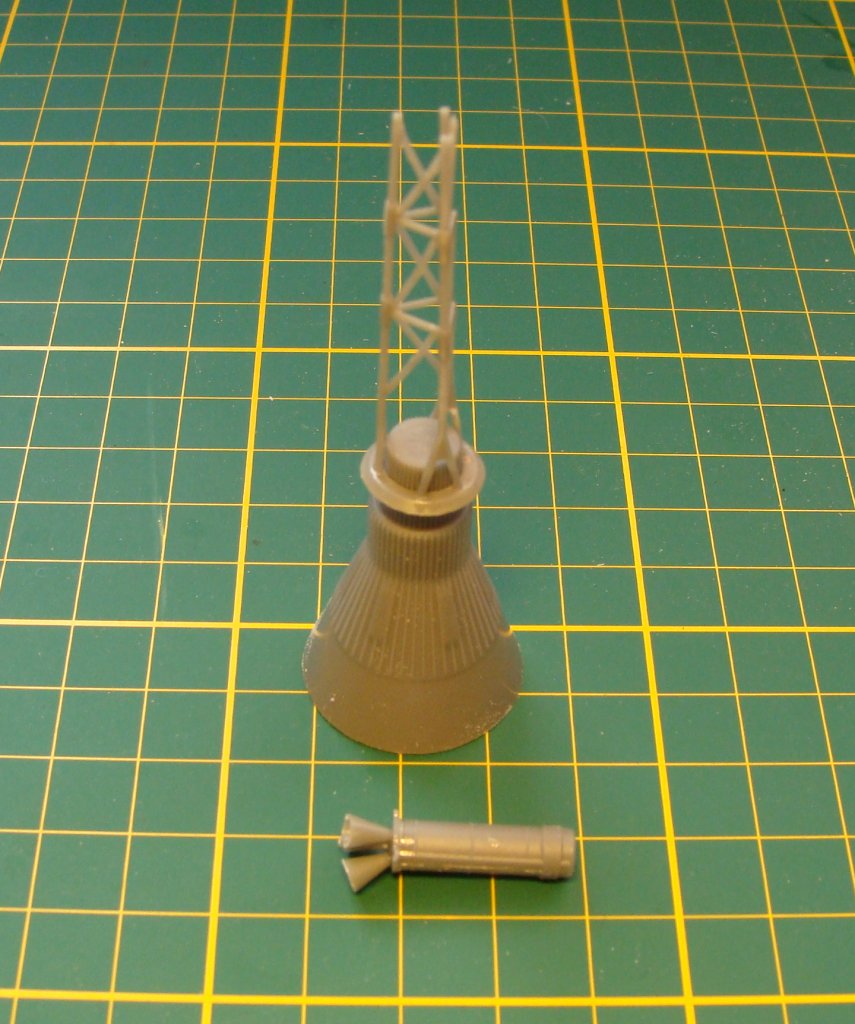
- Be precise when constructing the escape tower. “Fit” is critical. (and remember to open those locating holes in the support bracket ring before assembly.) It is recommended that you gain some test-fitting experience before attempting to glue the three support girders into place. Using a small amount of white glue (Gator’s Grip Acrylic Hobby Glue is my choice) you can assemble the tower by applying to GG glue only on the lower attachment points where the girder arms meet. Once you are satisfied with the alignment of the three girders then apply some plastic glue to the remaining contact points.
- The decals are fantastic. I used nothing but distilled water to apply the decals. You’ll note that the decals are printed by Microscale and quality certainly shows.
The most time-consuming aspect of this build was actually waiting for the paint to dry before moving on to decaling, which also took some time. Actual construction isn’t difficult nor is it time consuming. I did use a little seam filler here and there but certainly not very much at all. The fit is good and cleaning up the separation burrs on the parts after removing them from the sprues certainly aids that good “fit”.
The plastic is on the soft side ( a personal description which you may not agree with when you build this kit) and it sands easily. Fit between the parts is quite good and is a positive feature of this kit.
The selection of PE parts is sufficient to add very detailed “plumbing” to the escape tower and the finished product is quite stunning.
This kit is highly recommended due to the quality of the molding, the excellent fit, the superior decals which give one a wide choice of capsules to model, and the excellent instruction sheet. Personally, I’m hoping to see a Gemini Titan in the future! Thanks to Horizon Models for this excellent addition to the ranks of Manned Space Flight History as represented in models.


Comments
Add new comment
This site is protected by reCAPTCHA and the Google Privacy Policy and Terms of Service apply.
Similar Reviews