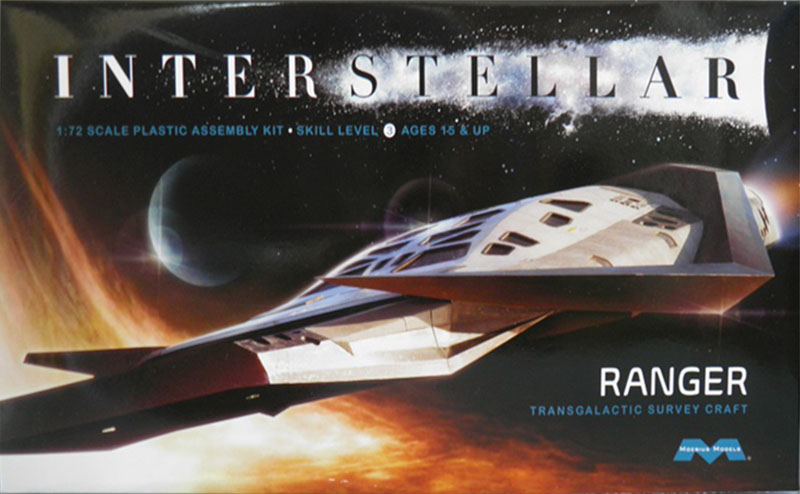
Interstellar Ranger
Interstellar came out in 2014 and was a decent movie about team of explorers who travel through a wormhole looking to find a new world to ensure humanity's survival. The ship the stars used was the Transgalactic Survey Craft, Ranger which was launched on top of a secret Saturn V rocket.
Moebius recently released a 72nd scale kit of the Ranger based on the full scale prop, miniatures and CGI files used in the movie. As 72nd is my preferred scale, I was interested. The kit has 42 parts molded in white plastic which include 38 for the 72nd scale ship and 4 bonus parts to make the top of the Saturn launch vehicle with 2 Rangers. The parts for this should fit either the Airfix or Revell 1/144th scale rockets.
The molding is Moebius’ usual with crisp details, and the small number of parts insure the kit builds fairly quickly. The finished model is just over 10 inches long. A very small amount of flash is visible, but nothing to worry about.
There are a lot of windows on the ship, but no clear parts. Yep, the windows are molded into the top part. I would have preferred a full interior with some crew and clear windows but am sure this would have added to the final cost. Also since the windows are very dark, it would have been hard to see an interior. Still, I would have liked one.
I have criticized Moebius on previous kits for their lack of painting instructions. The ones in this kit are a little better, but then again, it is mainly black and white. One nice inclusion is a paint mask printed on the instructions, so you can create your own mask for the lower rear sides, which would be really helpful.
The main parts go together quickly, and only a small amount of filler is required before you are ready to paint. One thing to watch out for is that the landing gear really need to be attached before you can finish the kit, and this does make masking a bit more fun. While the parts look pretty fragile, and I had fears of breaking them off, they held up well and I had no issues.
You do not get an in-flight option with the kit, and no stand is included. The gear can be deleted and the landing pads glued into the fuselage for an in-flight look, but the front gear don’t have any details on the underside, so they would probably be better replaced with sheet plastic if you want to display it this way.
Since the masking looked like it would be a lot of fun, I decided to purchase the paint mask set from Aztek Dummy (AD-42). While a little expensive, it does make masking the kit a lot easier, even with a little different painting advice. While one would normally paint the white first and then mask for the black, Aztek has geared their set for the opposite. First you paint the whole kit flat black (I used Walmart brand spray cans for the black and white), which gives you a nice, stealthy looking Ranger. Then you use the pre-cut masks for the windows, nose and upper wing panel. Spray the front of the model white, then mask off the back panels and paint the rear white. While the pre-cut masks work well, you still need to use plenty of your preferred masking tape to protect the rest of the ship. I had to do a little touch up on overspray, but overall it worked well.
I applied Pledge to the areas for the decals, and applied the 13 decals using Micro Set and Sol with no issues. That is, until I went for the Testors Dullcoat. I had over-coated the placed decals with Pledge after they had dried, and I am glad I did, because the Dullcoat added a lovely frosty look on all the upper black painted areas, including the windows, except where the Pledge had been applied. I fixed this by using a black paint pen to redo pretty much the entire topside black areas. After this had dried, I applied Pledge to all the windows to give a little bit of a glass-like look and that was it.
If anyone is interested in the 1/144th scale parts, contact me and I will forward them on as I won’t be using them. I just stuck the parts together for the pictures, they are not glued.
Thanks to Moebius Models and IPMS/USA for the review kit.


Comments
instructions
I'm looking for building instructions for this kit.
Add new comment
This site is protected by reCAPTCHA and the Google Privacy Policy and Terms of Service apply.
Similar Reviews