
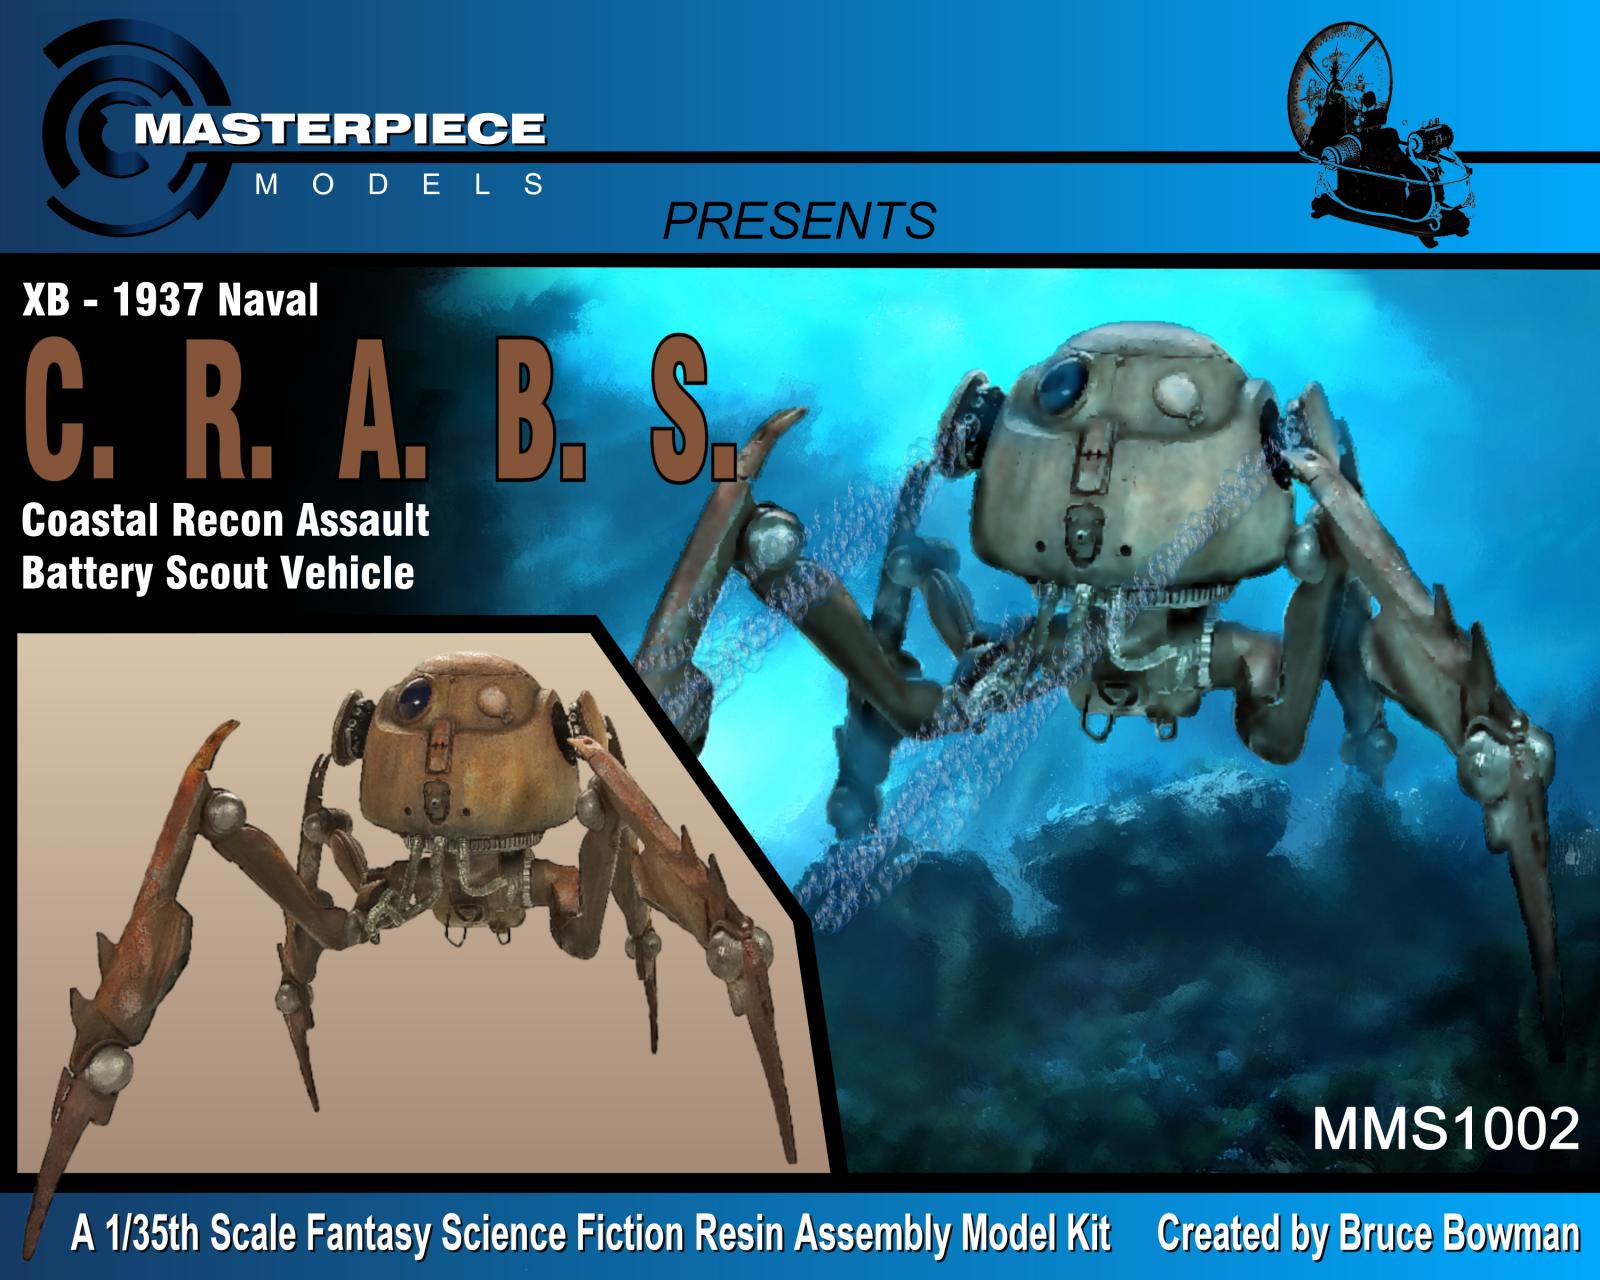
XP-1937 Coastal Reconnaissance, Attack and Battery Scout - C.R.A.B.S.
From Masterpiece Models Web Site, the back story is:
XP-1937 Coastal Reconnaissance – In 2115 World War IV broke out over the last natural resources. The Earth was divided into three major Confederations: The United Alliance of the Americas, the Euro/Siberian Alliance, and the Middle Asian/African Consortium.
2121 marked a turning point in the War when shoreline installations across the globe, both military and civilian, fell under an onslaught of terrifying proportions. From out of the sea came machines so unearthly in their aspect that even the brightest scientists could only guess that they must be extraterrestrial in origin. They were wrong. The XP-1937 Naval CRABS were the front runners of a New Faction that would bring the Confederations to their knees.
XP-1937 Coastal Reconnaissance, Attack and Battery, Scout Specifications
- Manufactured by the Humongous Maritime Facility of New South Wales, Australian Empire, under the directive of Generalissimo Kai-San Necros.
- Date of manufacture: 2121 approx.
- Series type: Amphibious Walker, Reconnaissance/Attack craft
- Speed: 60 kph verified. Top speed unknown
- Range: Unknown
- Armor: Flexible ballistic material and steel hybrid. Unknown manufacturing process.
- Power plant: Yoyodyne fusion reactor.
- Armament: 2x turreted Plasma/Pulse weapons.
- Main Weapon Range: 3 km verified, max unknown
- Defensive armament: sonic disablement devices and black smoke generators.
Masterpiece Models specializes in hand cast short run “garage” kits of subject ranging from historical (like the first two atomic bombs), dinosaurs, and science fiction based kits. Each kit is hand cast and they have a great range of imaginative subjects. In this case, C.R.A.B.S.
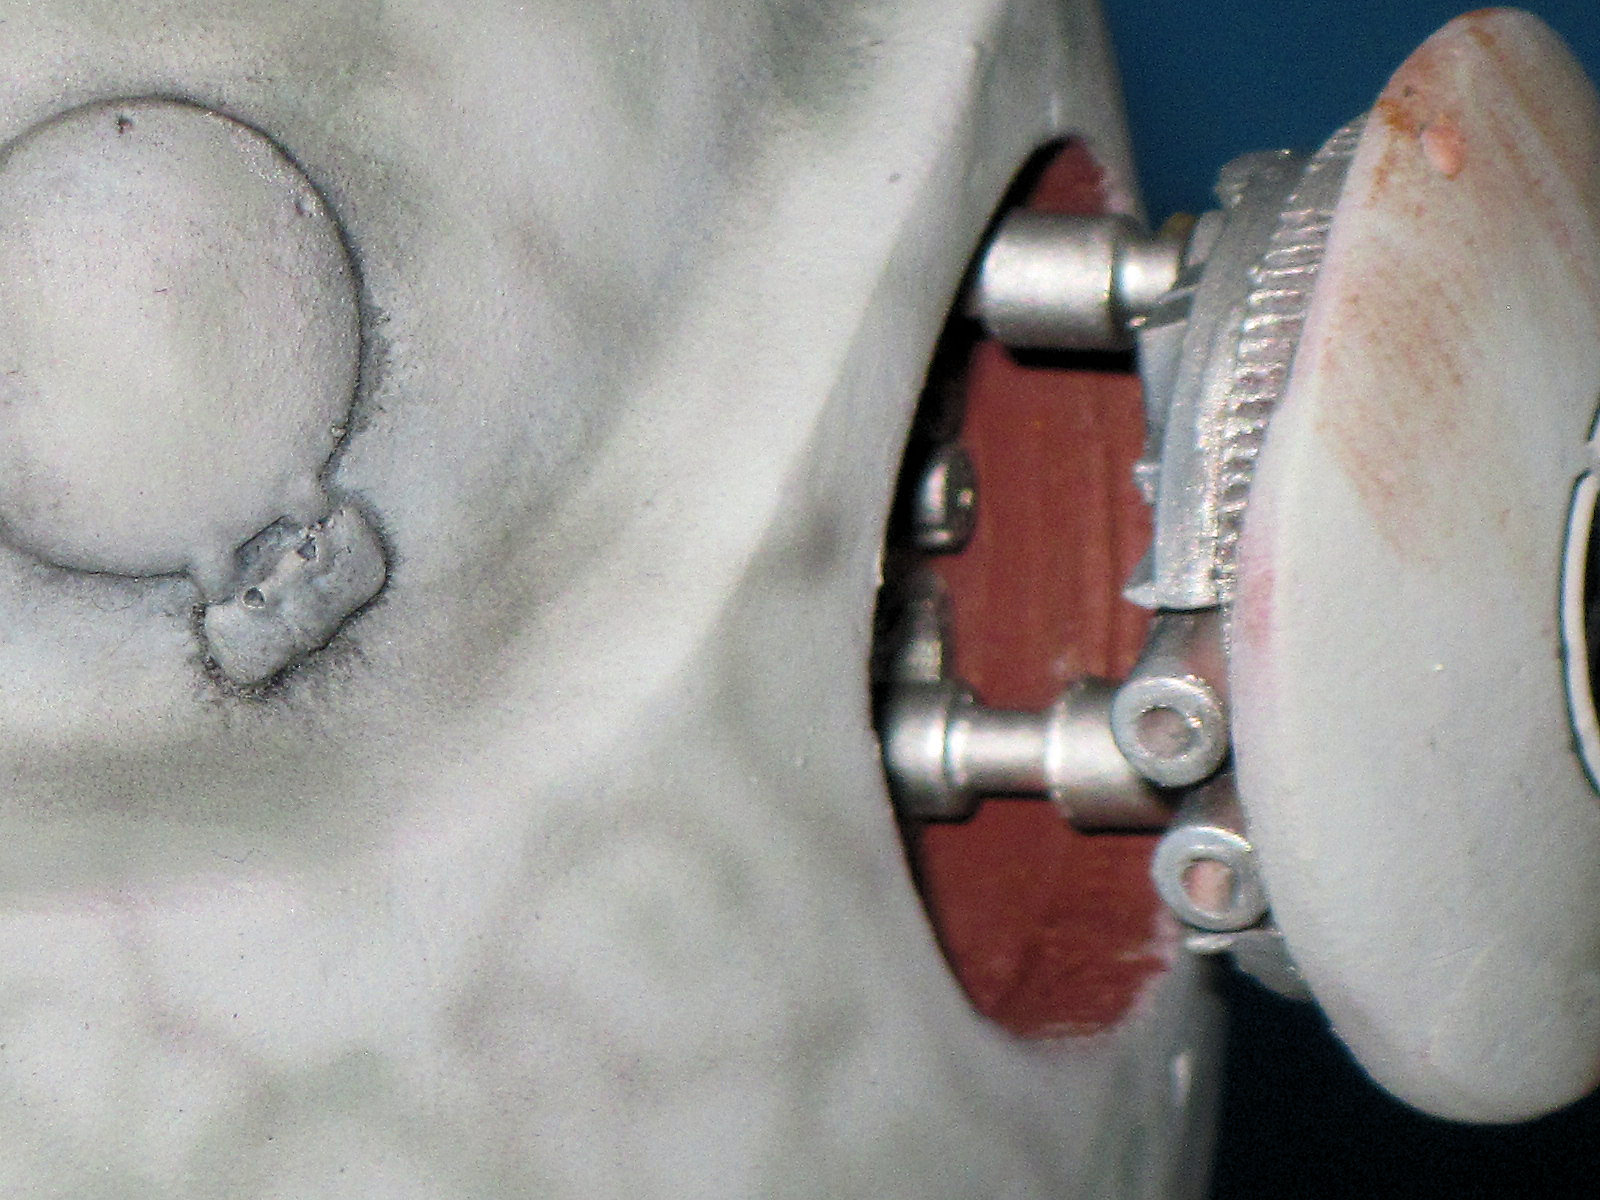
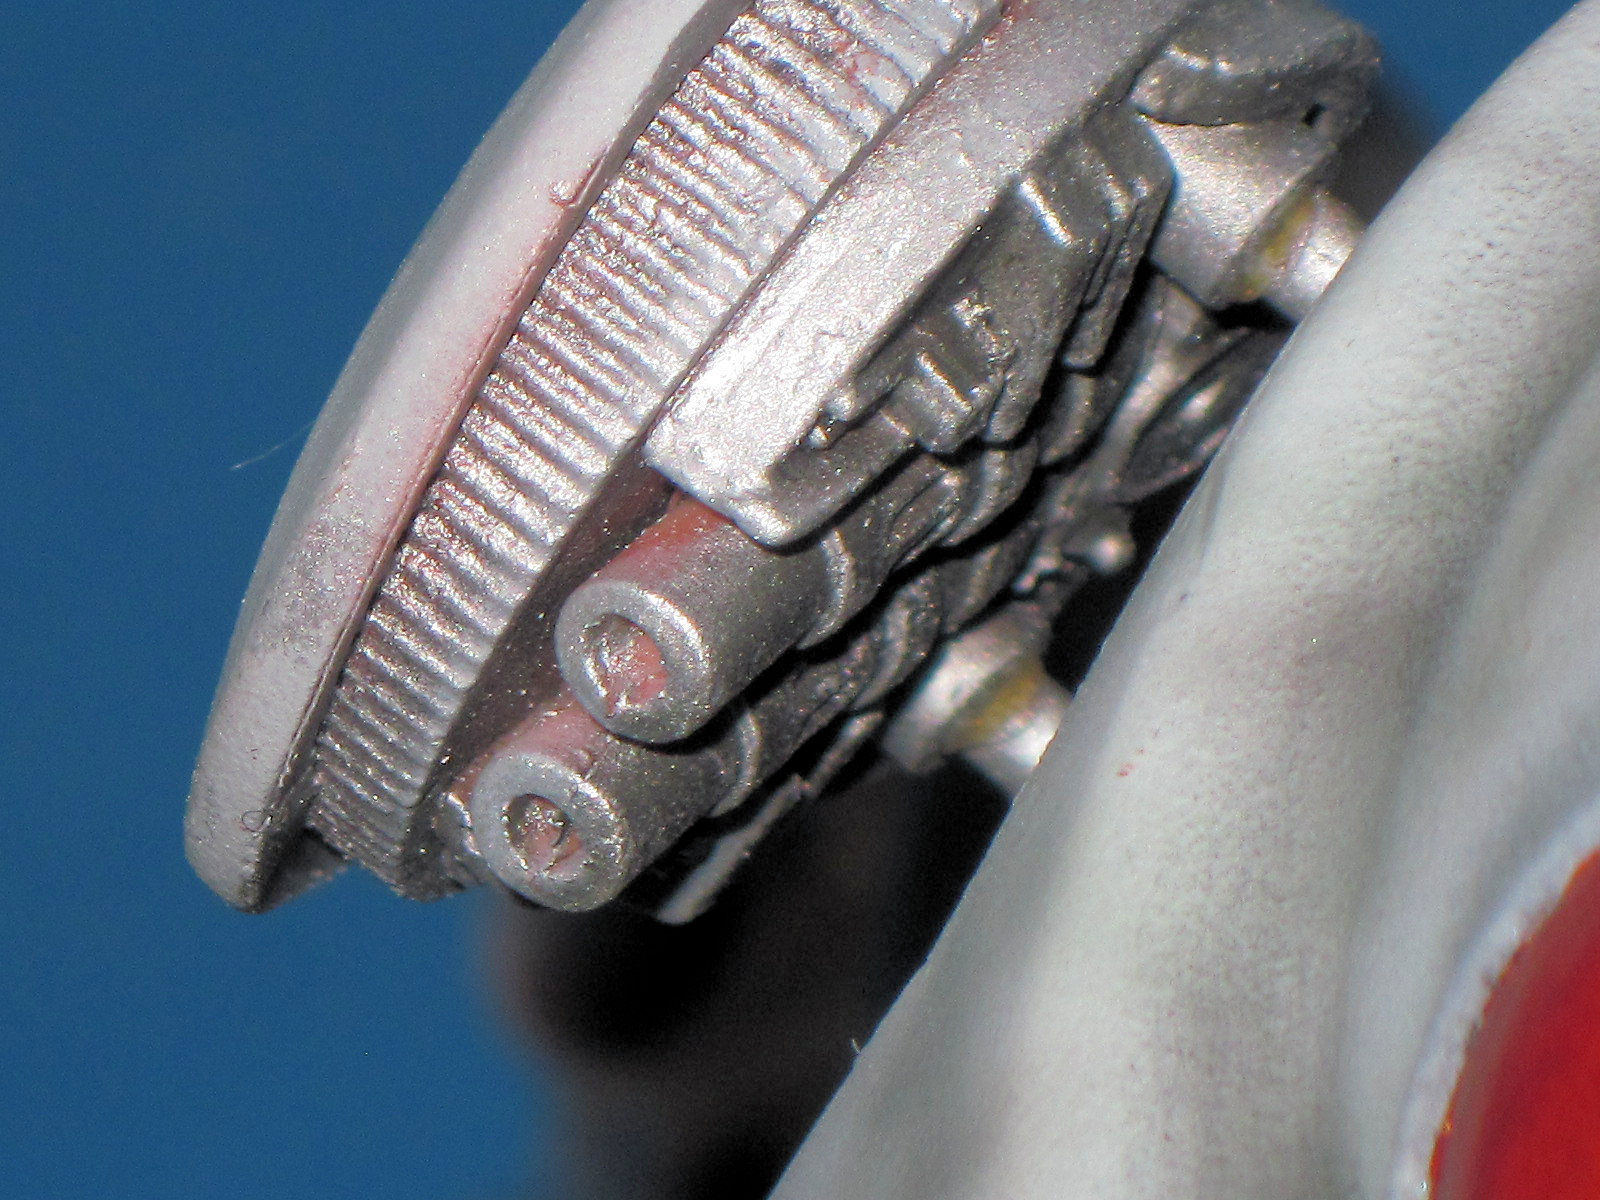
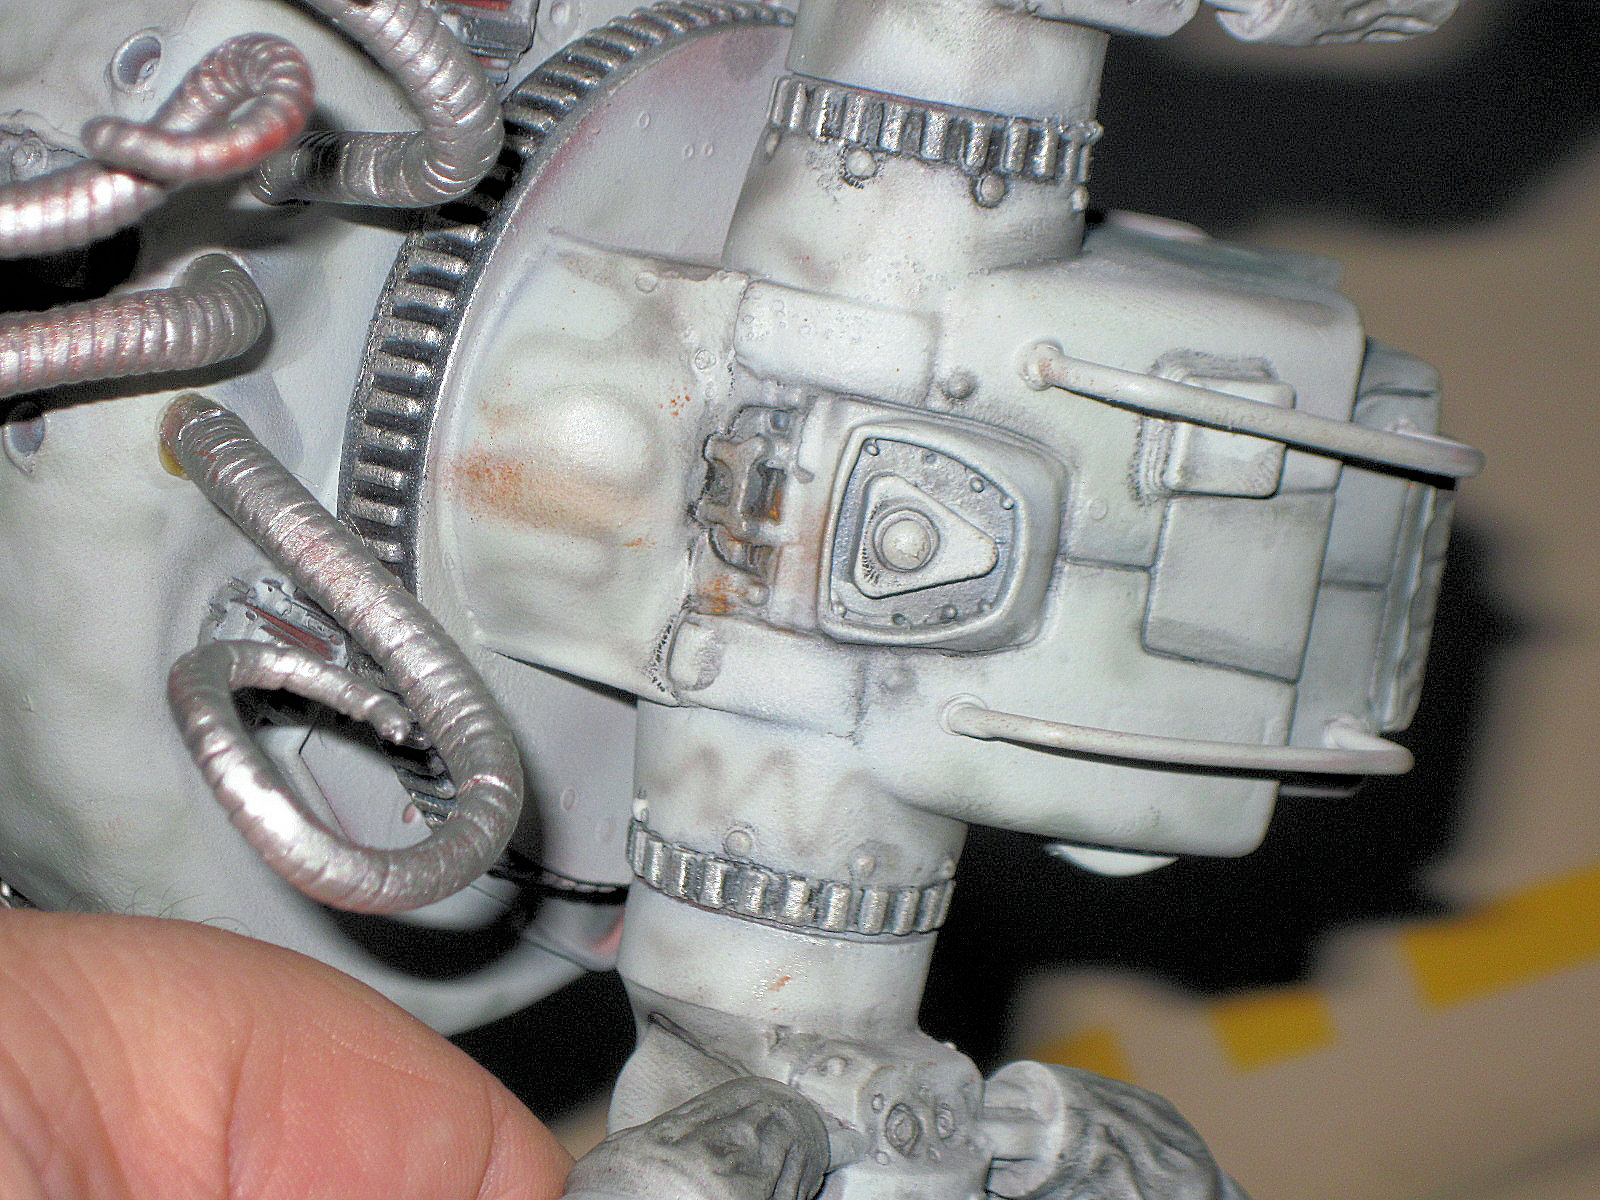
The kit comes in 32 off white resin parts and each part will need cleaning up. For those who have never worked with limited run resin kits, this is typical of hand cast kits. First, each part was removed from the casting background as needed. I did this with a razor saw and sanding sticks. Once the basic cleaning was done, I moved on to two further cleanings. Each leg “vent” has excess casting material in it. I used a Dremel with Lasco diamond bits and made quick work of these. Lastly, there were some air bubbles in the castings which common with this type of kit. You can see in the pictures where there was a large bubble on the edge of the vent. To fill these, I use one of two options. For small ones, not on edges, I overfill the hole with glazing putty. Let this dry for a little while and use a cotton swab wetted with lacquer thinner. This wipes it smooth. For ones like the picture of the edge one, I mix up a small amount of Aves Apoxie Sculpt and let it stiffen slightly. I force it in the hole and smooth over the entire thing with a water wet finger. If you look at the later picture, you can see it was repaired completely.
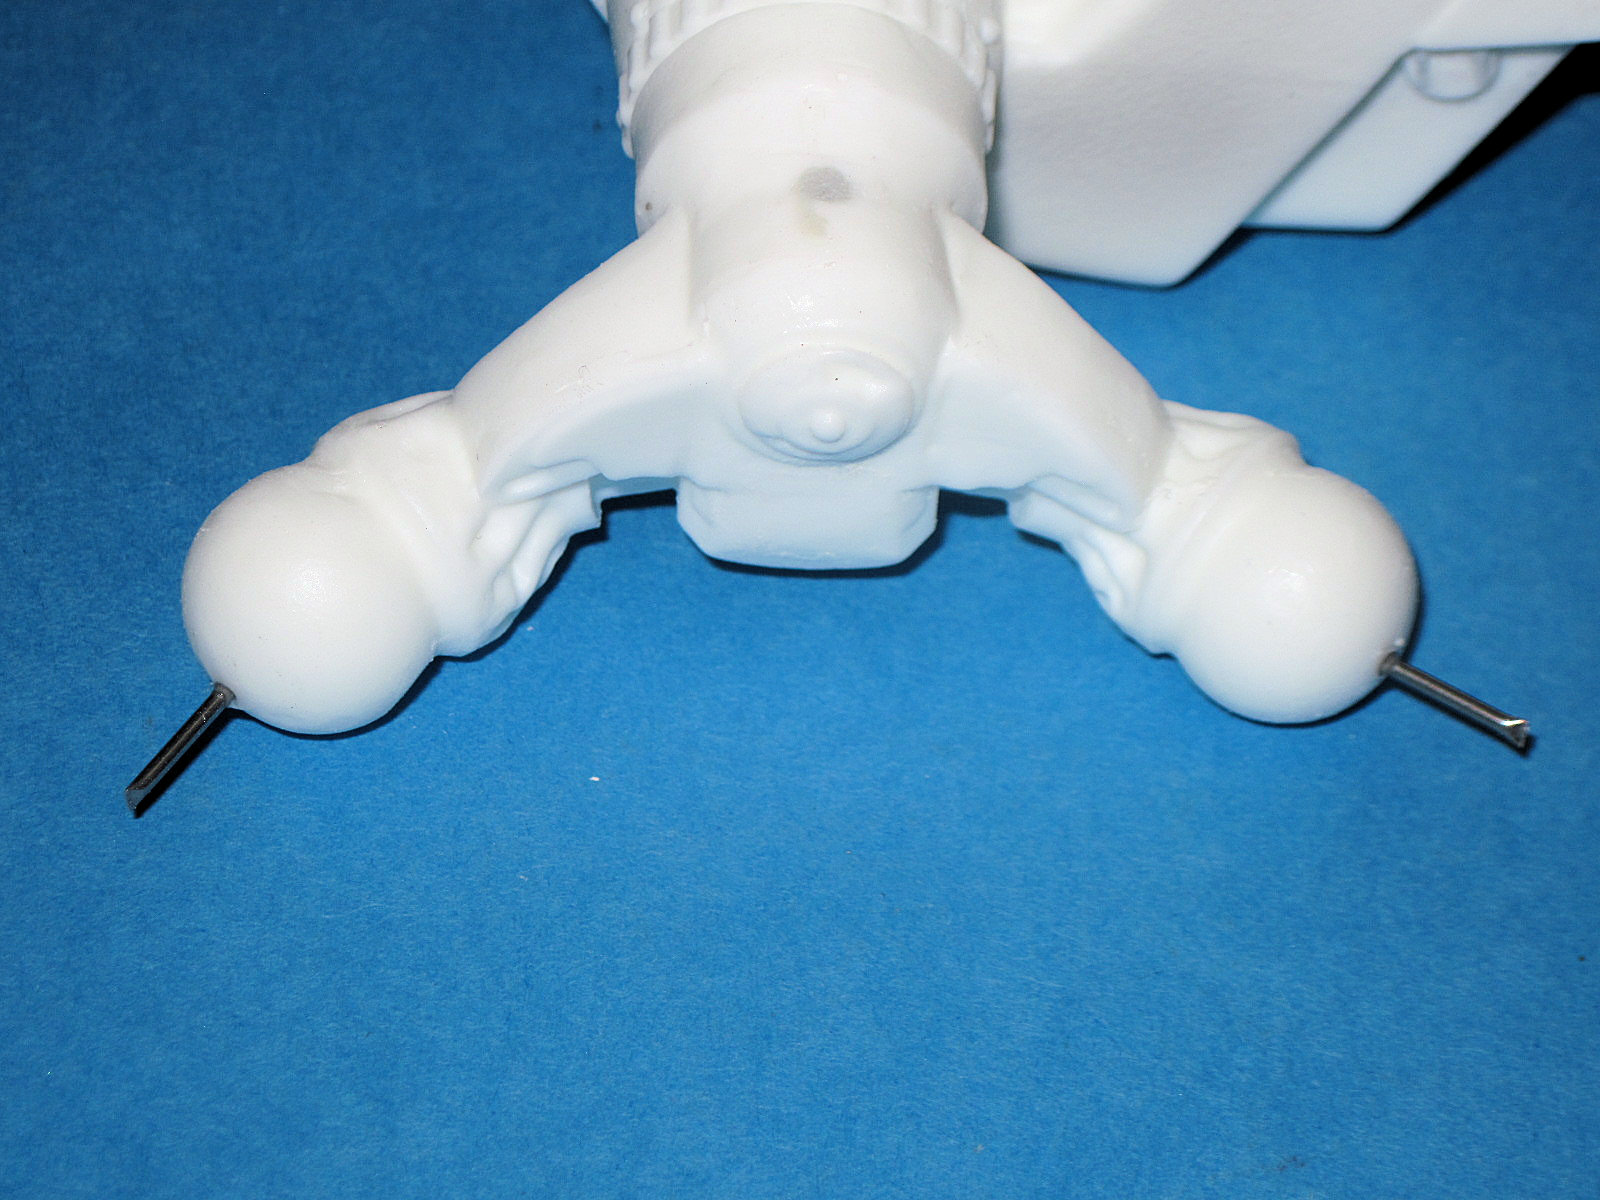
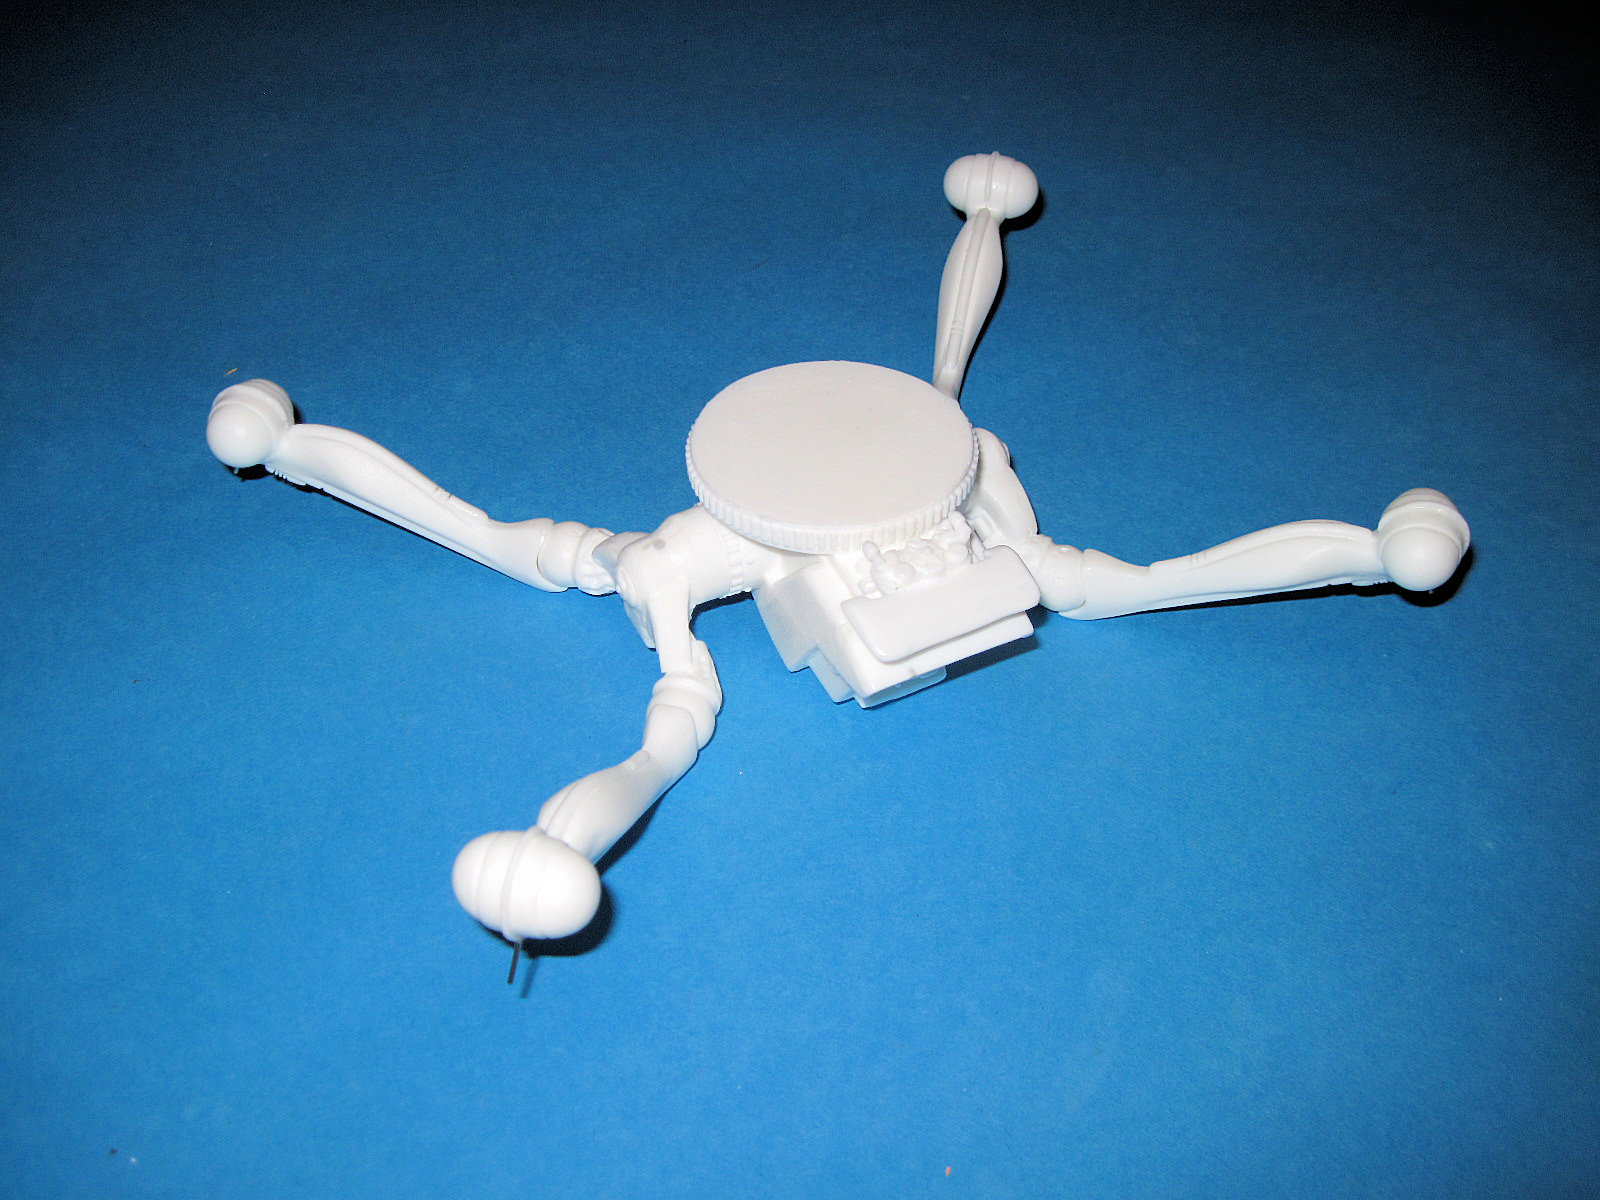
Now that the prep work is done, the parts were washed and dried thoroughly to remove my skin oils and any miscellaneous mold release. It is time for construction and the word of the day is “pinning”. This kit reminds me of a crab or spider and the legs will need bracing. To do this, I used stainless steel wire. Start at the inside and work out as each leg is three sections. Add the knees and make sure things are square. I positioned the next leg segment and used a marker to draw a line on the knee and first leg section so I could remember the position. The pin was drilled into the leg part and then a corresponding hole added to the knee and fit checked. Once the fit was good, I glued it and used Zip Kicker to set it. Repeat for all four of the first leg segments. Then repeat for the second and lastly repeat for the third. At this point, the CRAB is up on its legs.
I set about doing the turret next and there were no significant issues. I did leave the tentacles off until painting was done. Next, the entire kit was primed with gray primer and any spots fixed. This was followed by a coat of Floquil red oxide to represent the primer that would be under the paint on the “real’ thing.
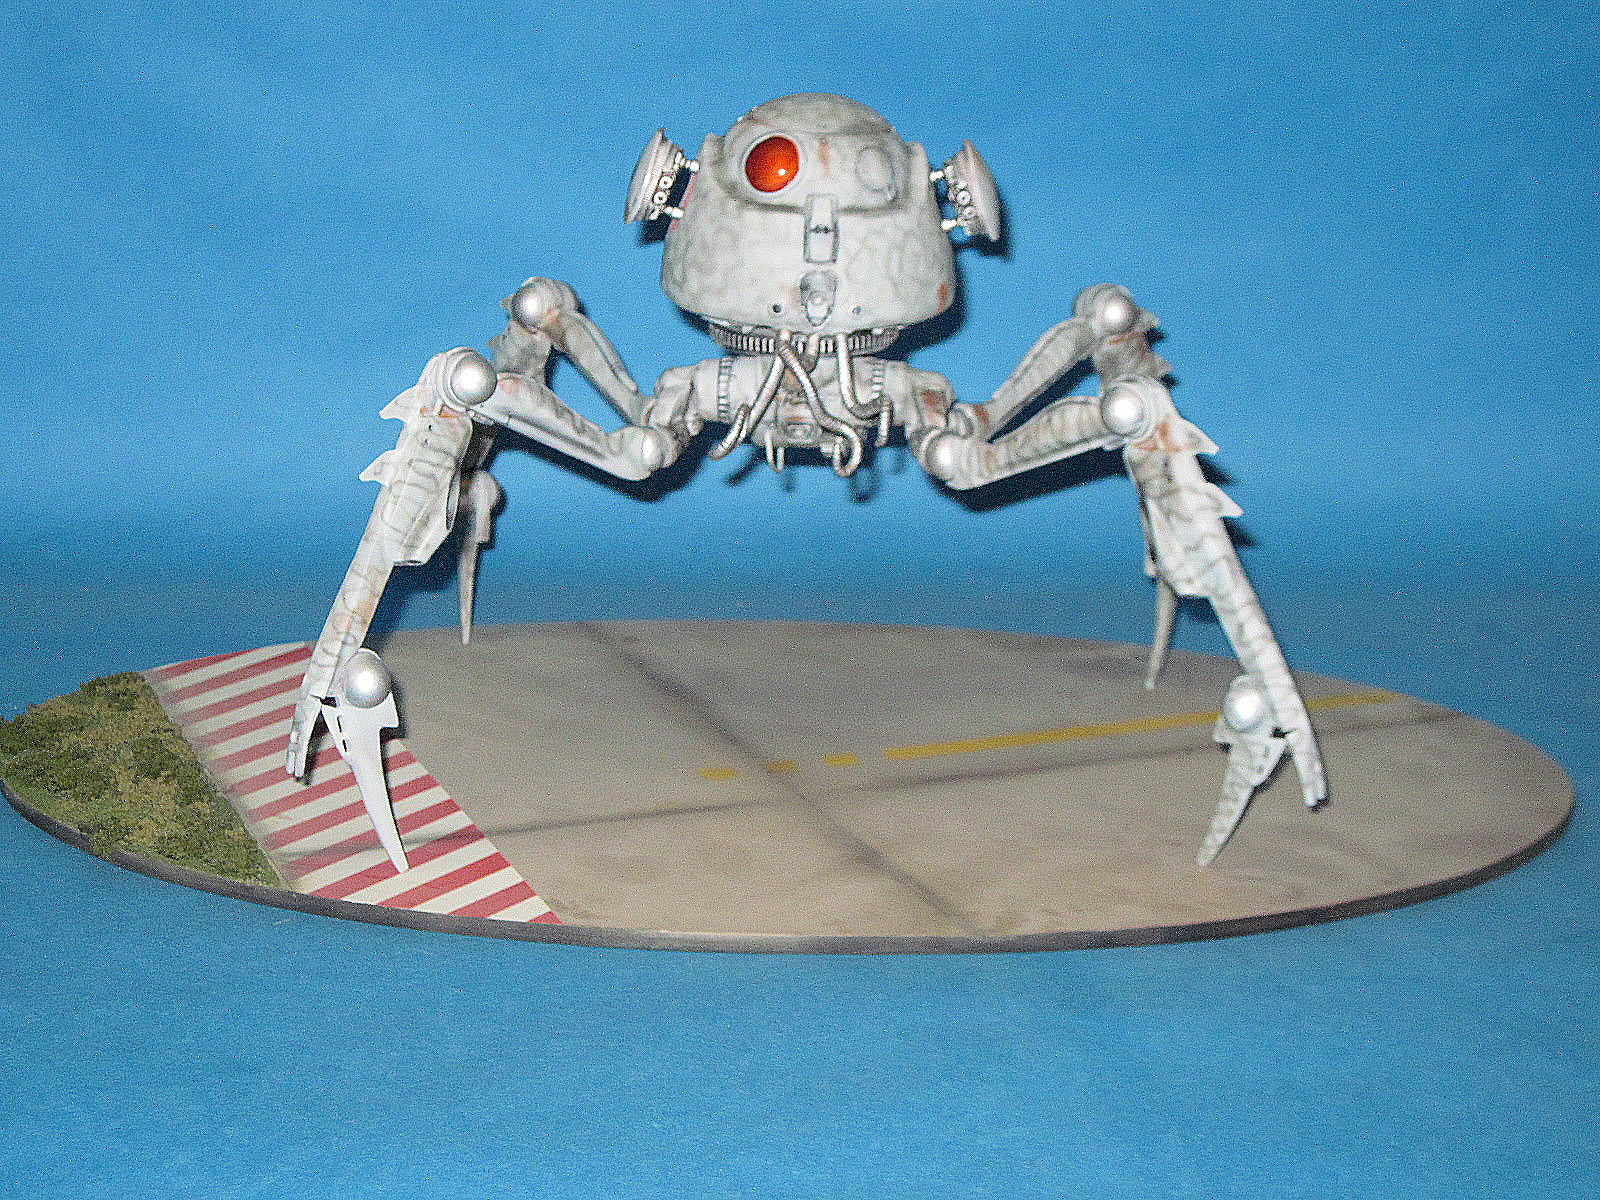
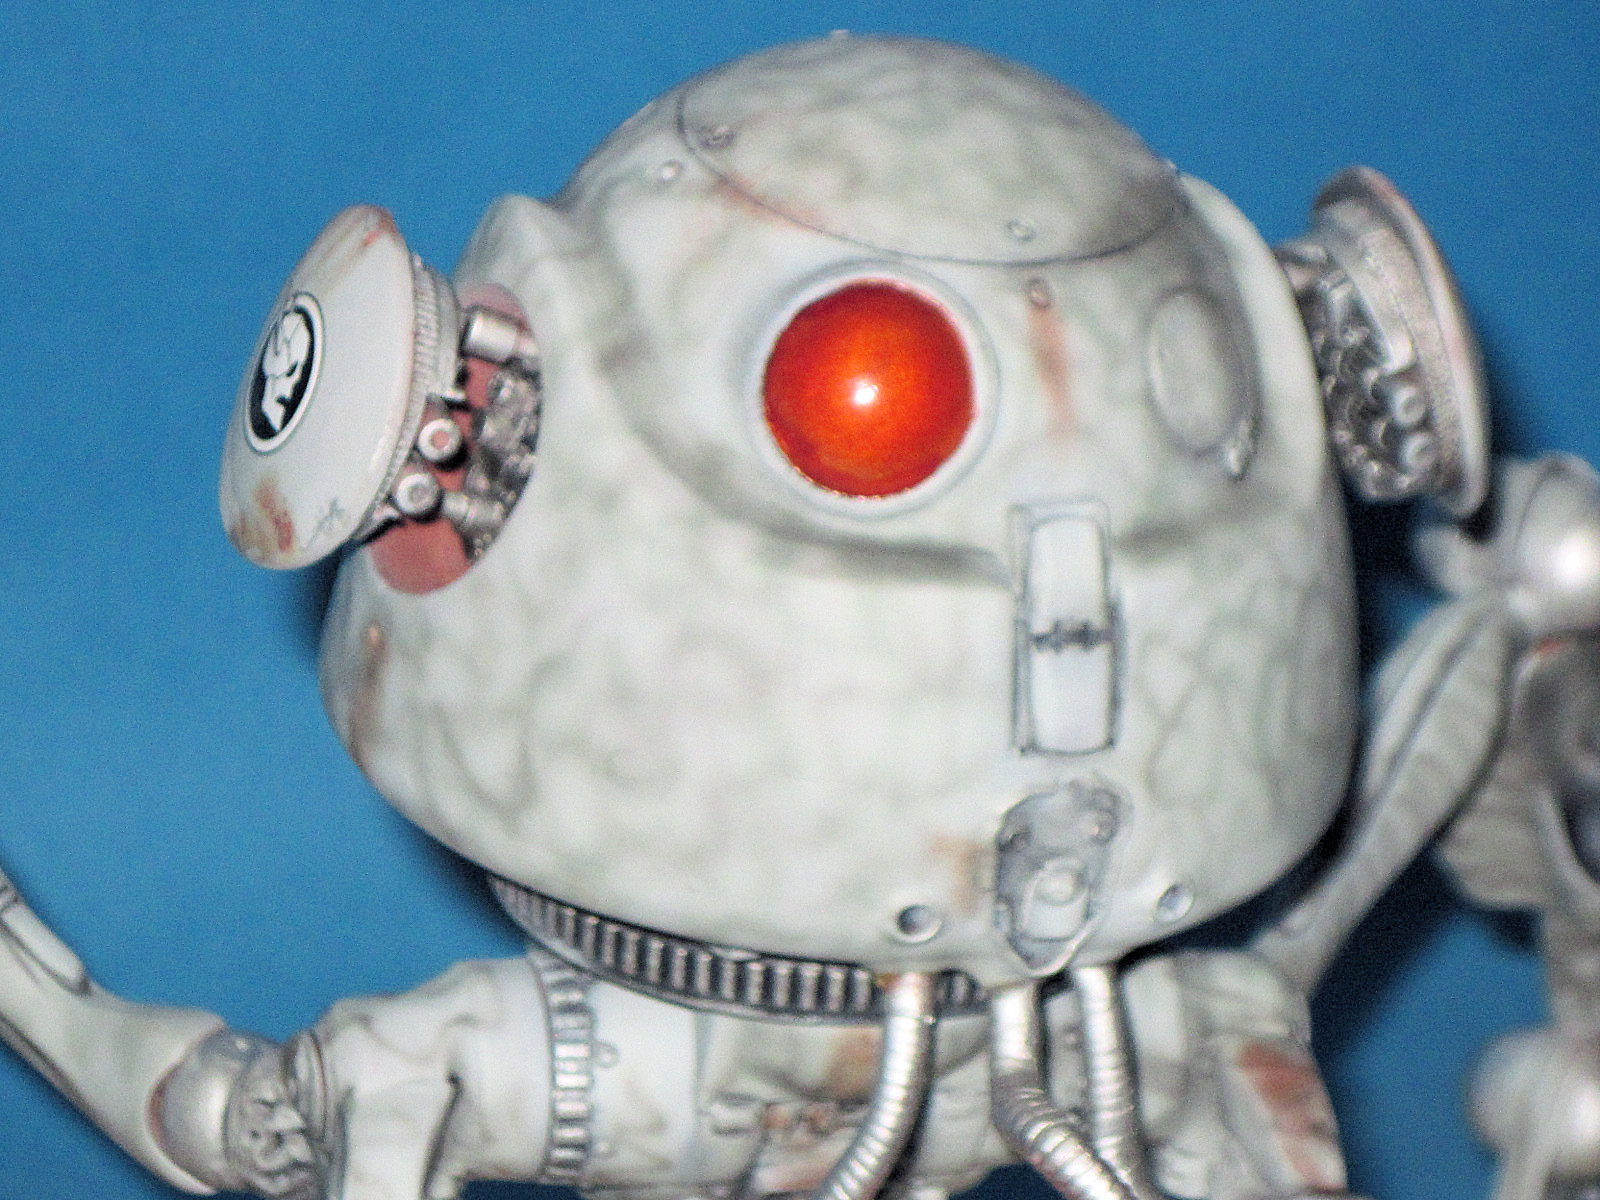
So now for the fun, what color to paint it? Well, based on Masterpiece Models description, this is a coastal machine meant for shallow waters, so I elected to go with a light gray blue and used RLM 76. I mottled this with a light and medium gray and sealed it with gloss coat. I added a couple skull decals from another kit and let the weathering begin. I used oils, pastels, rust powders and dry brushing until I got the look I was seeking. I dull coated the entire kit well and then used gloss white on the back “eye” and transparent red for the front eye. Lastly, I added a few metallic speckles and colors for some visual interest.
This is a very fun and unique kit and while it did take some experience to build but nothing a person with a few resin kits under their belt cannot handle. It is a limited run kit so I do recommend it for intermediate builders. That being said, this is also a large kit and will wow them at the club meetings and shows.
Recommended. Thanks to Masterpiece Models for opportunity to build this singular kit.

Air Bubble in Casting

Air bubble
All Knee Joints and Pins Added

Can you find the Air Bubble Now- Nope
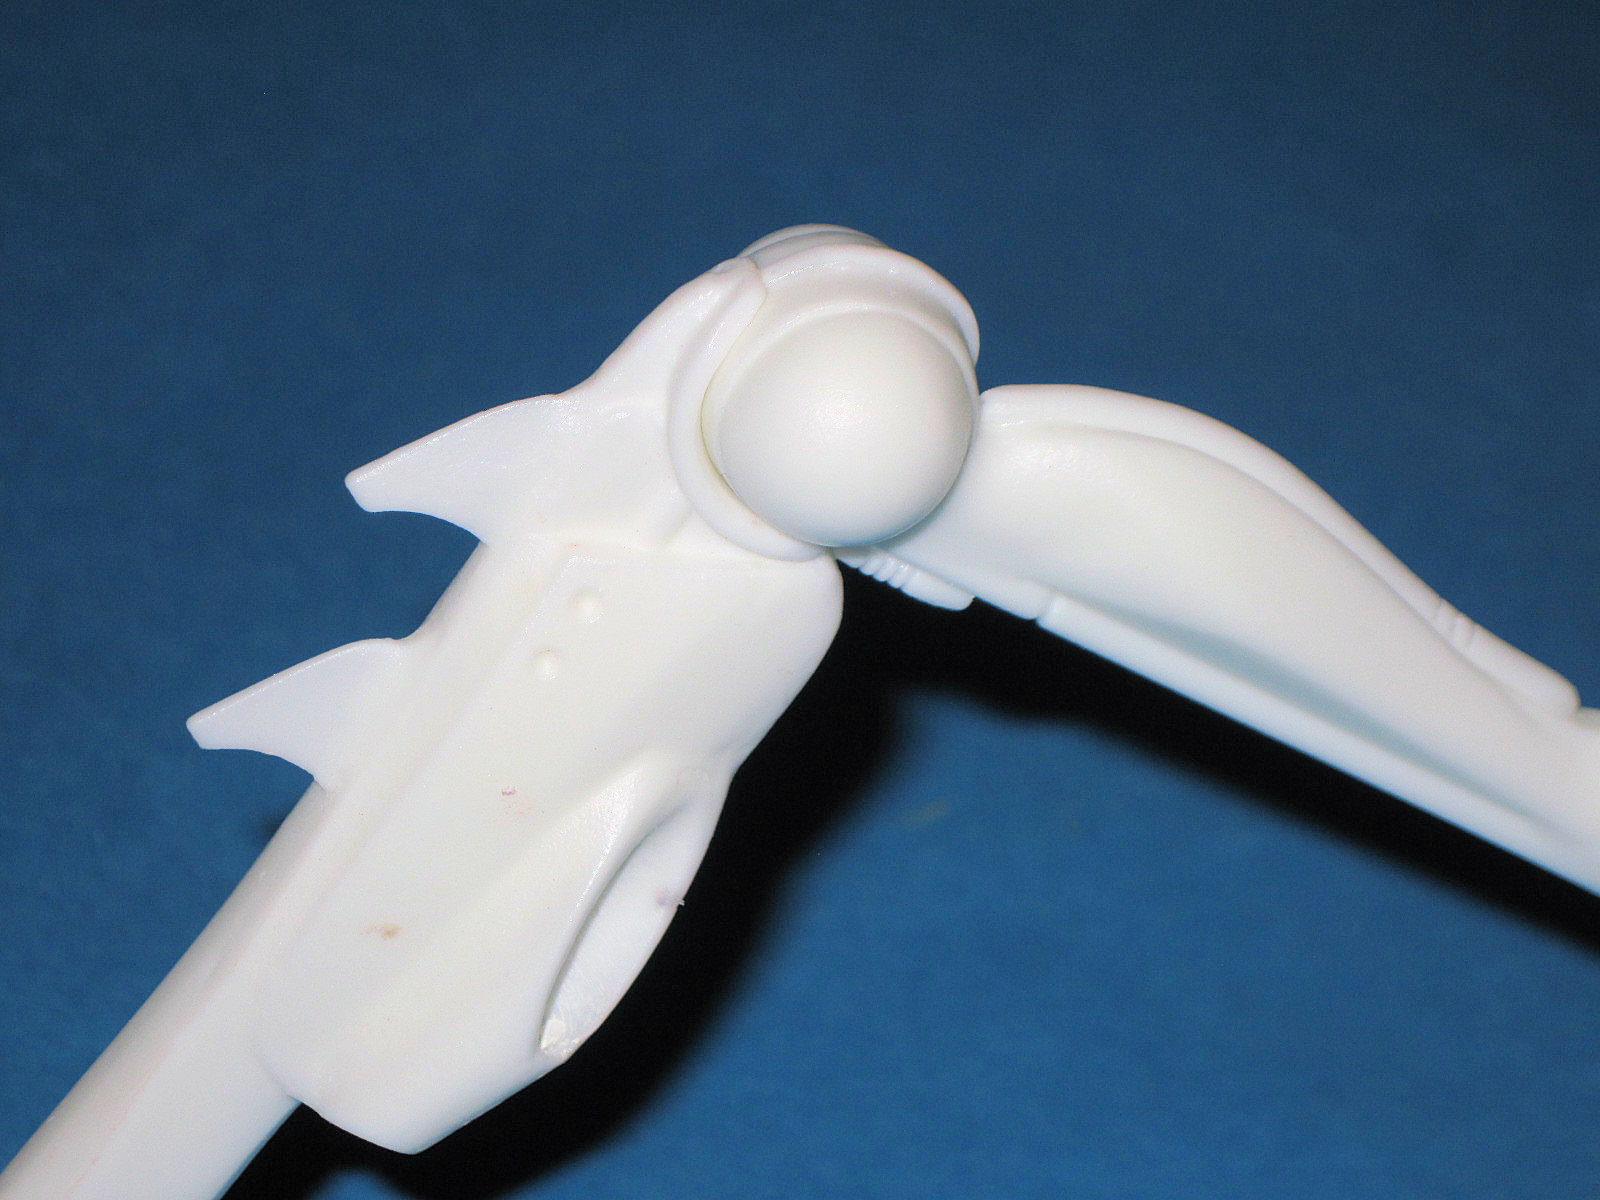
Close up of Pinned Joint
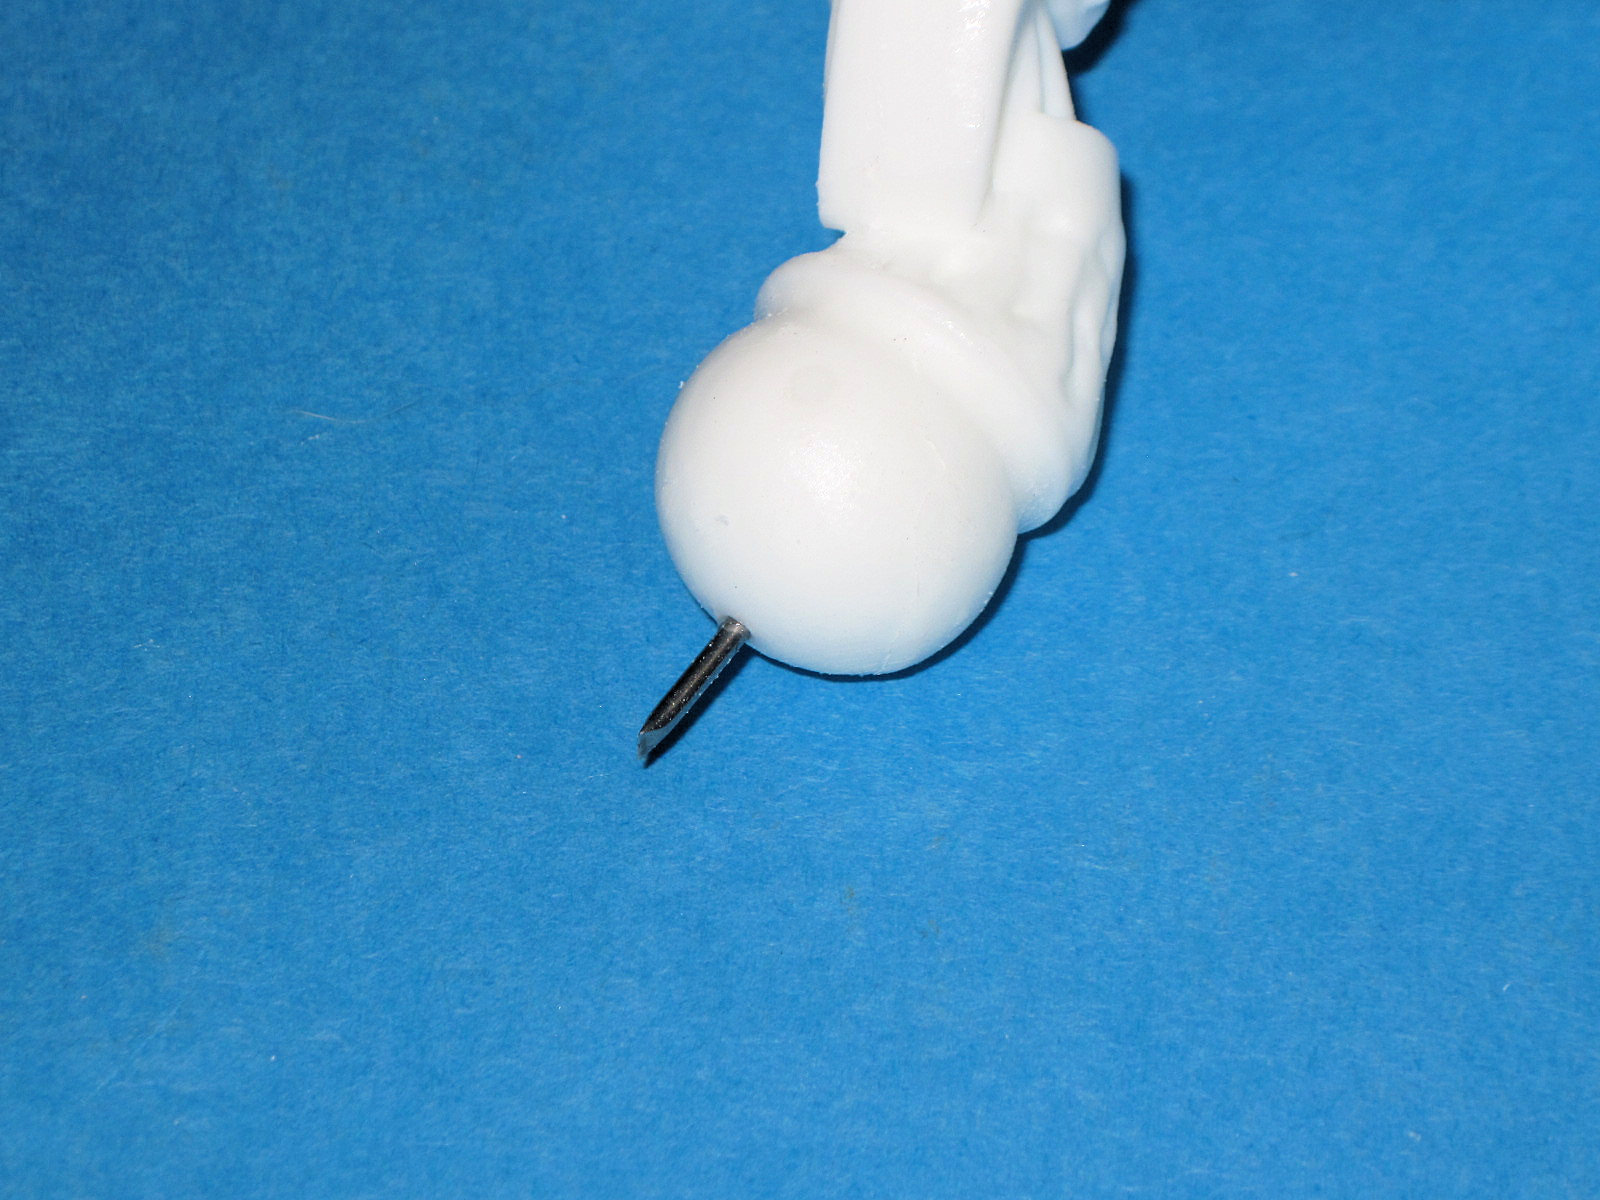
Closeup of Pin

Legs assembled

Completed model
Joint close-up
Detail close-up
Completed model
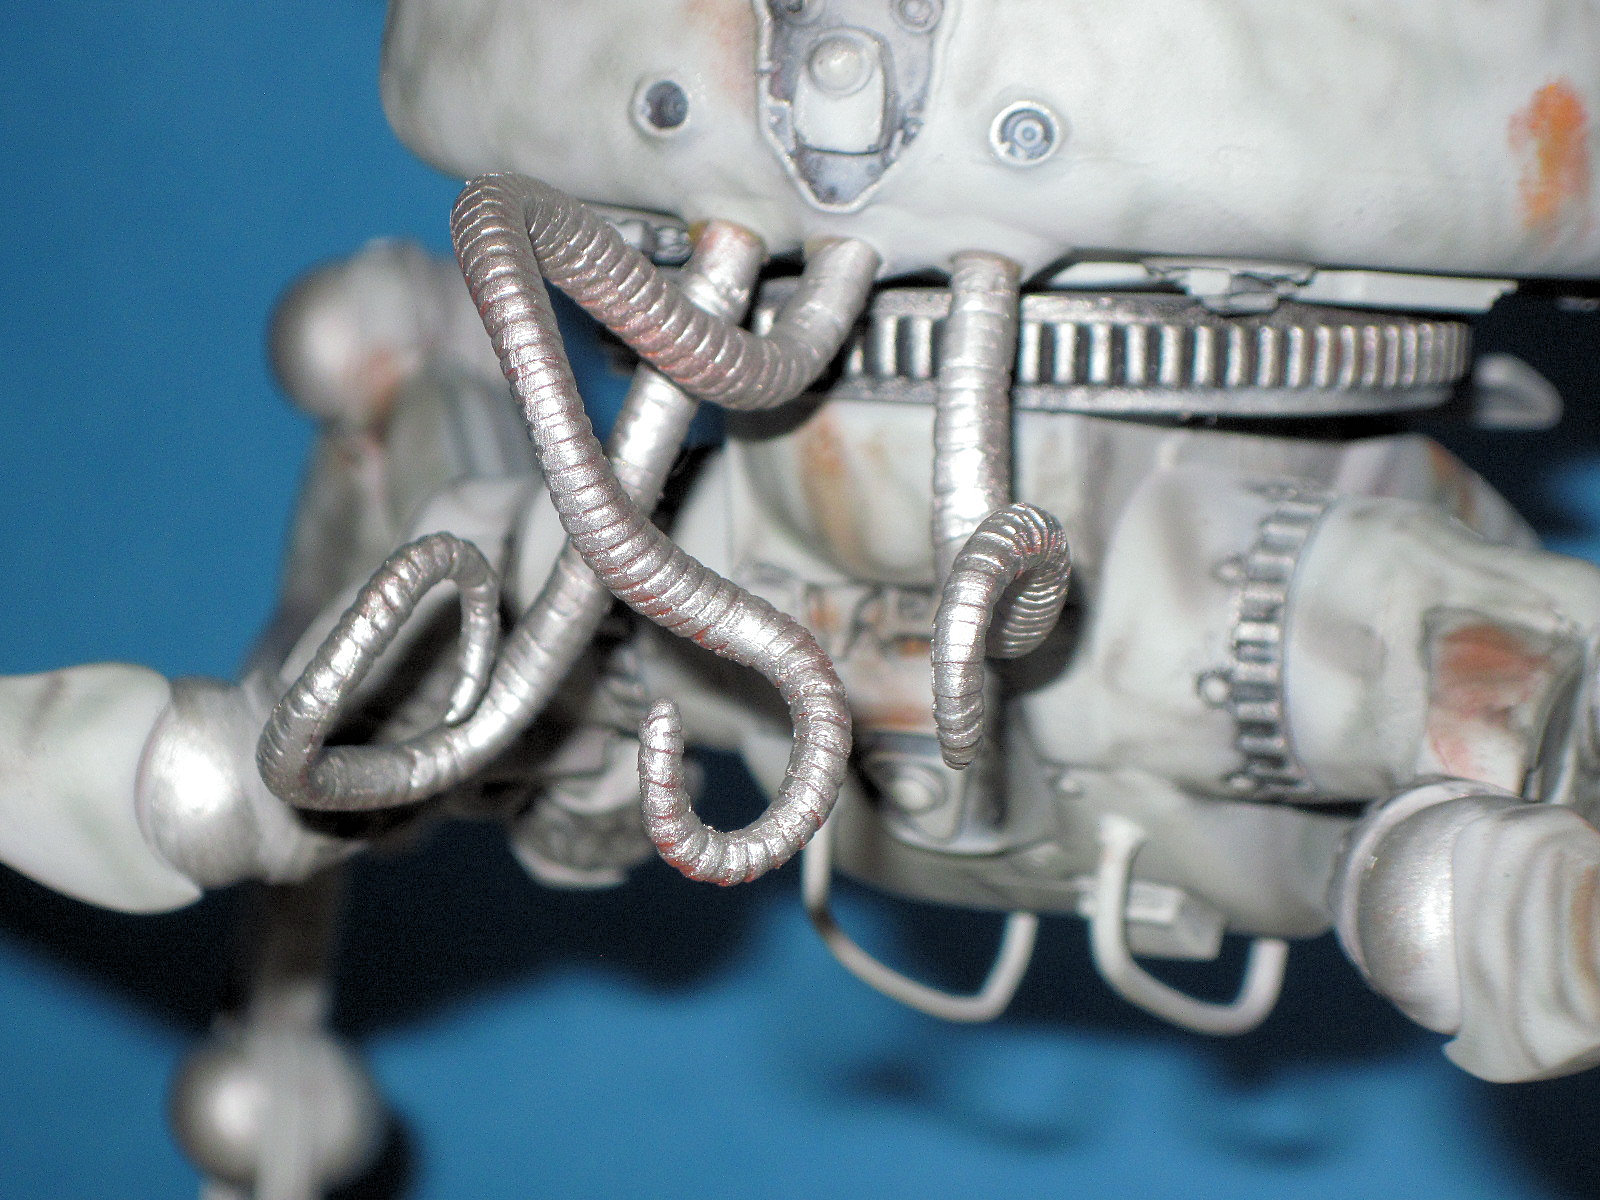
Detail close-up
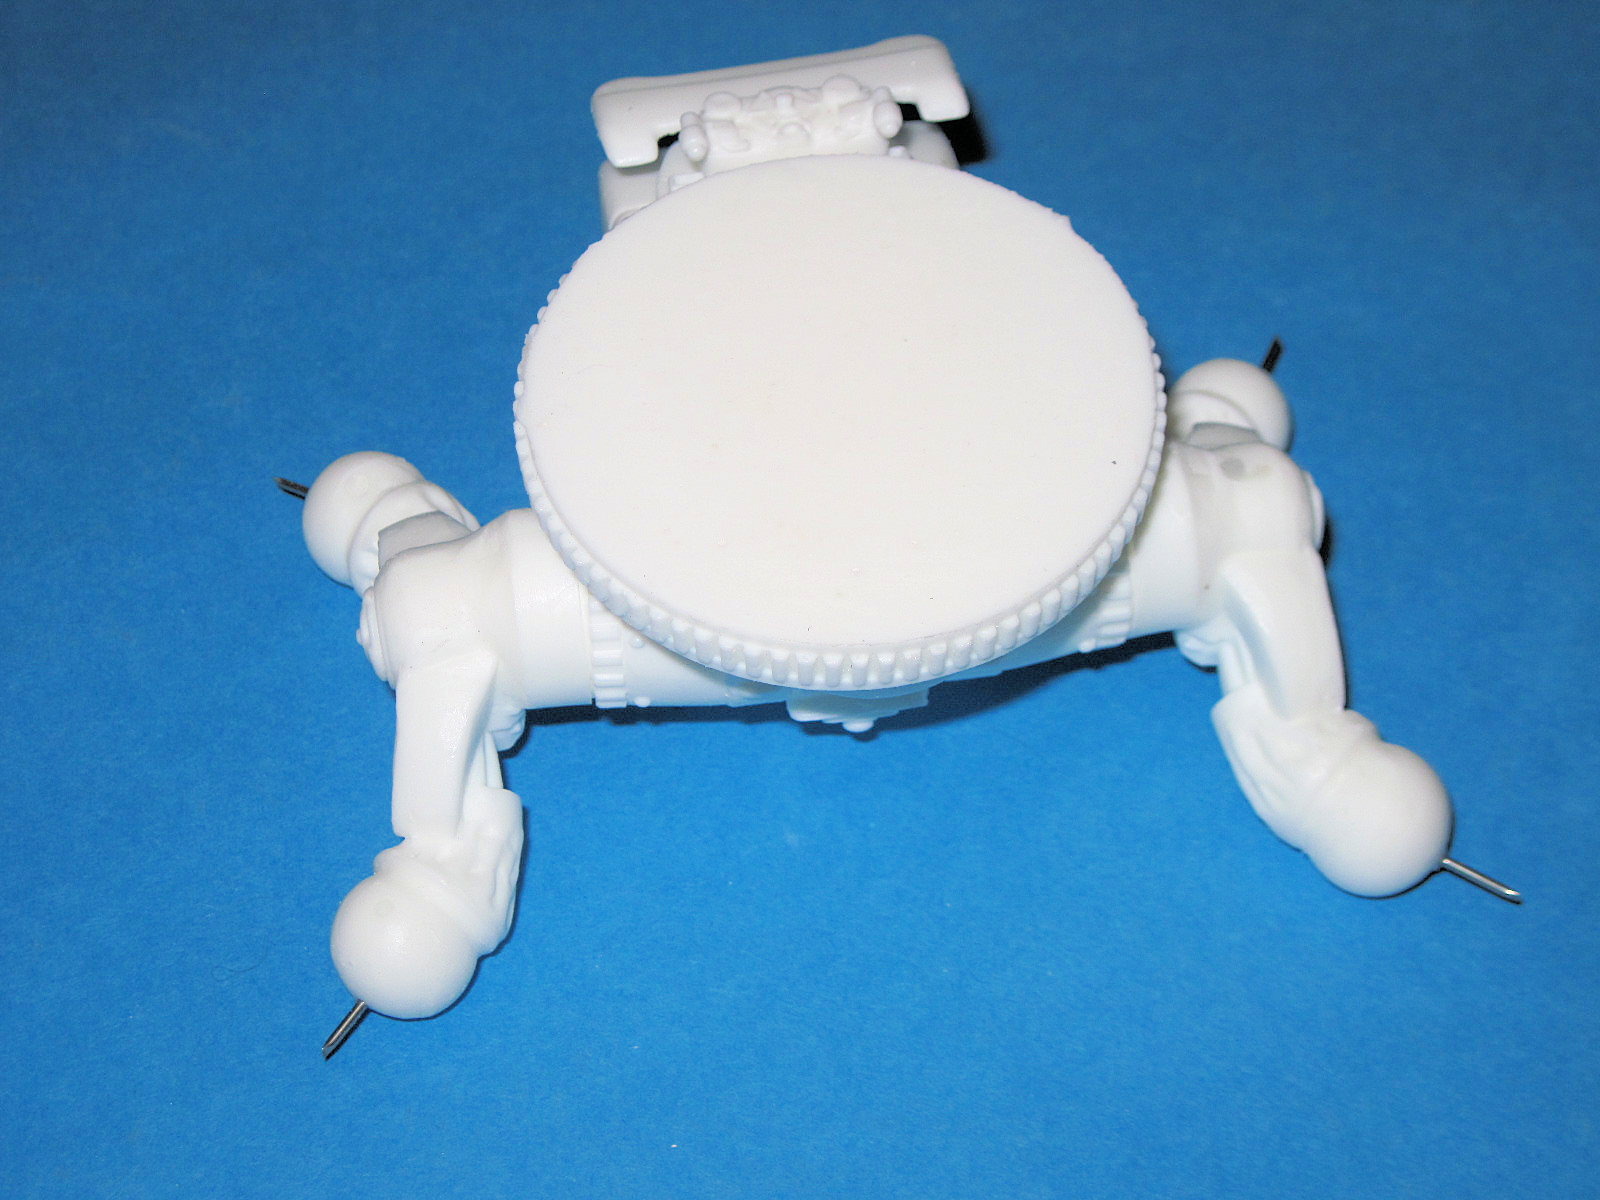
Underside
Body close-up
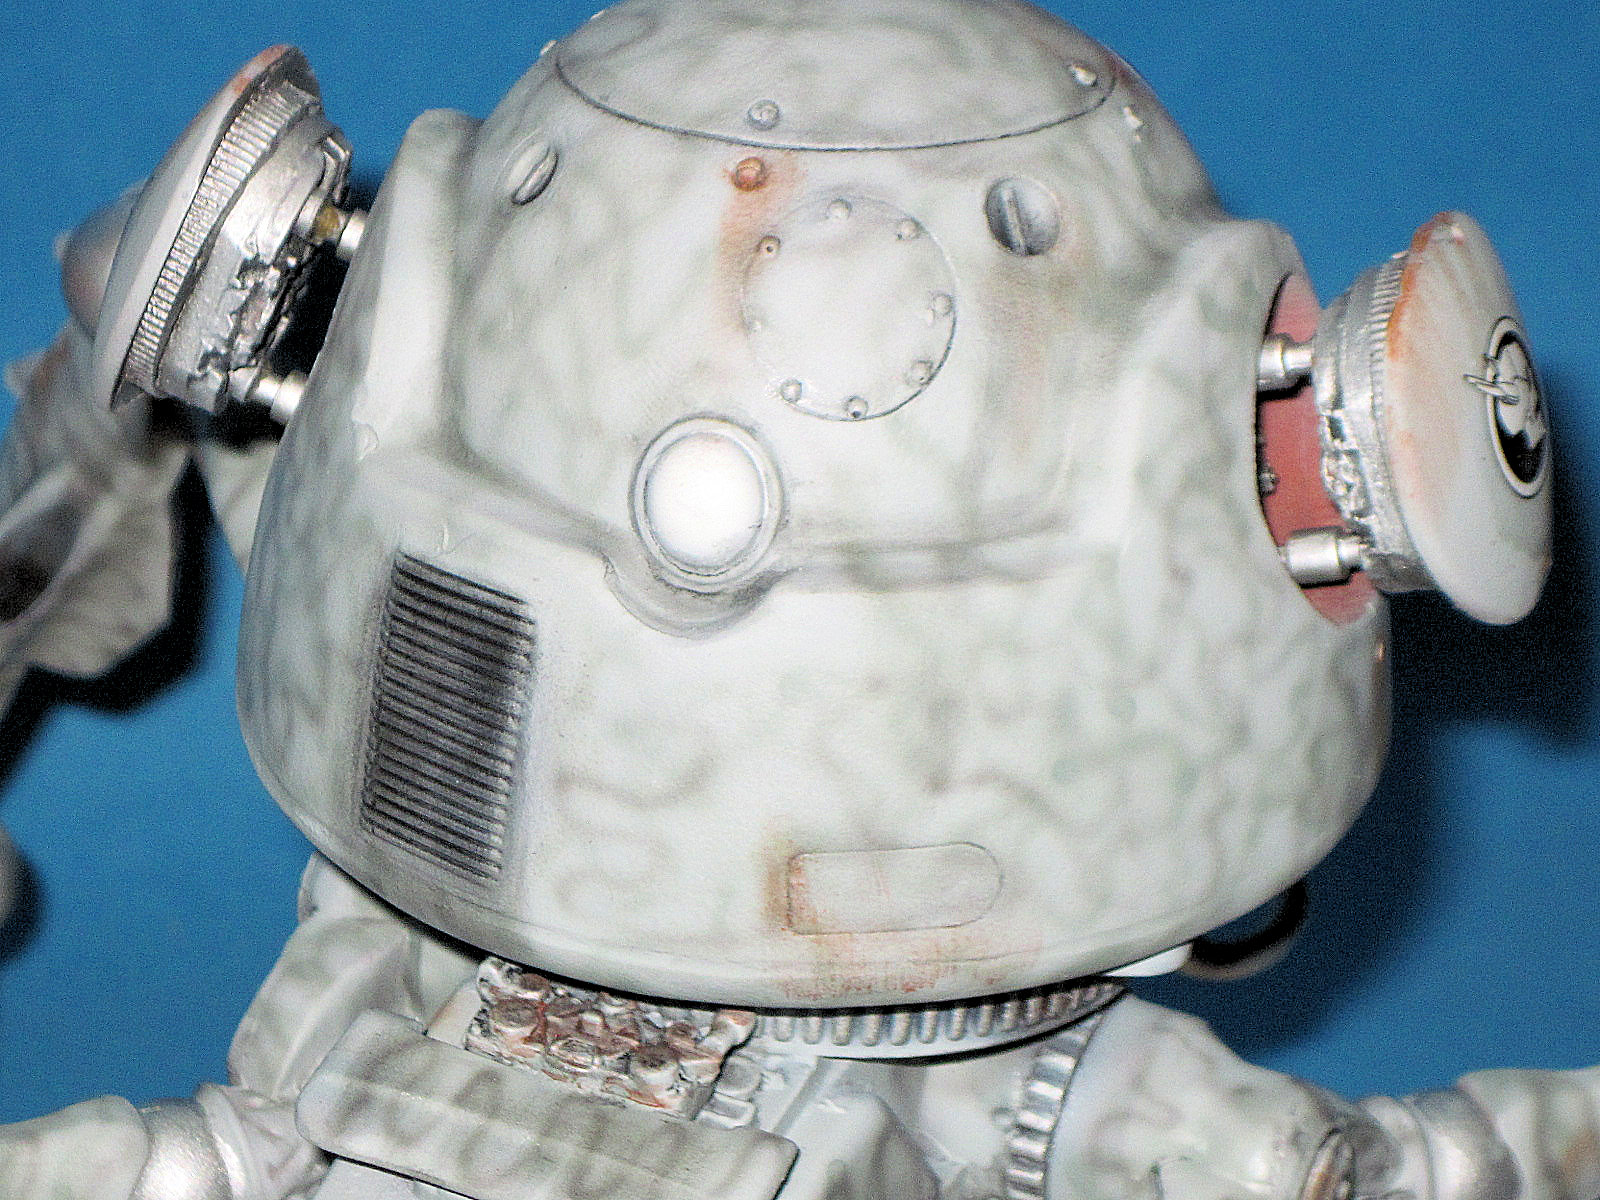
Body close-up
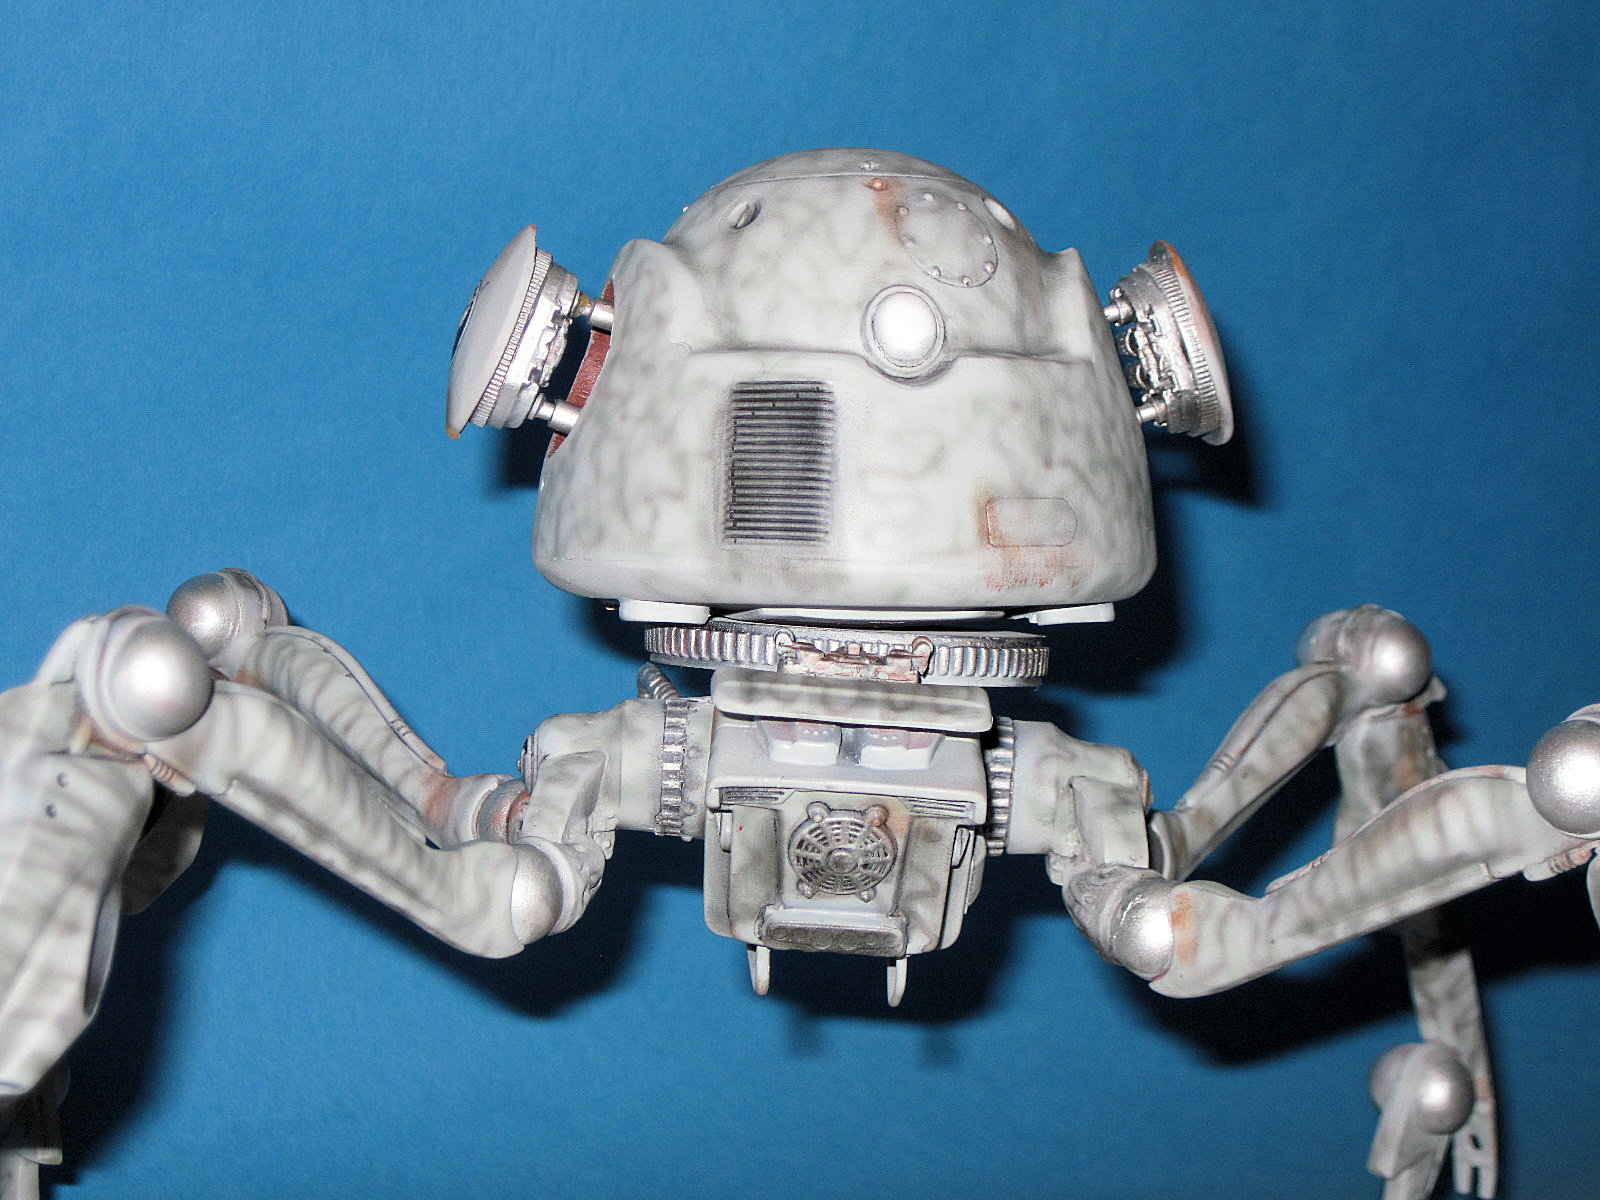
Completed model

Completed model
Knee Joints with Pin

Mid Leg Sections Added
Pinned Upper Leg Joints Added

Comments
Add new comment
This site is protected by reCAPTCHA and the Google Privacy Policy and Terms of Service apply.
Similar Reviews