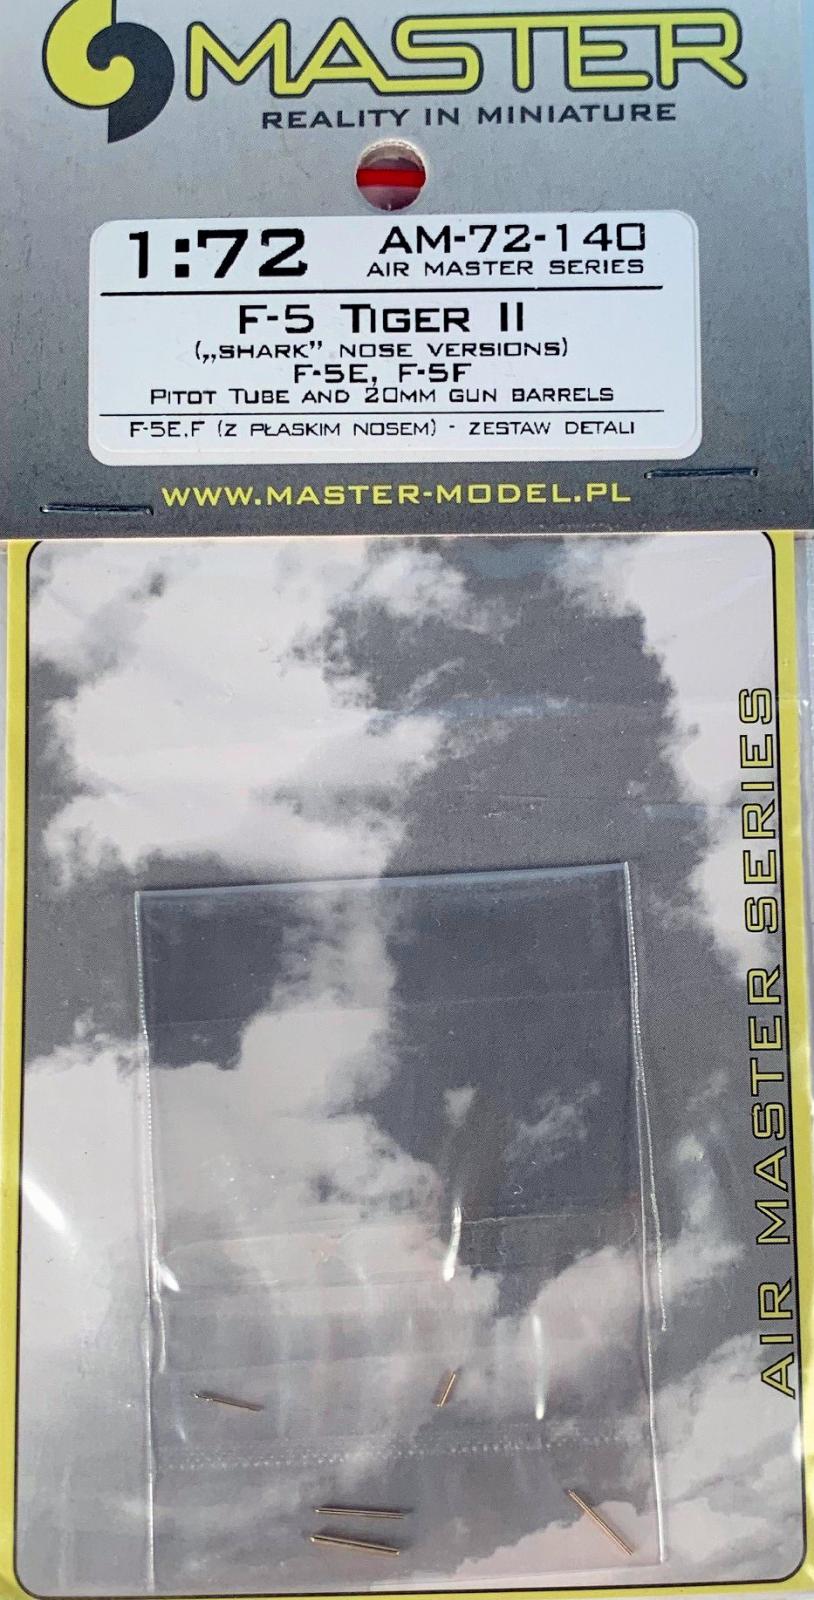
F-5E Tiger II Pitot Tube and 20mm Gun Barrels
This set is designed for use with kits of the later models of the F-5E/F Tiger II with the so-called “shark” or flattened nose. I used on old Italeri F-5F kit that had been a shelf queen for a few years. The set consists of 5 brass parts – the nose pitot and a tube in which to mount it, two 20 mm gun barrels and a dummy fairing for those aircraft which only have one gun installed.
While these parts will be some of the last ones you install, there is a little prep work that you need to do to install them. First you need to determine if the jet you are modeling has both 20 mm guns install or just one. You will need a close shot of the gun area to determine this as while the fairing is a bit larger in diameter and shorter than a normal 20 mm barrel, you will need just the right photograph to determine which is correct. Once you have determined which arrangement is correct, you will need to drill a hole in the gun troughs for your choices. The instructions say use a .6 mm bit for the 20 mm barrels and a .8 mm bit for the fairing. I recommend using as long as a bit as you can in order to help you keep the hole for the part in the proper alignment with the nose.
Next you will need to sand the kit nose to remove the mounting stub for the nose pitot tube. Once smoothed out find the center both horizontally and vertically and then drill a .5 mm hole. I Once the hole was drilled in inserted the mounting tube in the hole, but did not glue it, then inserted the pitot tube into the mounting tube and adjusted the orientation of the mounting tube until the pitot was parallel to the ground line of the aircraft and pointed along the aircraft centerline. I then used a small drop of superglue to fix the mounting tube in place and removed the pitot tube. I used more superglue to blend the mounting tube into the nose and sanded it out until it was blended into the nose, however, be careful not to plug the mounting tube up with superglue or sanding residue.
After the nose have been sanded and smoothed out, I painted the kit as a Naval Fighter Weapons School (“Topgun”) F-5F in the wraparound lizard scheme. The markings came from an old Microscale Decal sheet for USN/USAF F-5 aircraft. I painted the 20mm barrels with Testor’s gunmetal and the pitot tube with Testor’s aluminum. Once decaling had been completed and the final flat coat applied, I installed the gun barrels and the pitot tube with a little superglue. Again, take care in installing the gun barrels to ensure that they are pointed parallel to the aircraft’s centerline.
This set is a nice addition and as shown in the photos provides much more realistic representations of the pitot tube and the gun barrels.
Highly recommended. Thank you to Master Model for the review sample.


Comments
Add new comment
This site is protected by reCAPTCHA and the Google Privacy Policy and Terms of Service apply.
Similar Reviews