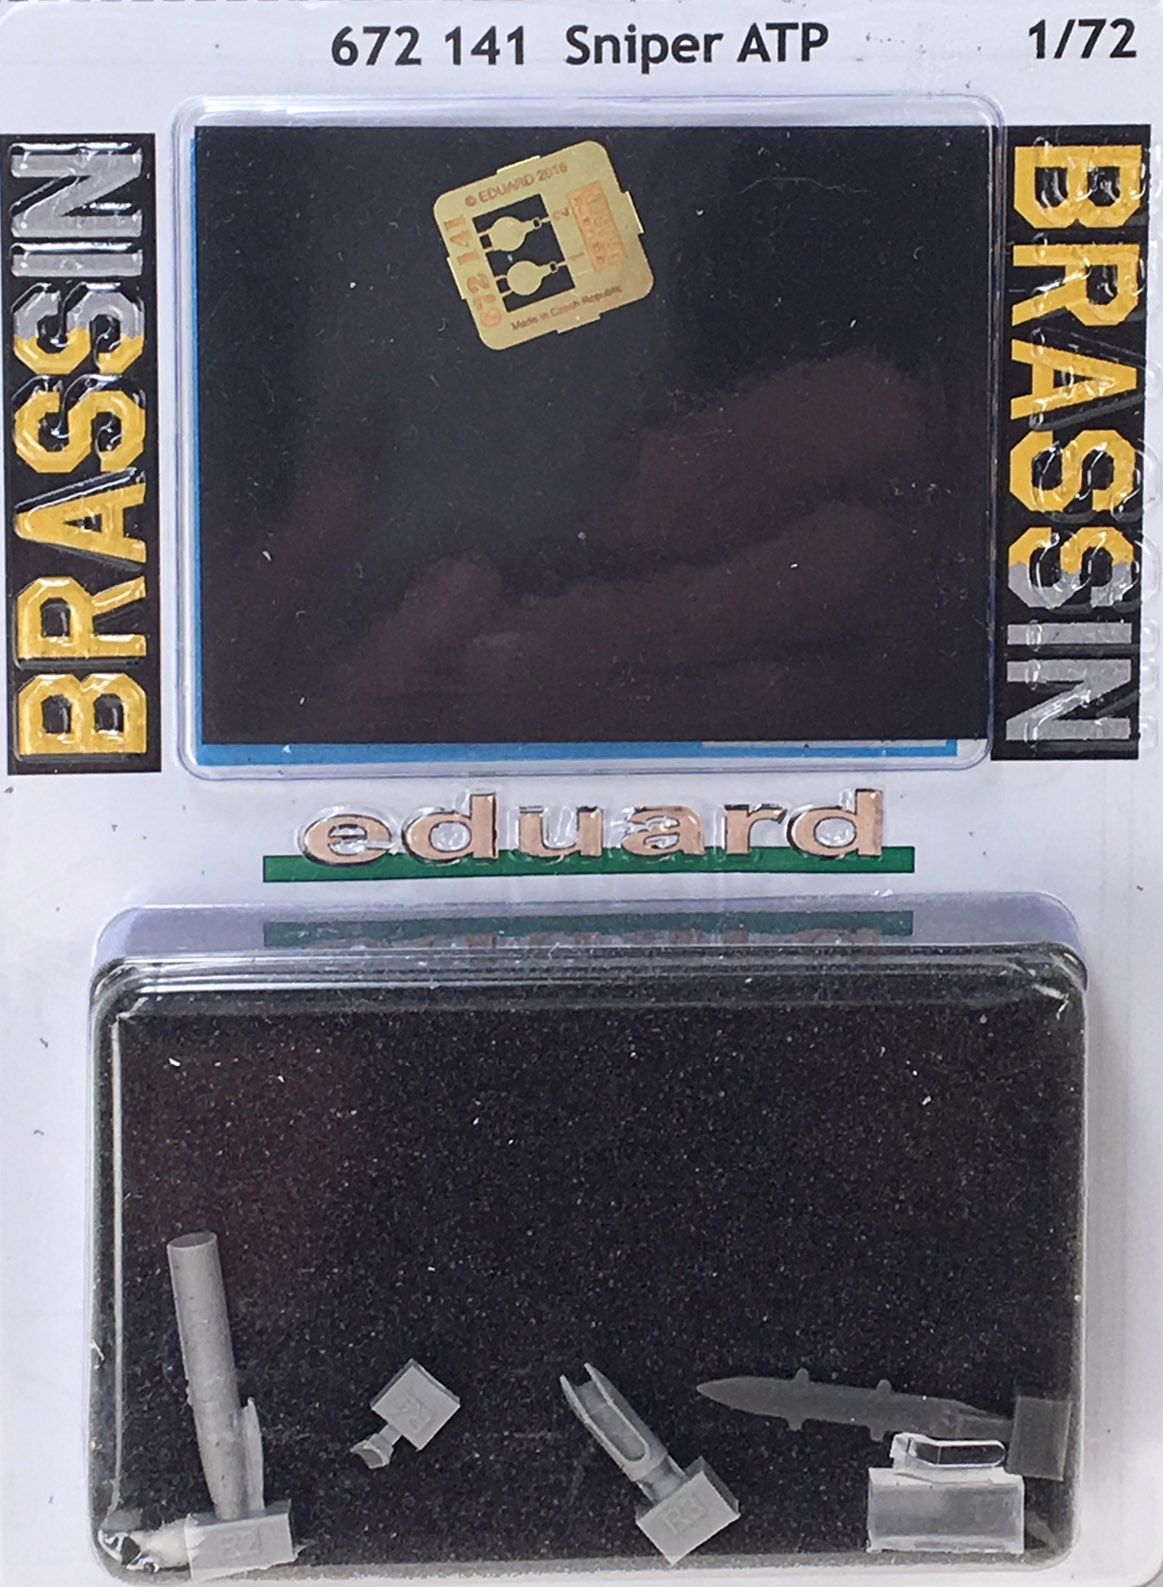
Sniper ATP
The Lockheed-Martin Sniper Advanced Targeting Pod is one of the newest targeting pods fielded by the United States and its allies. According to Lockheed, the Sniper ATP provides superior targeting capabilities in air-to-ground, maritime and air-to-air environments. The pod is compatible with and is currently used on variants of the F-16, F-18, B-1, B-52, A-10 and other fighter/attack aircraft.
This set is comprised of five resin parts, the main body of the pod, the seeker head, the weapons pylon interface, a dorsal box and the clear resin glass, and a photo-etch endplate. The attachment points for each of the resin pieces is well thought out and the parts are easily removed from the pour stubs with a sharp razor saw. While the resin window is very crisply molded and clear, I took the extra step of dipping it in Future to ensure it stayed clear. Once the parts are removed from the pour stubs, assembly goes very quick as the seeker head is designed to slot into the front of the main body of the pod. I started with attaching the small box-shaped part on the upper after portion of the main pod body, but fortunately before the superglue set I noticed that the photo-etch end plate is keyed to match the little box assembly so it actually needed to be installed at the same time to make sure the tab at the top of the end plate was up and matched to the end of the small box part. If not installed correctly, the pod will look like it has a list to either the left or the right.
The next part to install is the seeker head; however, before committing to the superglue, you will need to decide if you want the seeker mounted in the stowed position or the operating position. Most often, especially on the ground, the seeker head is in the stowed position with the long window facing up. I elected to have my pod in the operating position, so the long window is facing down on the review sample. Remember which you select as the decal diagram assumes that you have mounted the seeker head in the stowed position, so you will need to remember to reverse the left and right sides of the decals for the seeker head.
The last part to install before painting is the thin weapons pylon interface on the top of the pod.
Once everything was assembled, painting is very easy as all of the pods I have found photographs of are painted FS 36118 Gunship Grey overall. I painted the cut-out area where the sensors are located Tamiya NATO Black and then painted the actual sensors chrome silver. The painting instructions list Clear Yellow as one of the colors to be used, but nowhere do the directions tell you what to paint Clear Yellow. As some of the online photographs appear to have a yellowish tint to the glass over the sensors, I airbrushed the inside face of the clear resin part Clear Yellow. The instructions indicate that there is a thin red line all the way around the edge of the clear window on the seeker, and this is confirmed when looking at photographs, the line is so thin that I have to admit painting it is beyond my capabilities, and it probably would not even show up that well on the model, so my pad does not have this feature.
The pod was given a good coat of Future in preparation for decal application. The decals were applied with MicroSet and MicroSol with outstanding results, and I made sure to adjust the decals placement due to my seeker head being in the deployed position. The instruction sheet shows the seeker in the stowed position. Eduard gives you almost enough decals to decal two pods completely, so there are extras for those of us who occasionally need extras.
Once the decals were dry, I lightly washed the pod to remove any decal solution residue and then sealed everything with a coat of clear flat. I knew from testing fitting before assembling the pod, that the clear part fit pretty tightly, so I simply snapped it into place without any glue, avoiding the risk of superglue splotches or fingerprints on the completed pod.
This set would be a very good introduction to resin weapons as the parts are very nicely molded and very well engineered. The fit is excellent and best of all painting is very simple – one primary color!
The Sniper ATP is used by quite a few countries on a number of different aircraft, so you have lots of options of what to mount it on. The only issue will be finding the right pylon to attach it to and hopefully, someone will come up with a set of pylons for mounting the pod on different aircraft.
Highly recommended! Thank you to Eduard for the review sample and to IPMS/USA for letting me review it.


Comments
Add new comment
This site is protected by reCAPTCHA and the Google Privacy Policy and Terms of Service apply.
Similar Reviews