
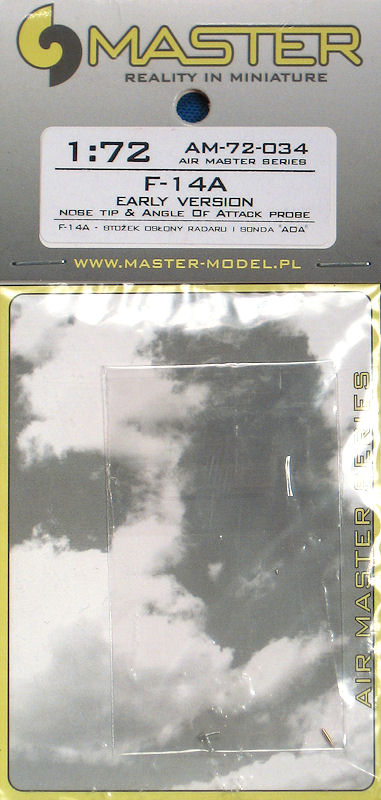
F-14A Nose Tip and Angle of Attack Probe
Contents
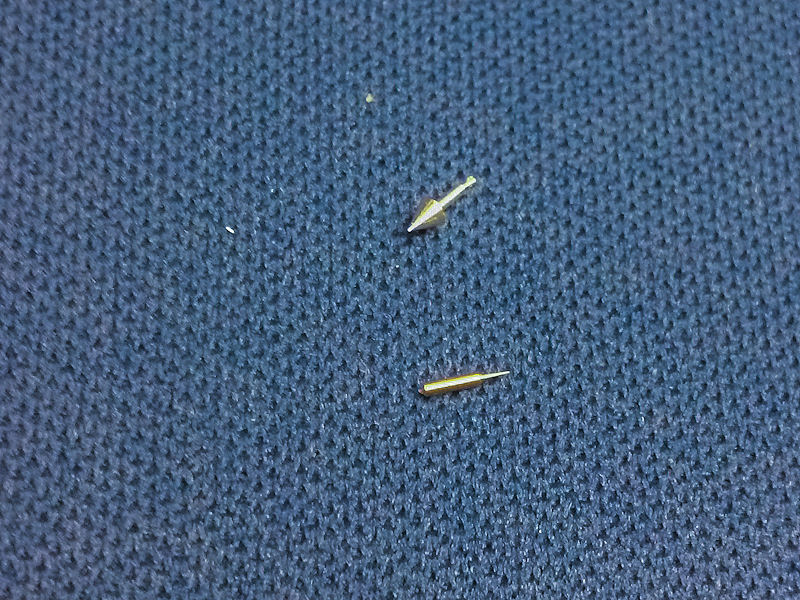
Representing the earliest production F-14As, before the addition of a nose-mounted Angle of Attack probe, Master Model provides you with a metal nose tip and fuselage Angle of Attack (AOA) probe. As with other Master Model products, I find myself astonished with both the quality and unbelievably small size of their detail parts. The AOA probe in particular starts out smaller than a #80 drill bit and tapers to sharp point. The nose probe is equally as beautifully crafted.
Construction
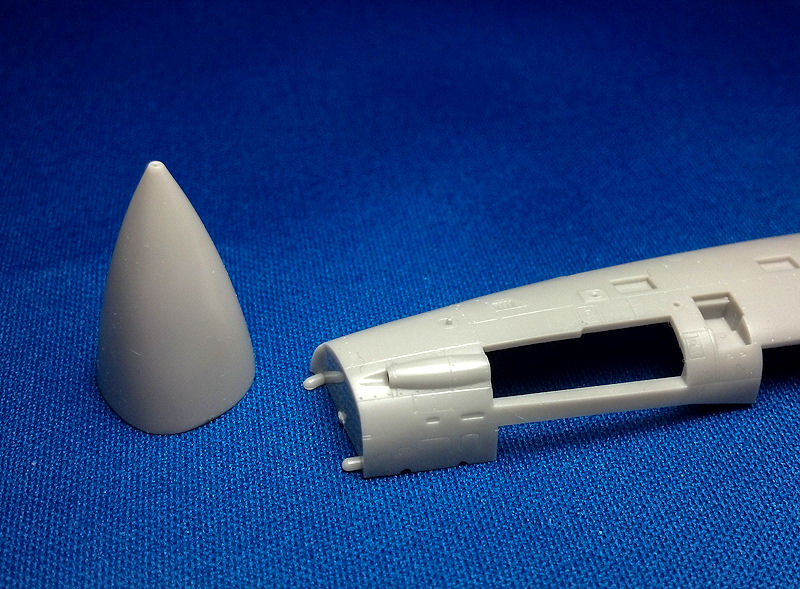
I picked Hasegawa’s newer-tool F-14A to try out these detail parts. Hasegawa includes two noses in the kit, an early-style and later-style, which differ only in having a shallow hole for the kit’s AOA probe at the tip of the later-style. You’ll want to use this later style nose and simply drill out the existing shallow hole. Master Model’s instructions did not specify a size for the nose tip’s mounting pin, so I worked my way up from a #78 drill bit. You’ll want to test-fit the nose tip gently until it slides easily in. I found that once the nose tip was in, there was a slight step down to the kit’s part. This was easily solved with a few swipes of a sanding stick on the kit part. The nose tip then fit perfectly and was held in place with some CA. The advantage of this new nose tip is clear when compared to Hasegawa’s included early-style nose, which would require careful work to produce a nicely finished product of equal comparison.
The AOA probe replaces Hasegawa’s vague representation of the same part as a slightly rounded bump molded into the fuselage. I removed the existing bump, which is located in the correct spot. When you start to drill the mounting hole for the replacement AOA probe, you’ll want to ensure that you’re drilling the hole perpendicular to the mounting surface or else your probe will point in the wrong direction and won’t sit flush. Again, there was no size provided for the AOA probe’s mounting pin, so I started with a #80 drill bit and worked my way up. Just remember to be extremely careful with this part. It’s small enough to be at risk of flying away into the ether (or your eye), it’s extremely sharp (from personal experience!), and it’s thin enough to be quite fragile. Repeatedly test-fit the part in an extremely gently manner as you increase the diameter of the hole; you’ll likely overshoot the size but save your fingers and the AOA probe in the process. A bit of CA glue will fill any resulting looseness and lock the probe in place.
Conclusion
These early F-14A parts are just the thing for your next VF-1 Tomcat build. Of all the aftermarket parts that I’ve used, I feel that the best bang for the buck comes from these small turned metal parts. They’re leaps and bounds better than what can be done with injection molding, more resilient to errant bumps, and Master Model has done a remarkable job at finely rendering what are nearly microscopic parts in 1/72 scale. A true upgrade for your next build and not just an add-on!
I’d like to thank Master Model for providing these detail parts and IPMS/USA for the chance to review them.


Comments
Add new comment
This site is protected by reCAPTCHA and the Google Privacy Policy and Terms of Service apply.
Similar Reviews