
F-14 B/D Wheel Wells
The Tamiya 1/48th scale F-14D is a great kit and deserves all its accolades. That being said, with the limitations of molding technology, there is always room for improvement one of those areas is the wheel wells. Theya re good but they myriad of lines and detail is just not possible with plastic injection technology. In comes 3D printing technology and the game changes for aftermarket. Kazan Model Dynamics has released sets in the past adding massive detail and their current catalog includes upgrades to F-16, F-14, P-38, F-4B and other sets. This review covers the landing gear bays and gear doors for the Tamiya F-14B/D. The set includes 17 resin printed 3D parts and a one-page instruction sheet. Printing is good with a few print lines that needed sanded out easily.
There is some prep work ahead of actual installation and painting. First, the parts need to be freed from there supports. The nibs need sanded and when all this is done, all the parts need primed. No problem but as you can see from the close ups, the detail is mind bending with all the lines in place. Next step. The main gear needs to have parts of the kit removed. On the bottom fuselage, the top of the molded in wheel wells need removed. I used a saw and took most of the plastic and finished off with a sanding stick. The instructions show just where to cut. Oth sides need this modification. Next, the left and right intakes also need to have the molded in landing gear bay removed. This is curved so take your time. So the prep work is done and we can move on to installation.
To install the main bays, it is a simple process which are glued into the top of the fuselage. Make sure the location is good by checking with the molded in top. Super glue in place and add a little extra glue around the outside. Test fit the bottom and check the fit of the sides and the bottom that goes down. I had to do a little adjustment but the fit was good. At this point, I painted all the parts white, added a black wash and detail paint and flat coted it.
To fit the front, I painted the two side and top and then glued the box together. Make sure the top is oriented correctly and it is not a square. Also, the way things go together, the front landing gear top has to be installed as it is trapped by the side walls. To prep this going into the front fuselage, I removed a bunch of the decking that supports the front of the cockpit. To assemble, I glued the cockpit to the support, and then glued one side in and taped the fuselage to let the glue dry- I did not glue to the fuselage to the other side. Once the glue had dried, I placed the front landing gear bay in place. Makre sure the rear edge lines up with the opening, I glued it into place and test fit the other fuselage side and good to go.
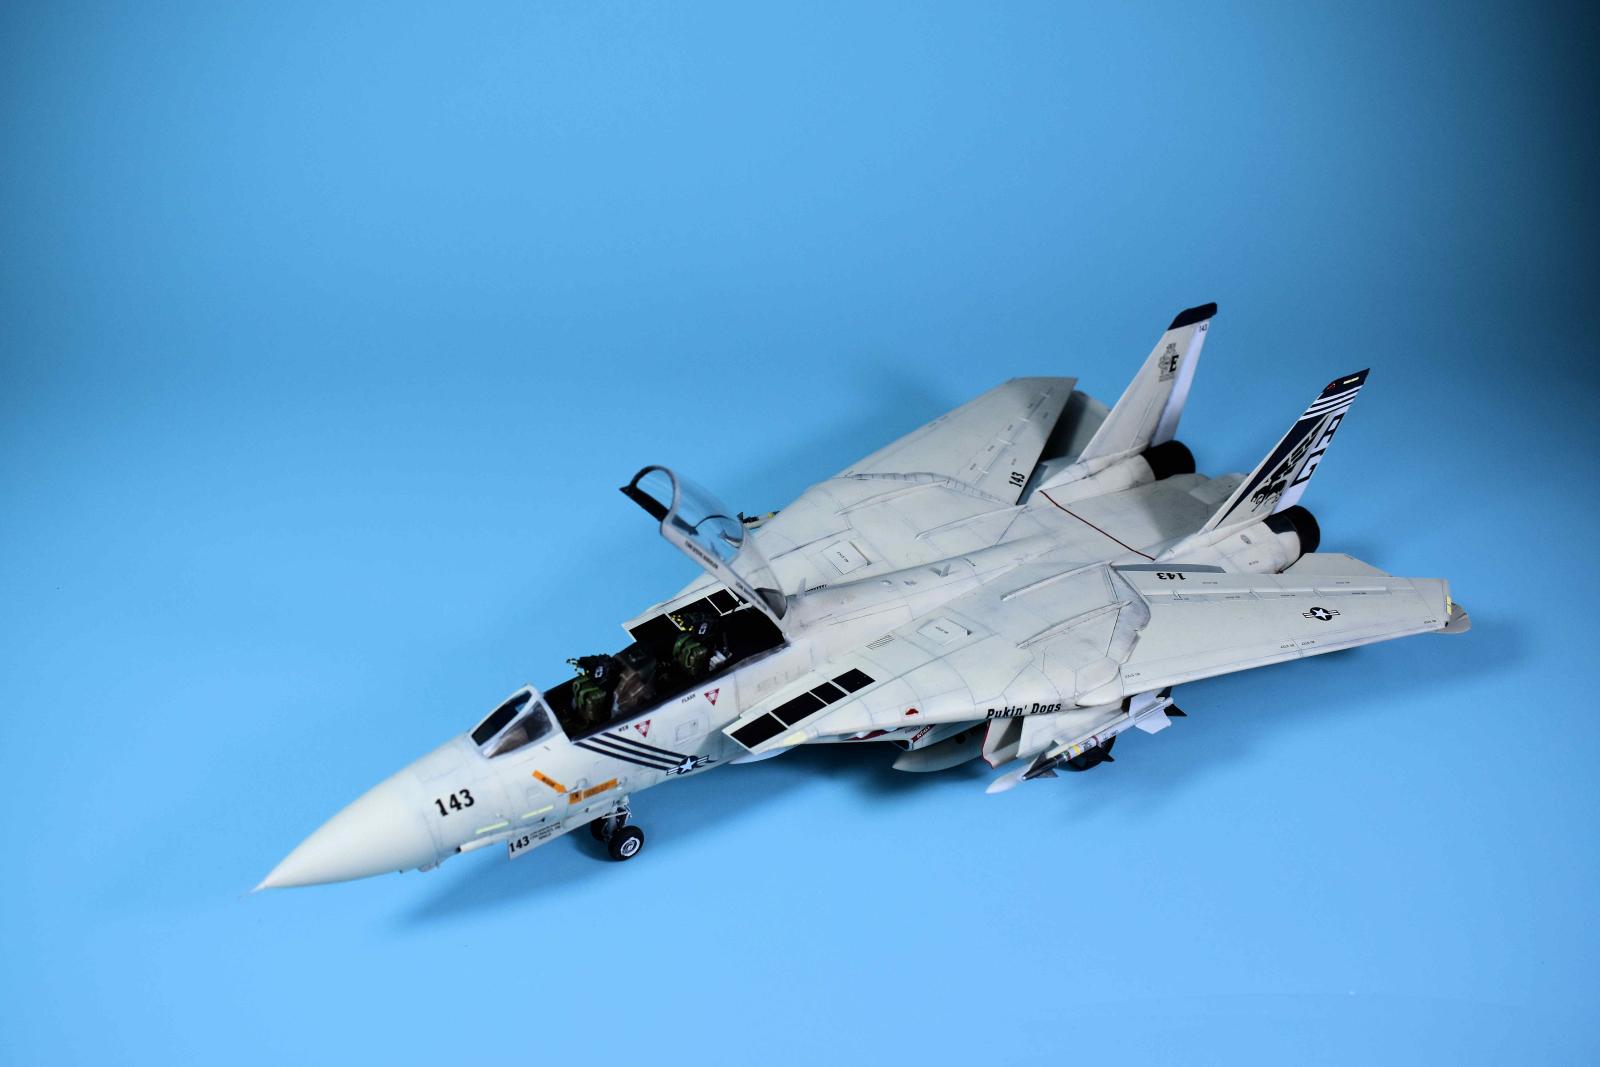
I finished the plane and the last part was adding the 10 gear doors. These were painted white with oil washes added, the red lips colored using a Gundam marker and the decals added from the kit. These fit right into place. The detail on the parts is wonderful and far exceeds the kit parts. As you can see in the pictures, the detail is a far stretch past the kit parts.
This is fairly simple detail addition and does make the kit better looking. Recommended.
My thanks to Kazan and IPMS USA for the opportunity to review this item.
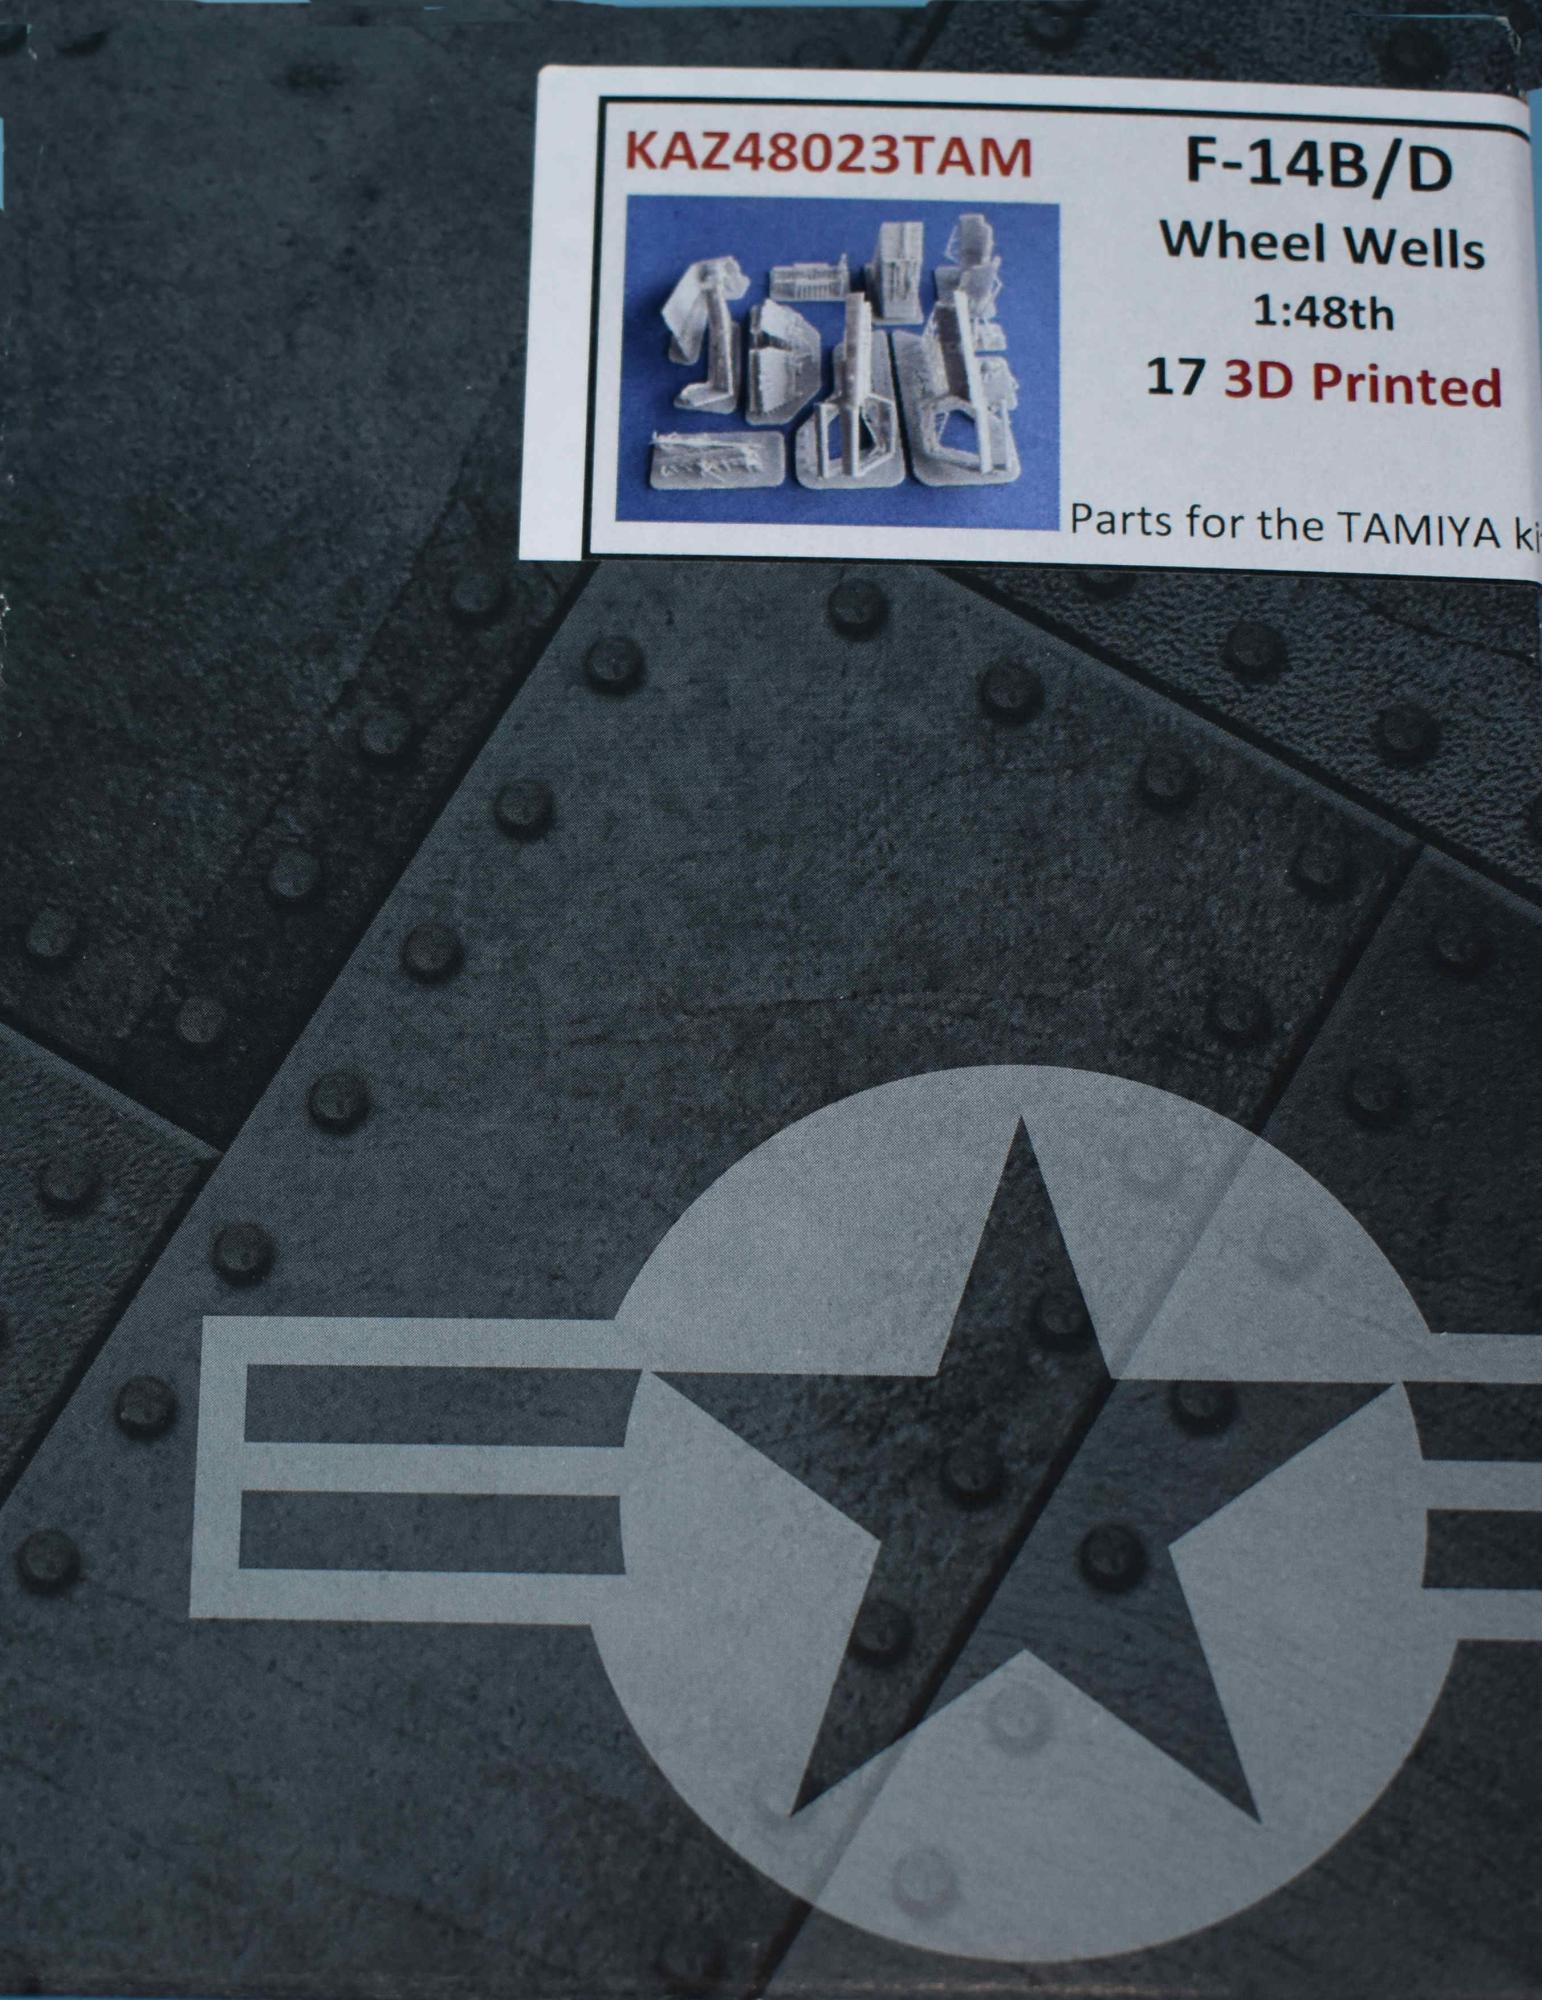
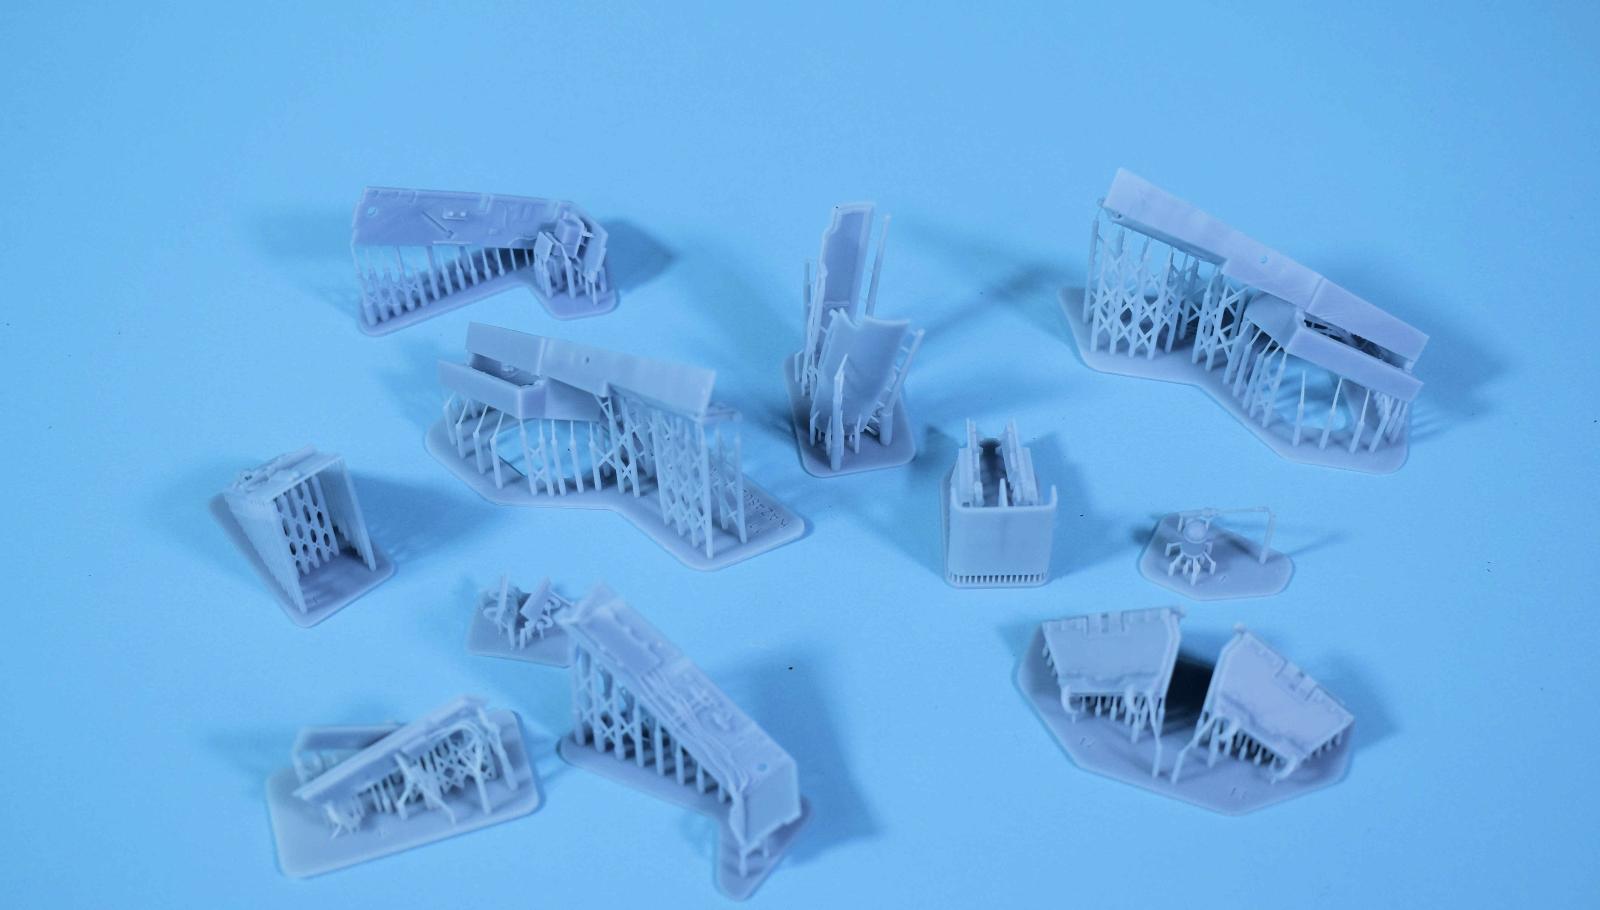
Parts
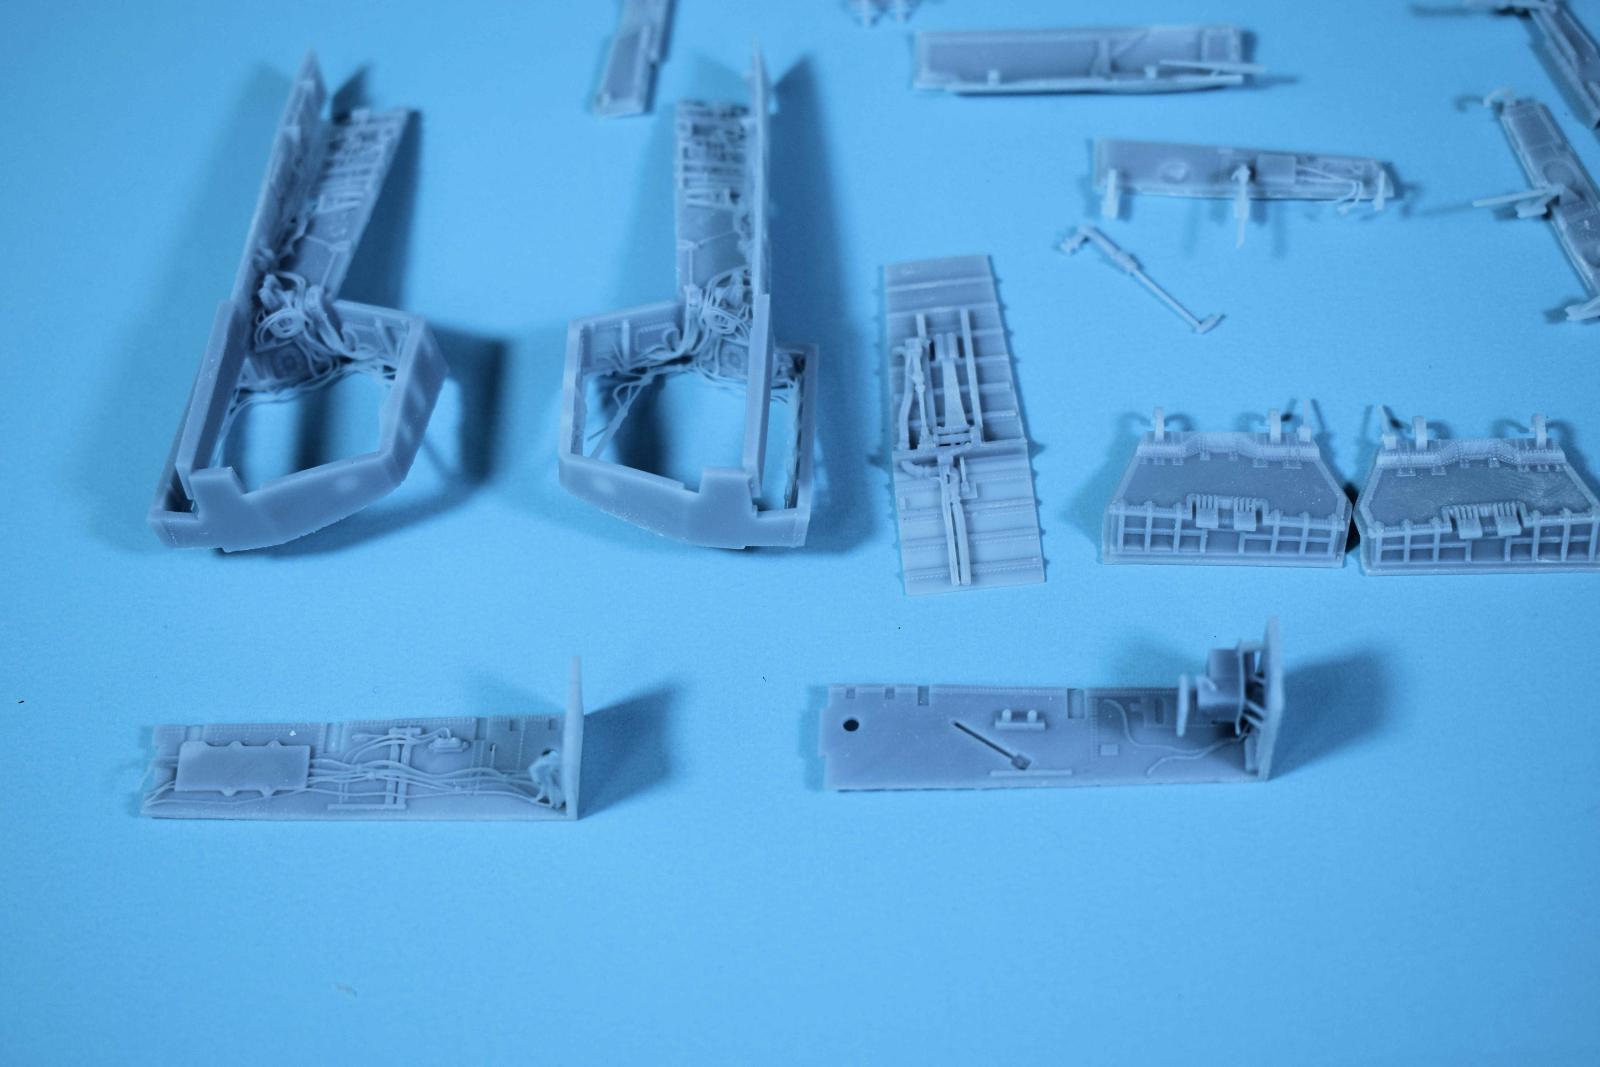
Detail Shot
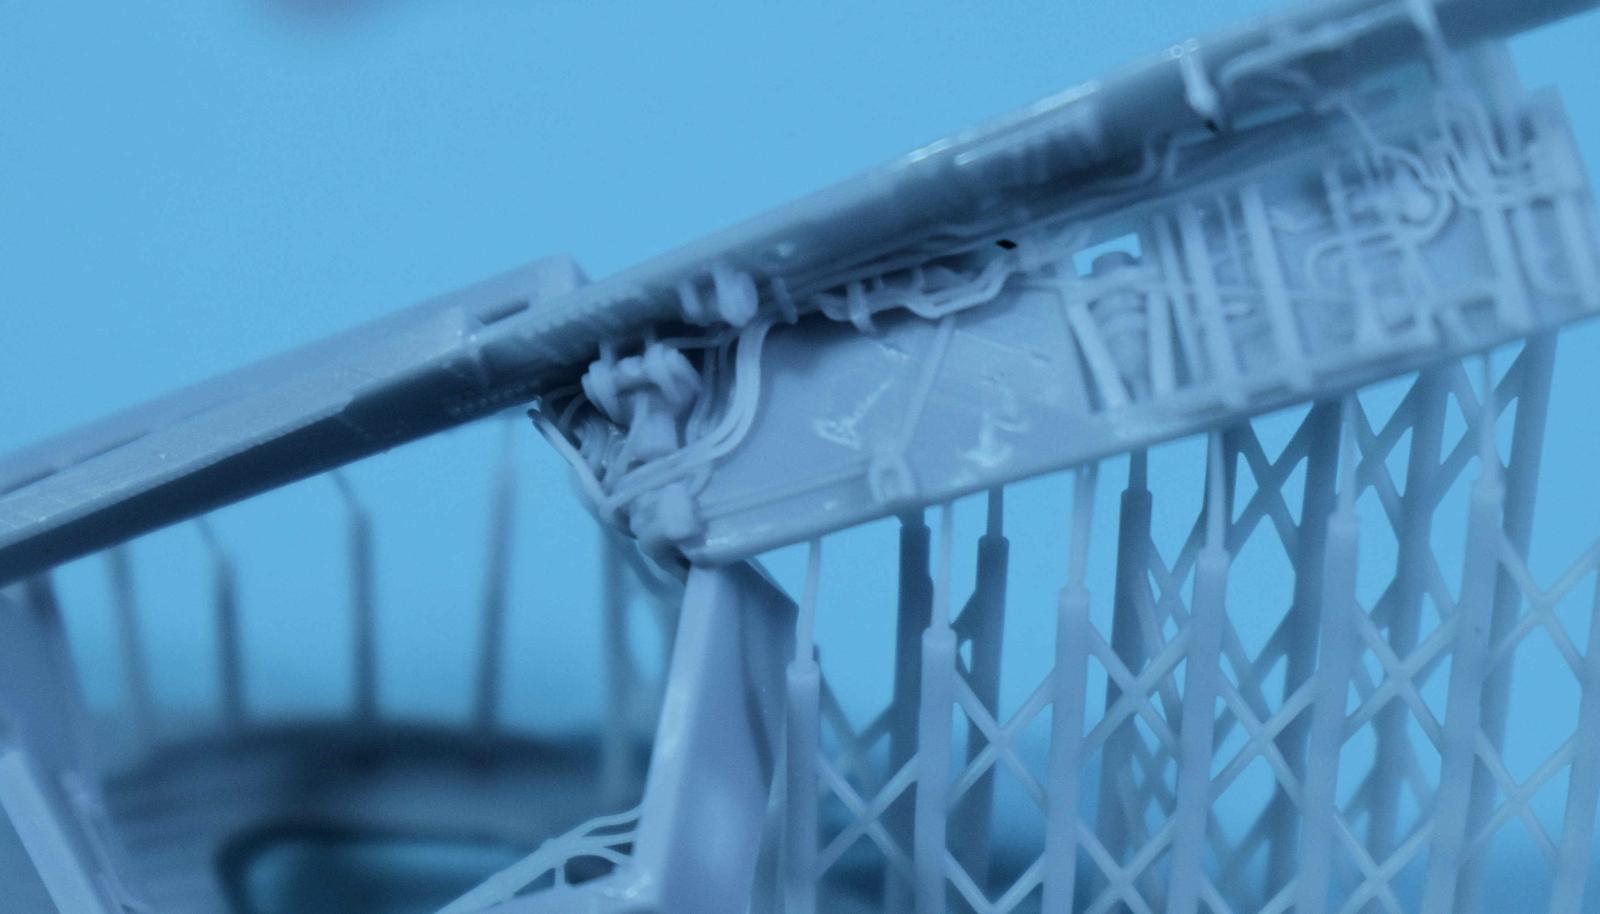
Main Bay Detail
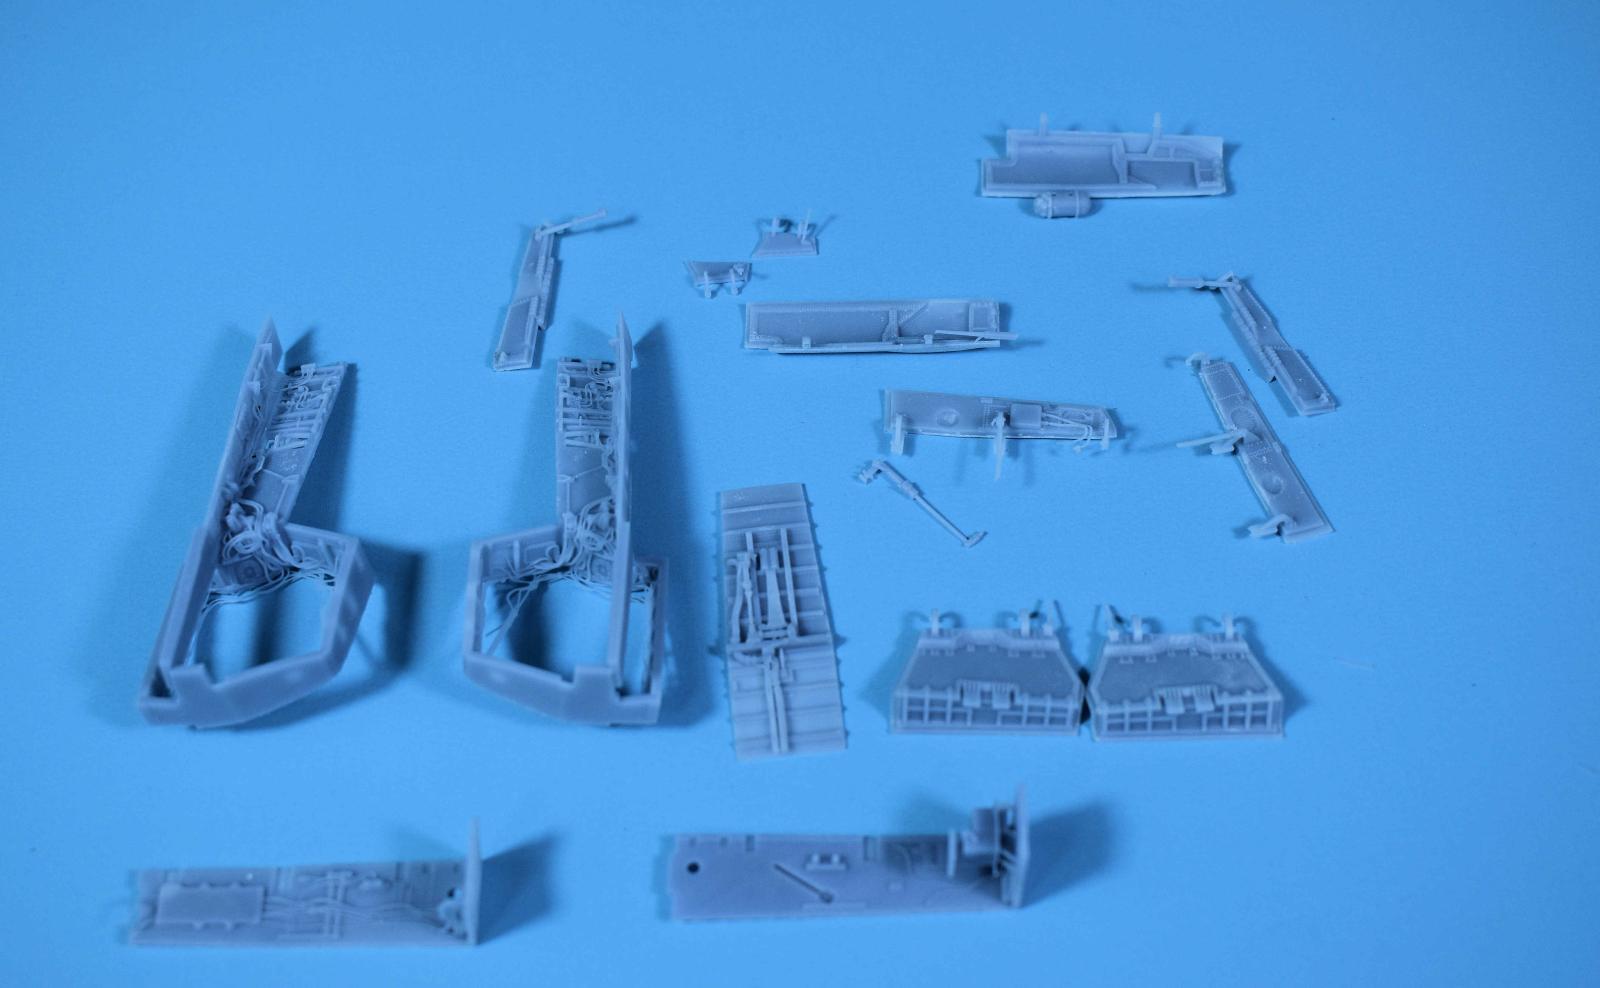
Parts Prepped
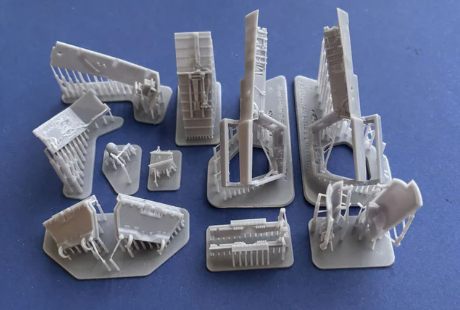
Parts
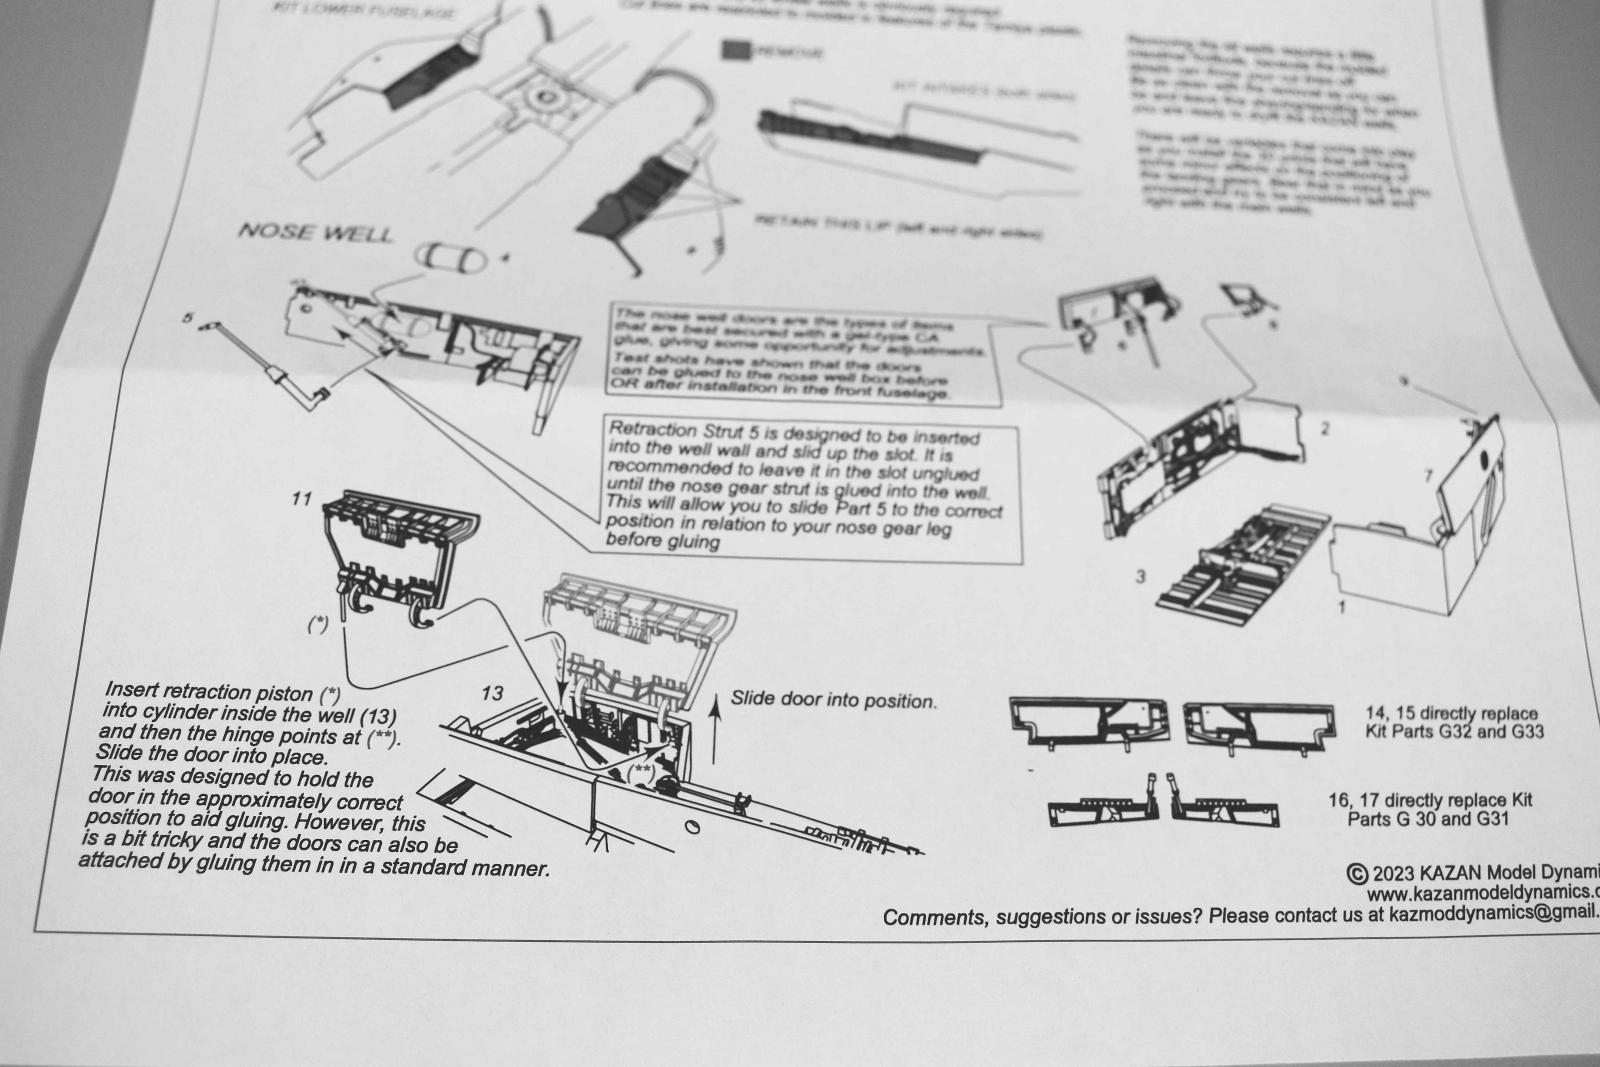
Instruction
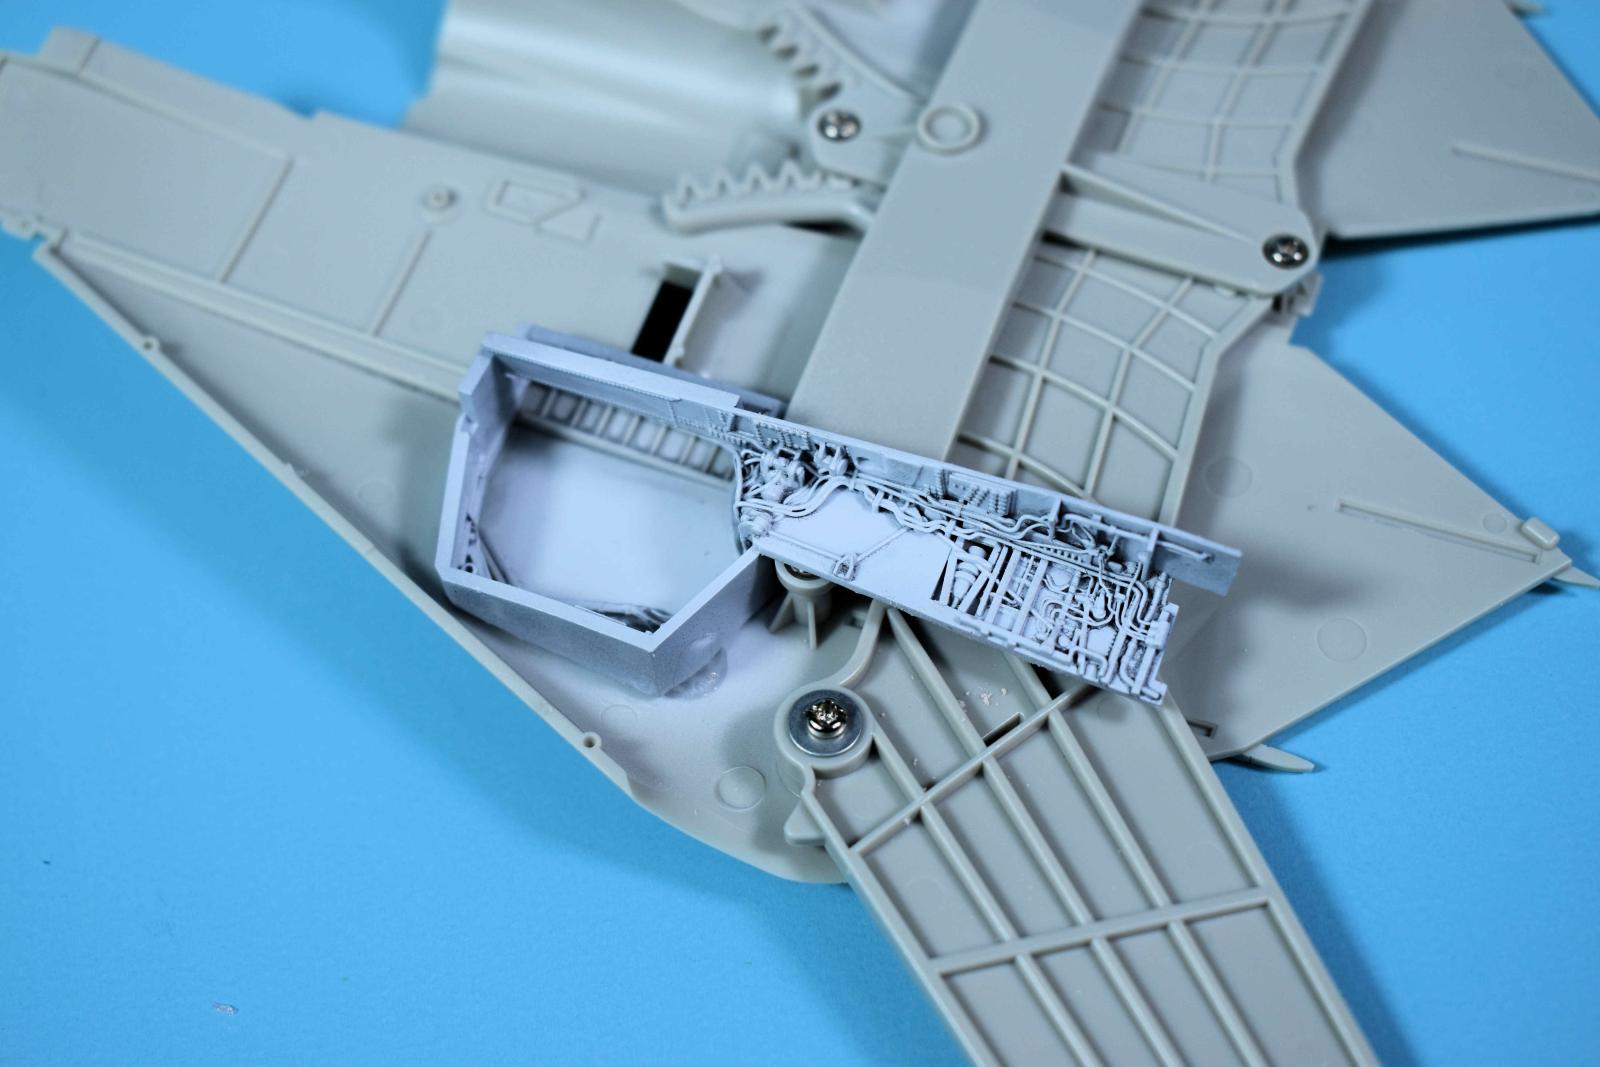
Main Bay Added to Top
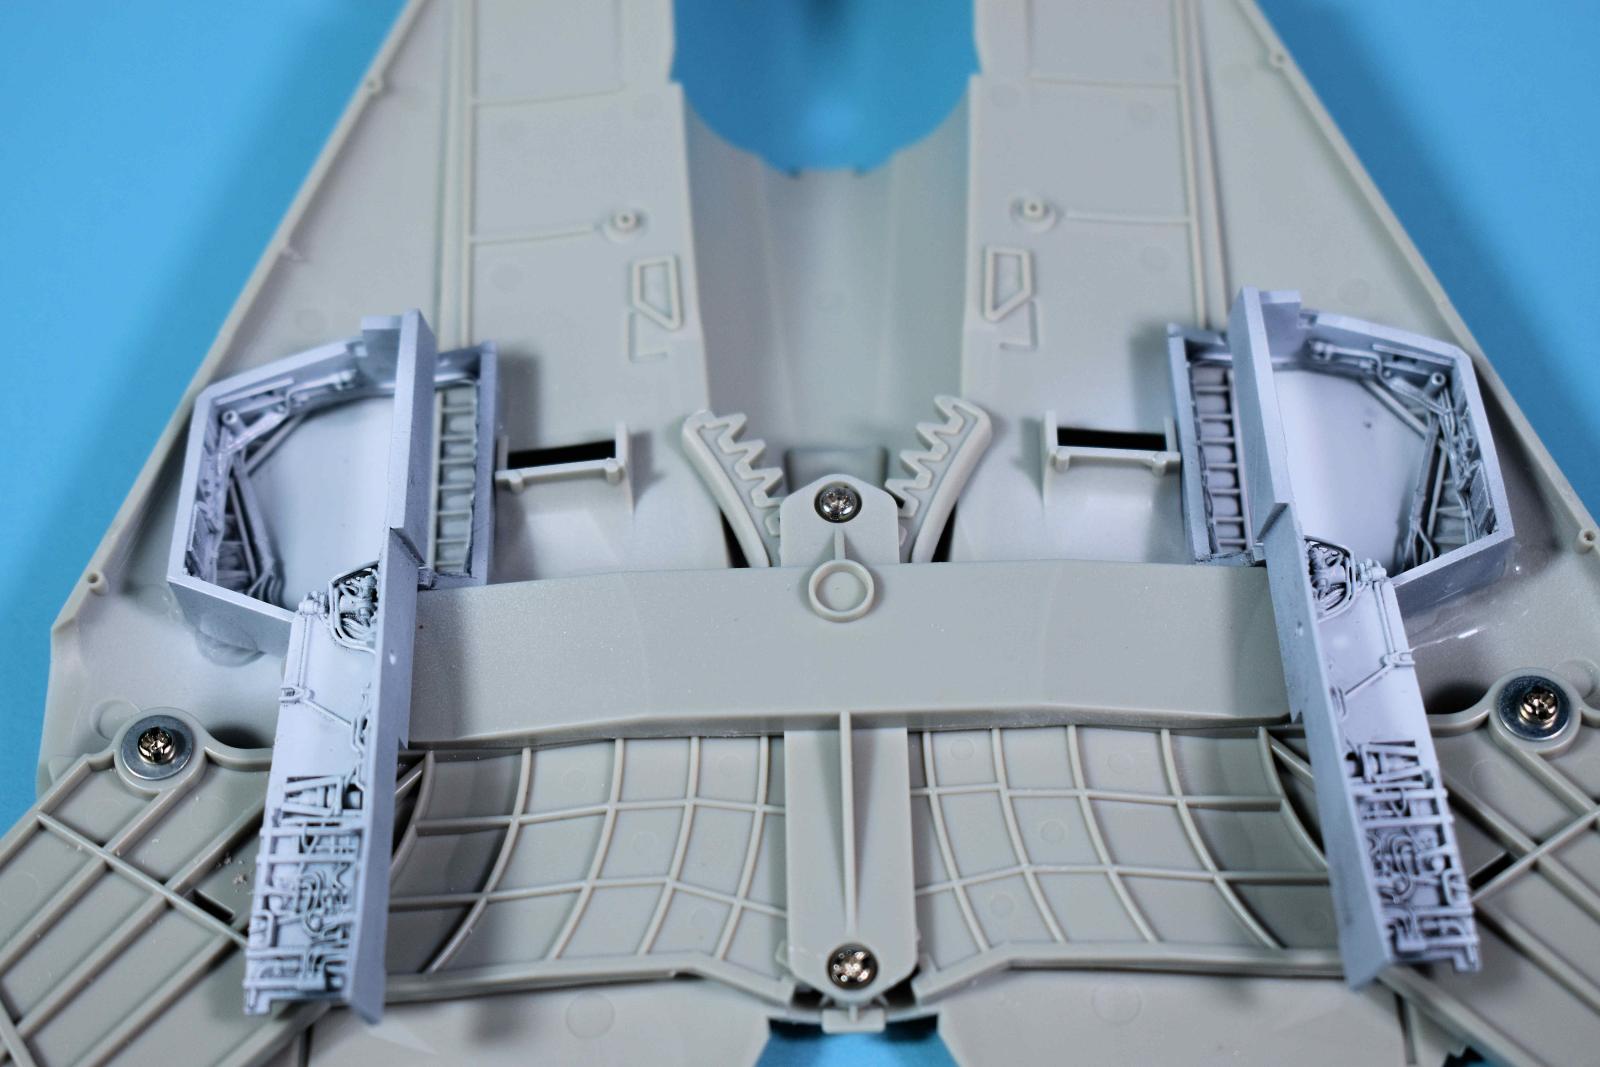
Main Bays Glued to Top
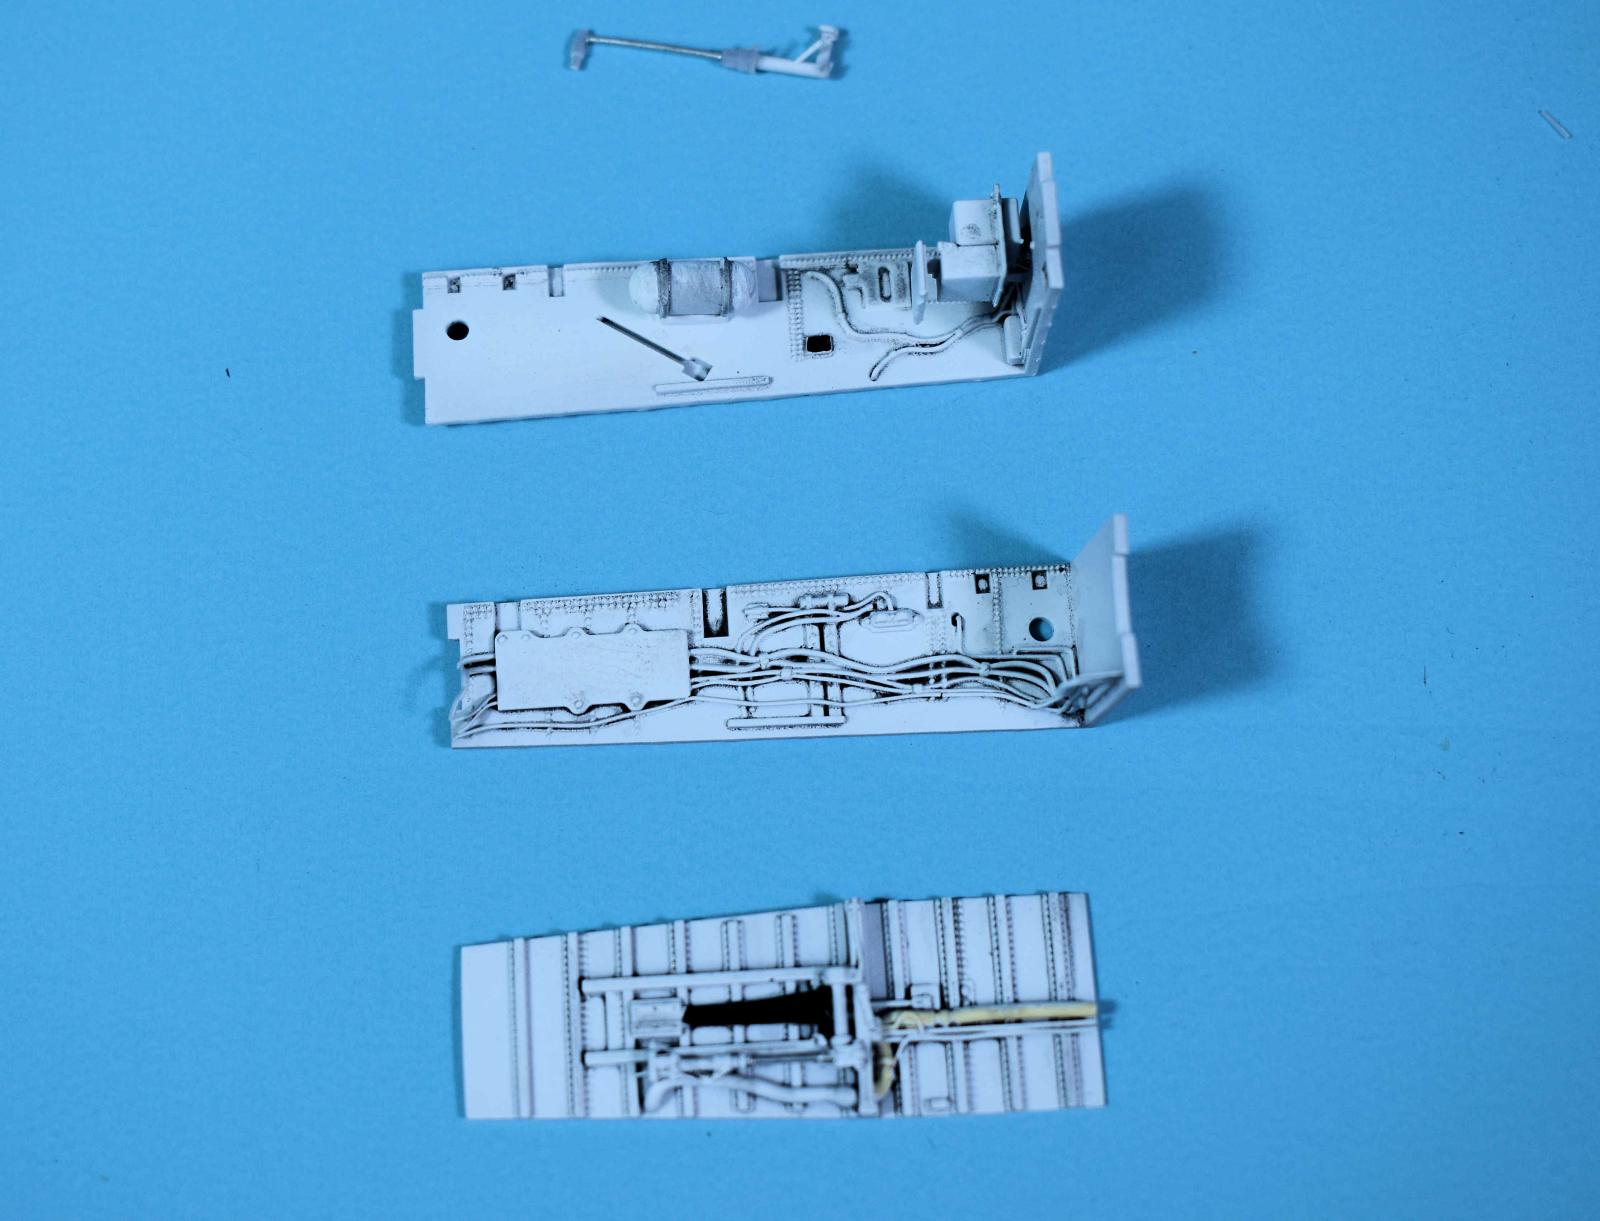
Nose Bay Side Walls and Top
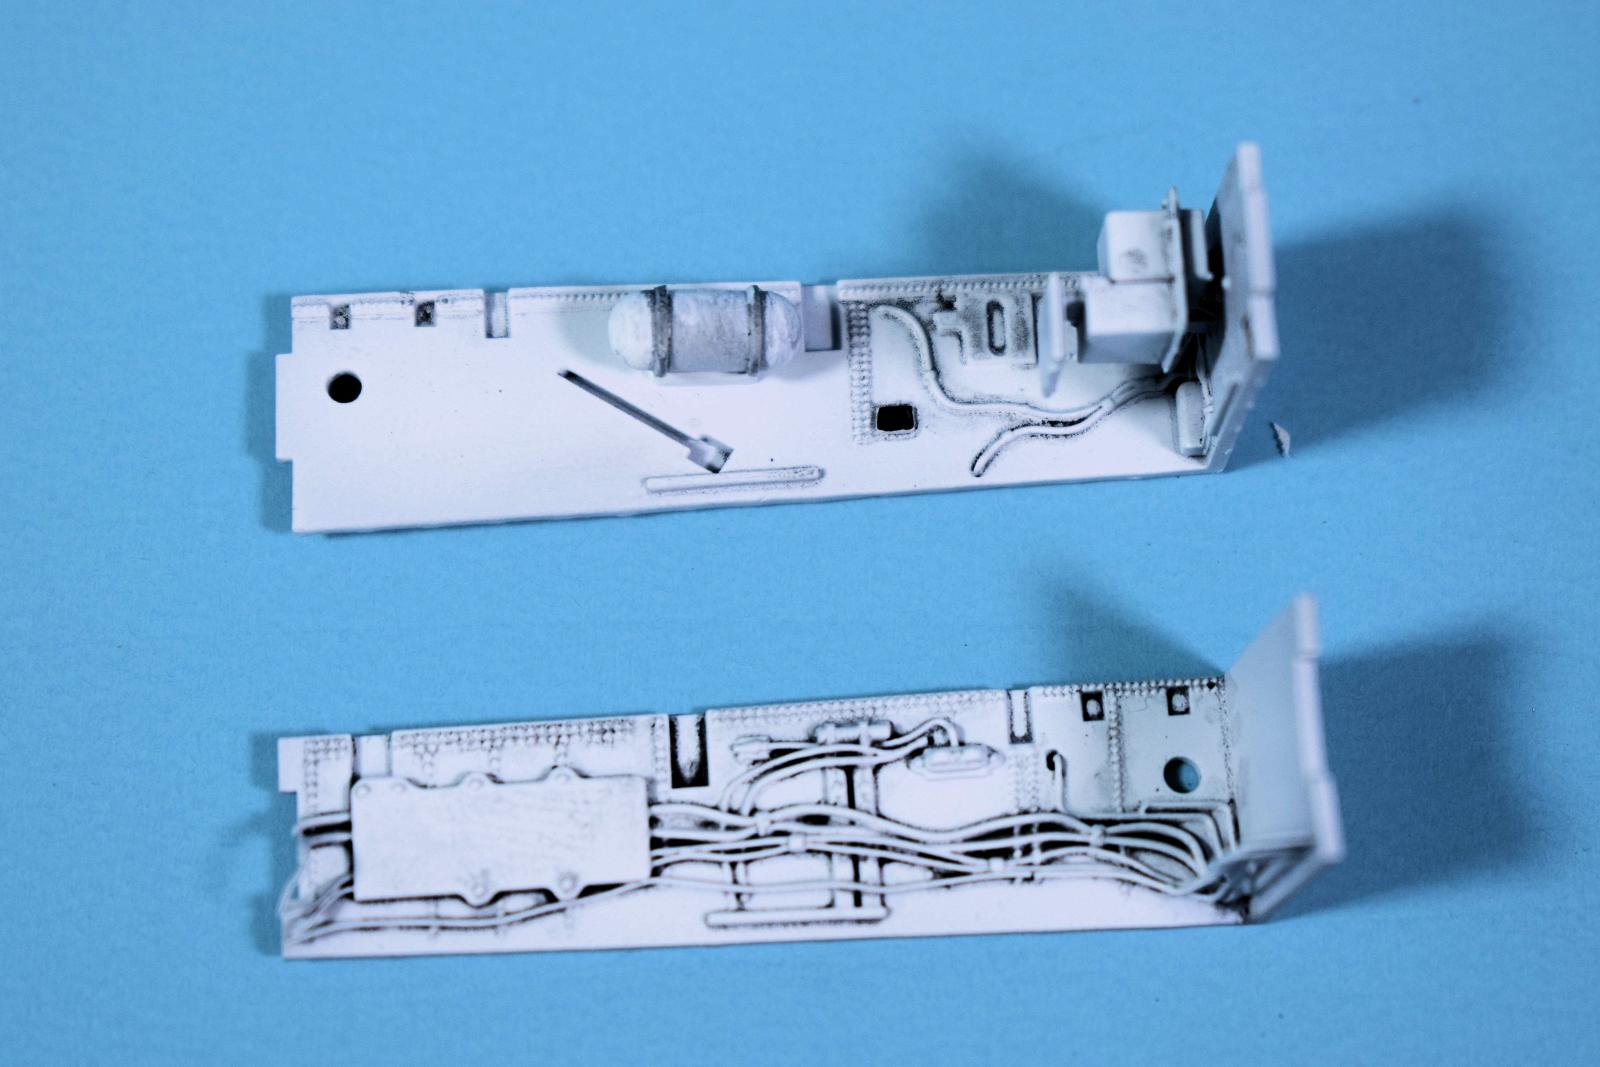
Nose Bay Side Walls
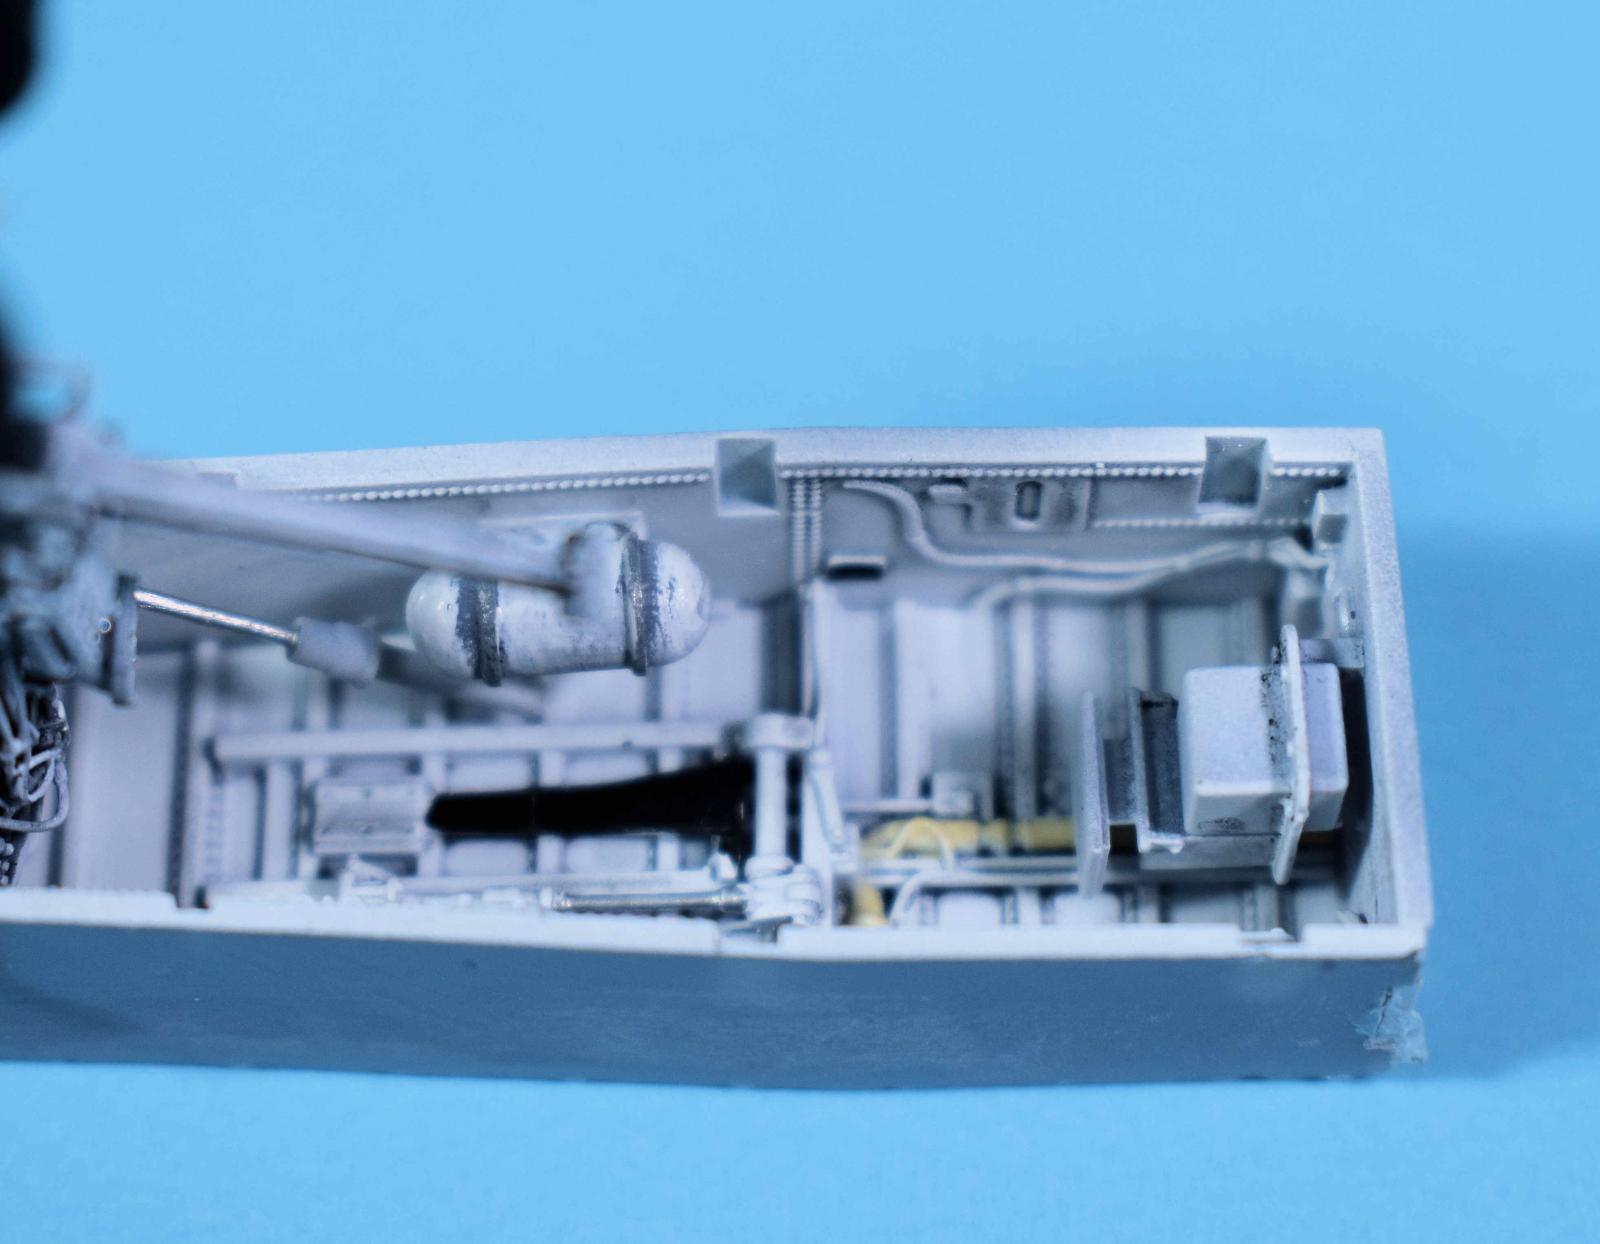
Nose Bay Close up
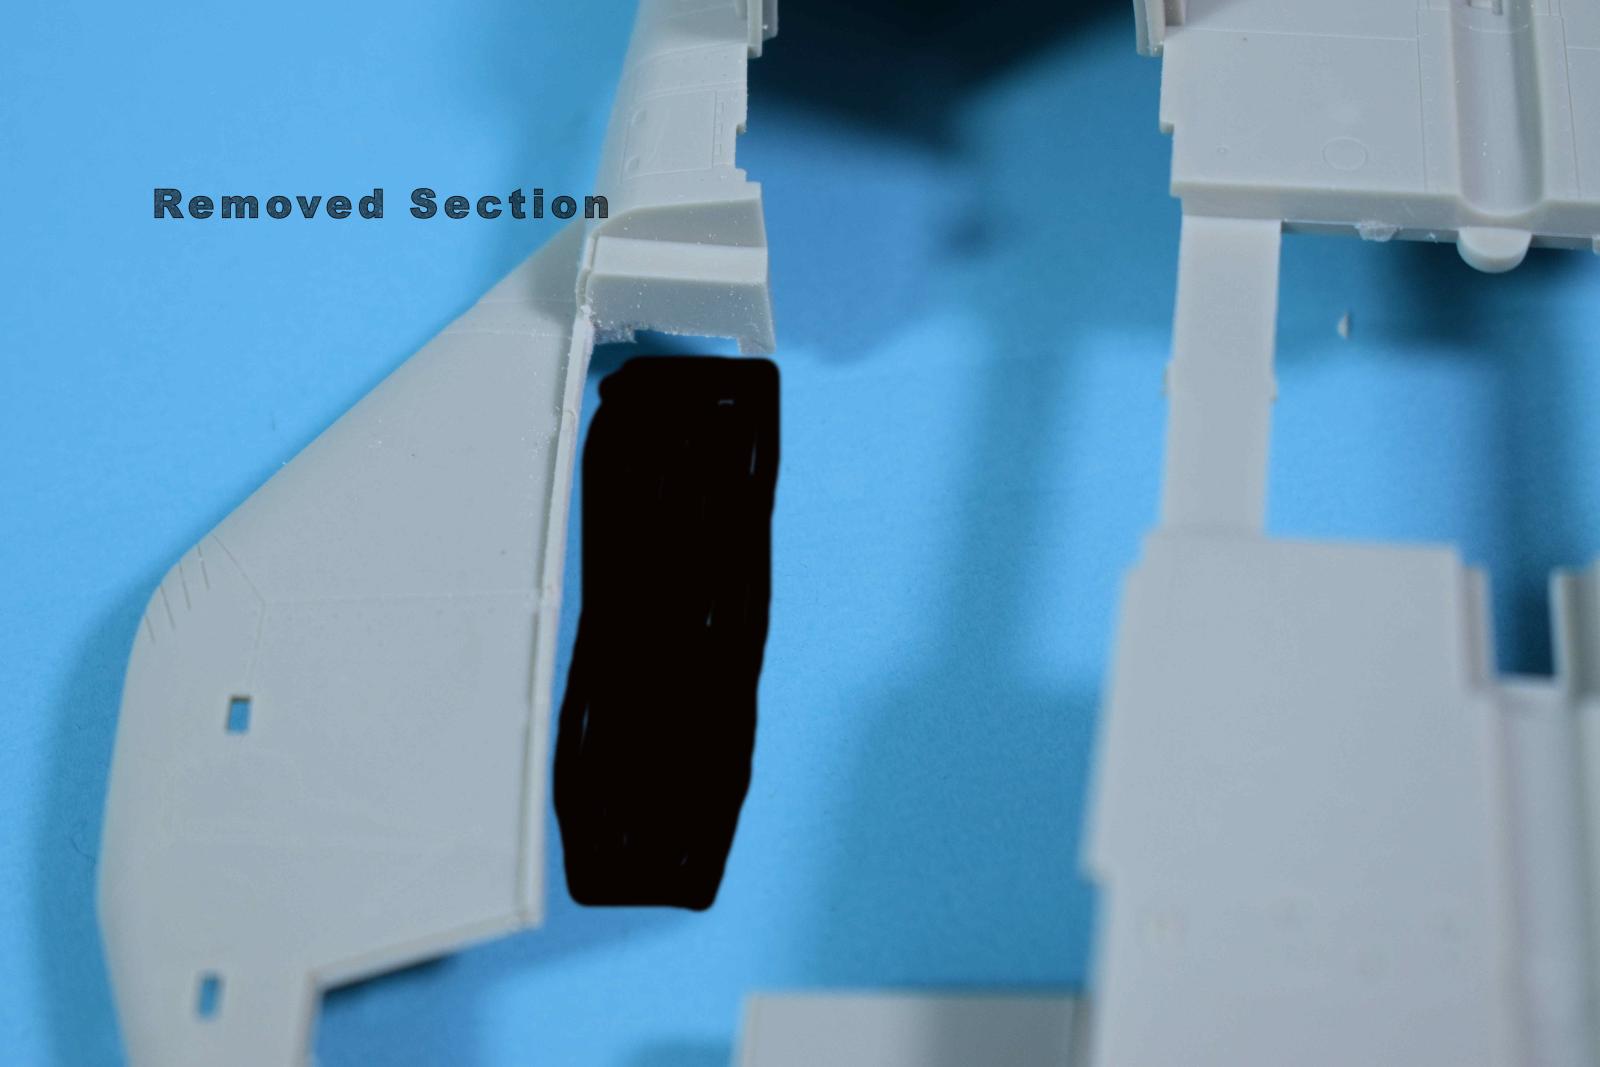
Parts to be Removed
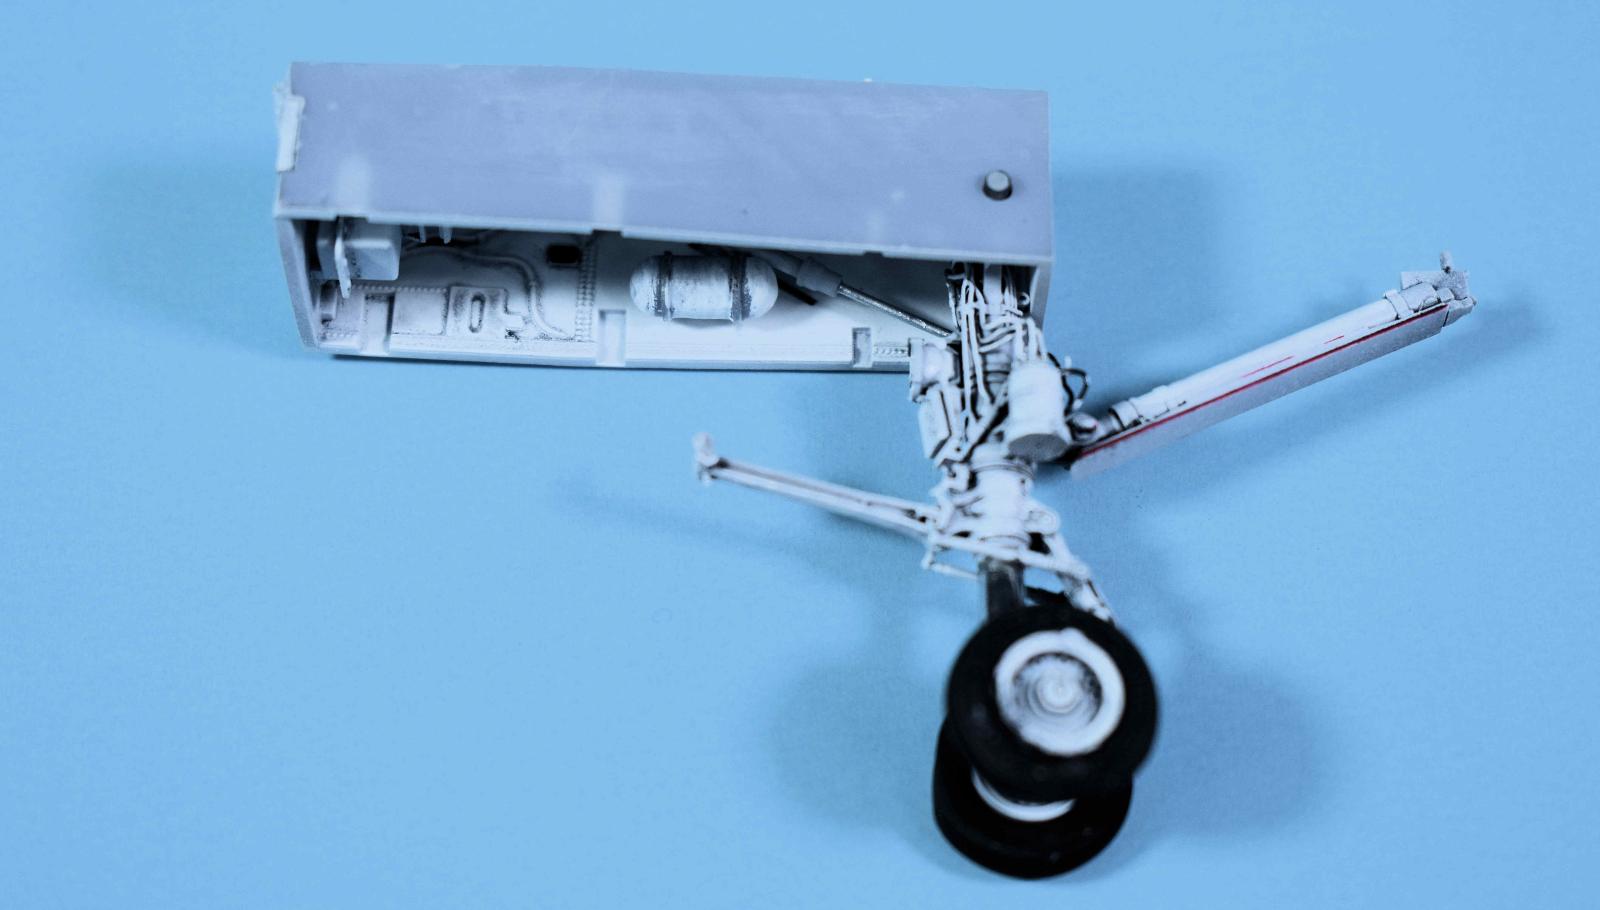
Nose Bay Assembled
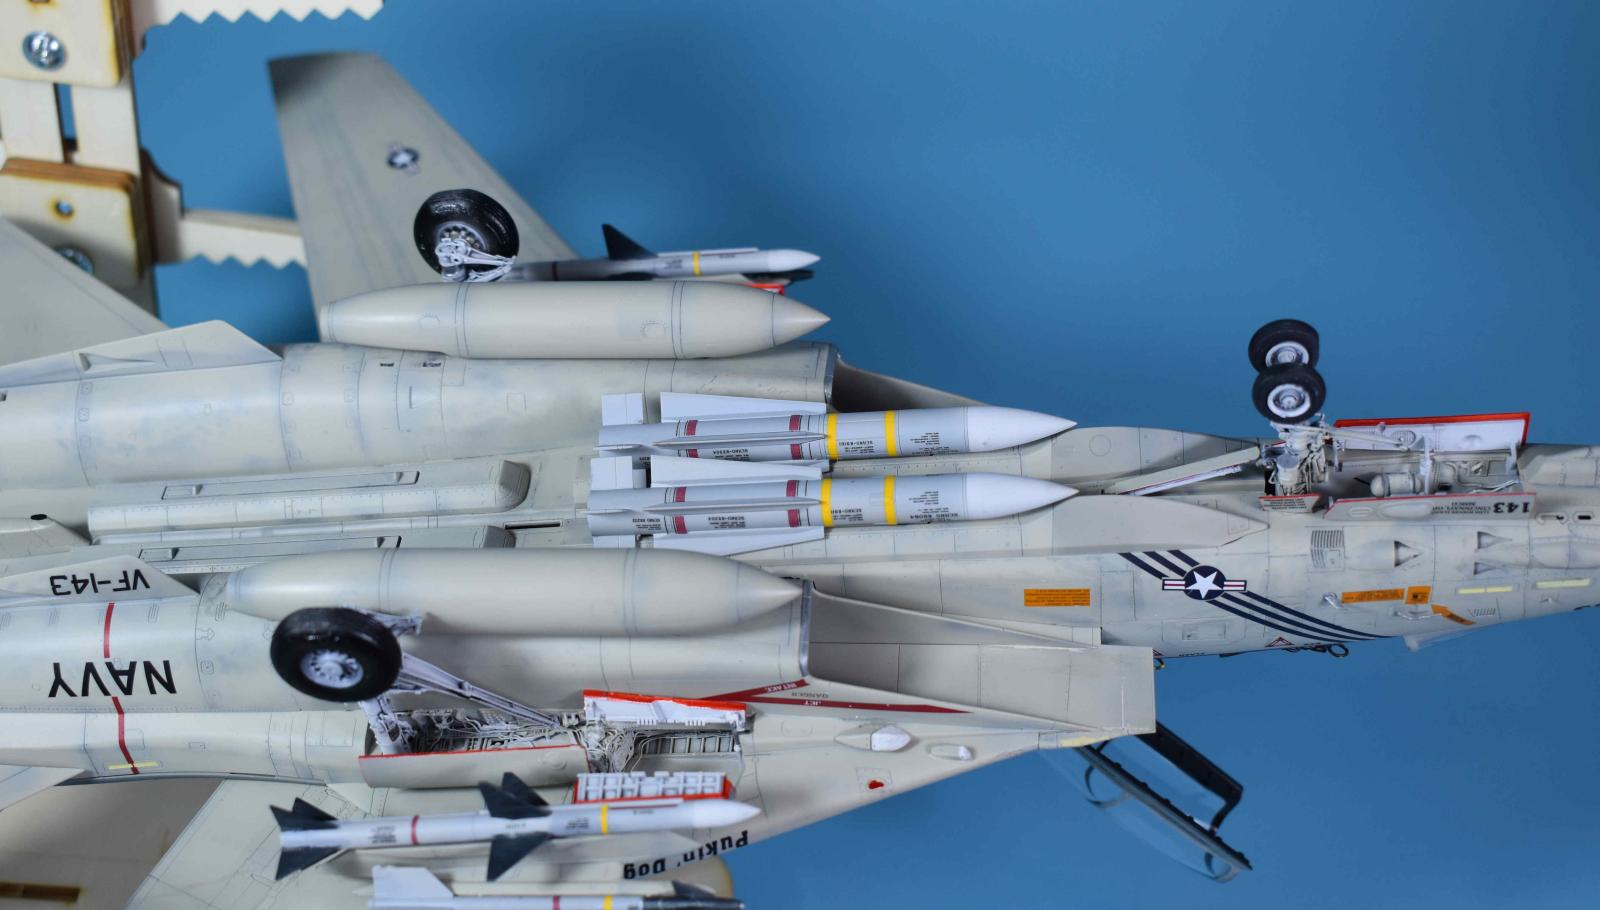
All Three Bays
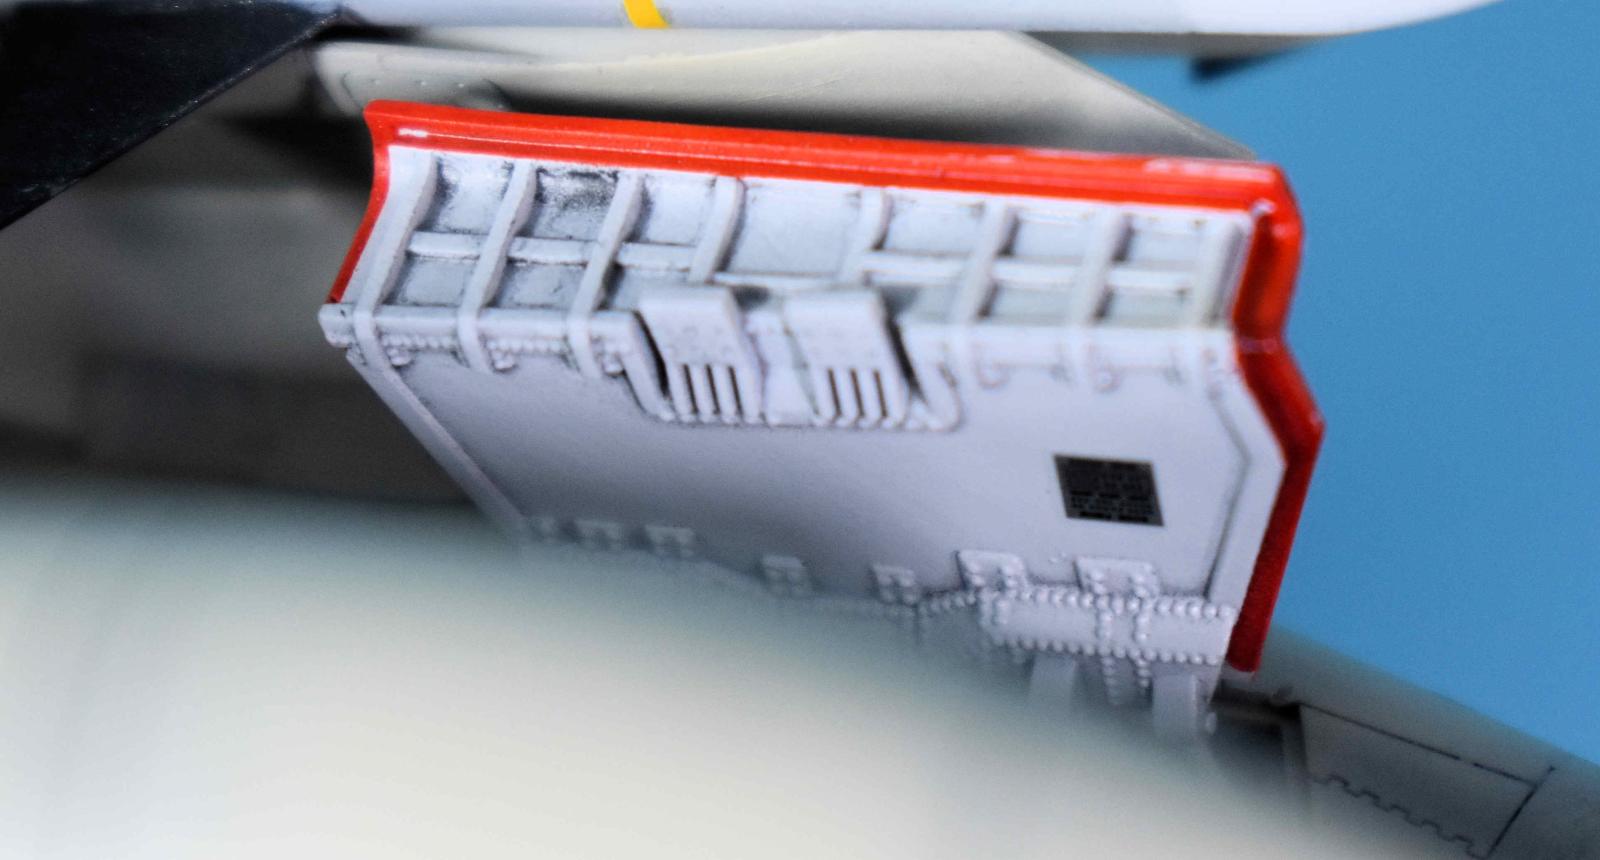
Gear Door Detail
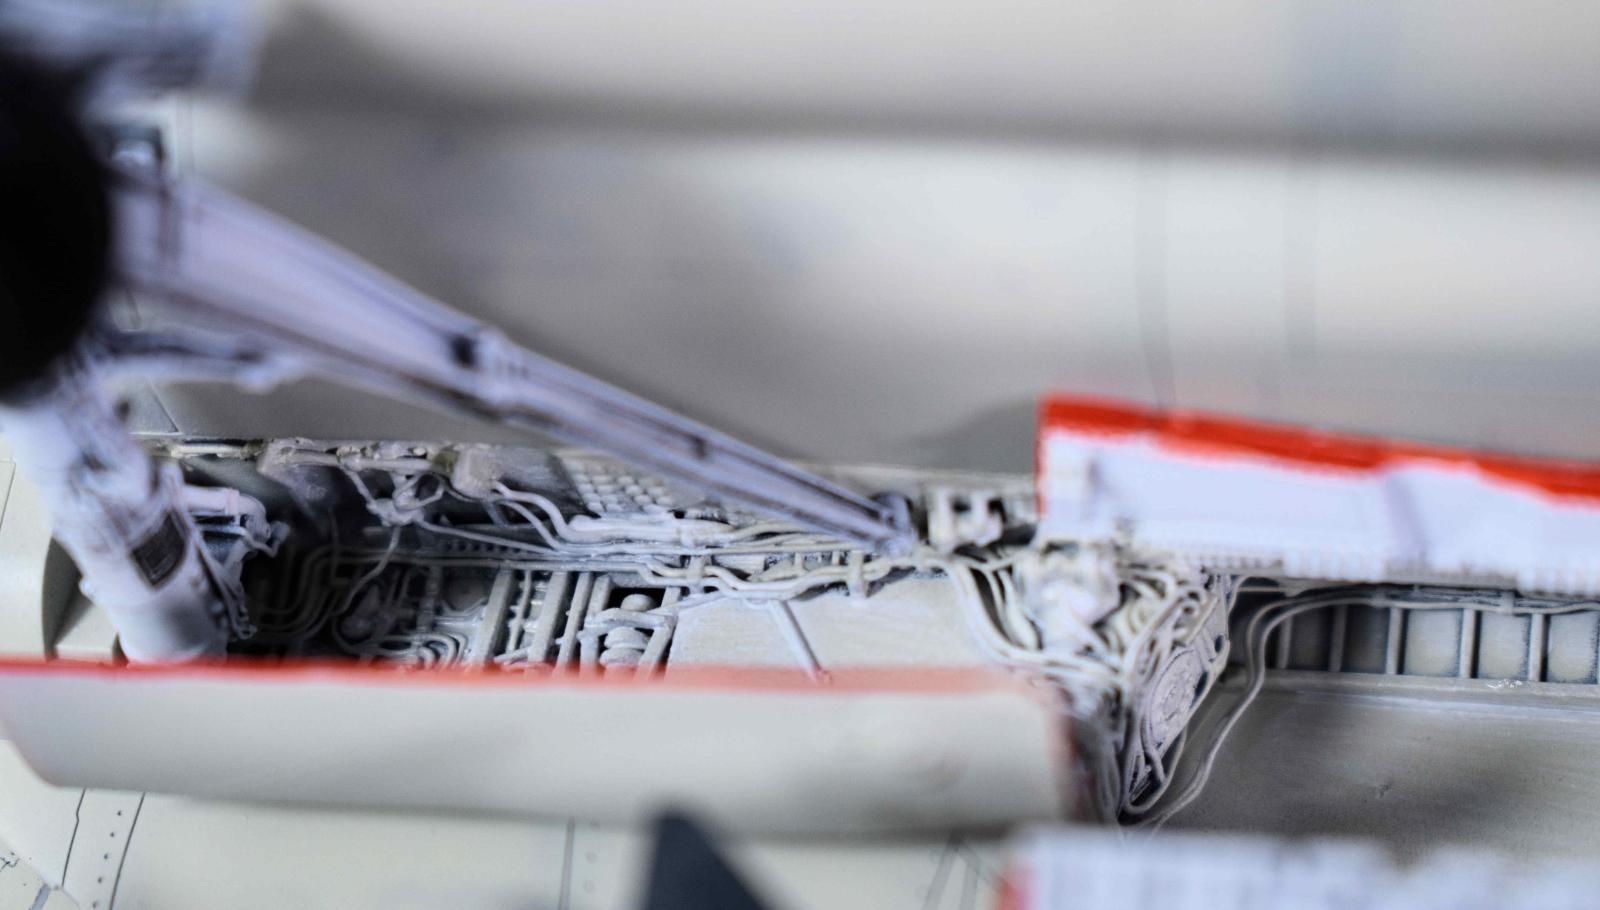
Main Bay Close Up
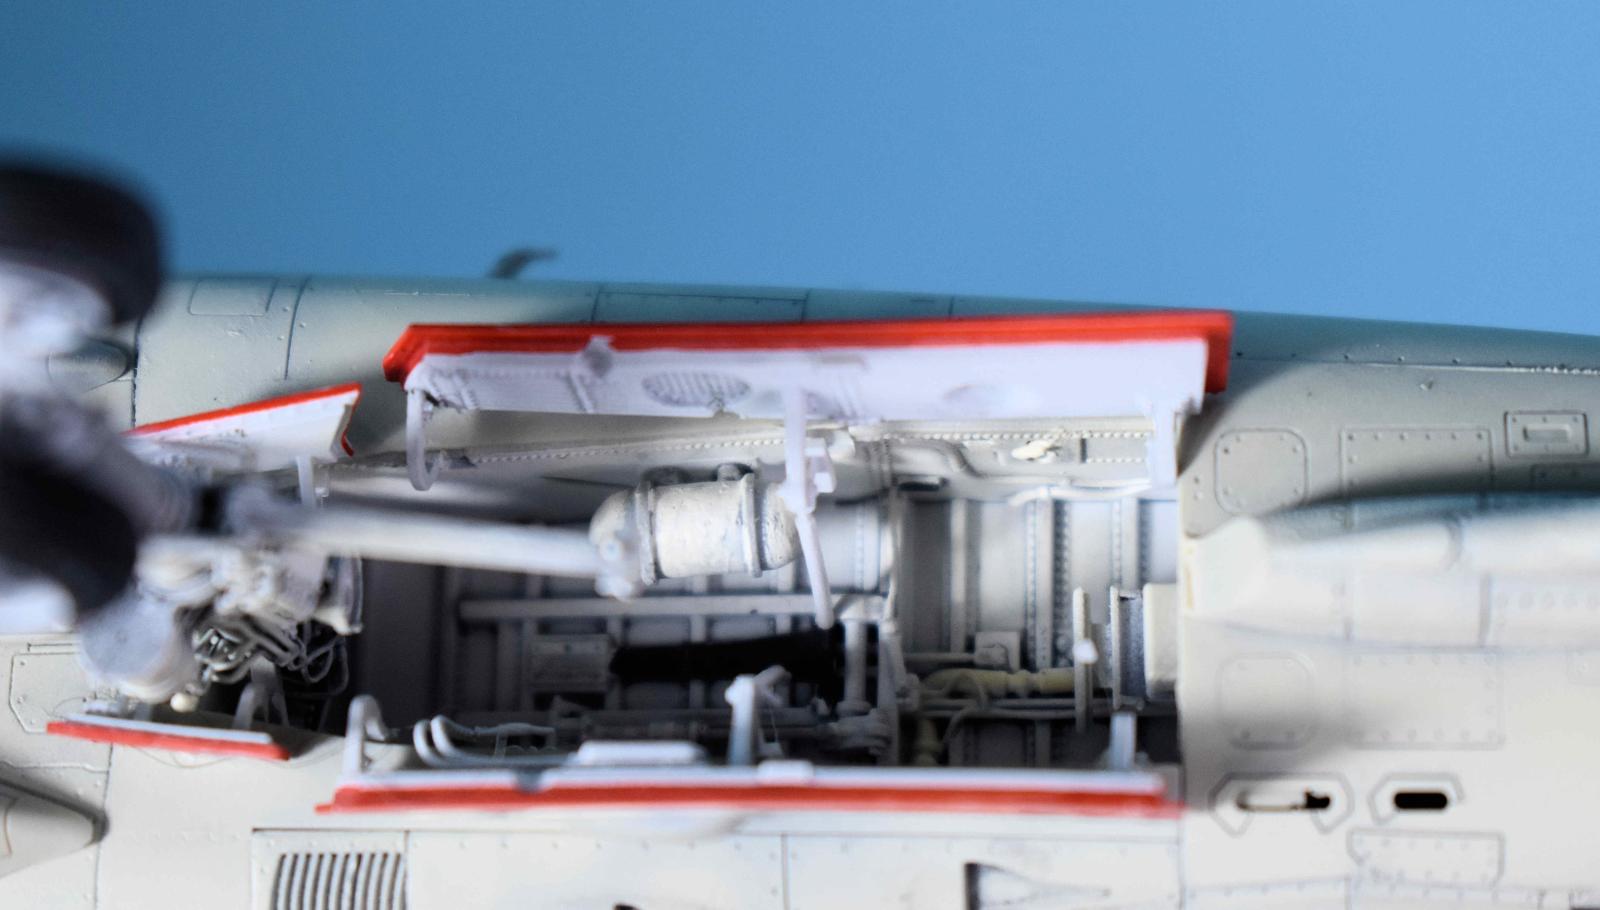
Nose Bay Close up
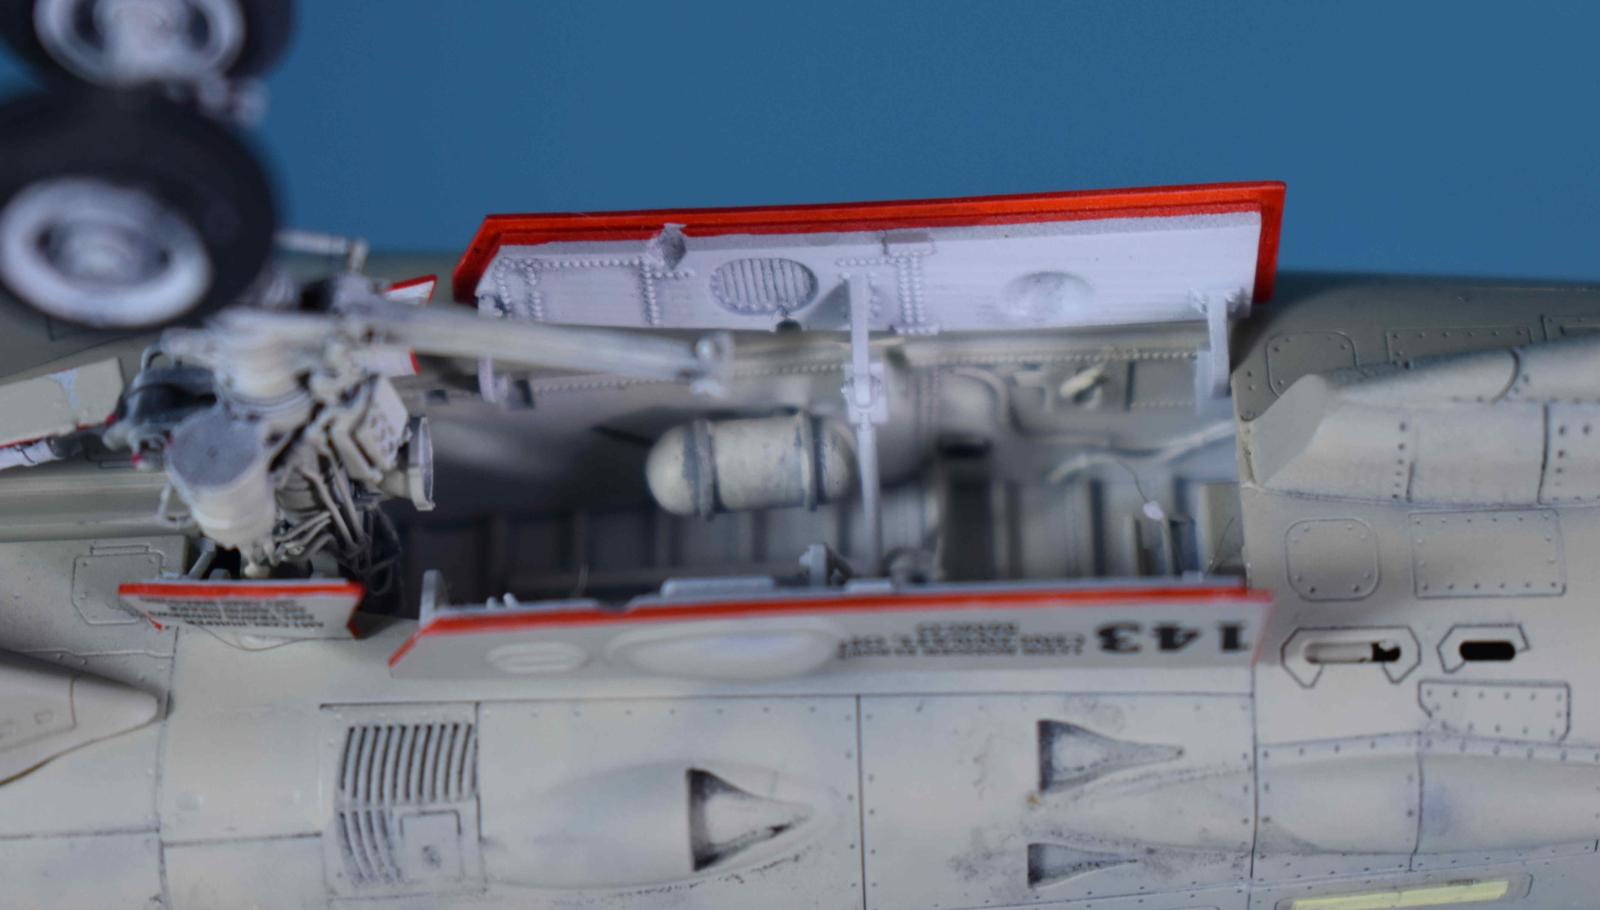
Nose Bay Close Up 2
Comments
Add new comment
This site is protected by reCAPTCHA and the Google Privacy Policy and Terms of Service apply.
Similar Reviews