
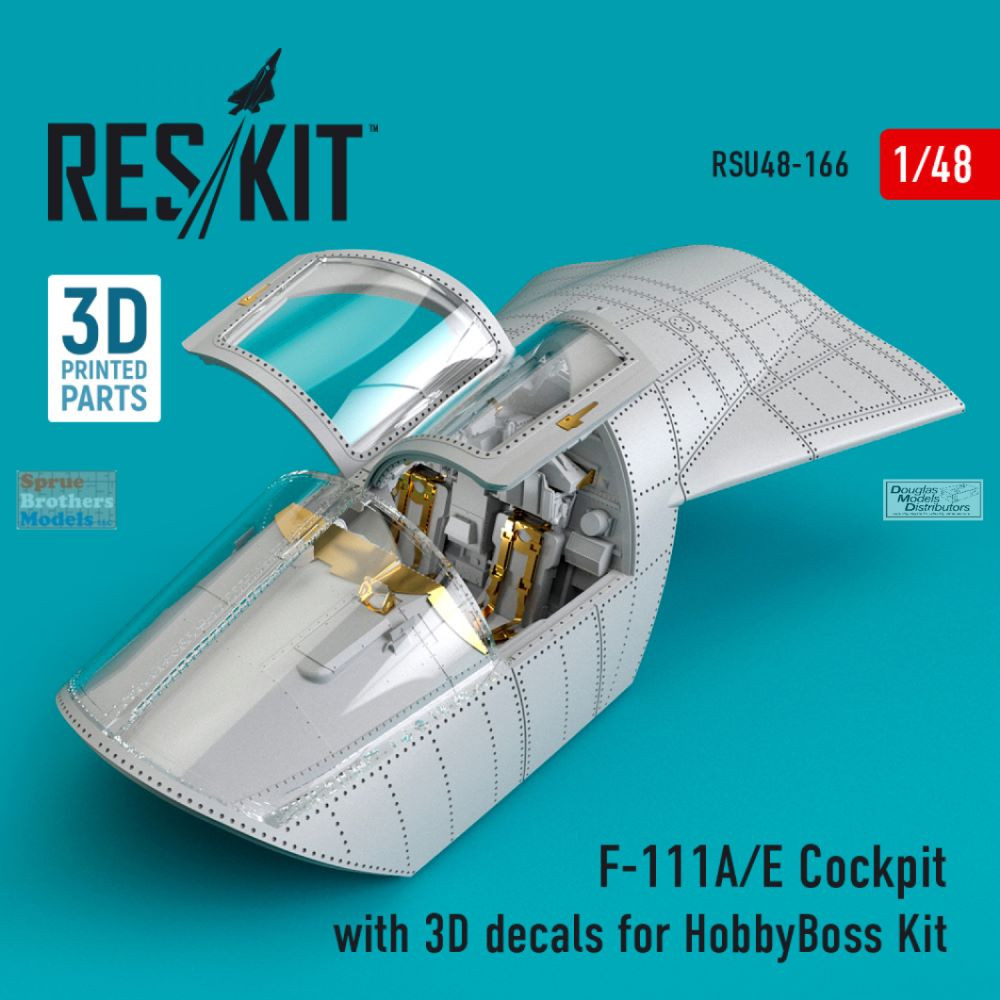
F-111A/E Cockpit with 3D Decals
HobbyBoss issued a new and more modern F-111 kit a while back (2010 I think) replacing the aging Academy kits. It had a lot of features and for styrene, a decent but simplified cockpit. It was missing seat belts, detail on the instrument panel and other parts. Reskit for Kyiv, Ukraine to the rescue with a magnificent, highly detailed multimedia cockpit. Opening the box, there are 42 3D printed parts, 4 injection molded parts (the canopy and windscreen), a masking set and a fret with dozens on photoetched parts. Preparation starts by removing the supports on the 3D parts. I warmed mine a little with a hair dryer and used a hobby knife and sprue nipper and the part were free quickly. I used a sanding stick to remove any nubs and we were good. One note here, there are instructions to assemble and build the seats and add photoetch belts. In the kit, I found two perfectly printed seats but no mention of them. I used them as the seat belts looked better than the photoetched.
To start assembly, I added the small parts to the cockpit tub and back. That included the rudder pedals and control yokes. I then painted the parts per the kit instructions and pictures online. The kit does give optional parts for the F-111A kit also and I saved those. I added the Kelik 3D printed color instrument panels and they are a true gem and easy to use. I soaked them in water like a decal and when free, glued them in place. Don’t miss the two Kelik decals that go on the instrument panel coaming and the back of the cockpit. The instrument panel itself smooth and adding the Kelik decals is wonderful. Make sure to install the correct radar operator’s hood. There are two and part R20 is correct. .Also, there are some very small parts added for handles and levers. By small, I mean 1mm x 2mm or so. Once those were added and glue set, they are painted. I added a black wash once assembled to the cockpit bottom and back.
The sidewalls were painted and washed. The large ejection capsule in the Reskit set is the same as the HobbyBoss kit part and should slip into place. More on that later. The sidewalls are installed in the capsule. The instrument coaming is added to the top. This has six more detail parts added. The instrument panel is slid into the instrument coaming from the bottom.
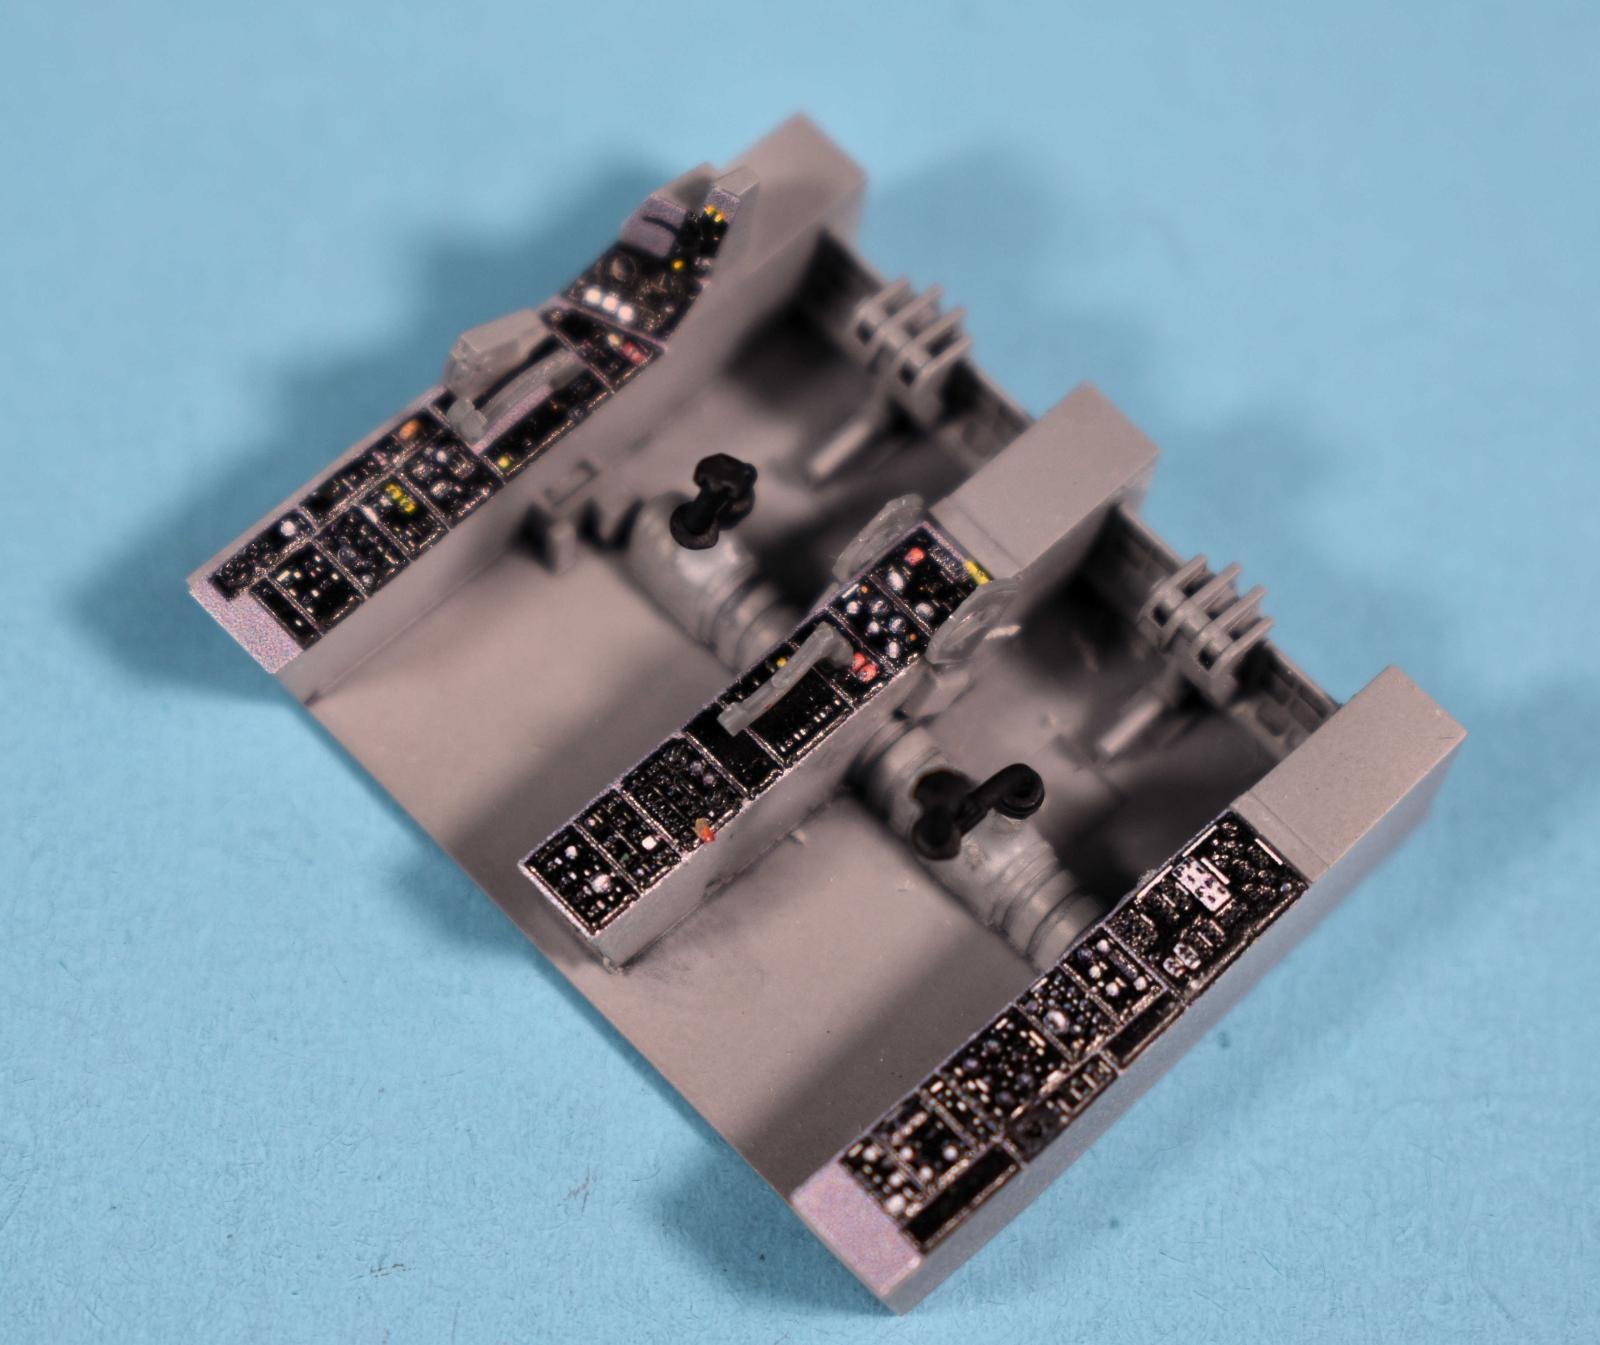
The seats are next and I did elect the printed seat belt version. I made sure all the little supports were out. I did fail to mention, everything got a coat of Tamiya primer prior to painting. The seats were painted with no issues and have the familiar red head rest. They were installed into the rear portion of the canopy and clicked right into place.
A quick note here - all these tiny exacting details make thing a little fiddly as the next part is fitting the back and front of the cockpit into the top part. There is also a very specific (and correct note) to thin the cockpit floor to 0.5mm or it won’t fit. After some test fits, I thinned the cockpit floor to almost transparent and cut away some of the plastic behind the back walls. This went back and forth until the entire thing went into place with some force. In hind sight, I would have thinned the top of the front wheel well a lot which was difficult since it was already installed. All this being said, I faired the part in with glazing putty. The top to fuselage connection was good. The side less so and the front was tough.
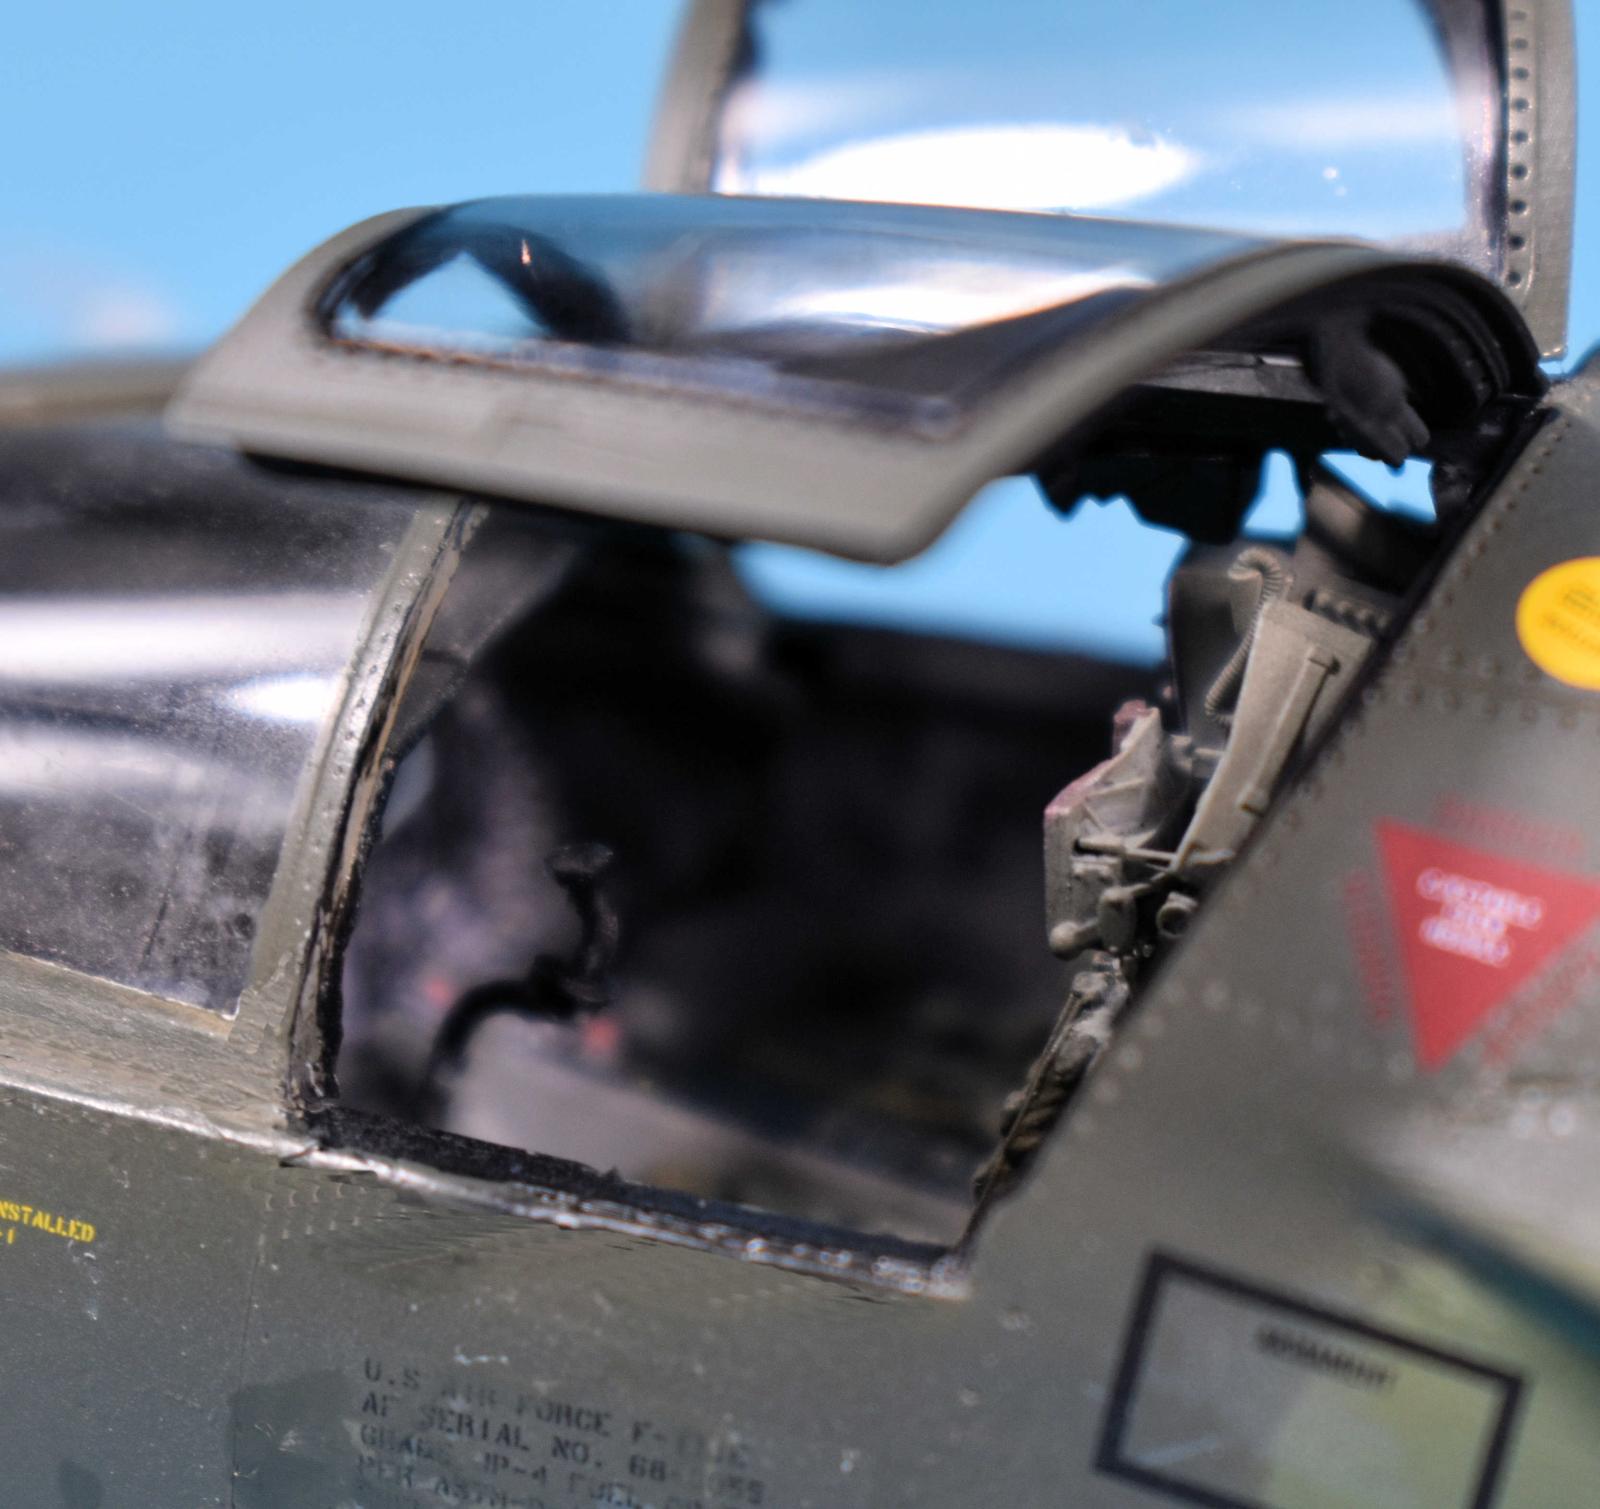
Once in place and faired in, I added the kit windscreen. This was polished and the supplied masks were used. I added the top which connects the rear to the canopy and will support the doors. There is photoetch for this also. I did a little flat coat and finished the rest of the model. The left and right cockpit doors/canopies are another little work of art and include the screens and 1000 times more detail than HobbyBoss parts which have no detail and when open look plain. The inside was painted black and the outside to match the SEA scheme. Flat coat and installation of the clear parts were next and lastly gluing in place and done.
In summary, the Reskit set is almost a requirement to the rather simplified kit parts especially if you intend to have the canopy doors open. The much-improved seats with belts, the Kelik decals, the improved canopy details and the improved coaming are all vast improvements to the kit parts. I can also say, I would thin the parts to get a better fit into the fuselage well ahead of time instead of doing it while assemblwed.
Thanks to Reskit for the opportunity to review this great set.

Contents
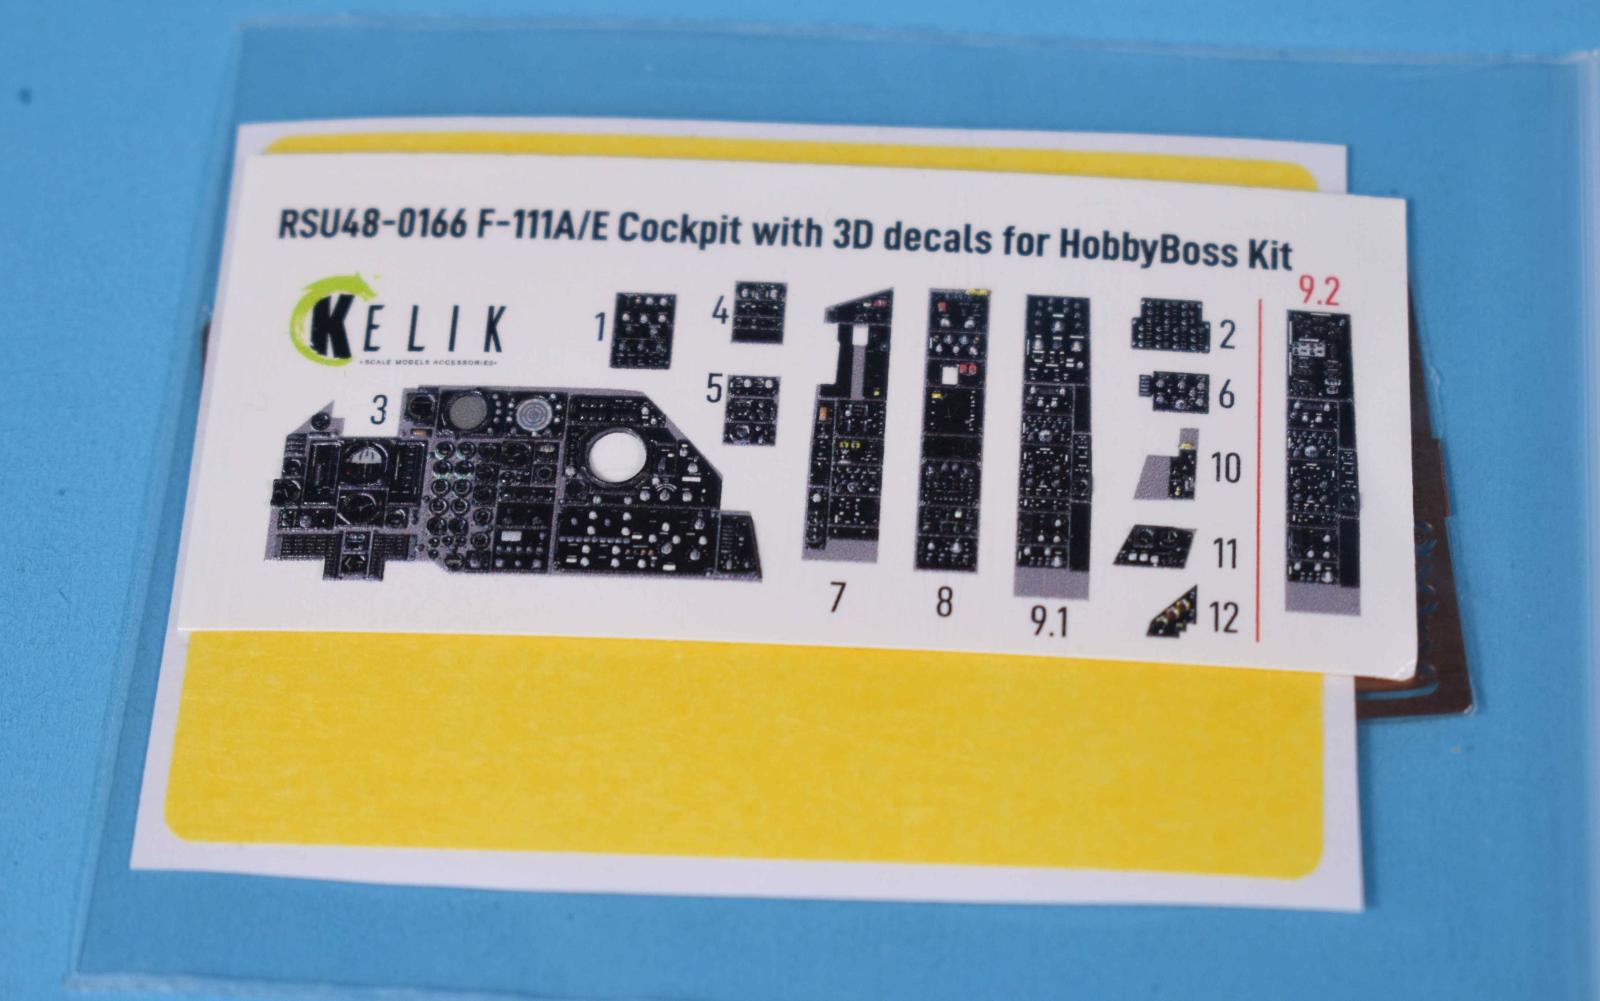
3D Decals
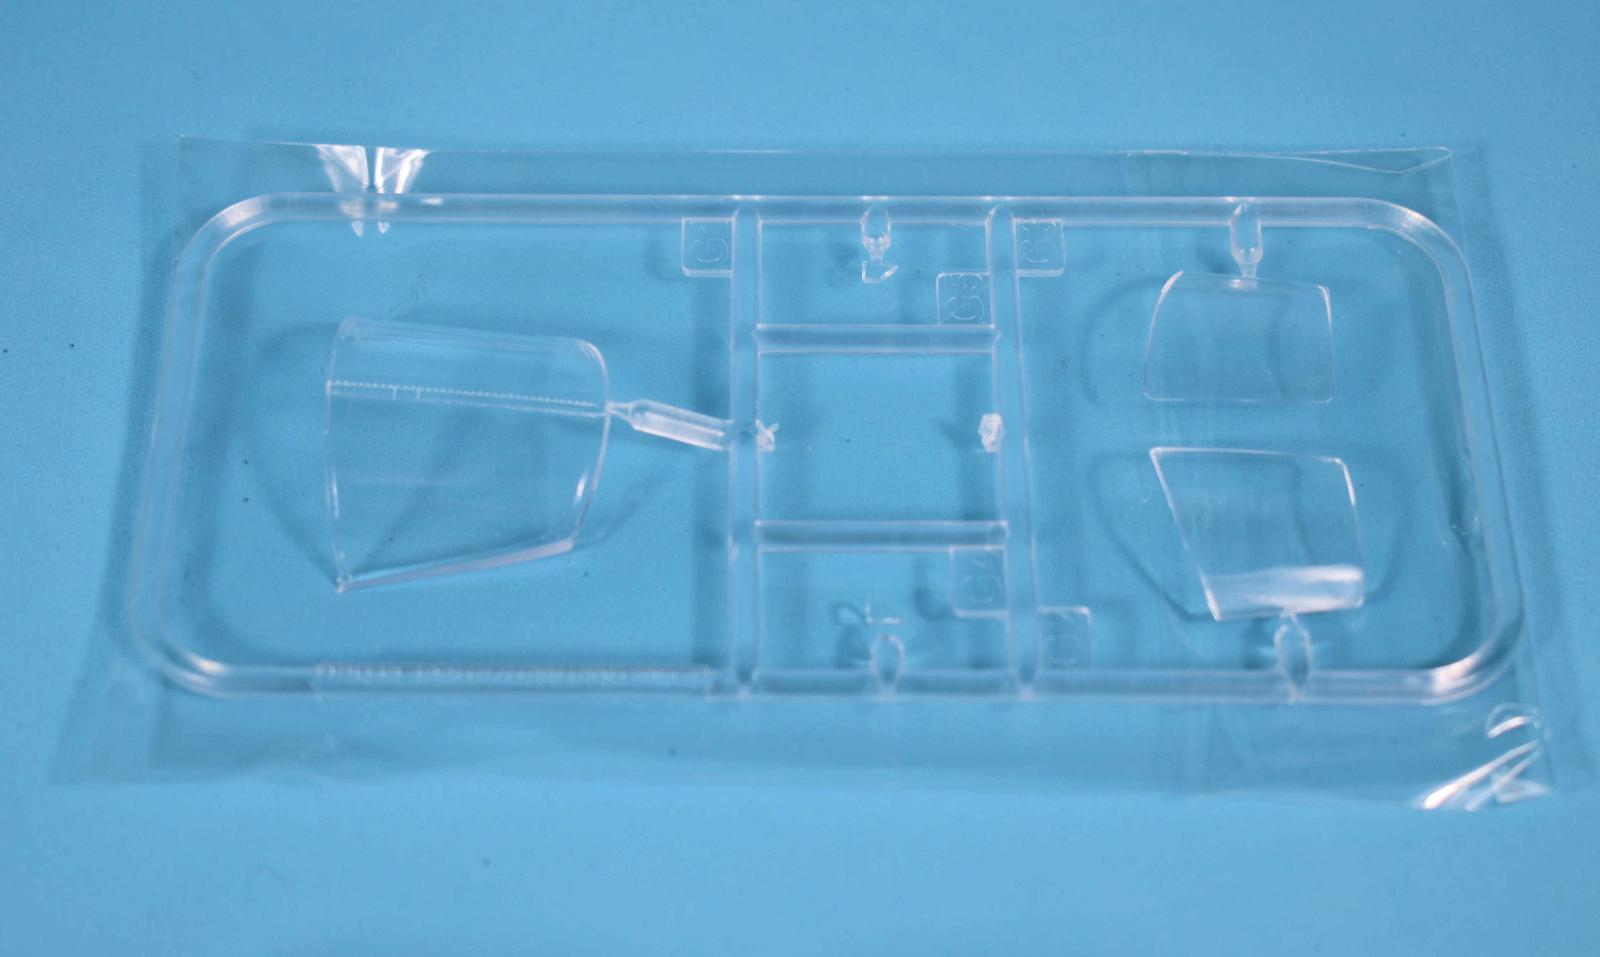
Canopy and Wind Screen
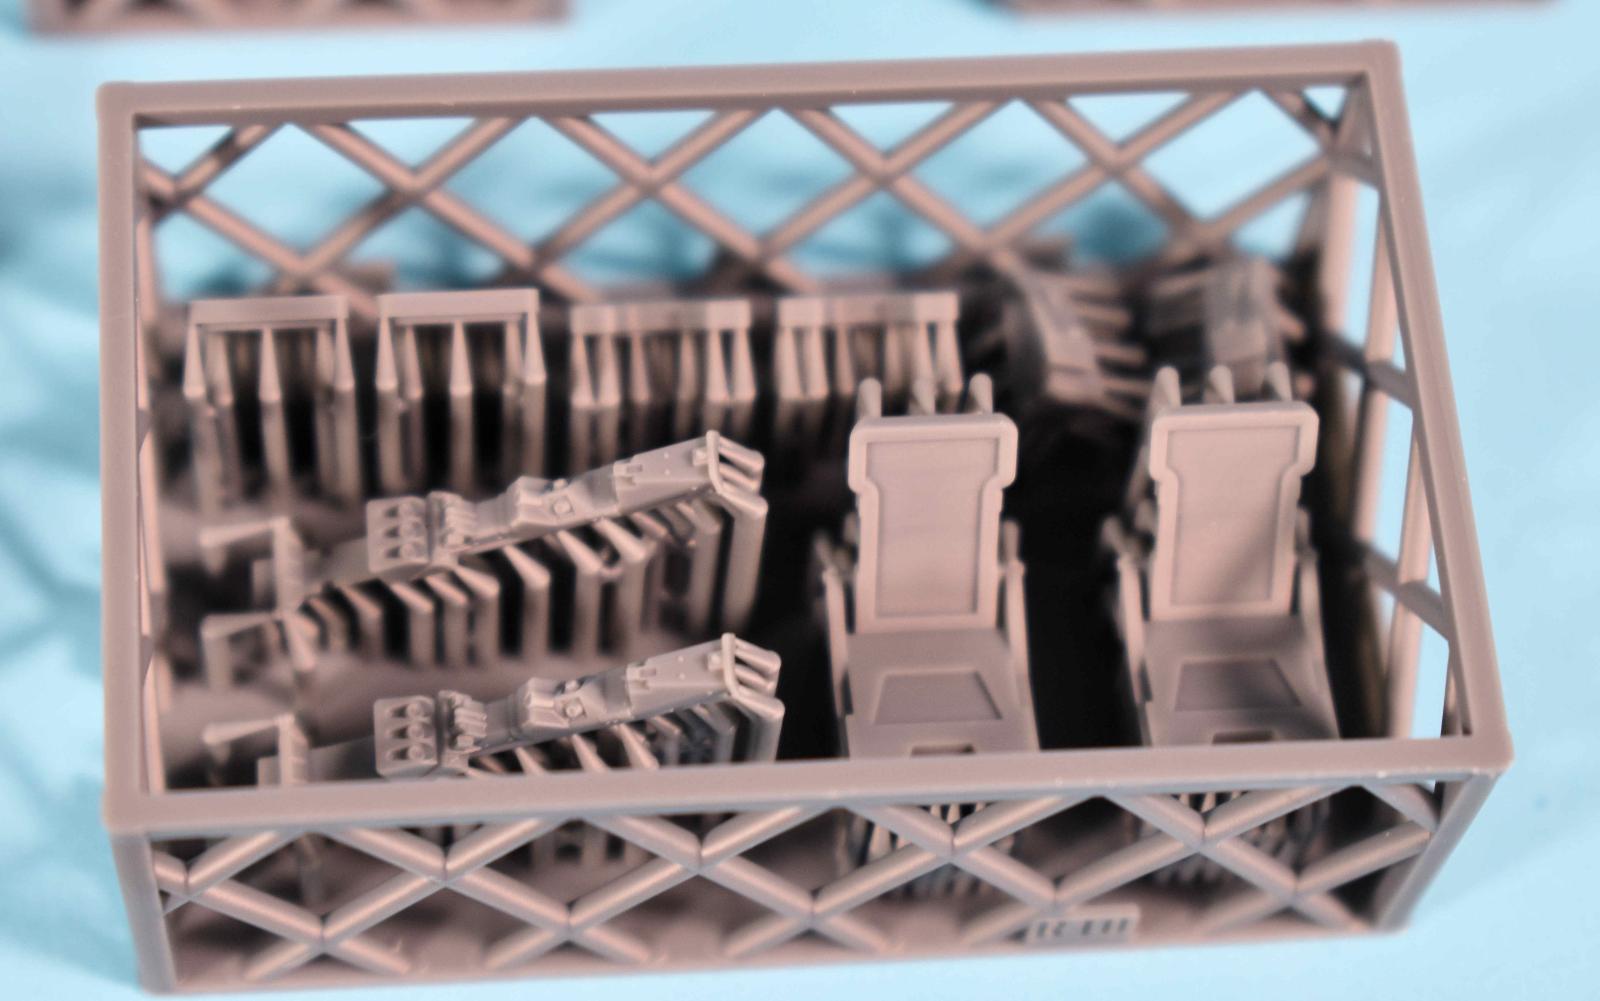
Seat without belts
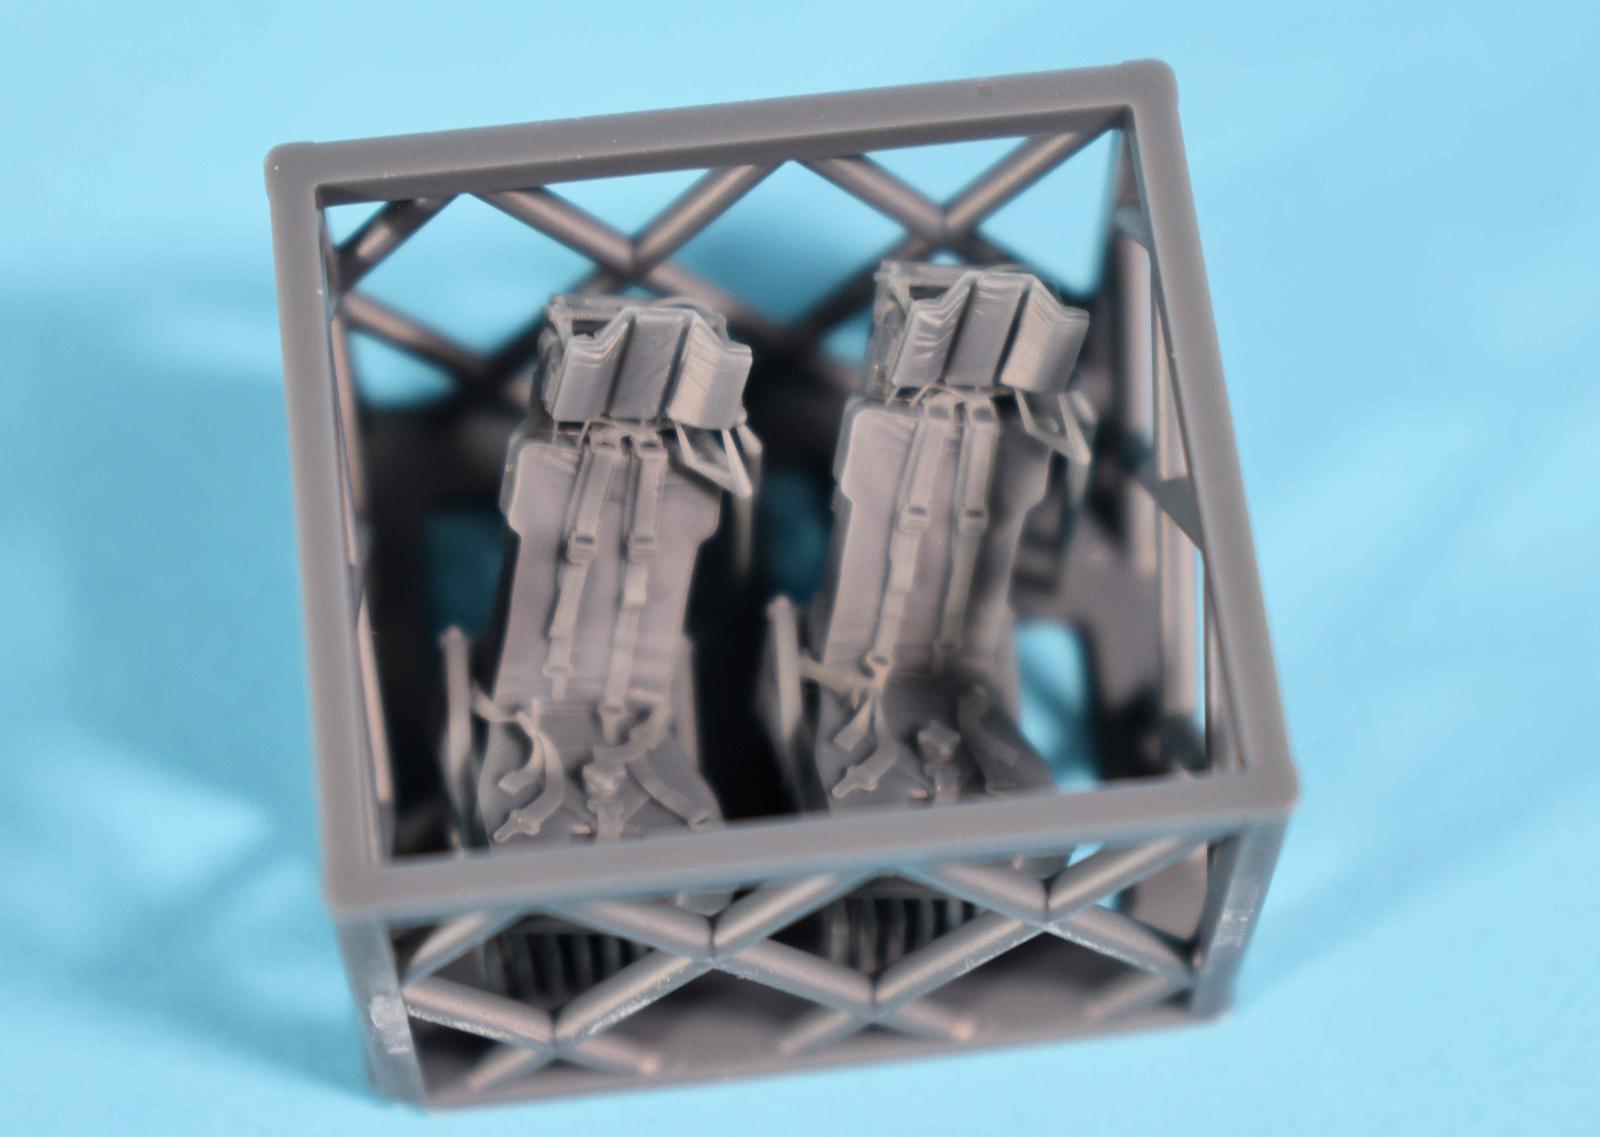
Seats with Belts
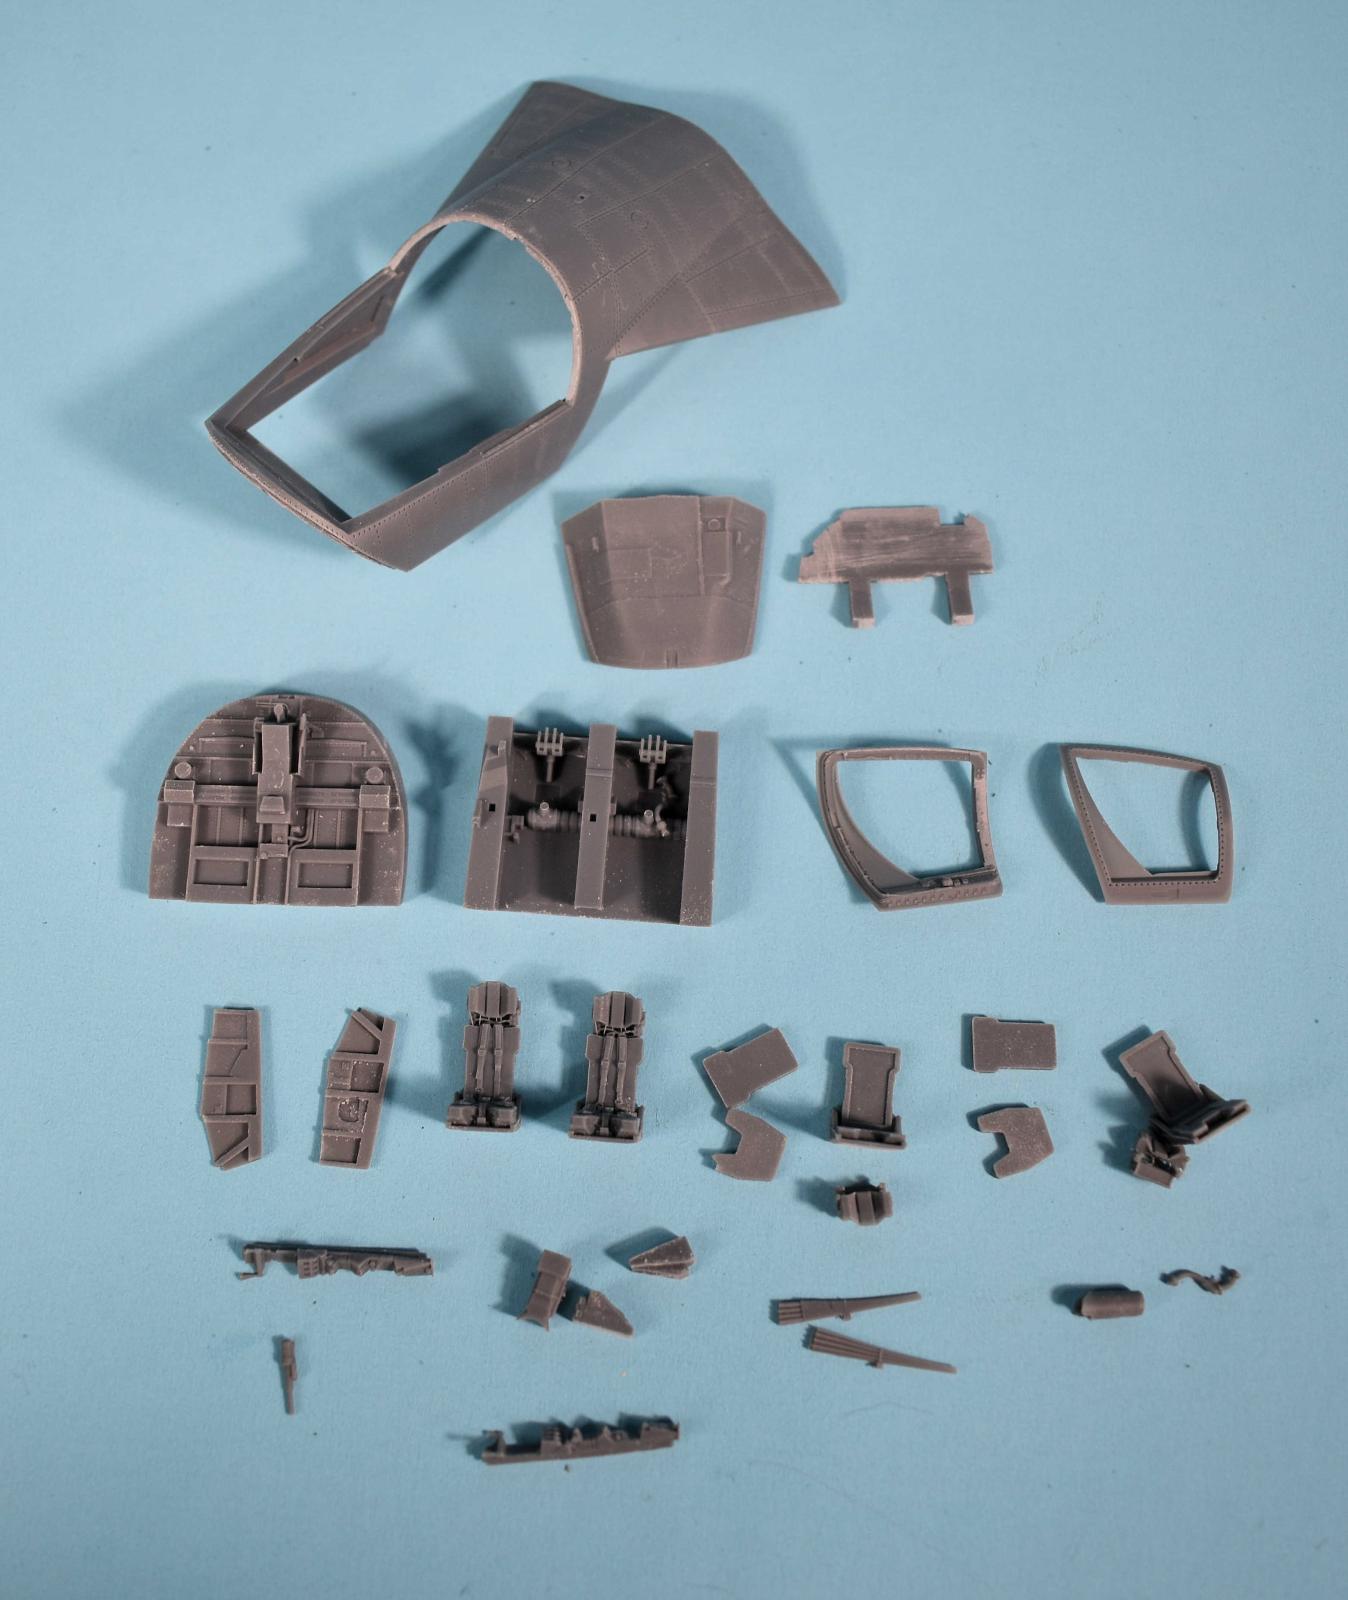
Parts Cleaned and Prepped

Back of Cockpit
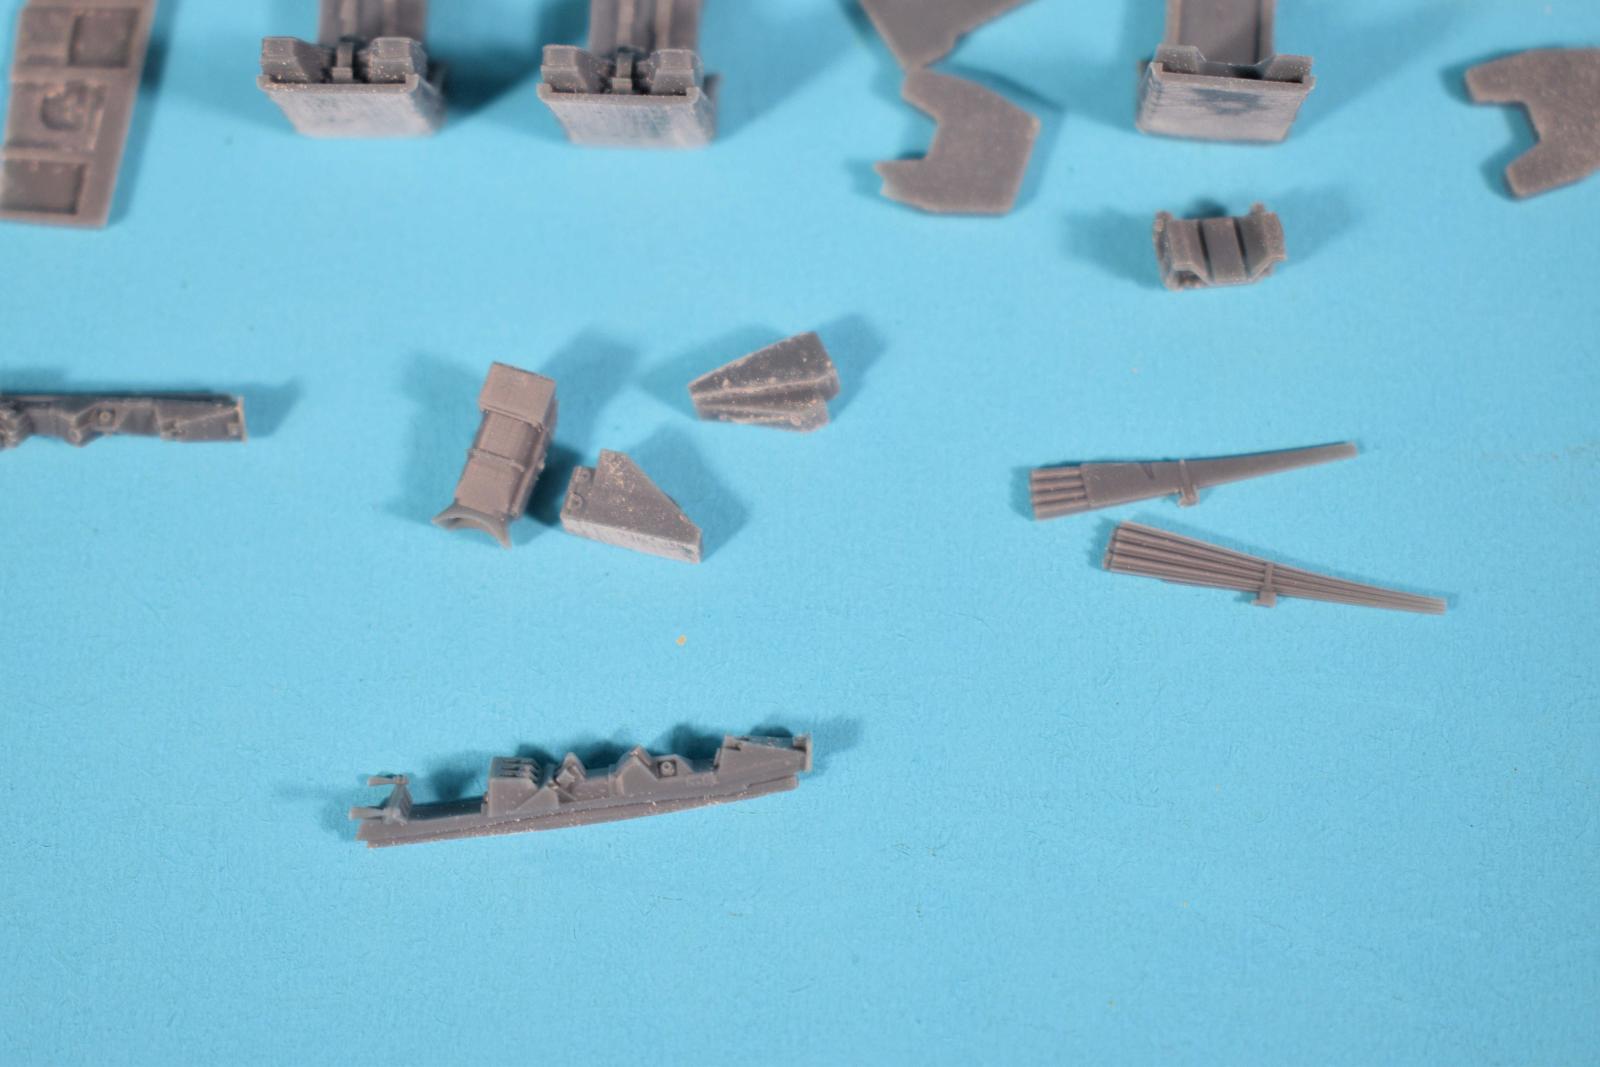
Smaller Pieces
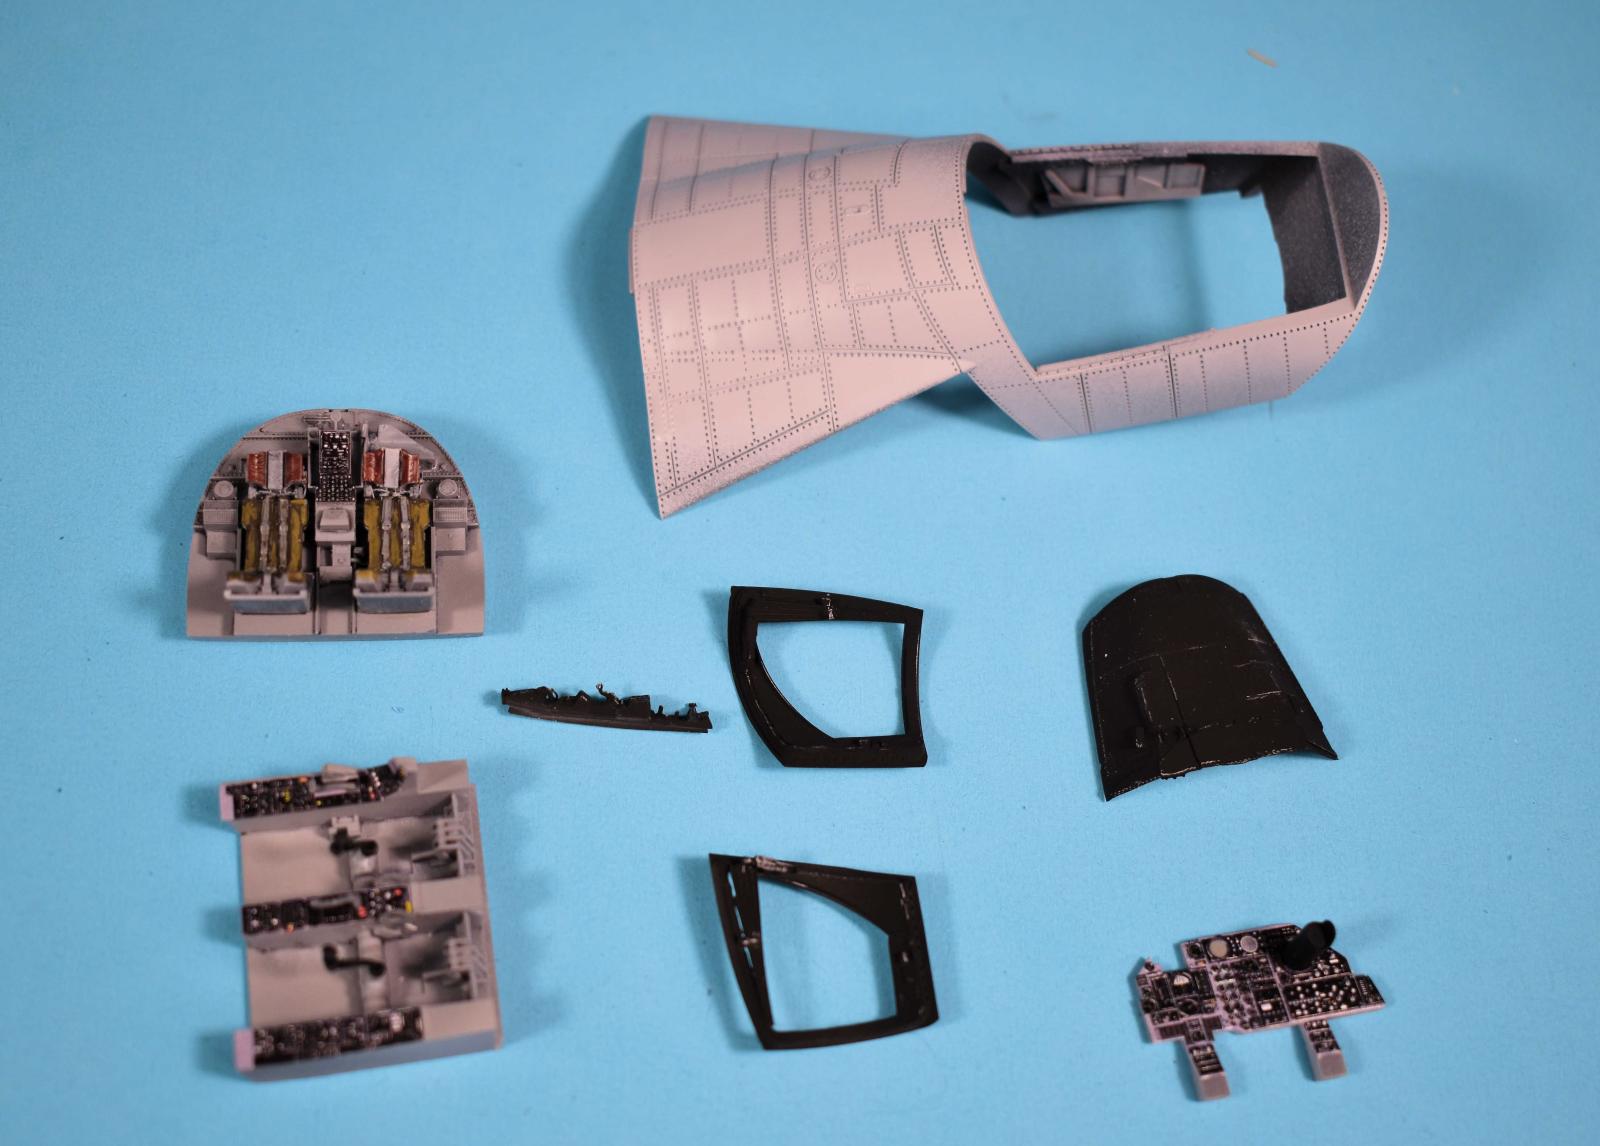
Reskit Parts Prepped

Rear of cockpit with Seats
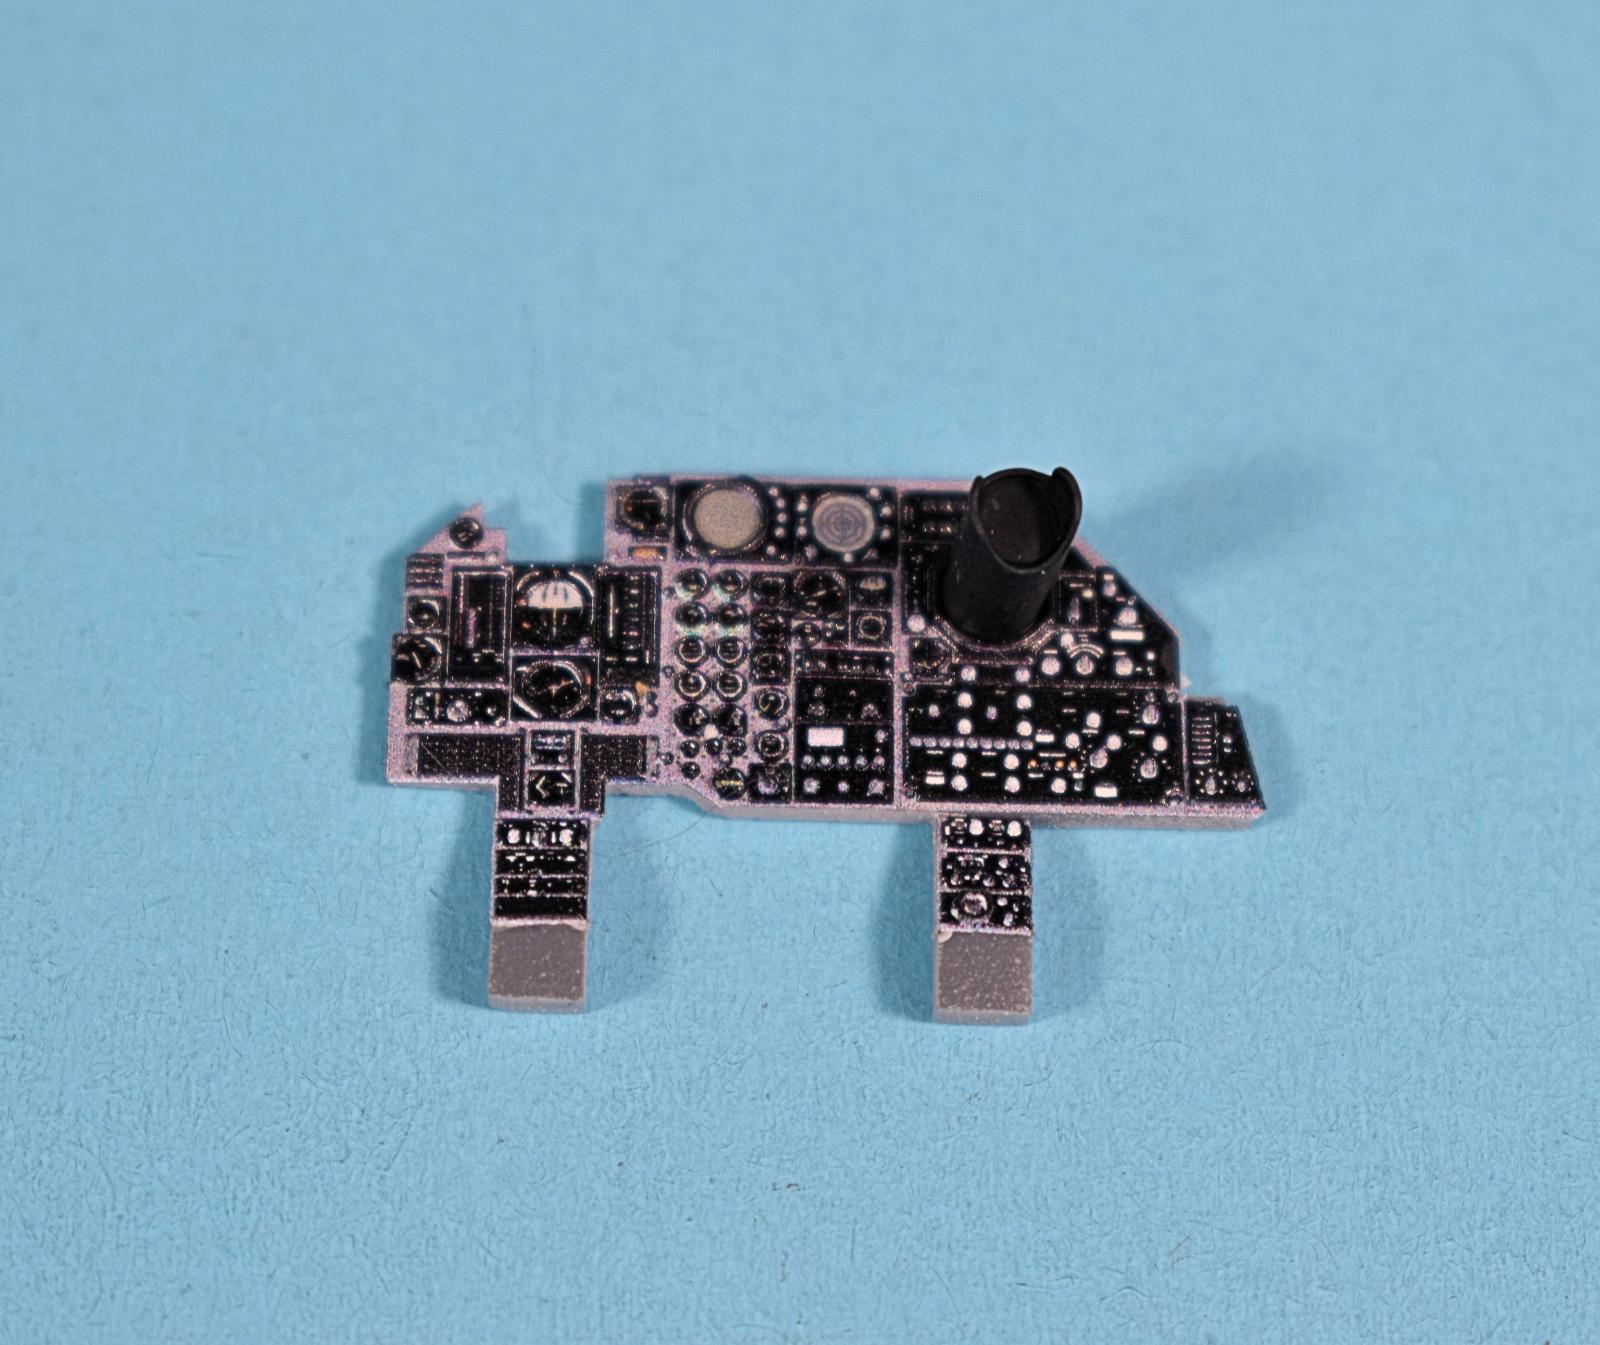
Instrument Panel- Wow
Bottom of Cockpit
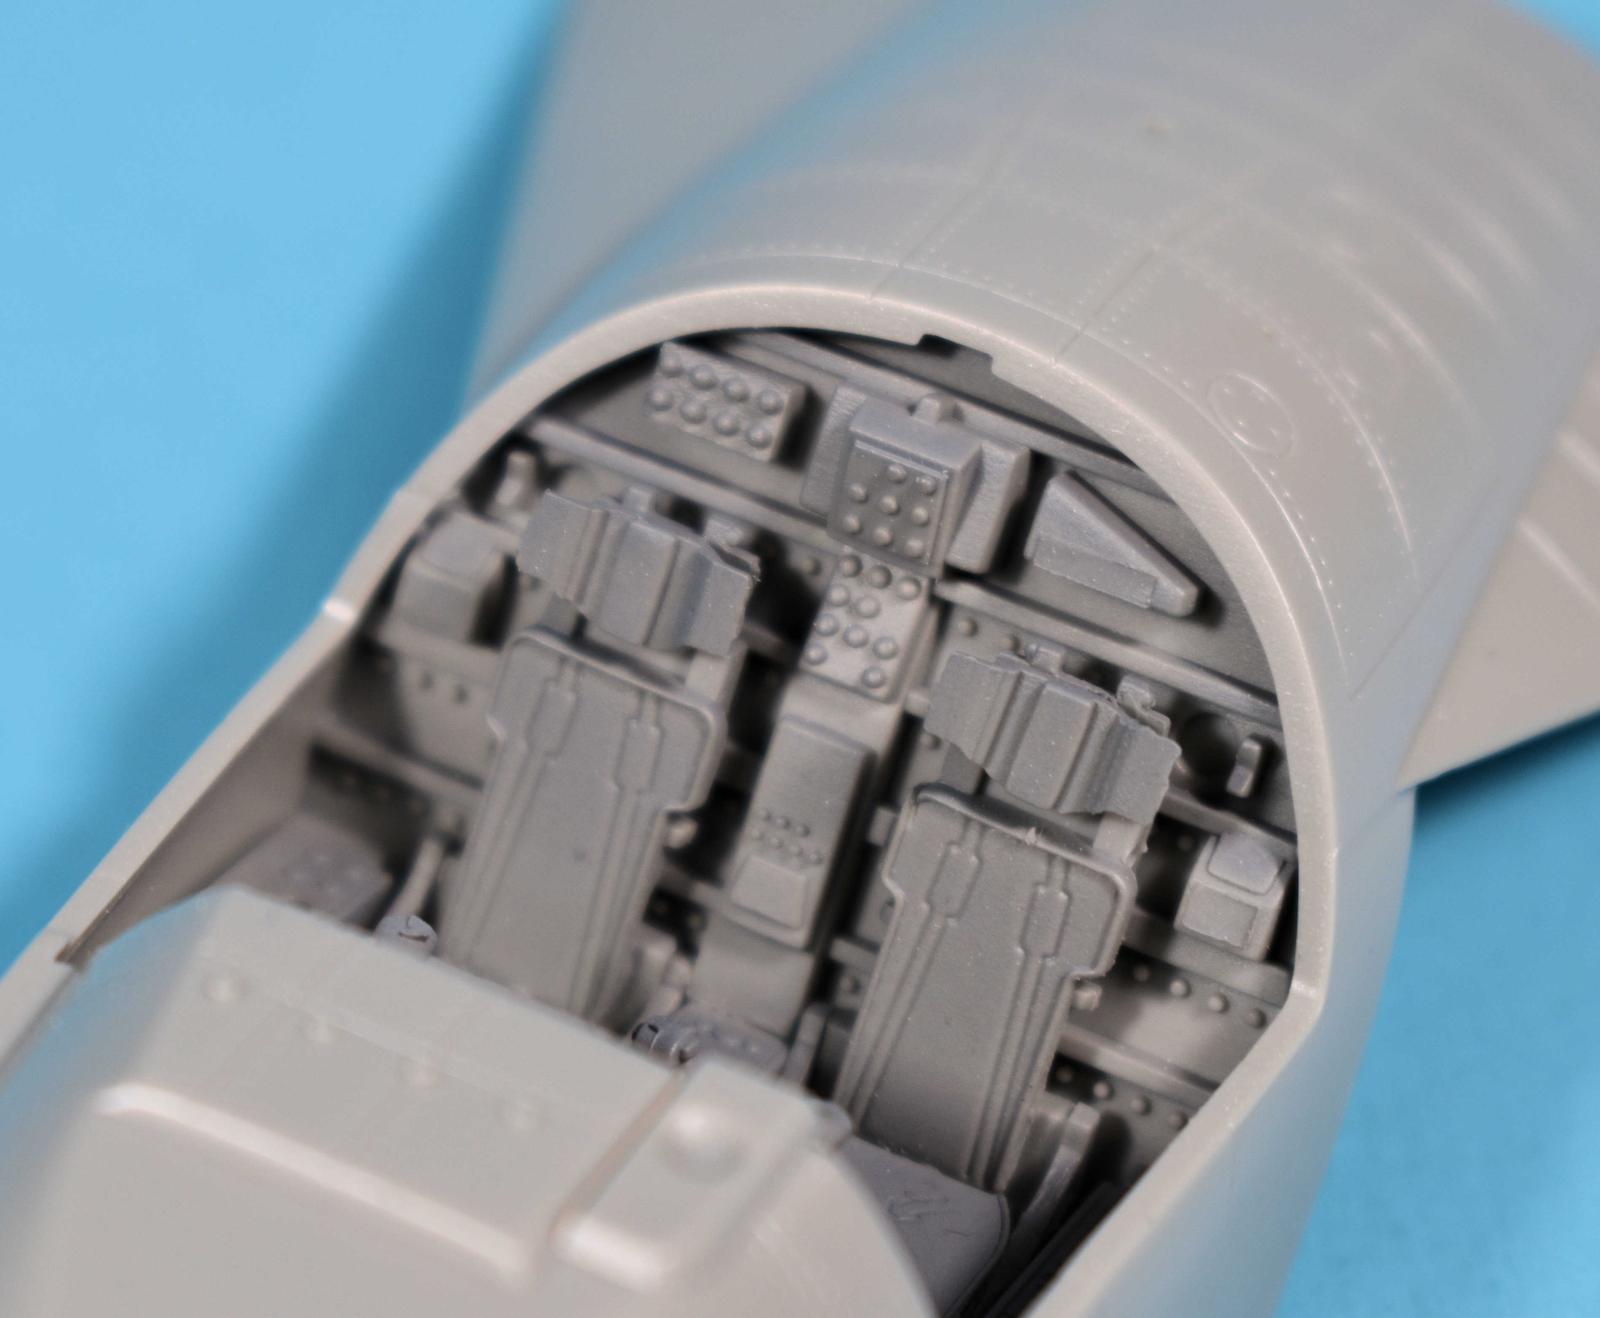
Kit Cockpit Back
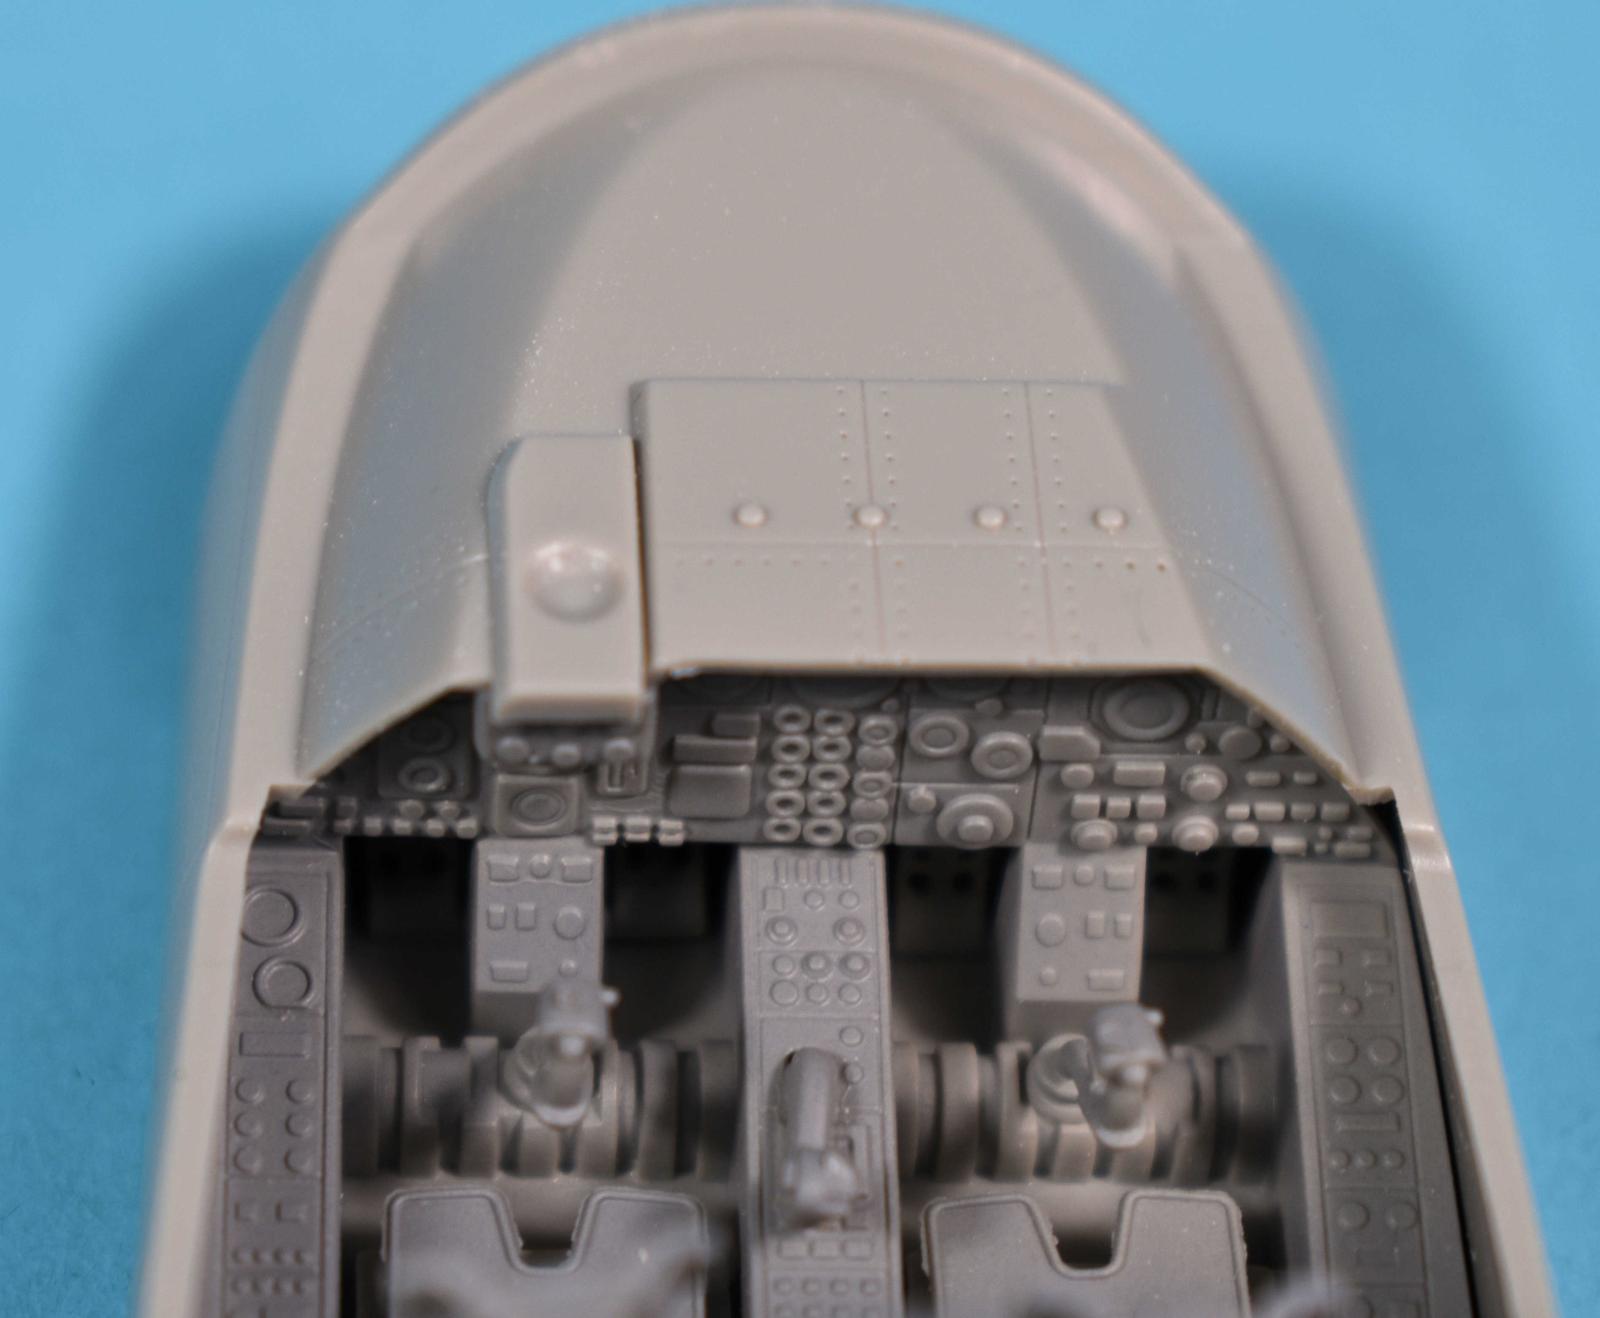
Kit Cockpit Instrument Panel Forward
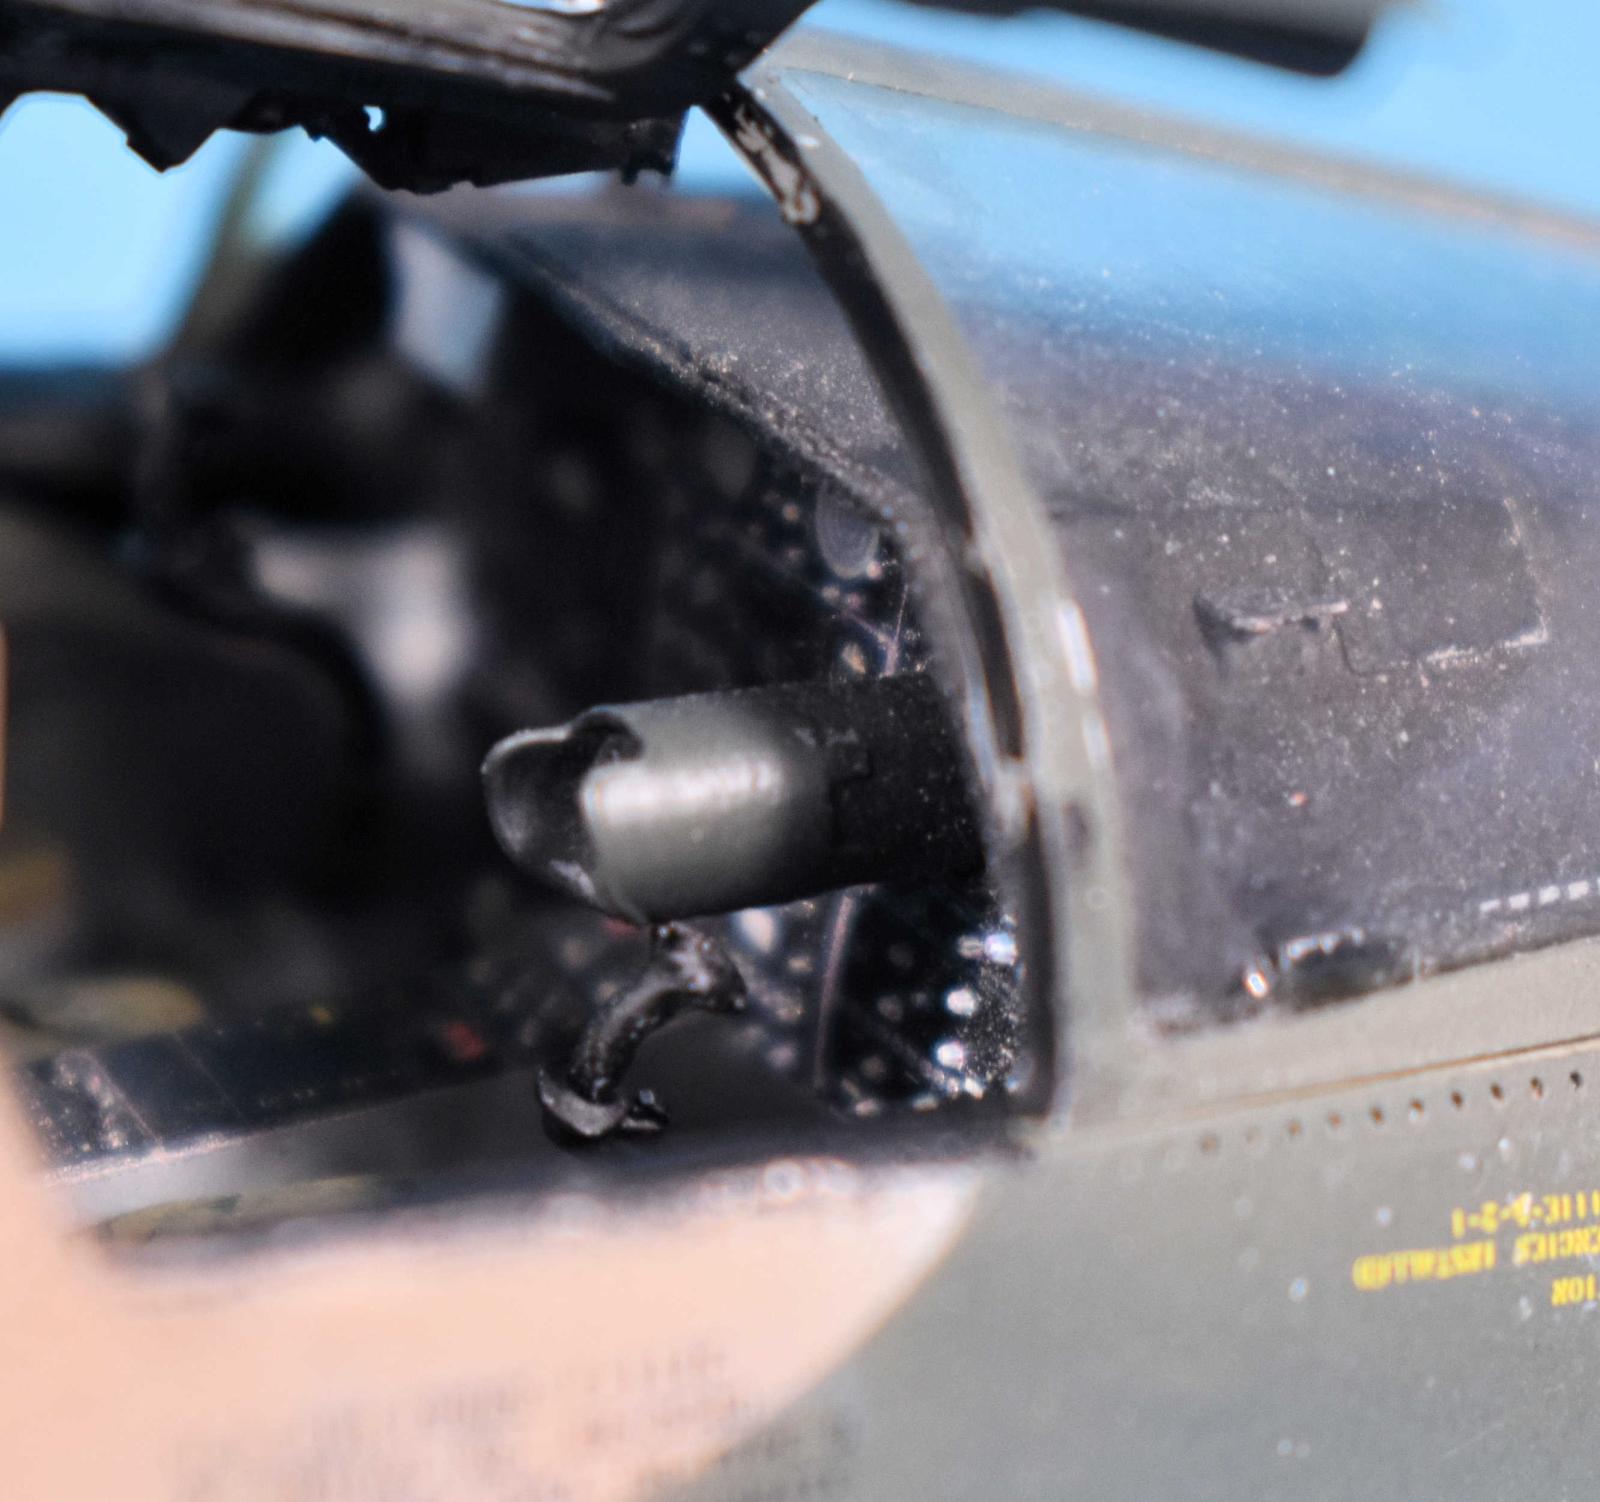
Finished

Finished
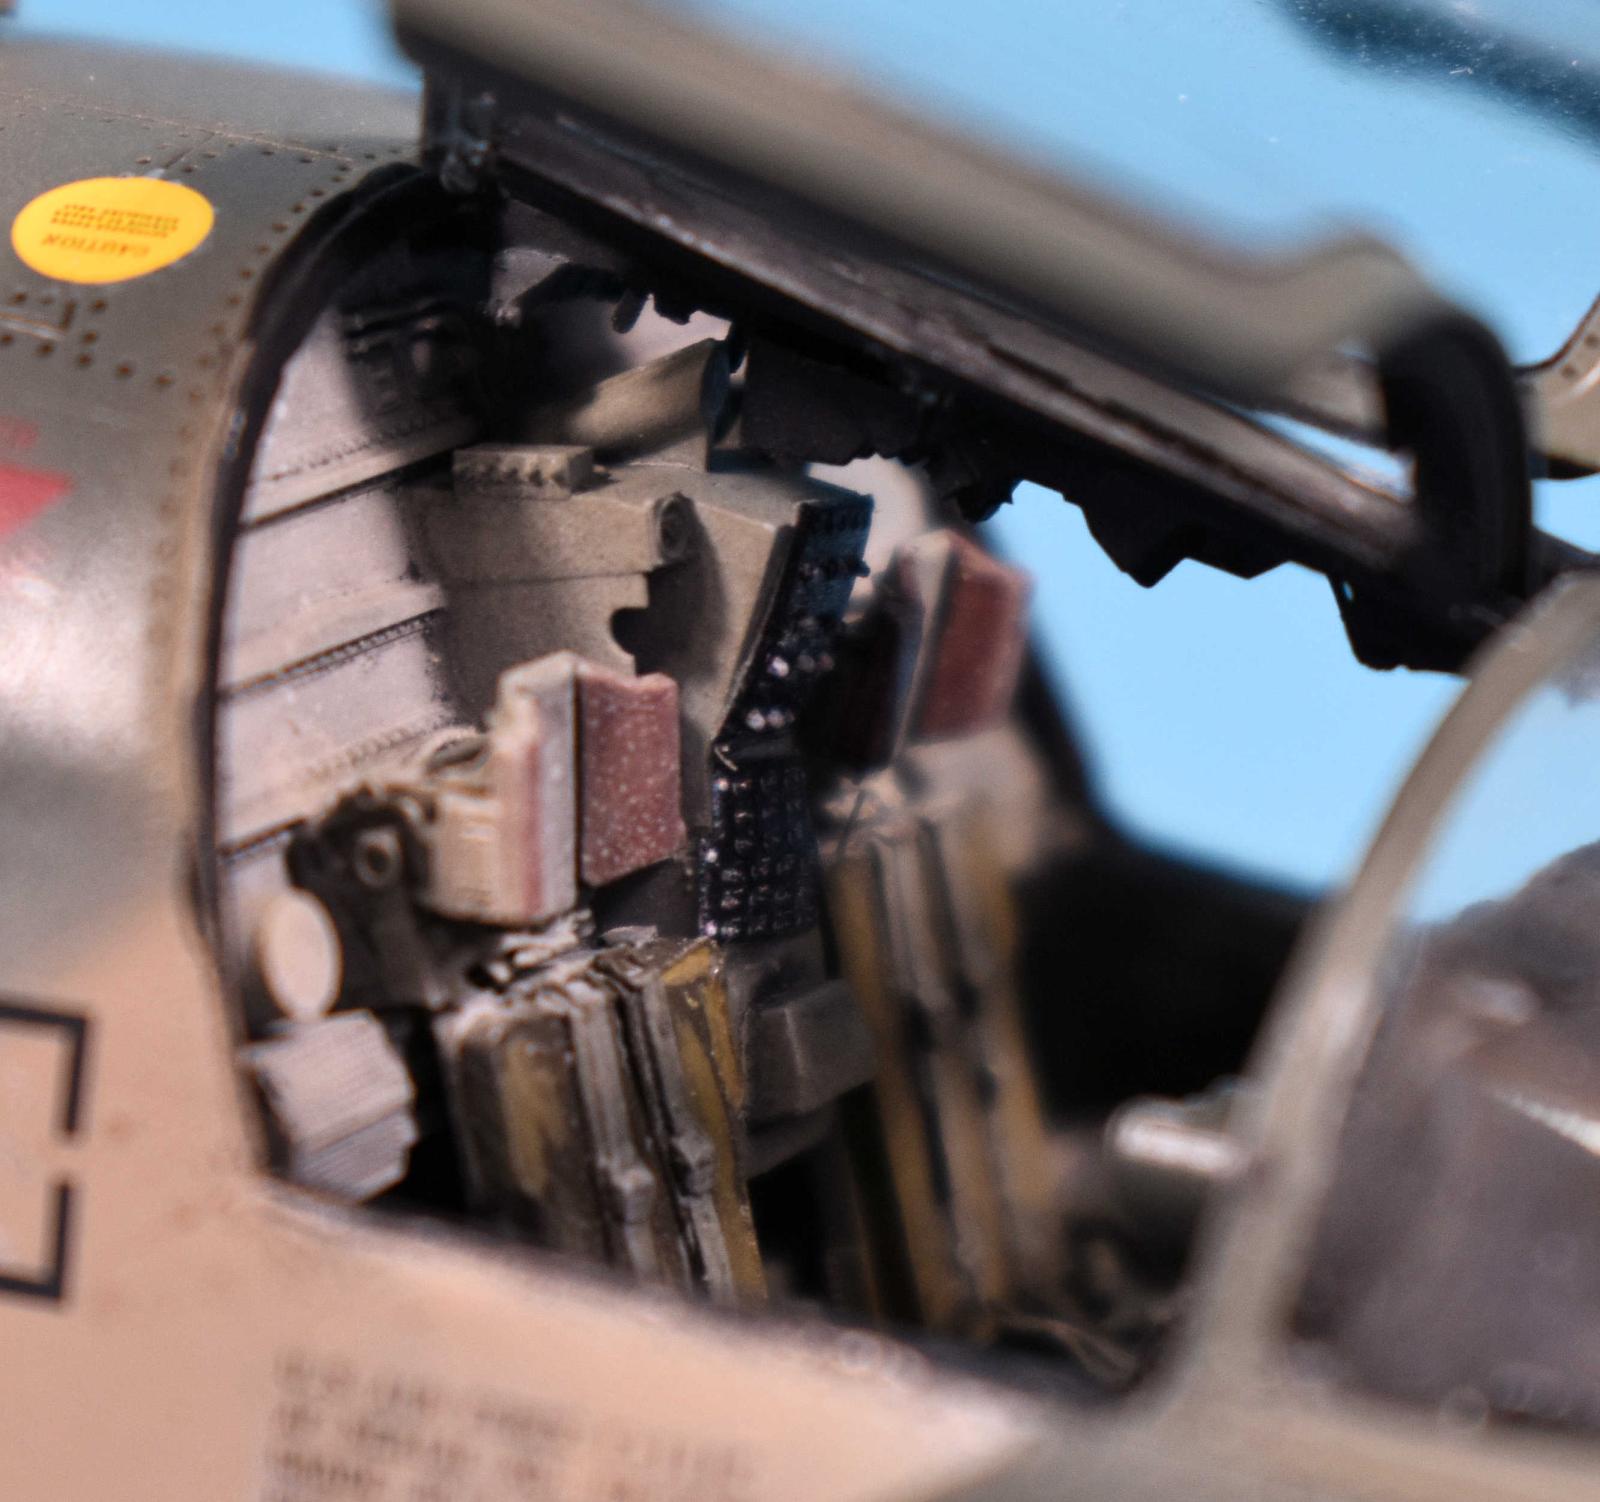
Finished
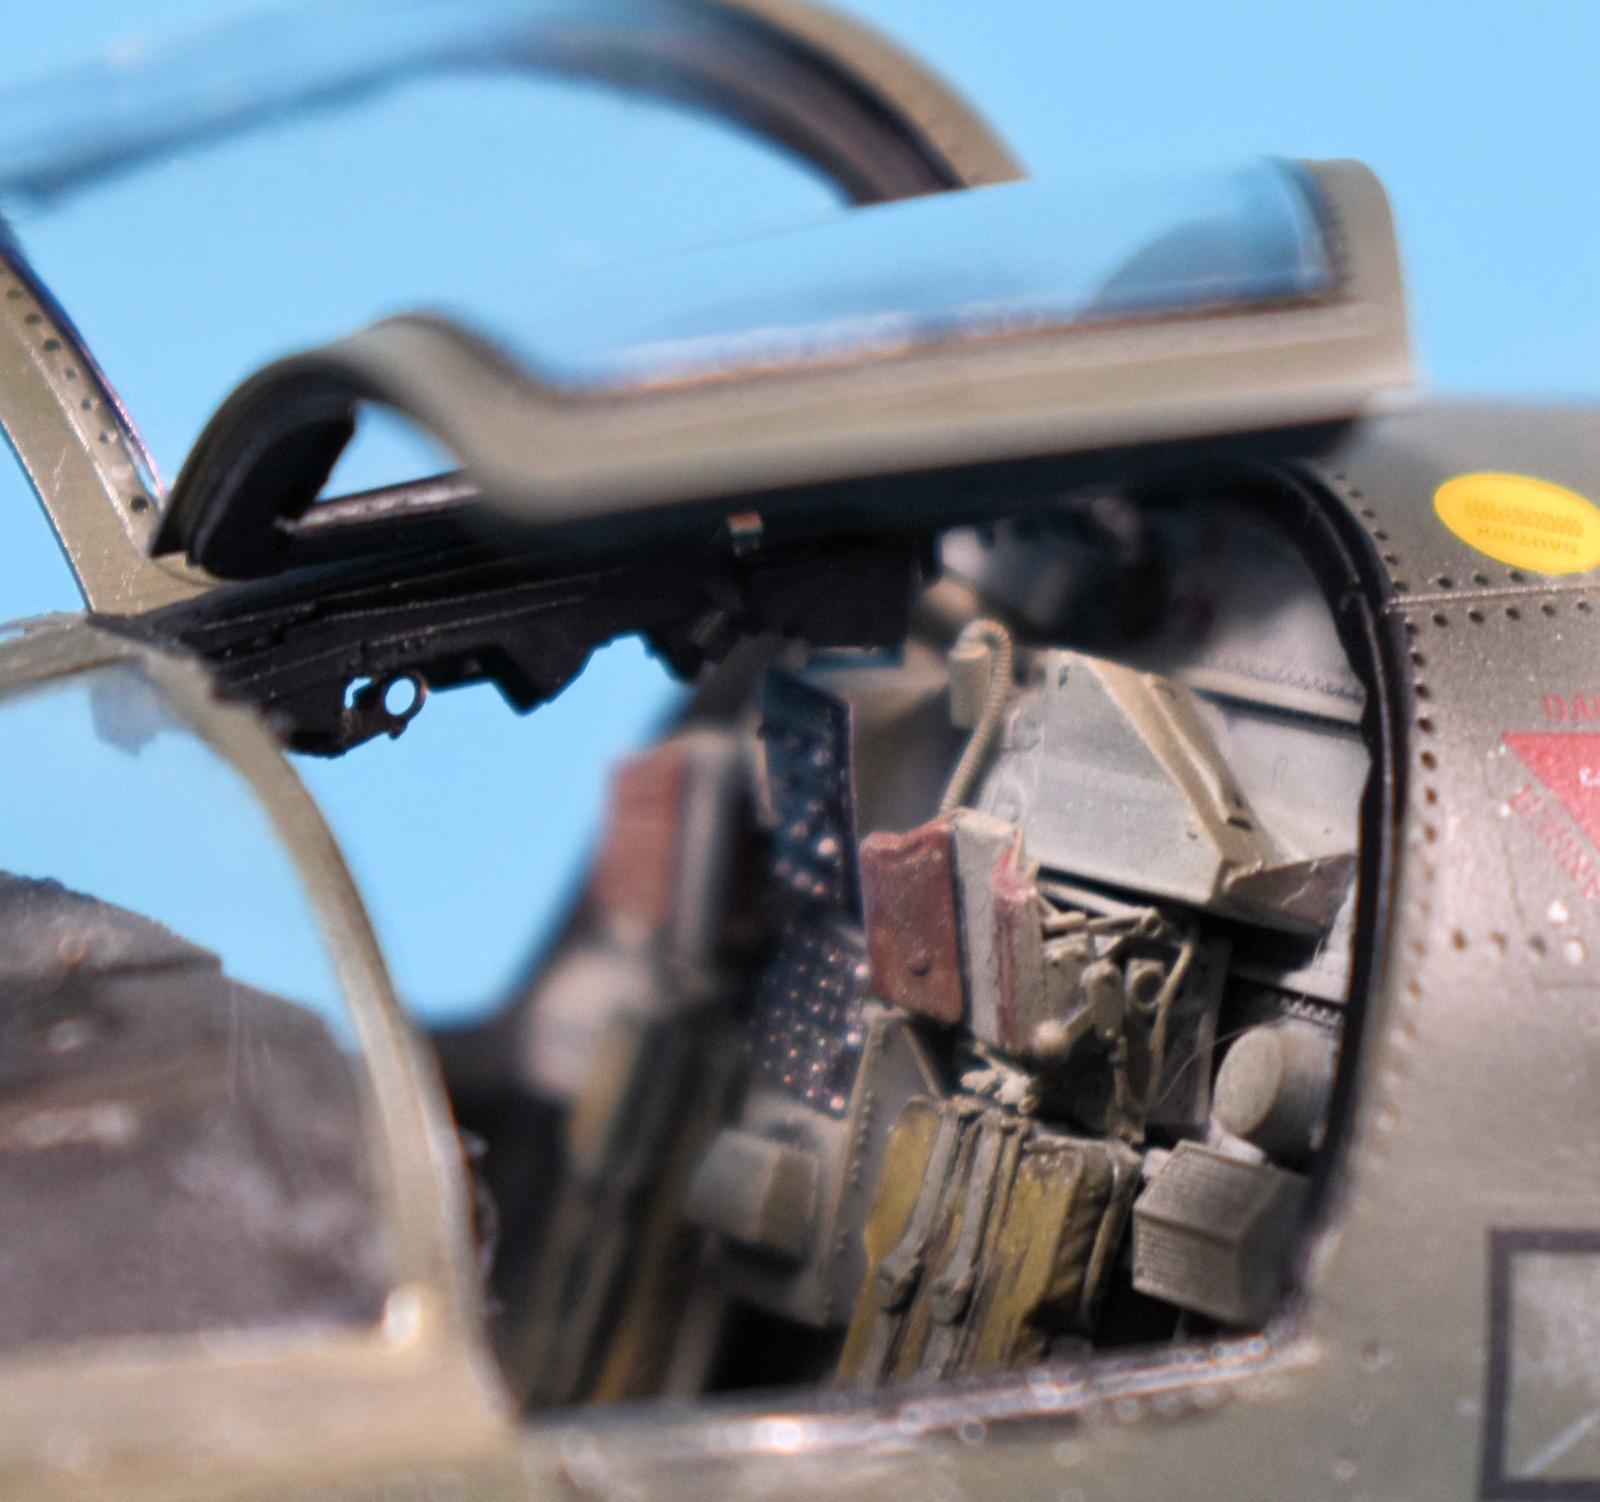
Finished
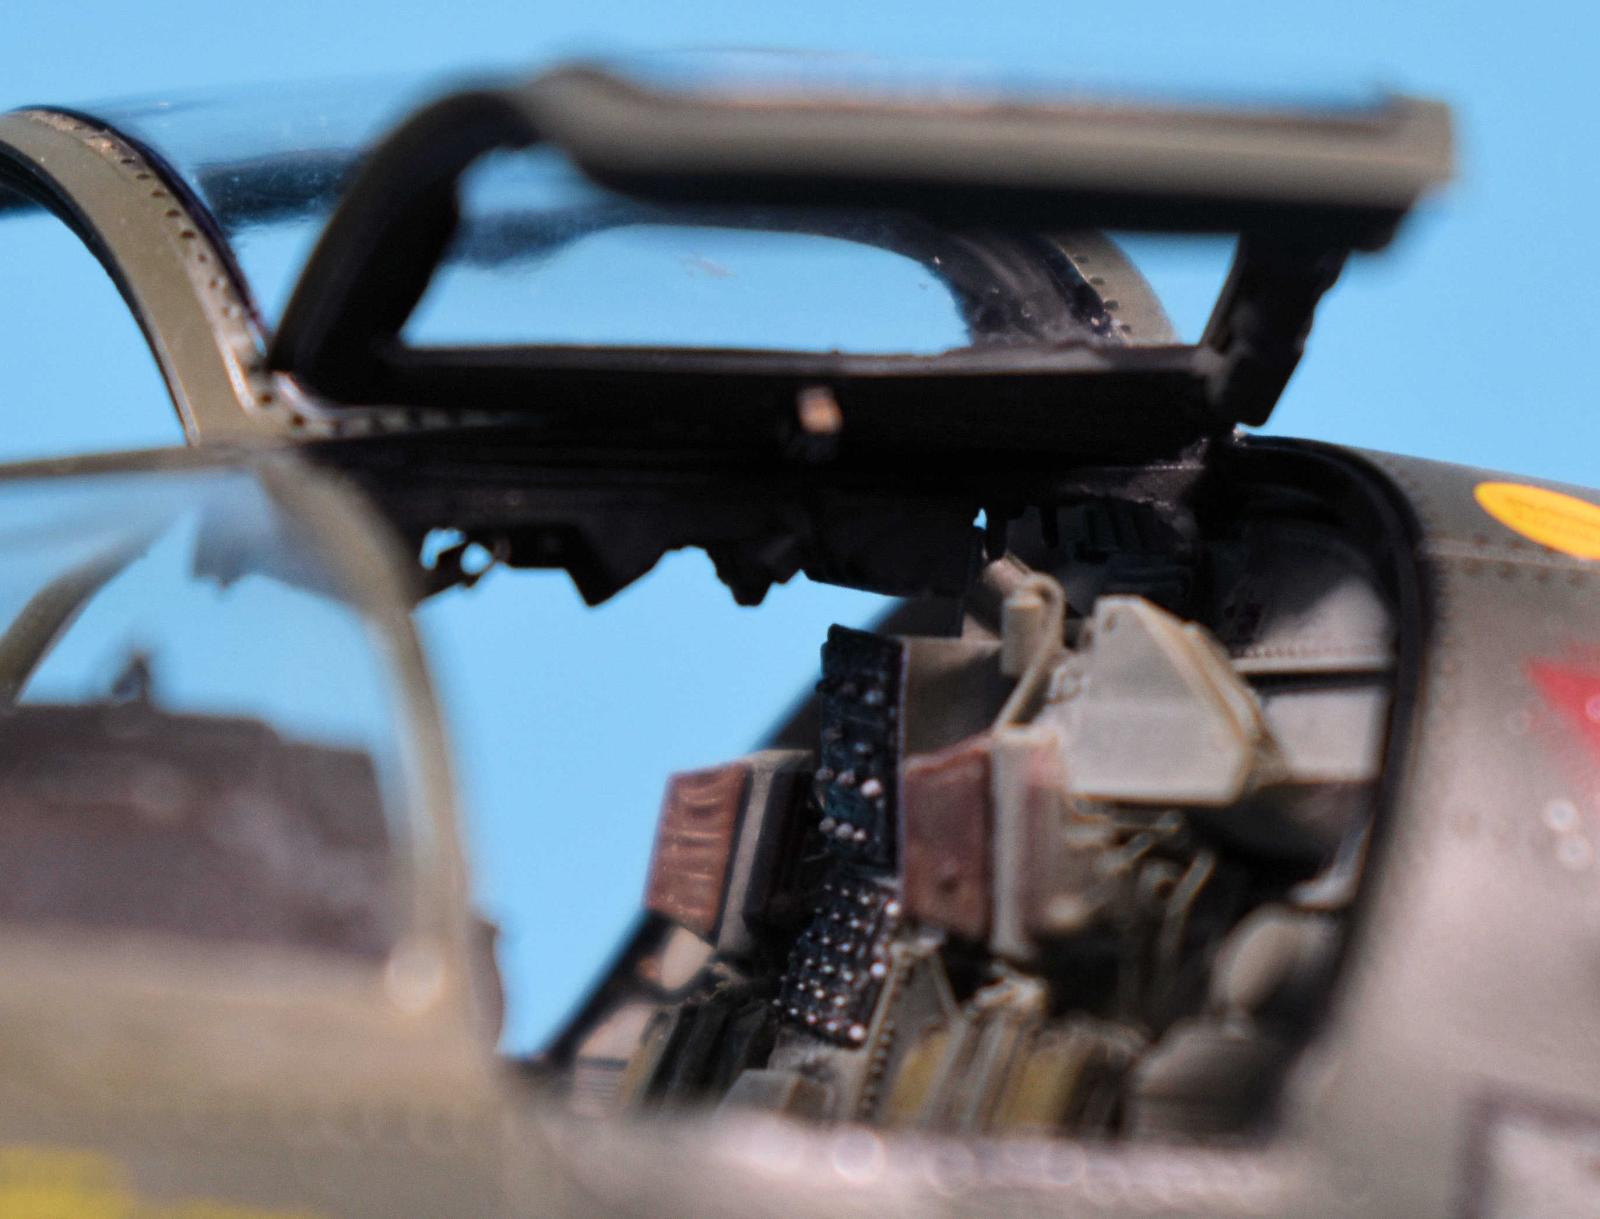
Finished
Finished

Comments
Nice review Dave! I’ve…
Nice review Dave! I’ve avoided the F-111 due to the lack of detail and I’m thinking adding this piece to the kit would be just the ticket to make it a worthwhile build.
Thanks
It takes work to fit it but the improvement is dramatic
Add new comment
This site is protected by reCAPTCHA and the Google Privacy Policy and Terms of Service apply.
Similar Reviews