
Cockpit for F3D-2/F3D-2T/EF-10B
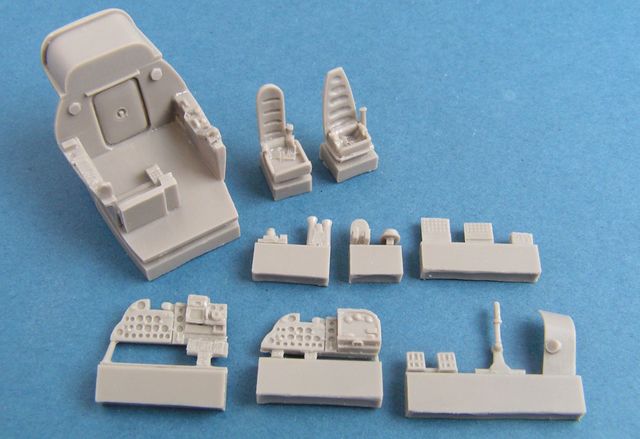
This set consists of a cockpit tub, seats, instrument panels and glare shield for early and late instrument/radar panels, control stick, rudder pedals, a couple of boxes for the sides of the cockpit, headrests, and ancillary parts for the back deck of the cockpit. This set is designed for the Sword kits, though Pavla makes a set for the Matchbox version of the Skyknight, too. The parts are well cast in a medium grey resin. I found no bubbles or short molds in any of my parts. The instructions are two pages in the typical Pavla format of line drawings with color callouts and occasionally slightly vague locations.
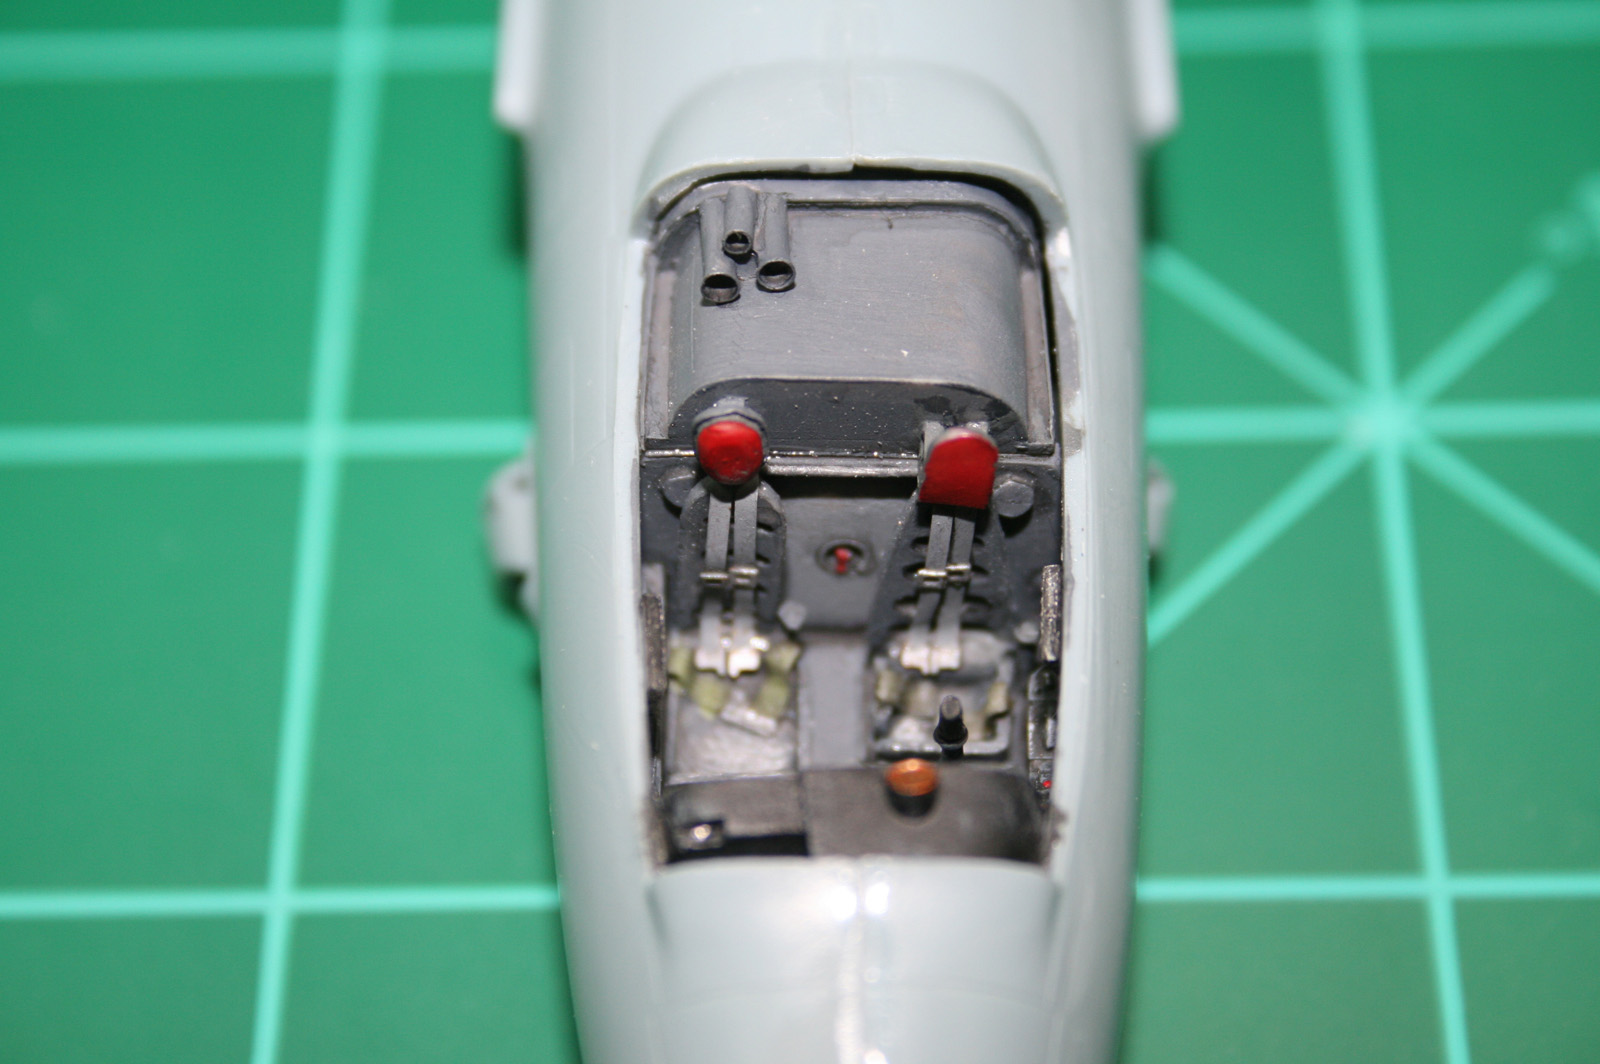
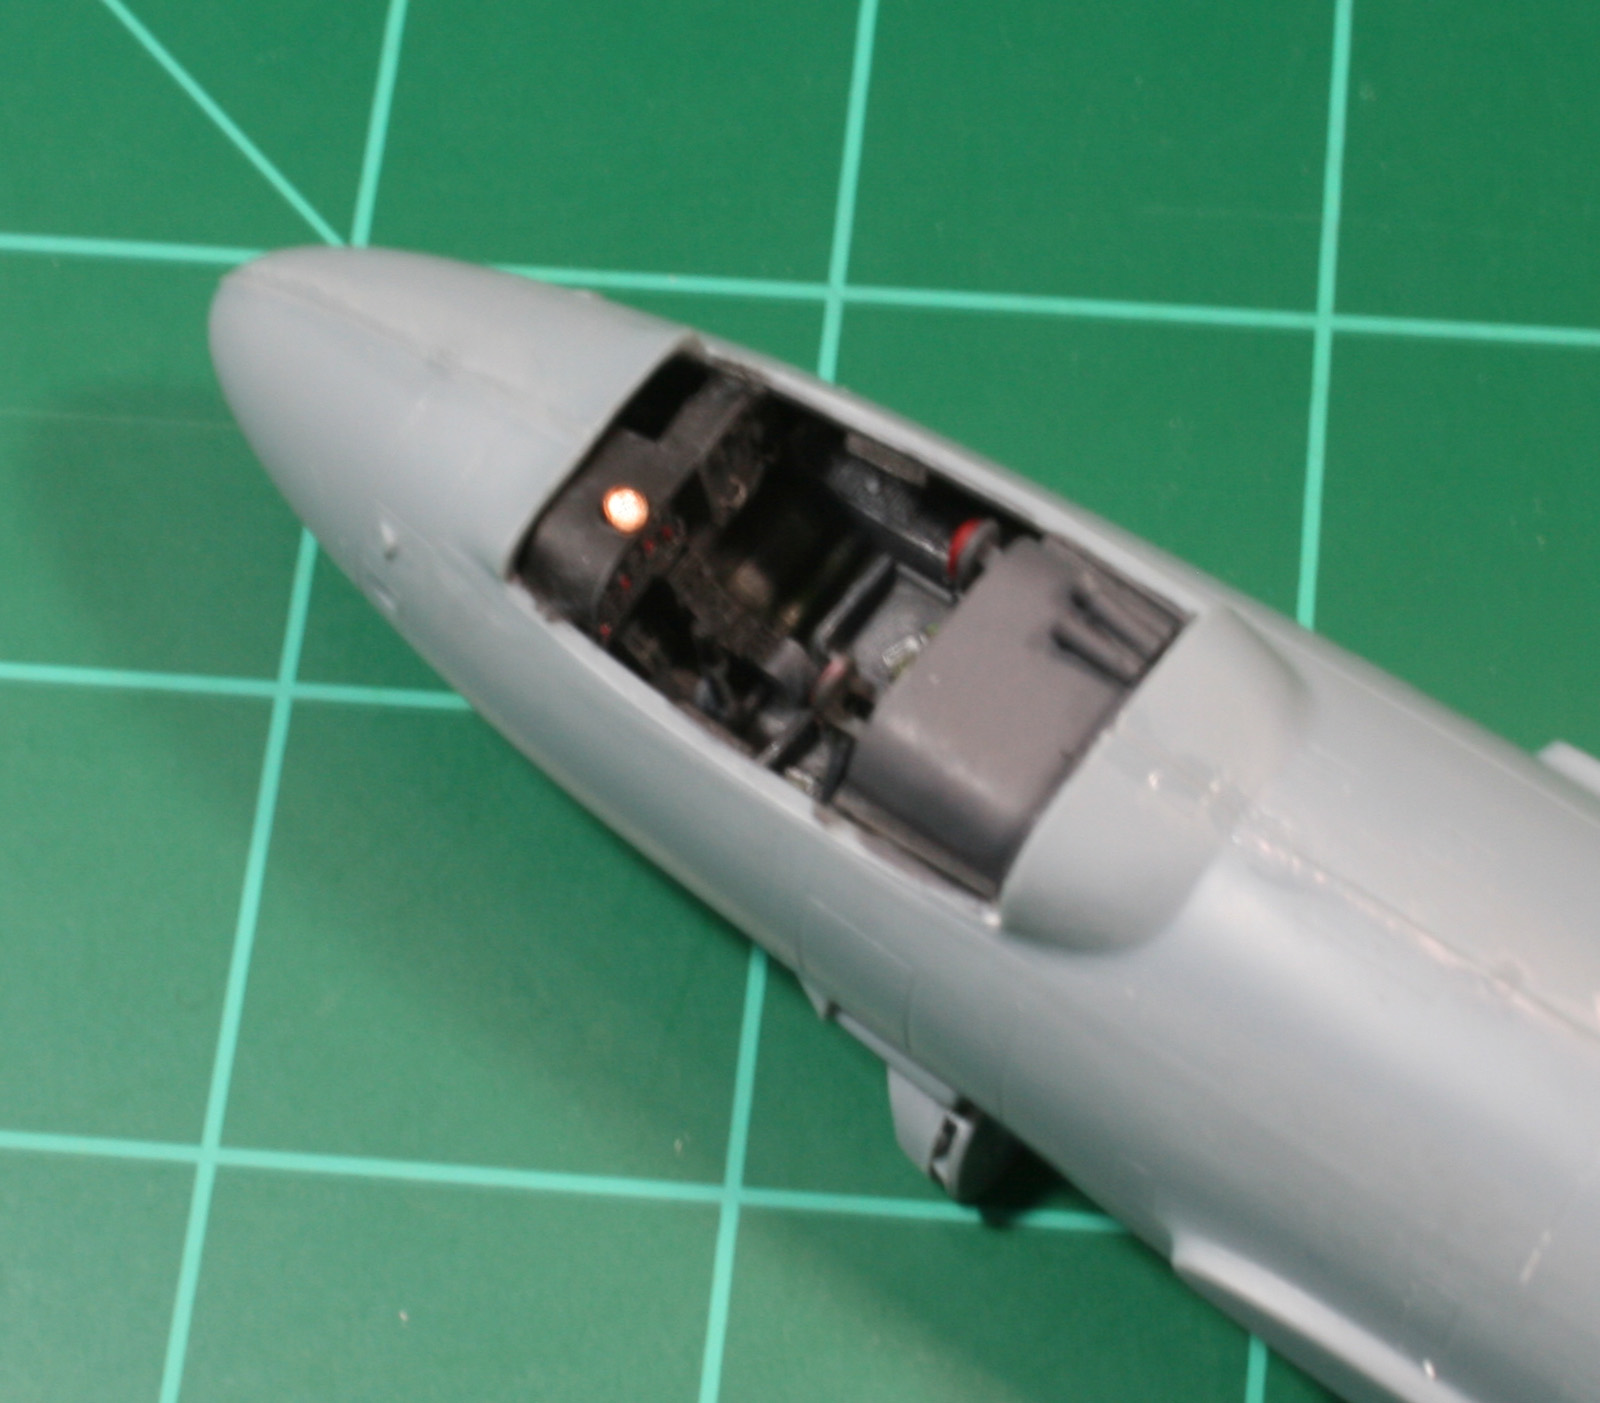
Sword makes two releases of the Skyknight, one a Korean War-era aircraft (F3D-2/F3D-2T), and the second an EF-10B version used as an ECM aircraft during the Vietnam era. I believe both kits are identical except for decals, however. I’m doing mine as a Korean War nightfighter, which will drive the right side of the instrument panel I’ll use for the radar operator. Skyknight cockpits of this era were mostly black overall. I painted the cockpit a very dark grey (I think using black will make it just be a visual hole), but one of my references showed a cockpit with a lighter painted escape hatch, so I went with a lighter shade of grey to add visual interest. I then worked on the instrument panel, the side consoles, and the radar control panel.
Based on the references I used, the panels are reasonably accurate. However, when trying to place the instrument panel assembly onto the cockpit shell, the drawings are a little iffy on the exact location. Make sure the panel is square to the cockpit or you’ll cause yourself some headaches later. After placing the instrument panel, I added the rudder pedals and the control stick. This was followed by painting the seats and the headrests. The seats are well detailed and are accurately shaped. They include lap belts but there is no provision for the shoulder harnesses. I glued in the seats and added the shoulder harnesses from some spare photoetch belts of the proper vintage and used the addition of the headrests to hide the attachment points.
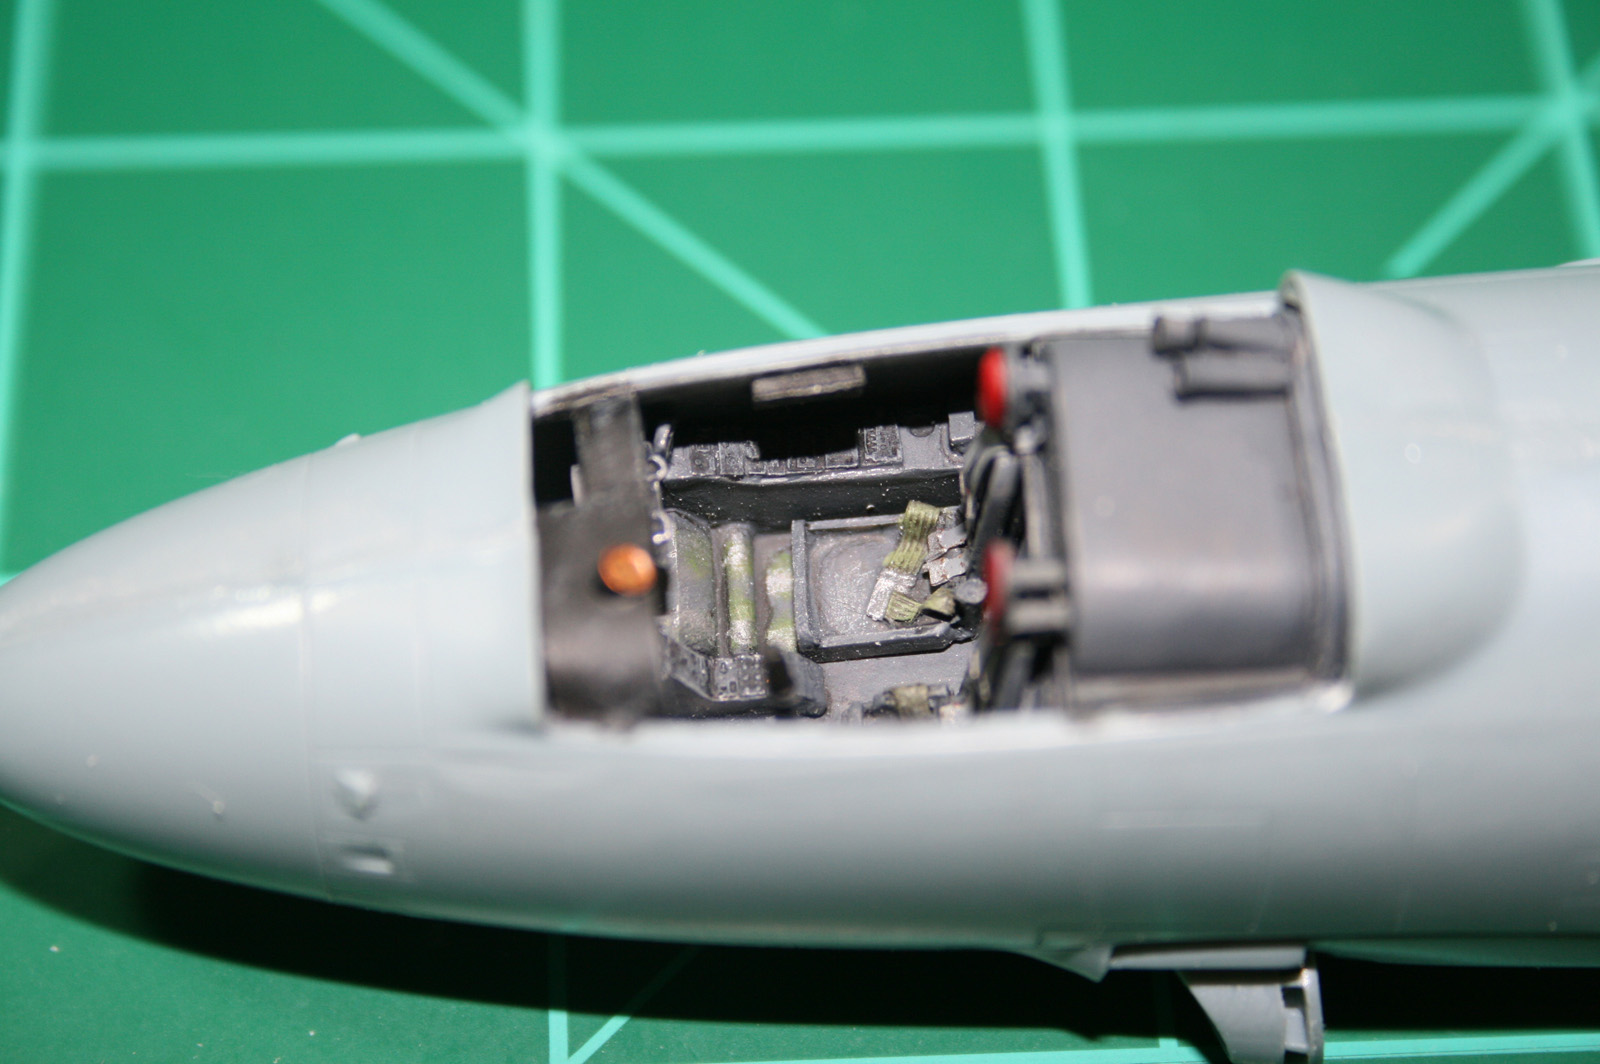
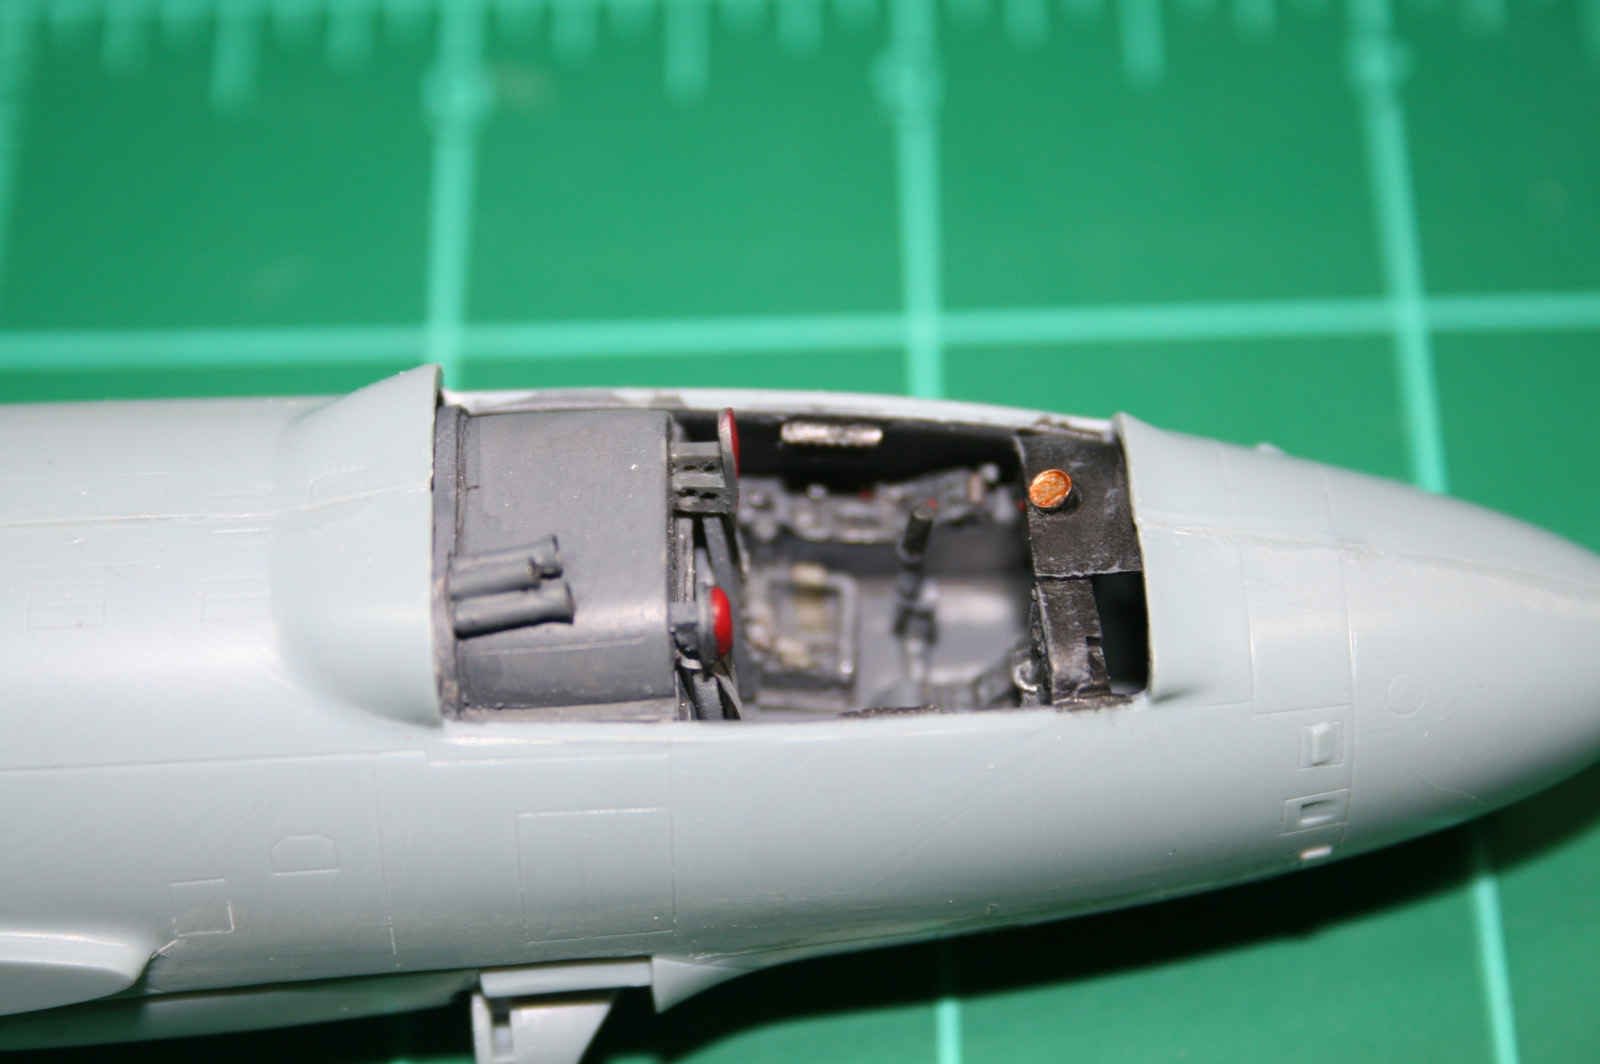
The parts are meant to be a drop fit into the Sword kit. However, mine didn’t seem to fit quite right. I could get the front end to go where it needed to but that made the back end sit low at an angle. If I got the back end in the correct place and angle, the front end of the cockpit fit low and interfered with the nose gear bay. I cut through the back of the cockpit tub along a line just above the escape hatch, separating the rear decking, and re-glued it at a better angle. Minor work, relatively easy fix. In case you’re wondering if it was a problem with that particular set, I have another resin set which I test fit and it showed the same issue. Onward, I added the control boxes on the sidewalls after painting them. In hindsight, I should have thinned them down a bit or beveled the back side some so they don’t appear so thick from the top. I then added the, well, I’m not really sure what they’re for, but they look like air horns, to the rear decking in the position indicated on the instructions. Yes, I know they’re not air horns, they’re most likely part of the air conditioning system for the cockpit, but that’s what they look like. In the position shown on the instructions, they do interfere slightly with the canopy and either need to be moved a bit to one side or sanded down a bit on the bottom side so they aren’t in the way. I’ll pop mine off and sand them down a bit.
In comparison to the kit parts, the set gives extra detail in several areas, especially the radar/ECM panels, headrests, and seats. Things that could have been added would be the shoulder harnesses and the two strengthening ribs that are visible back to front along the underside of the canopy. Both are easy enough to add from spares and sheet plastic, but they’d have been nice.
Worth it? Yes, probably, for the extra detail. Was it too much work? No, not really. I didn’t have to invent any new curse words, but I did use a couple I already knew. I appreciate Pavla catering to people like me who want more detail in the cockpit but won’t take the time to scratch build all of it. I enjoyed the work, even the challenge to correct the fit issue and like the improvement in the appearance of the cockpit.
Thanks to Pavla for supplying the cockpit upgrade set and to IPMS/USA for the opportunity to review it.
Comments
Add new comment
This site is protected by reCAPTCHA and the Google Privacy Policy and Terms of Service apply.
Similar Reviews