
CH-54A (S-64E) Tarhe cockpit
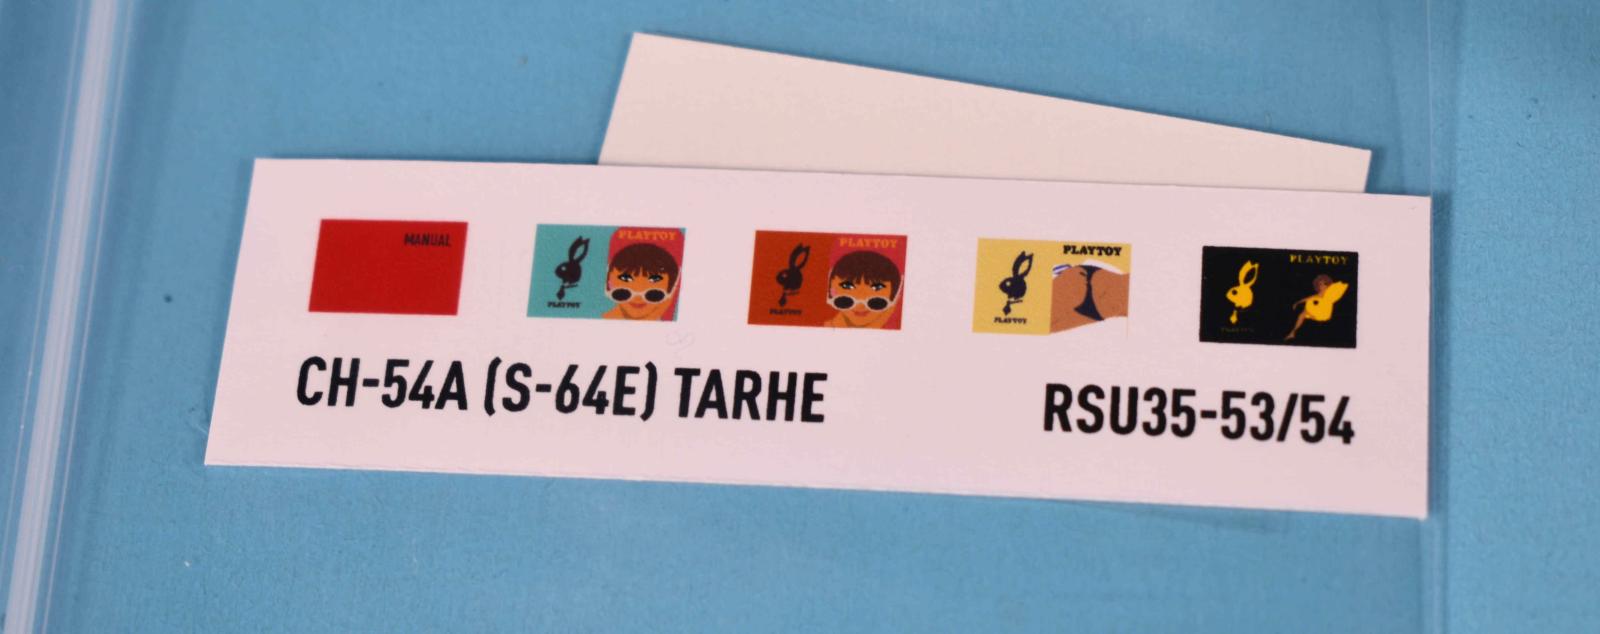
Reskit has issued a 3D printed cockpit for ICM’s 1/35th scale CH-54A or S-64E Tarhe. There are versions of this from Reskit primarily with and without 3D printed instruments like the ones I reviewed last in my Reskit F-111E review. This set does not include the printed instrument panels but does includes more than 30 3D printed parts. Also included are acetates for the instrument panels, decals and small printed sheet for magazines that can be added. These are all packaged in a well-padded box containing the parts and their supports and boxes.
On review, the detail is outstanding down to the smallest thing. There are options instrument panels and instrument package for the S-64E version. For those that have never used a 3D printed part, your first thing after inspecting the parts is to remove the print supports. I start buy using a sharp set of sprue nippers and taking the box from the outside of the parts. I then warm the part slightly and peel away the supports working my way to the inside. The key here is to warm and go slow. I did manage to get supports everywhere and one piece snapped. More on that later. I did select the S-64E parts as that is the version I was making.
Once the parts were loose (and identified so I did not get confused), the next step was to grab a really sharp #11 blade and a sanding stick and remove the remaining support stubs. If you trim and warm well, these are minor. Take your time and get things sanded off nice and smooth. I had a pile on the left and as they were prepared, I move them to a pile on the right. The nice thing about this 3D method is NO mold seams to deal with. The printing was perfect with no print lines. Once all the part are prepped, time to build.
Assembly starts with the cockpit floor. The parts are delicate and super glue was sued to attach the sticks collectives and other small parts. I left the seats off so painting would be easier. I also left off the instrument panels too. Note- there are two choices depending on the CH-54A or S-64E options and they are clearly marked. I added the cockpit sides surrounding the doors, the wall between the front and back parts. Here I deviated and if I do another I would not. The instructions call for the back wall and the crane operators’ station to be assembled prior to adding. I added the back wall next to the door and instrument wall next to crane operator’s station. The framework for the crane operators’ station was snapped slightly so I elected to fit it in. More later.
The ceiling and instruments and next and assemble well. The front framing and cockpit are delicate and wonderfully detailed. Before proceeding, I primed all the parts with Tamiya Super Fine primer and let it dry. For the front framing, there is a choice of instrument panels for the CH-54A or S-64E options. I am making a S-64 so I chose that.
The majority of the next weeks was spent painting all the detail with a variety of blacks, silvers and whites. There are some great online references. One thing I did notice was that there was an antistick matting added to the entry and steps to the cockpit. I gloss coated the cockpit and replicated these with Xtradecal film cut to shape and settled into place with Solvaset. This was followed with washes of oil black to highlight the detail. A little drybrushing and the parts were ready for assembly.
The door frames were glued onto the appropriate glass parts using white glue. Don’t forget to paint the cross member on both sides as it is visible once attached. The side door has the windows added too. This part allows the side door to be open. You will need to cut out the molded in door which I did slowly using a razor saw. To finish the interior, all the seats and consoles were added. The side walls were added and then the front section. I had two fit issues. First, the cage surrounding the crane operators position broke one thing rail mostly due to my ham fists and fat fingers and was difficult to get back but a little time and it fit. The other part that was difficult was the hell hole and top. It is meant to slot in but I had difficulty getting it to settle. With a little coercion (and gently as this is fragile once assembled). The entire cockpit was assembled.
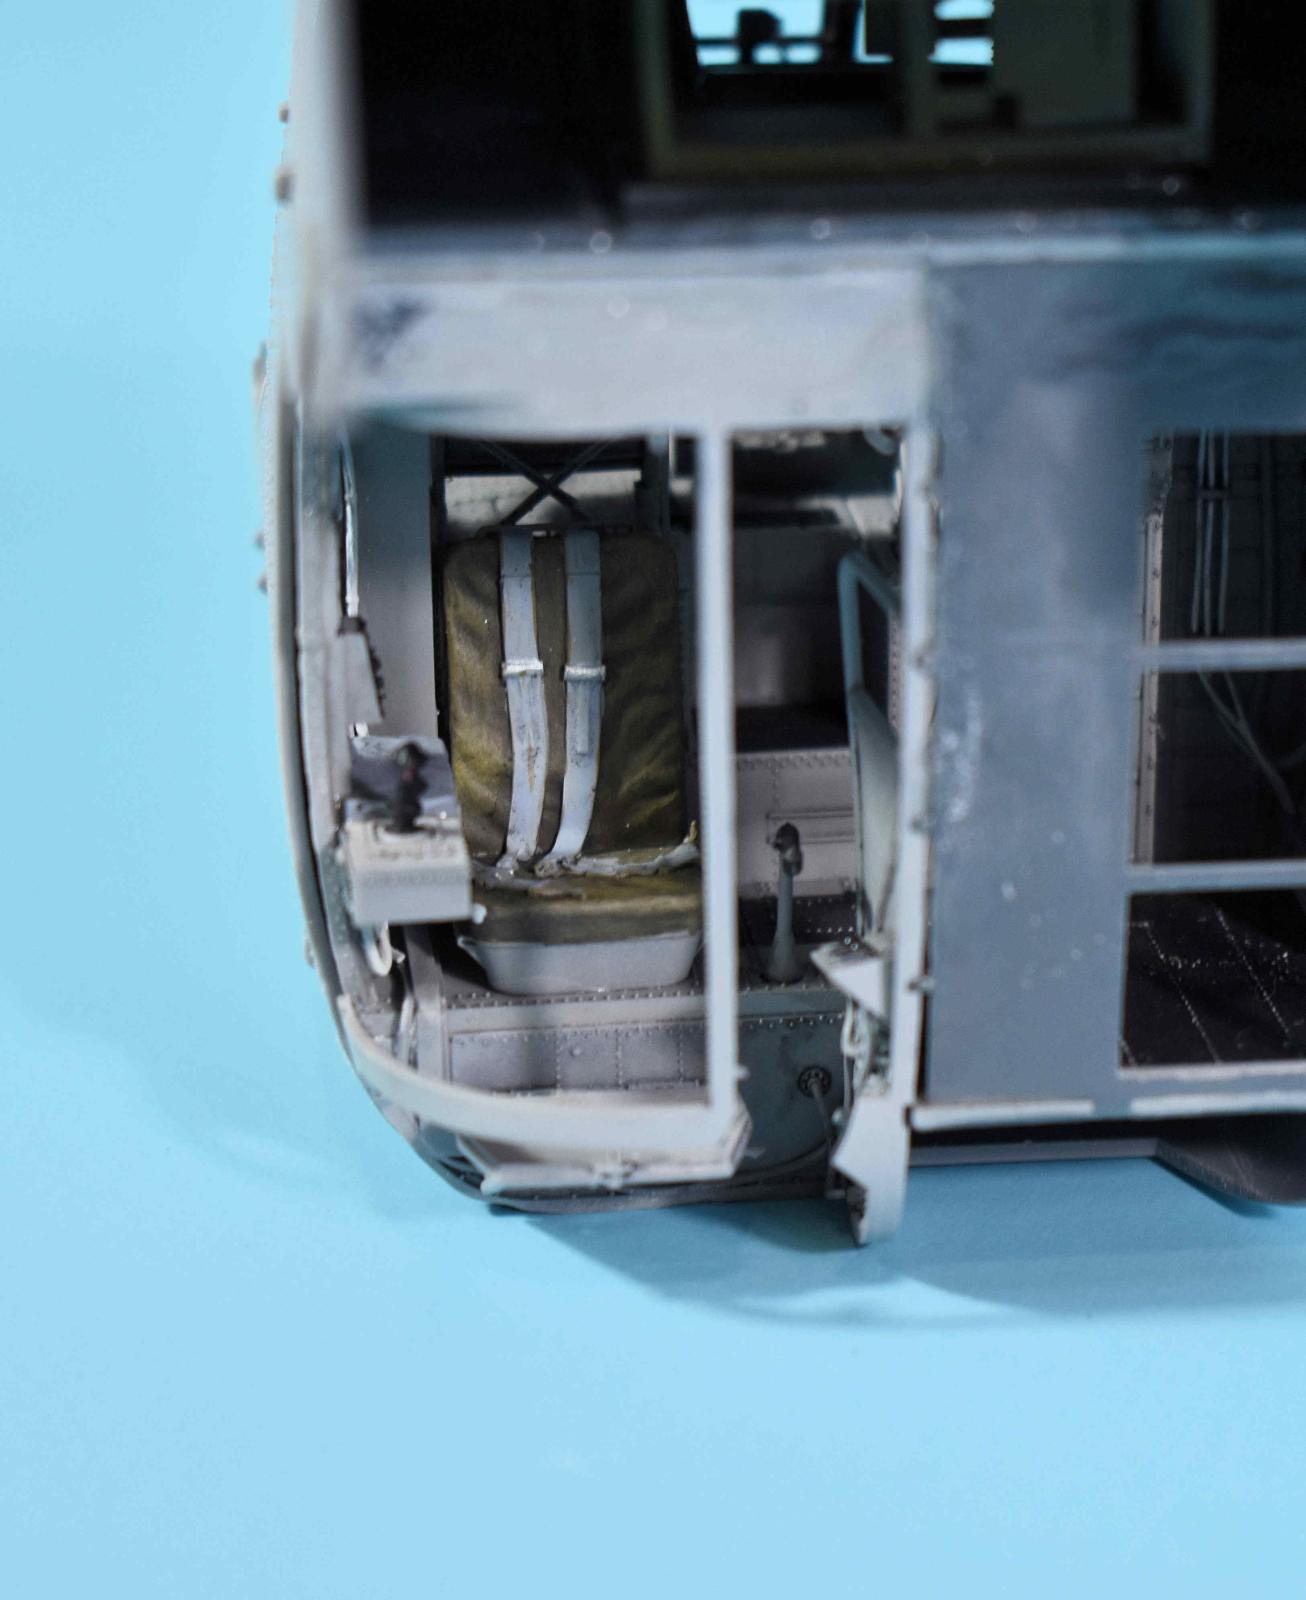
As you can see in the side-by-side finished shots, there is no comparison. The Reskit is more detailed, has all the correct geometry and is a vast improvement. It is a very tight fit into the front and there will be some adjusting to get it all sealed up but it allows both doors and the rear door to be open. And the detail is there with no photoetch.
Highly recommended for those wanting add detail to the already great kits. Check this out and all the other details Reskit produces (landing gear, rotor hubs, engines, etc.) for the Ch-54/S-64E lines at their website above.
My thanks to Maryana and all the great people at Reskit for the opportunity to review it.
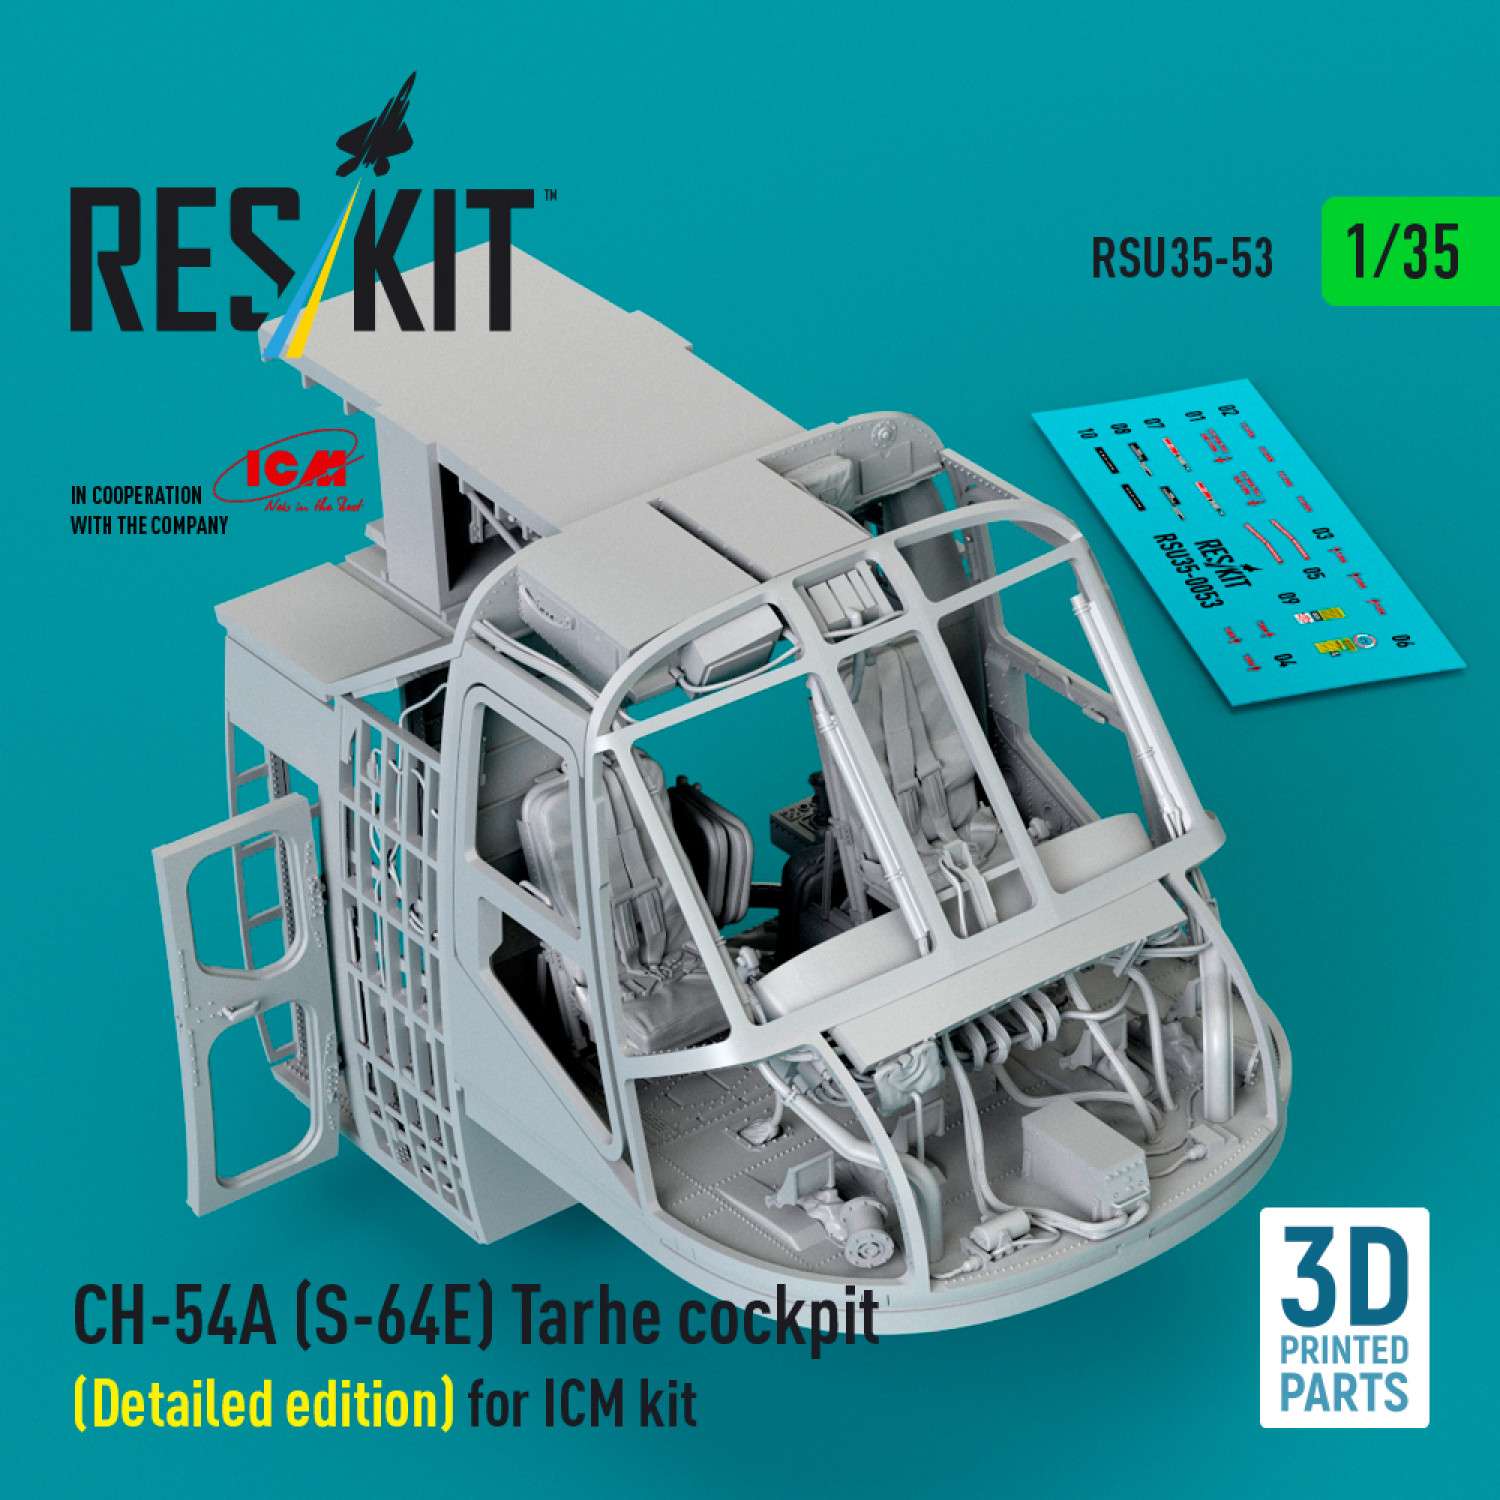
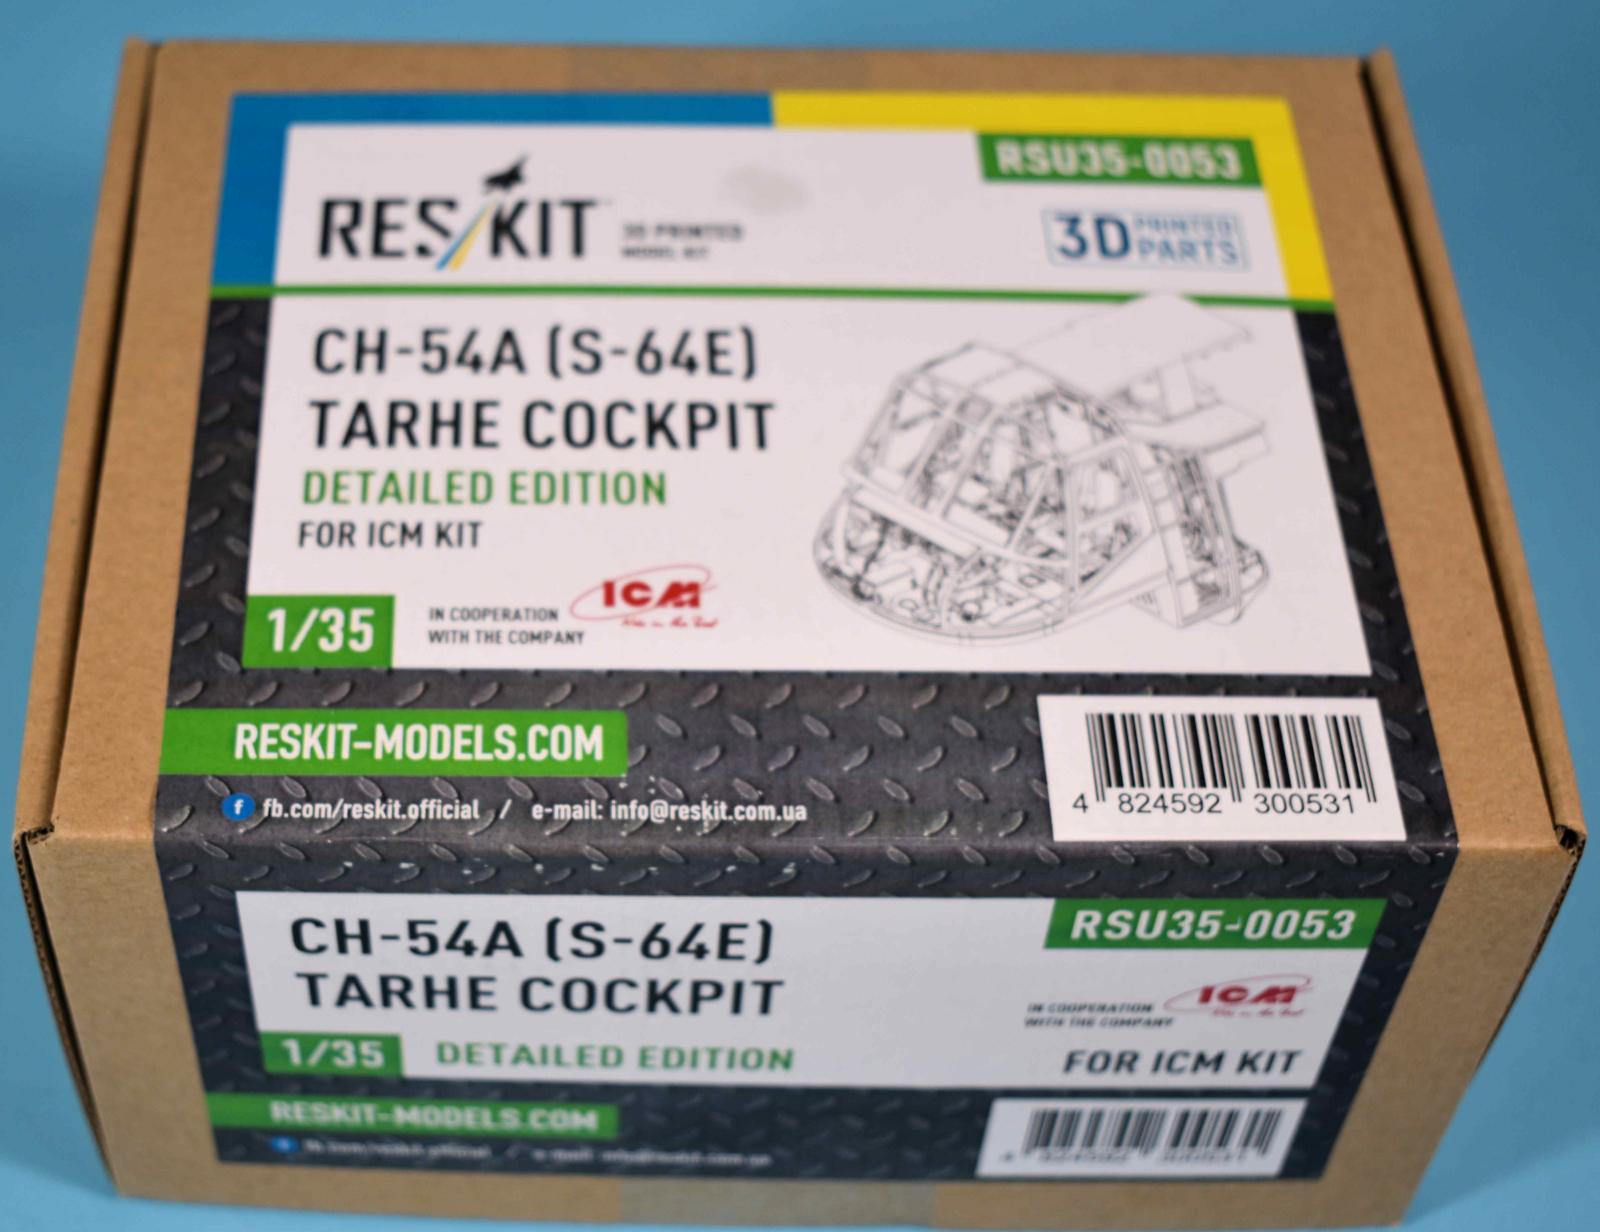
Package
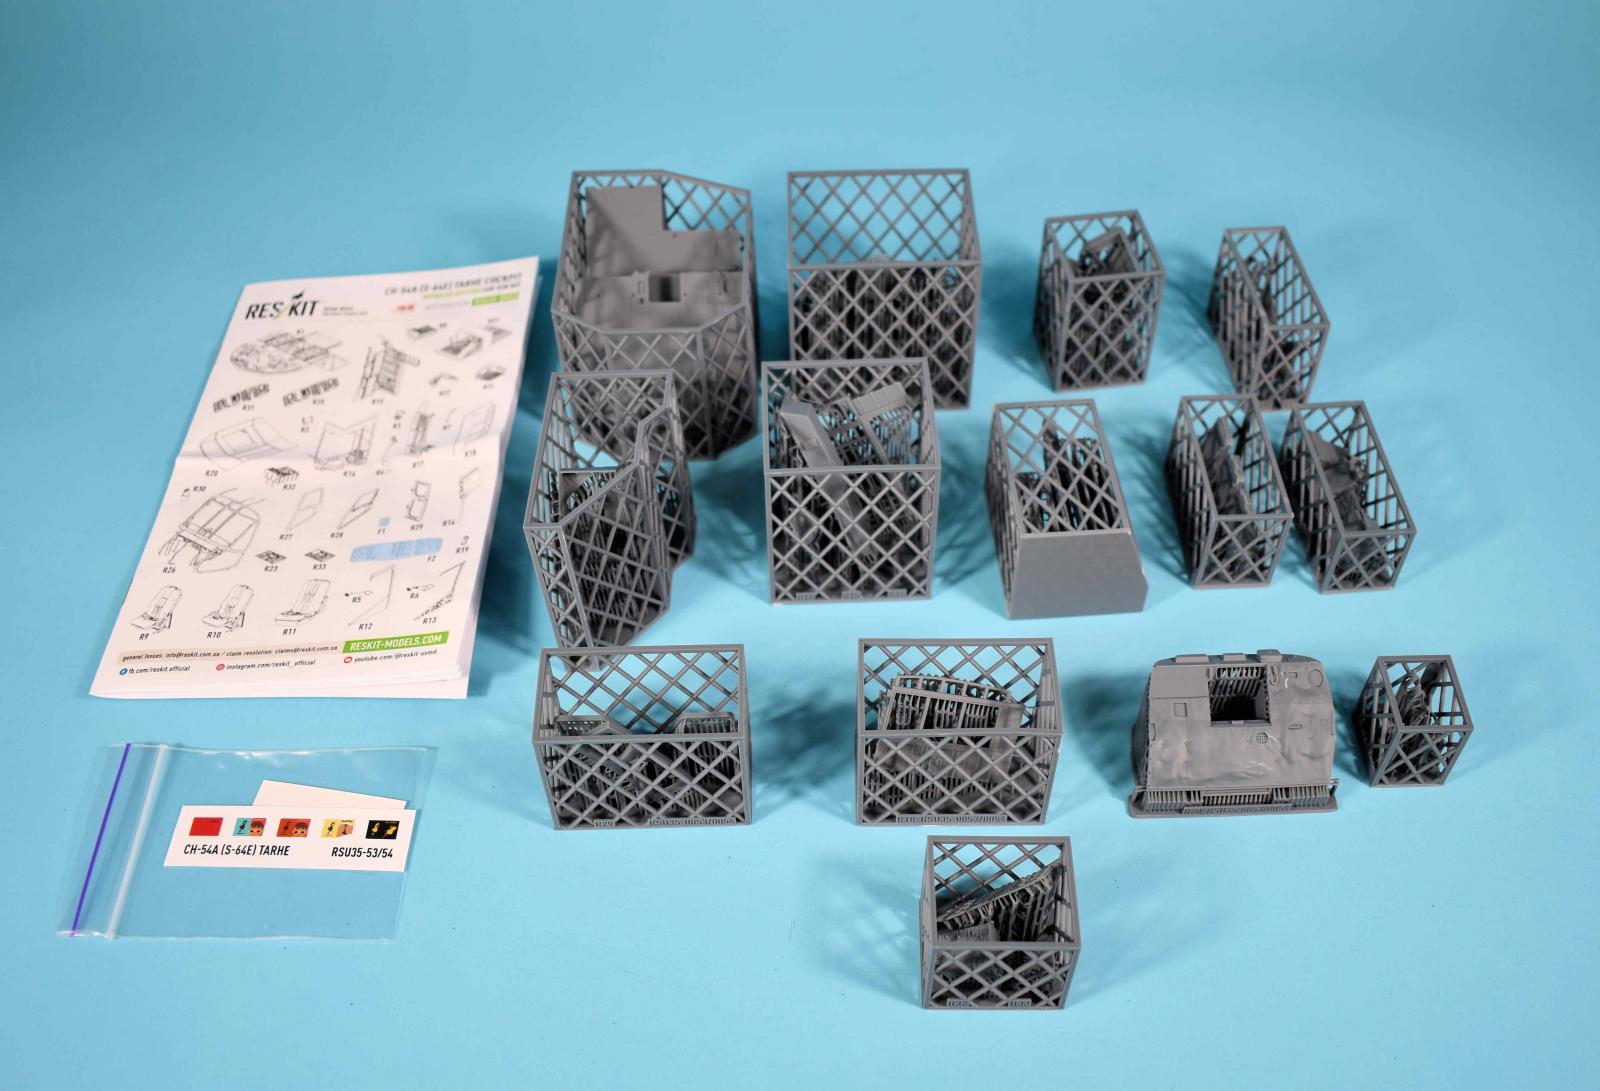
Contents
Printed Parts
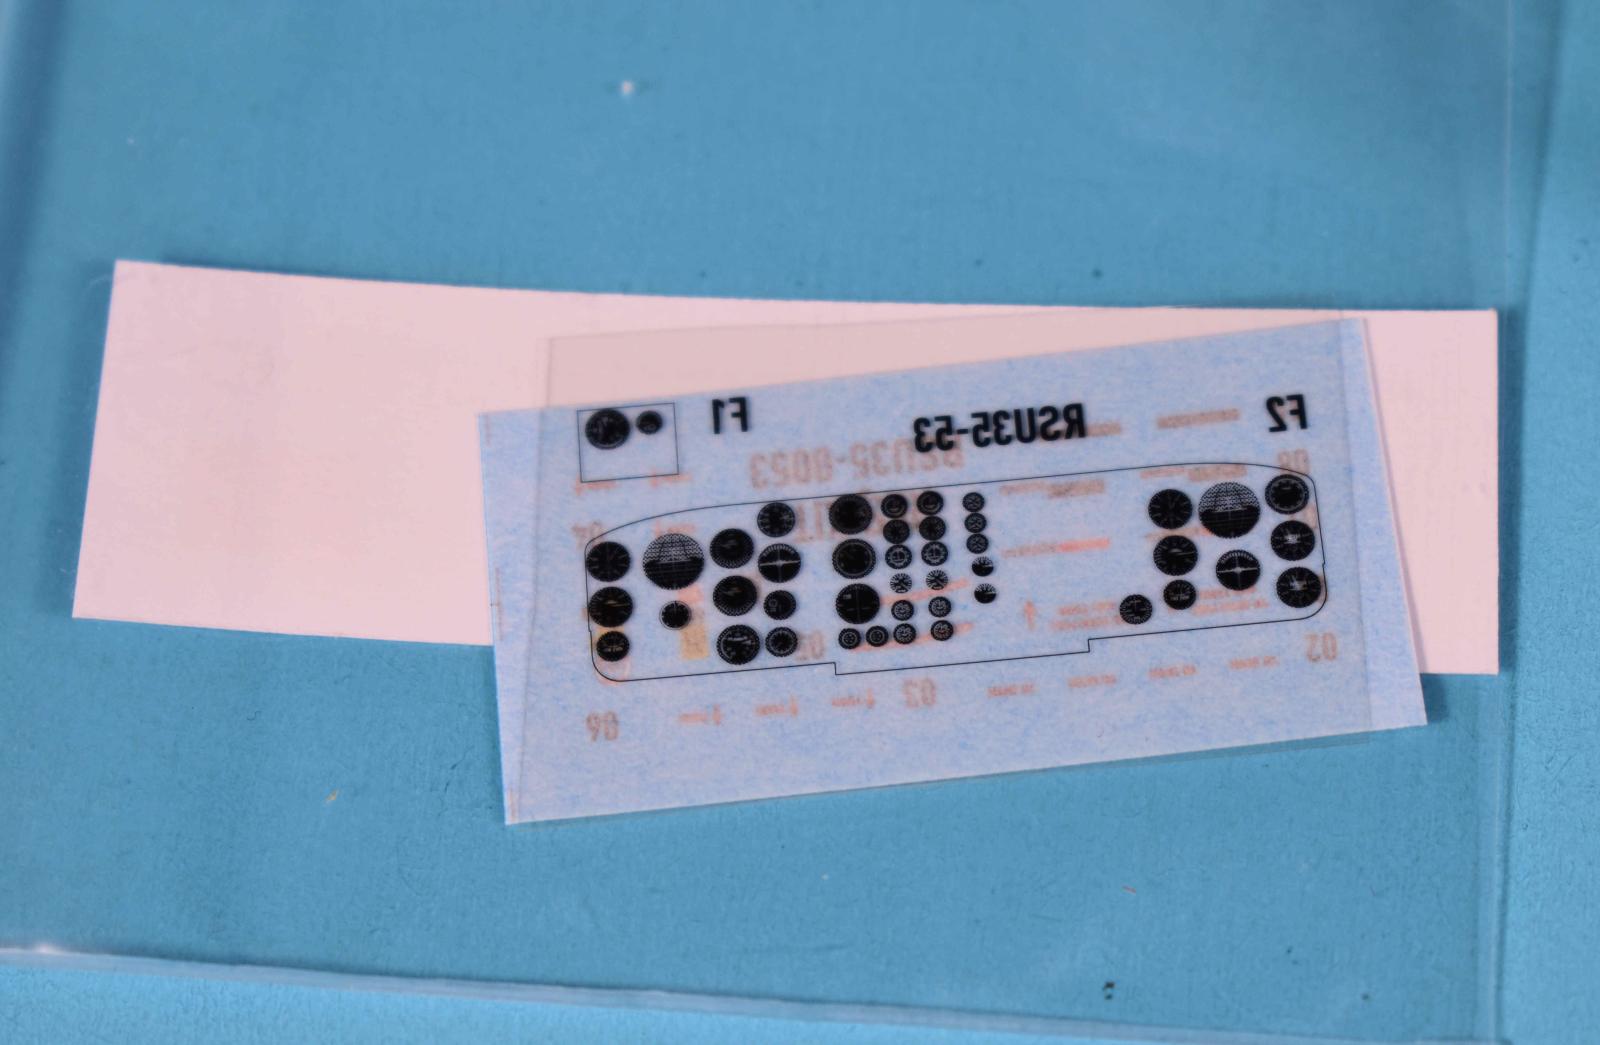
Films
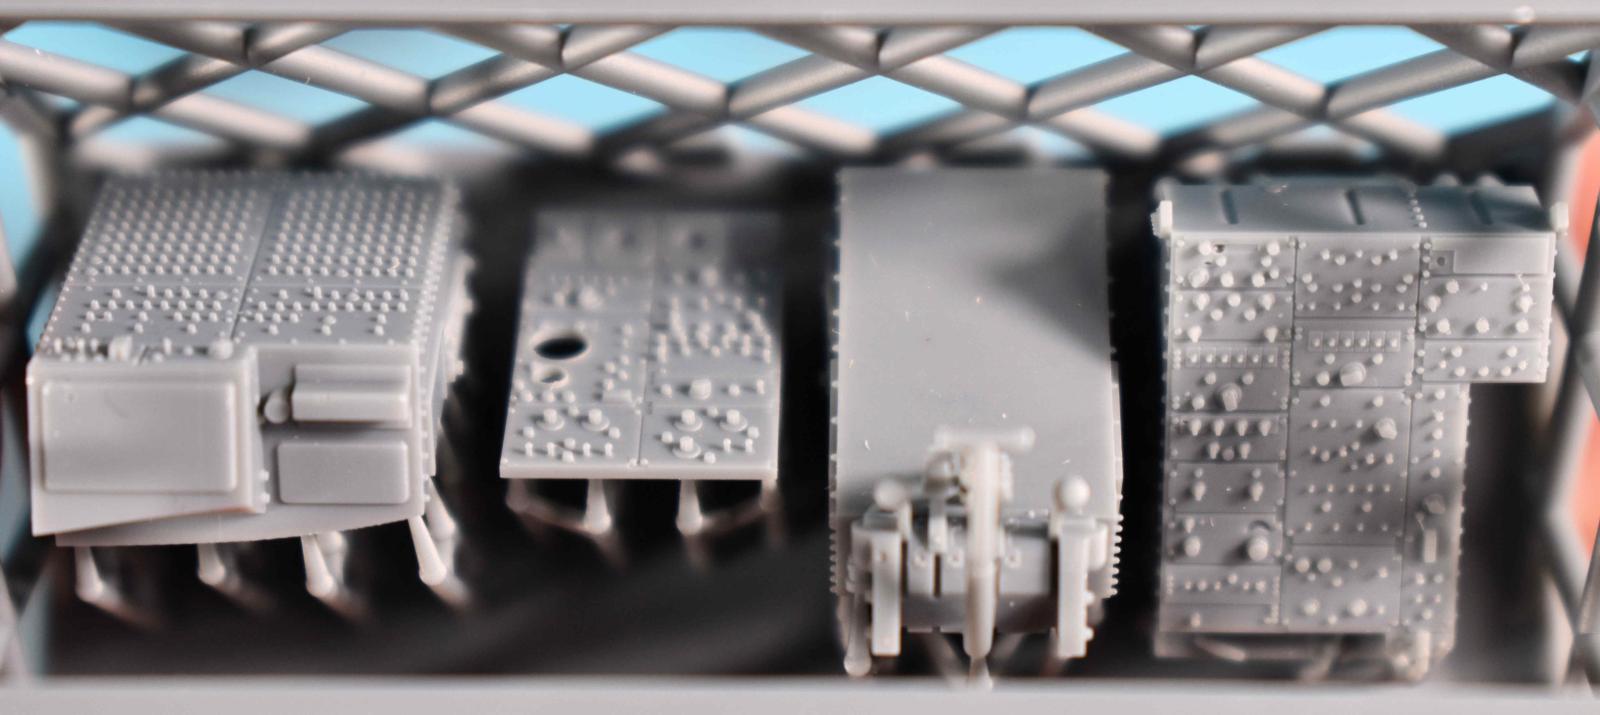
Parts Close Up
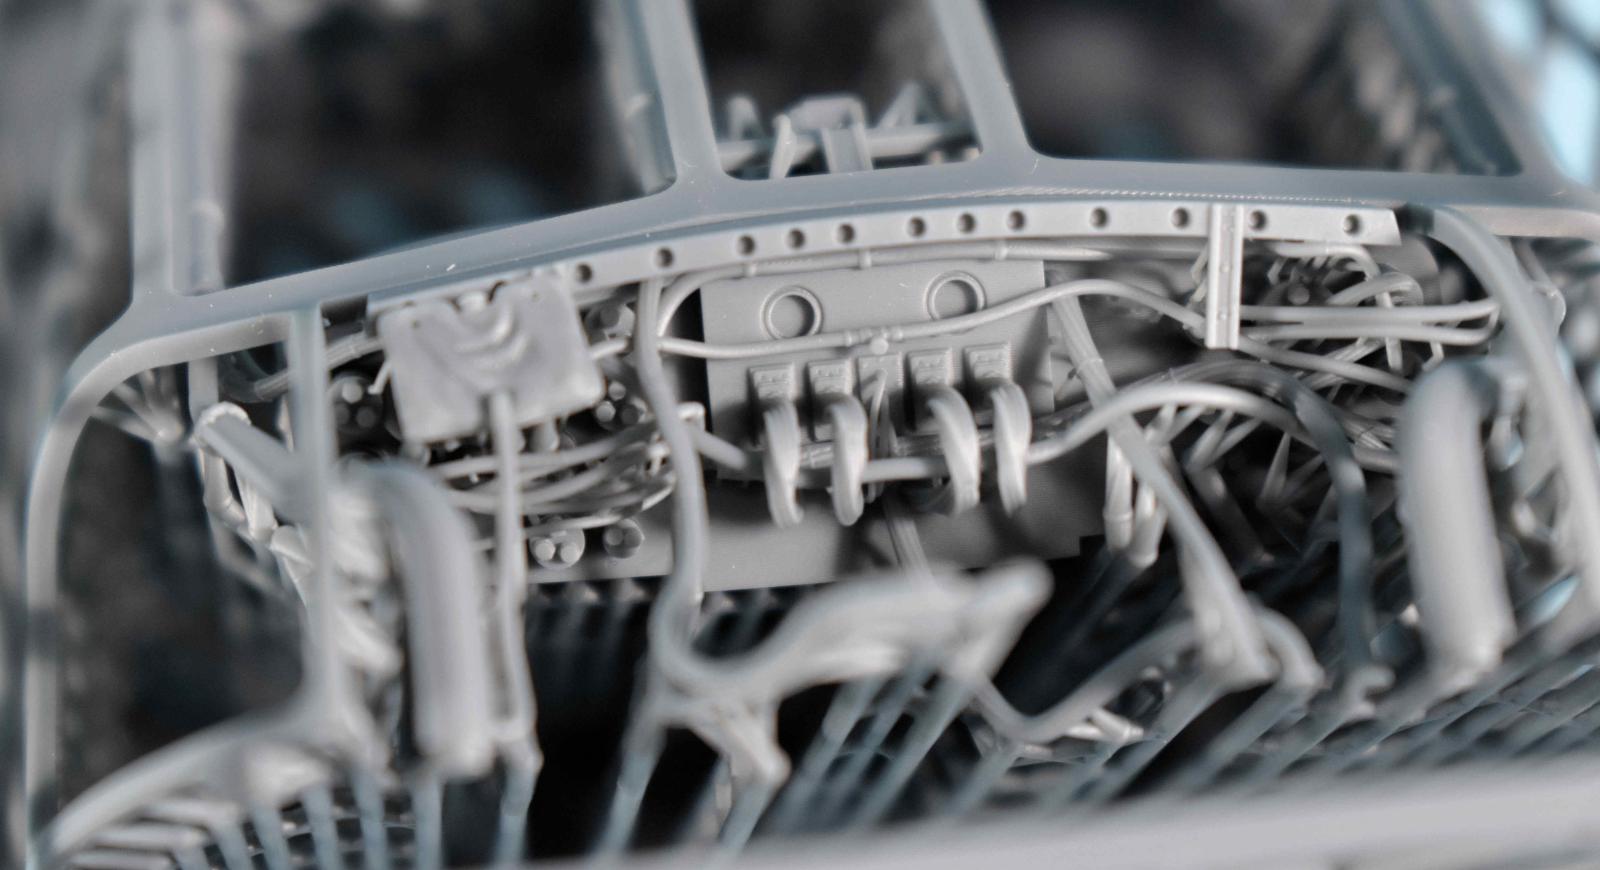
Parts Close Up
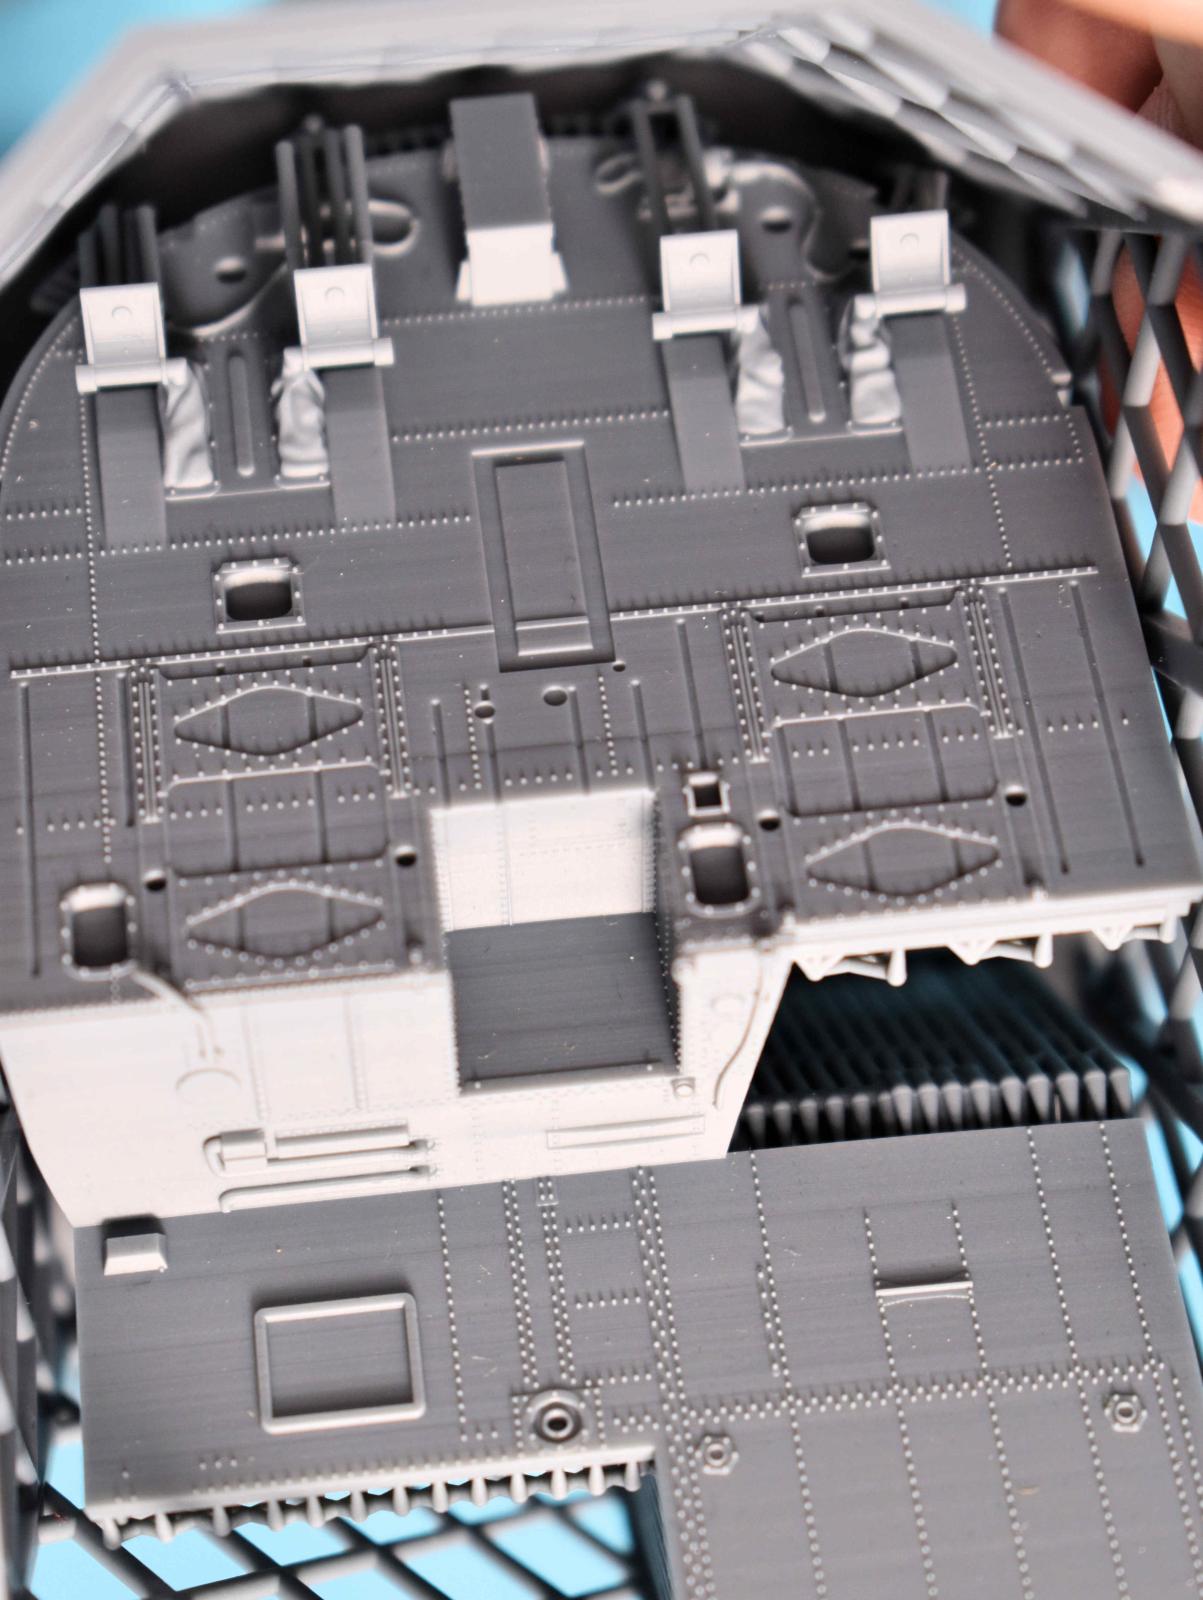
Cockpit Floor Close Up
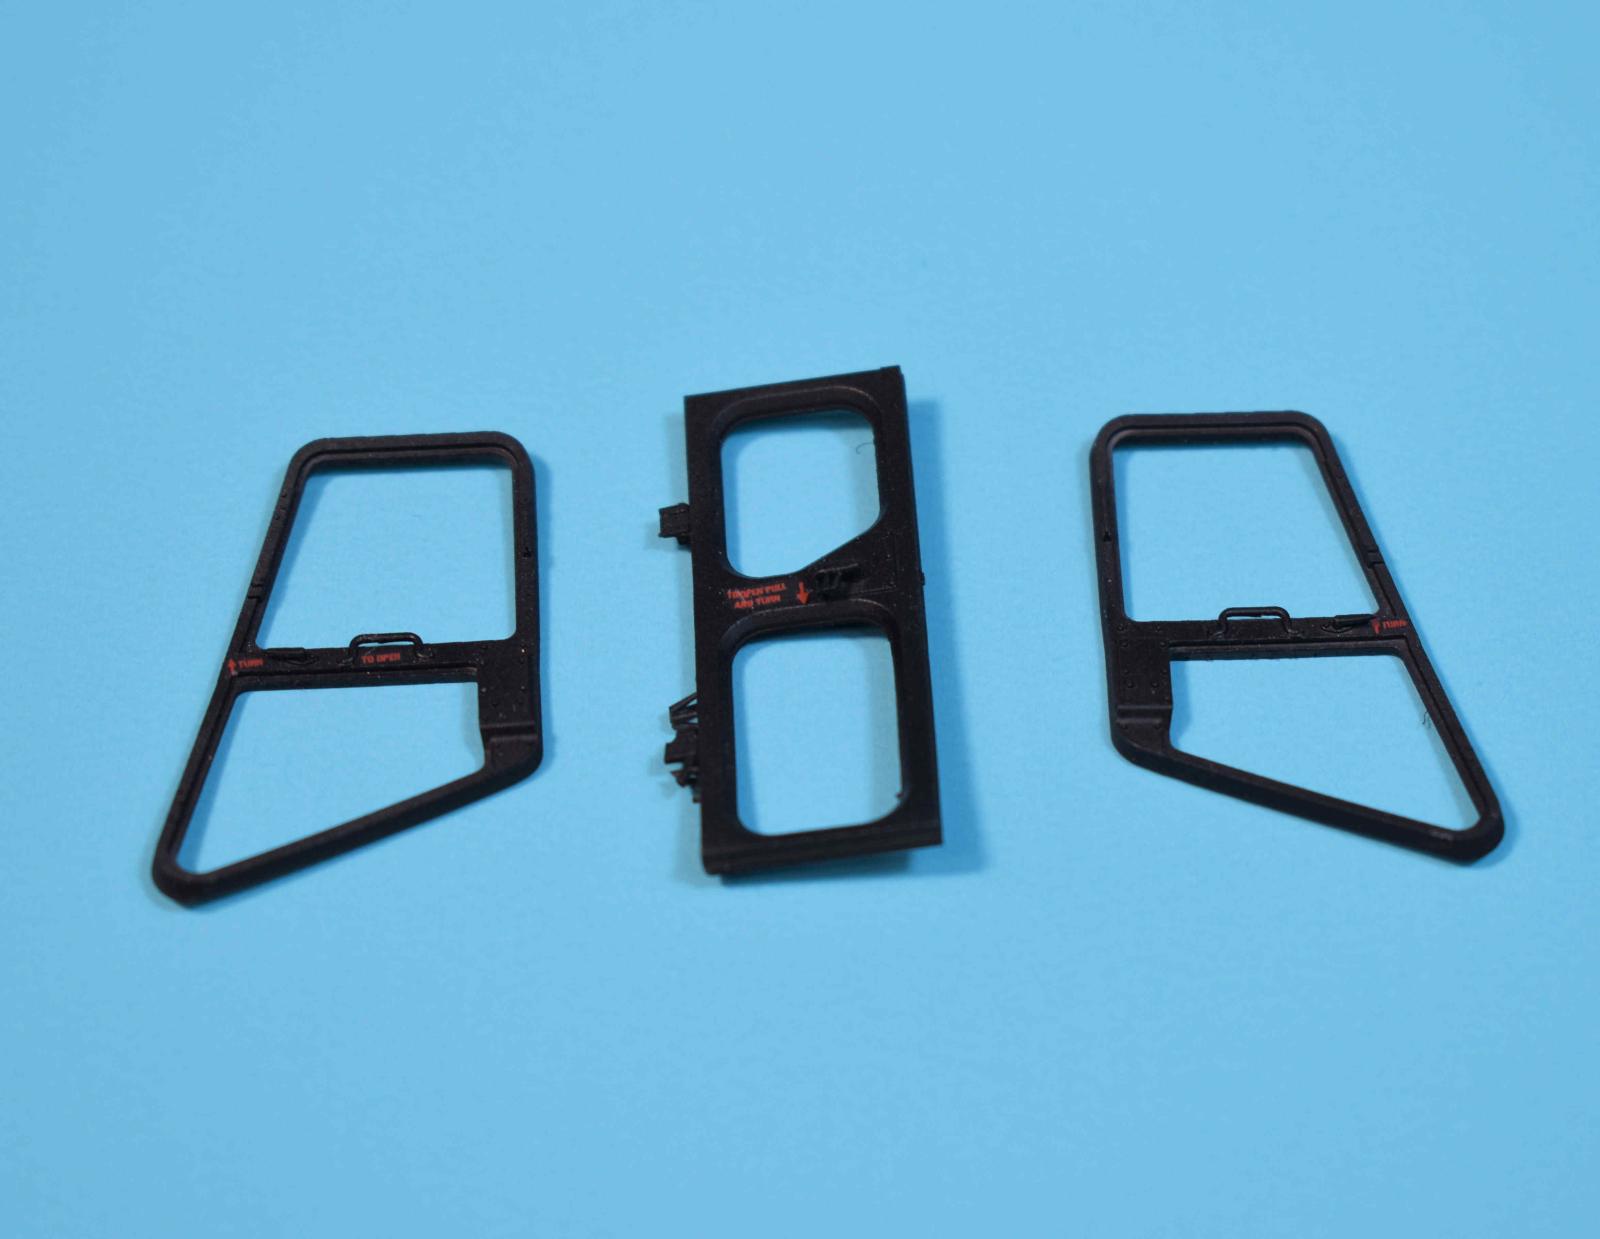
Door Frames
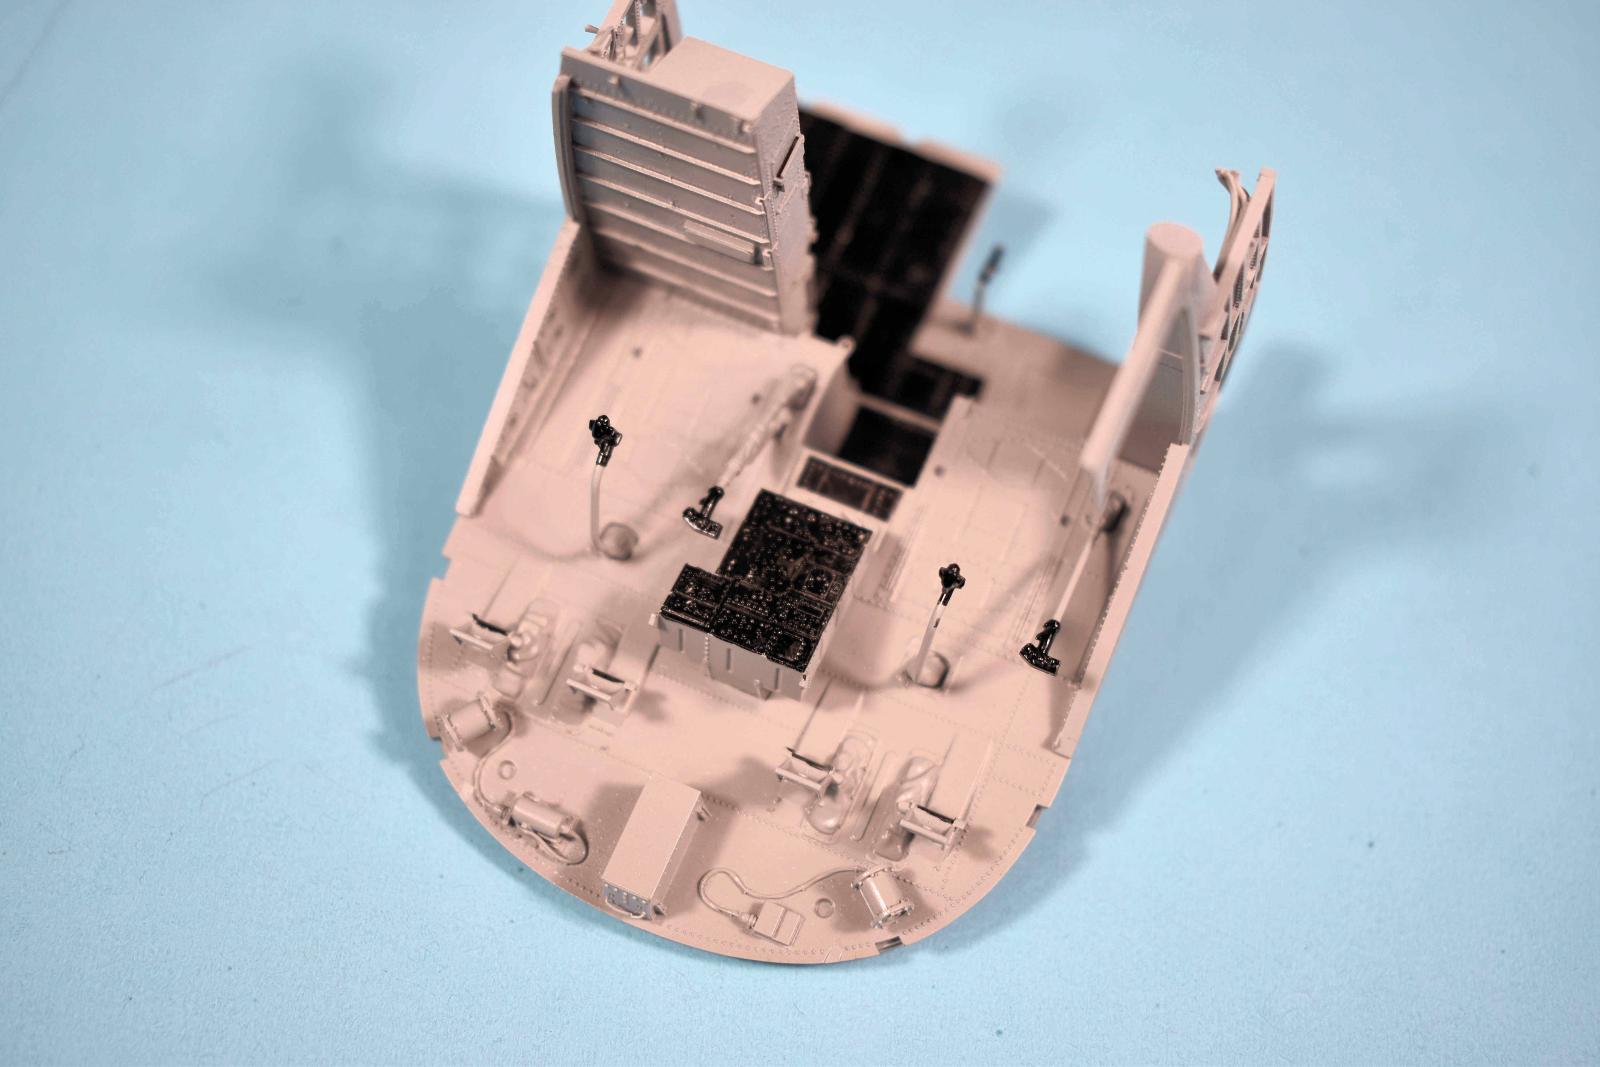
Assembly
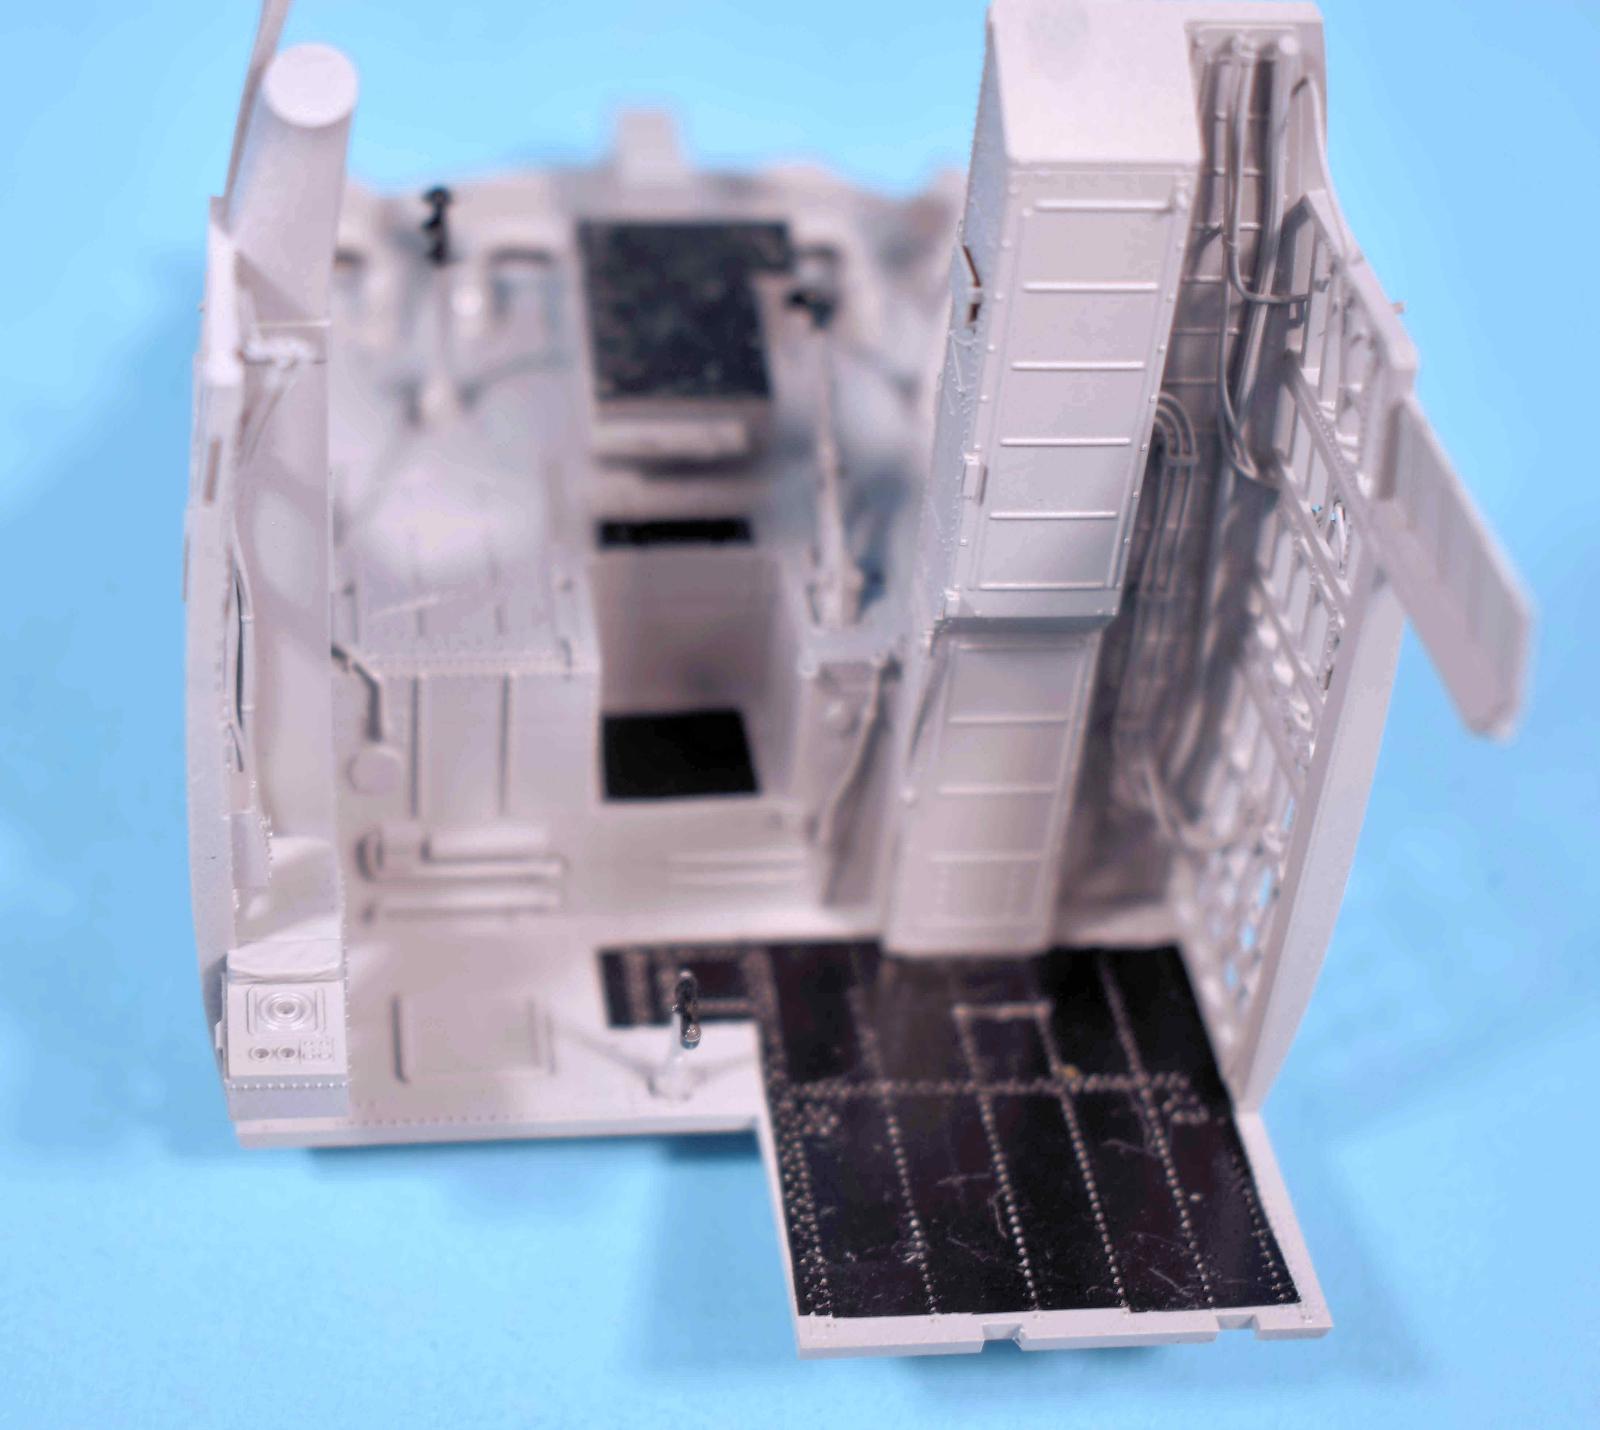
Assembly with Ant Skid Added
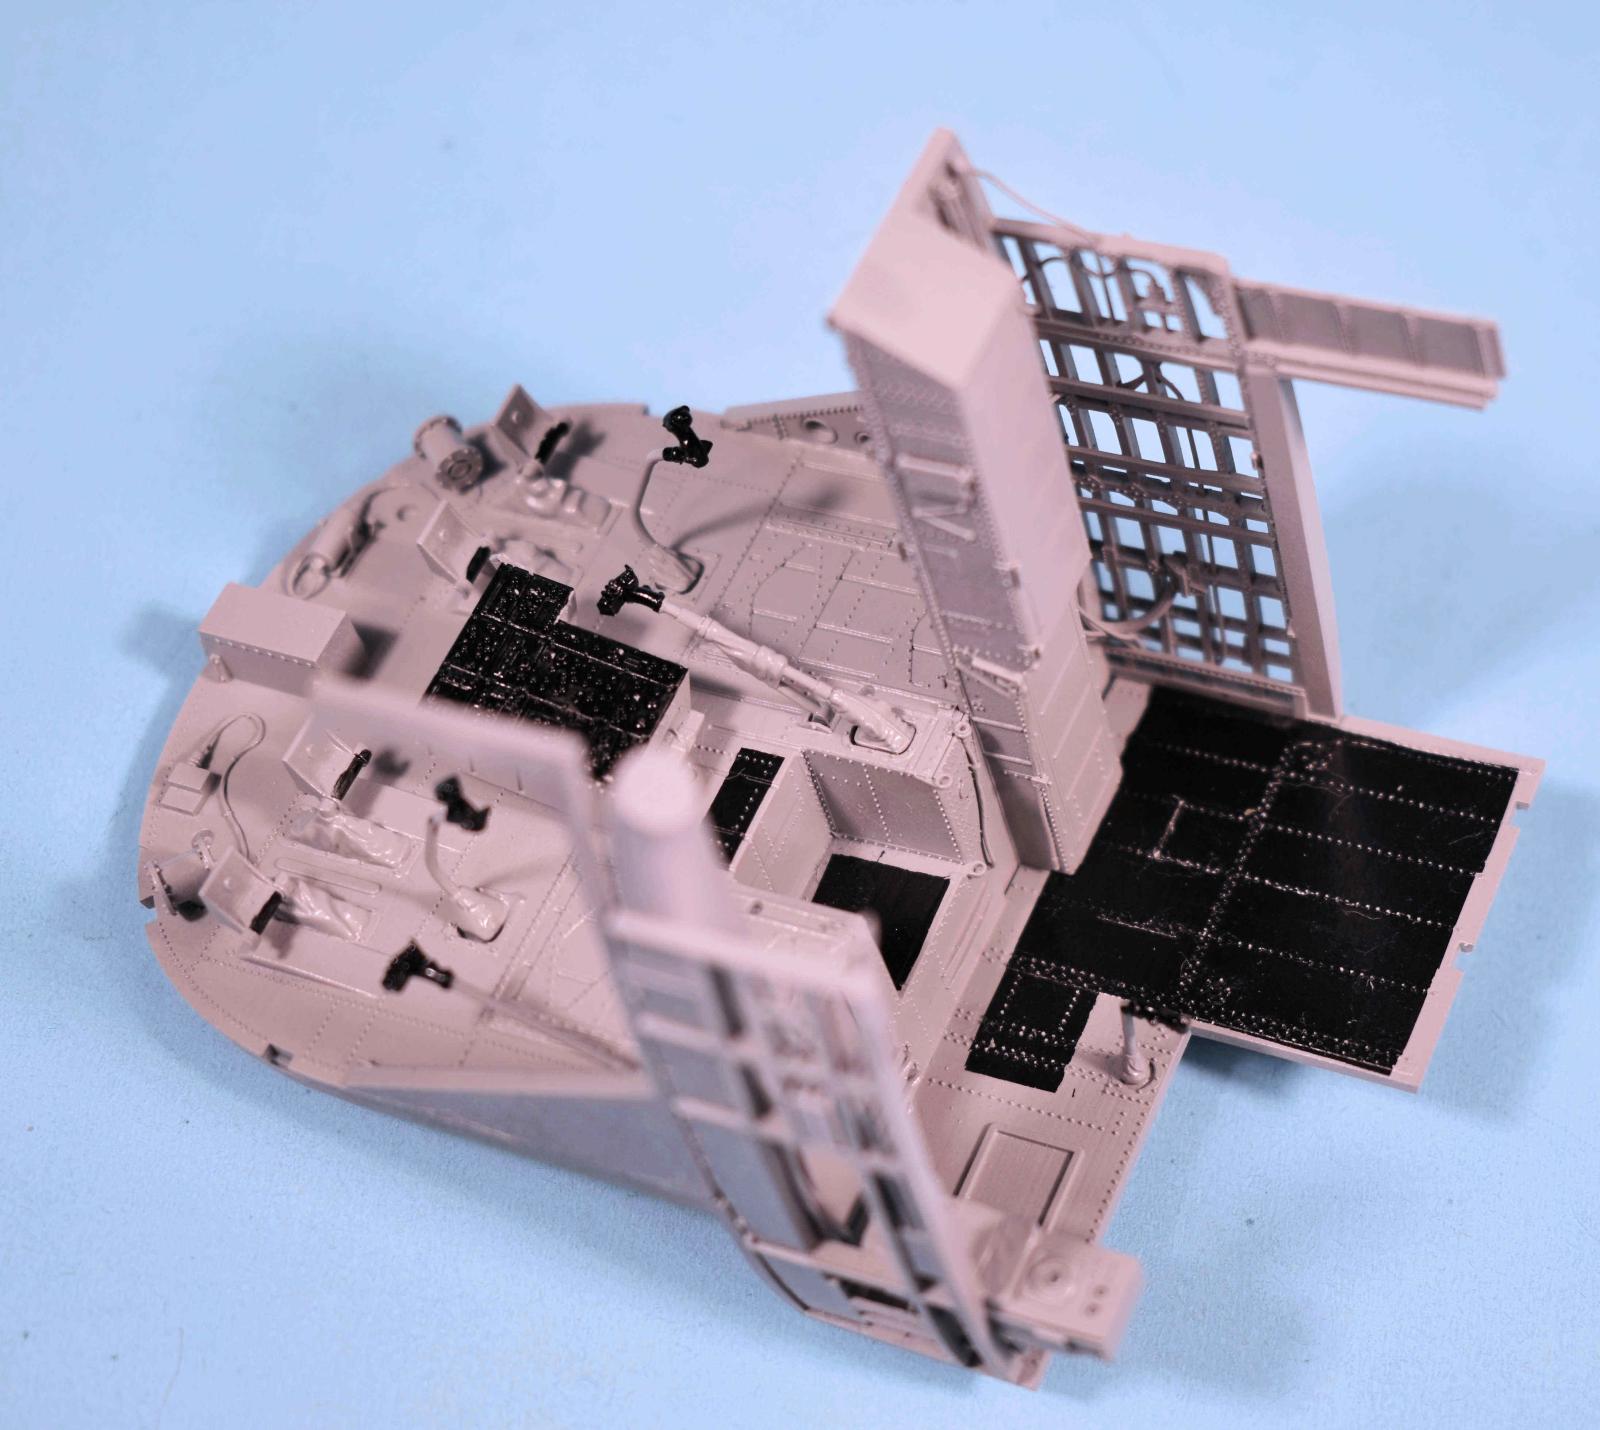
Assembly
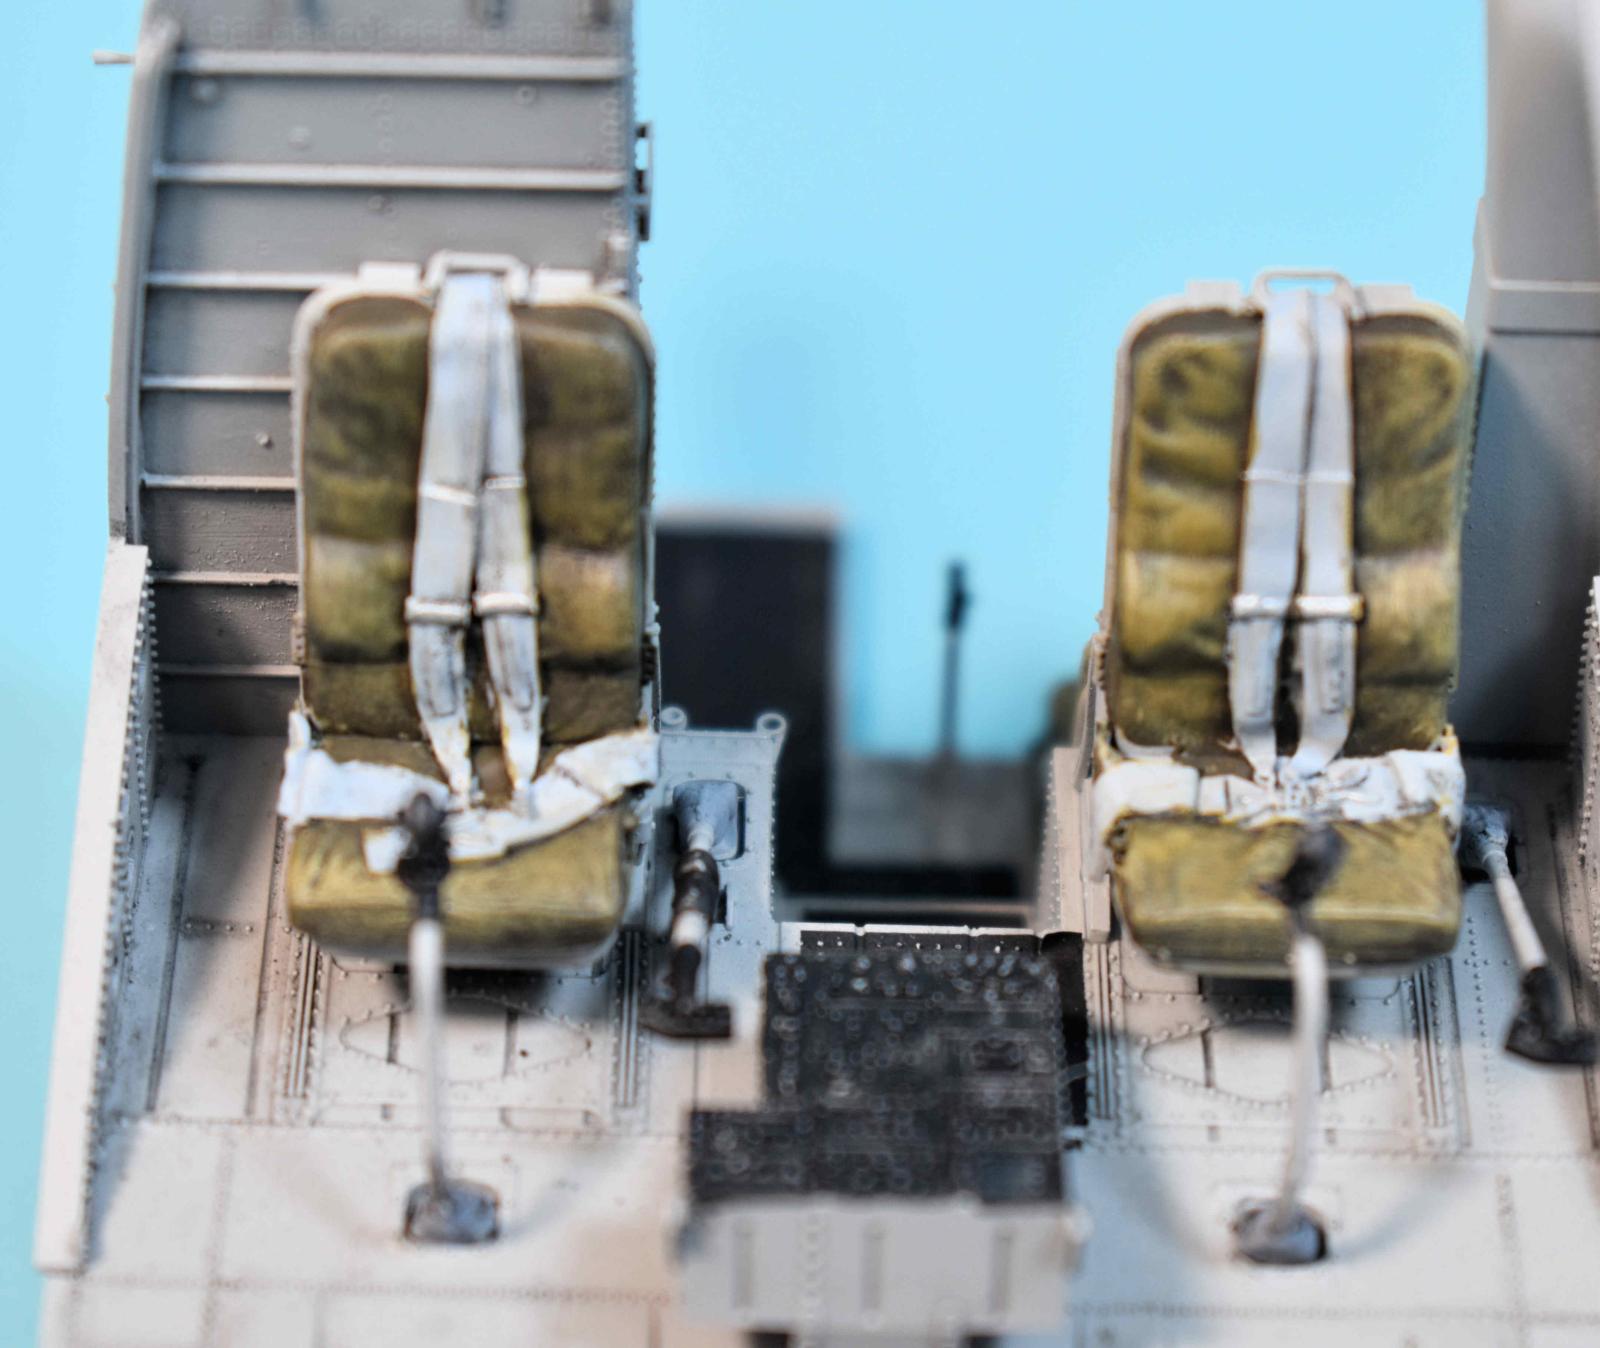
Pilot Seats
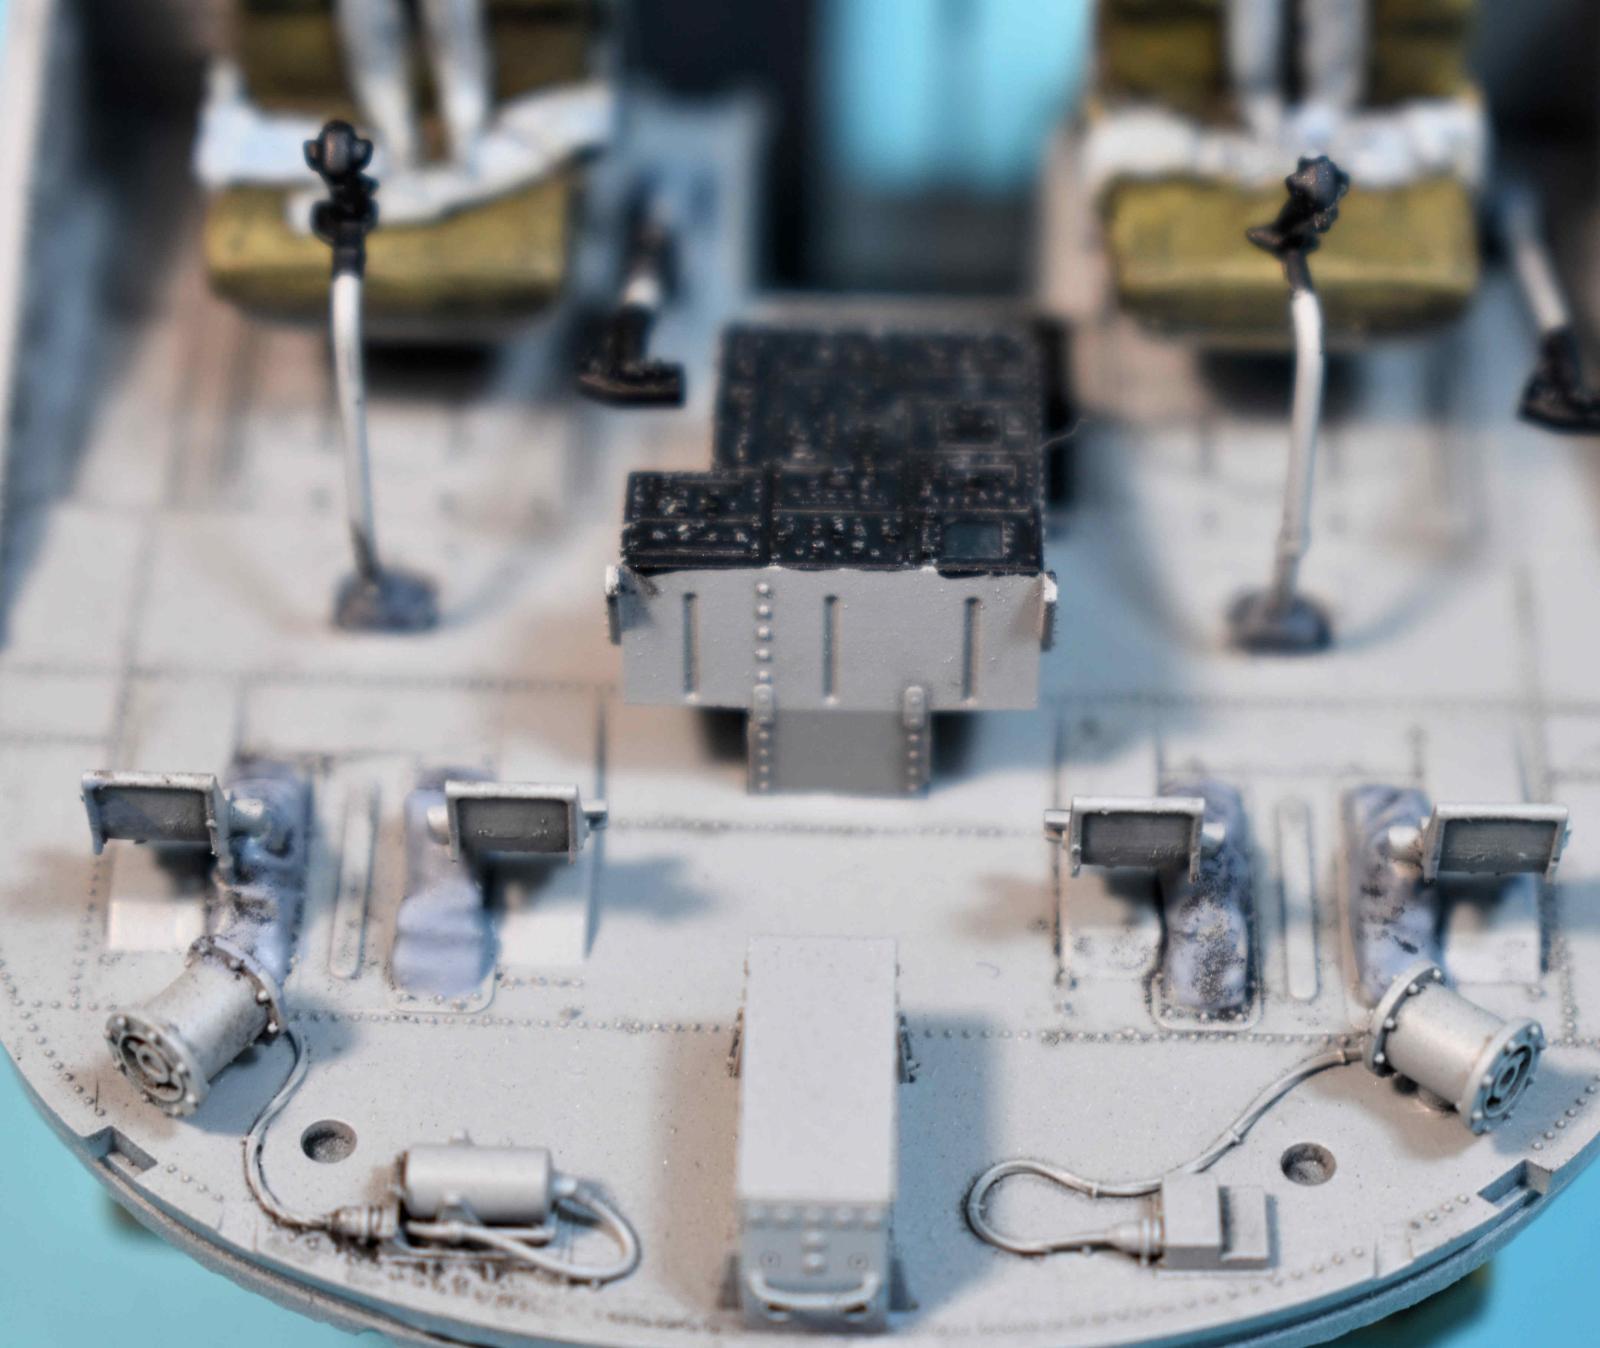
Cockpit Floor
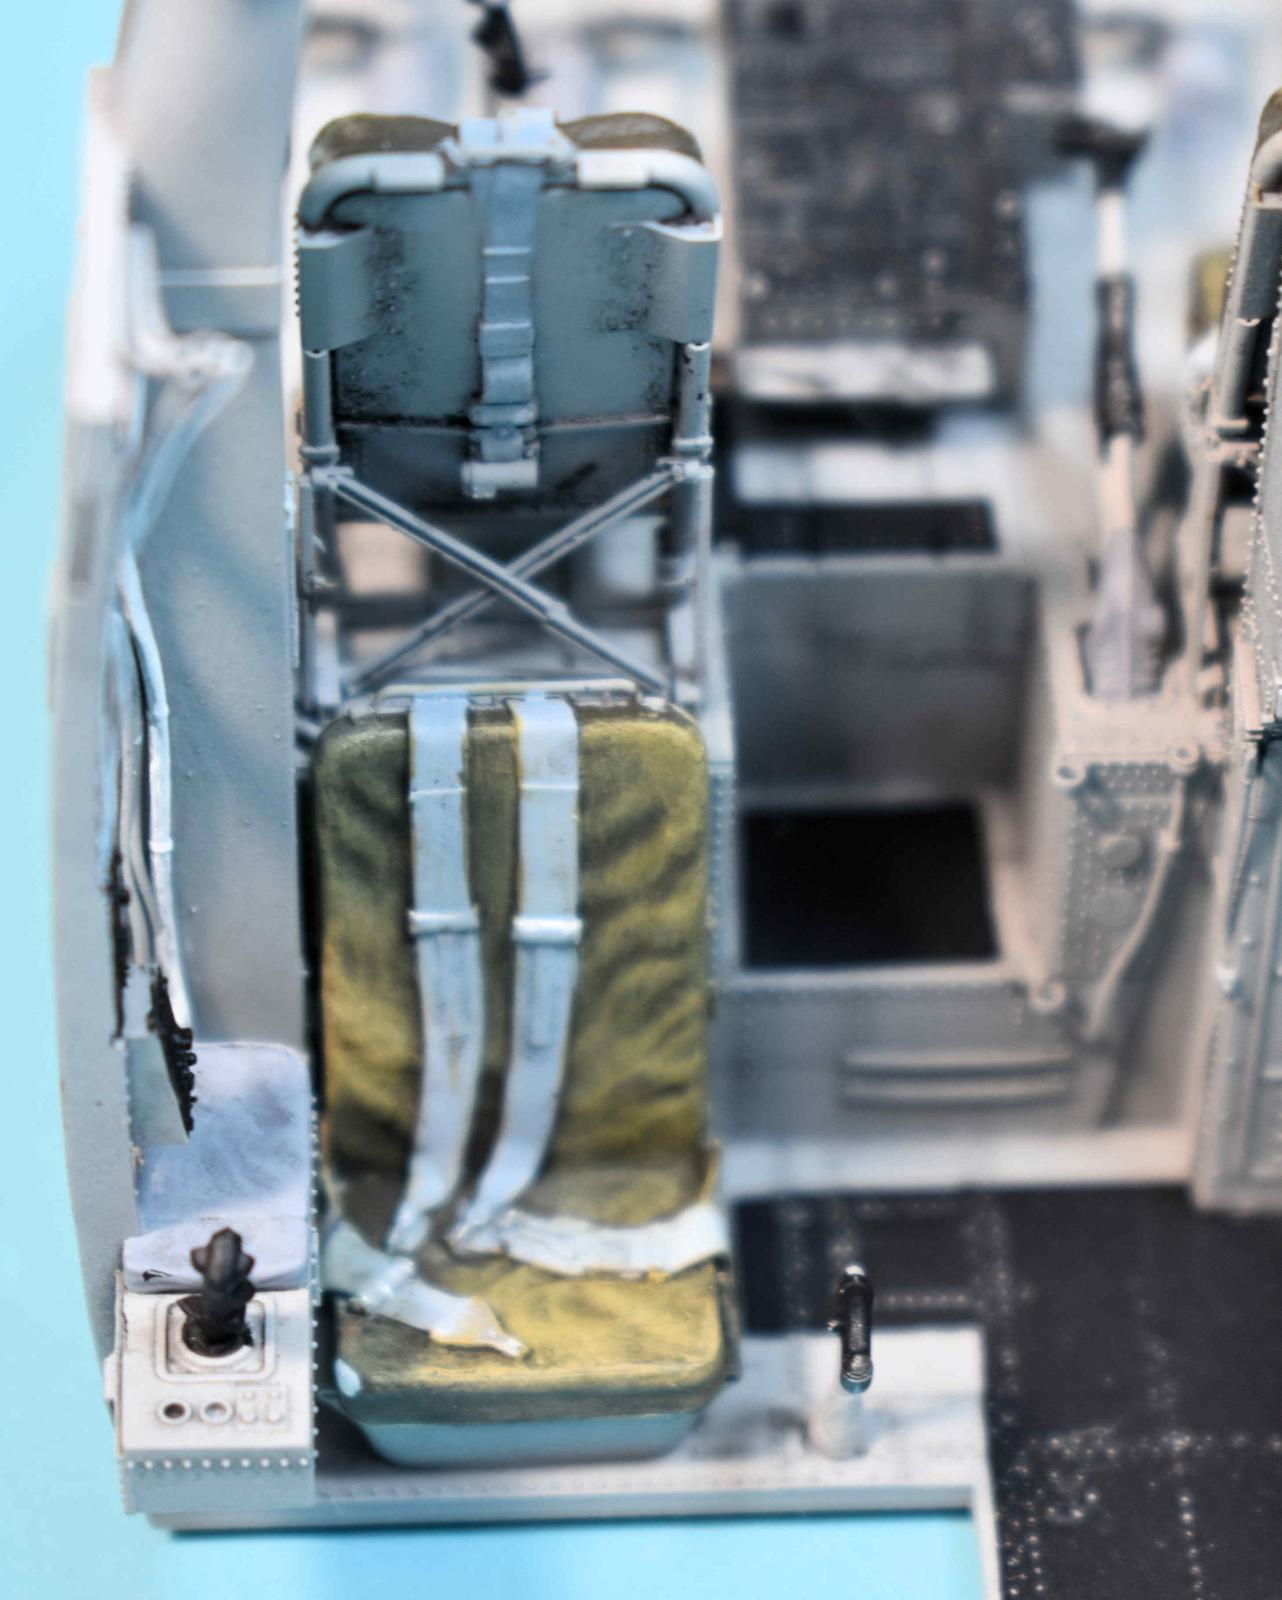
Crane Station Seat
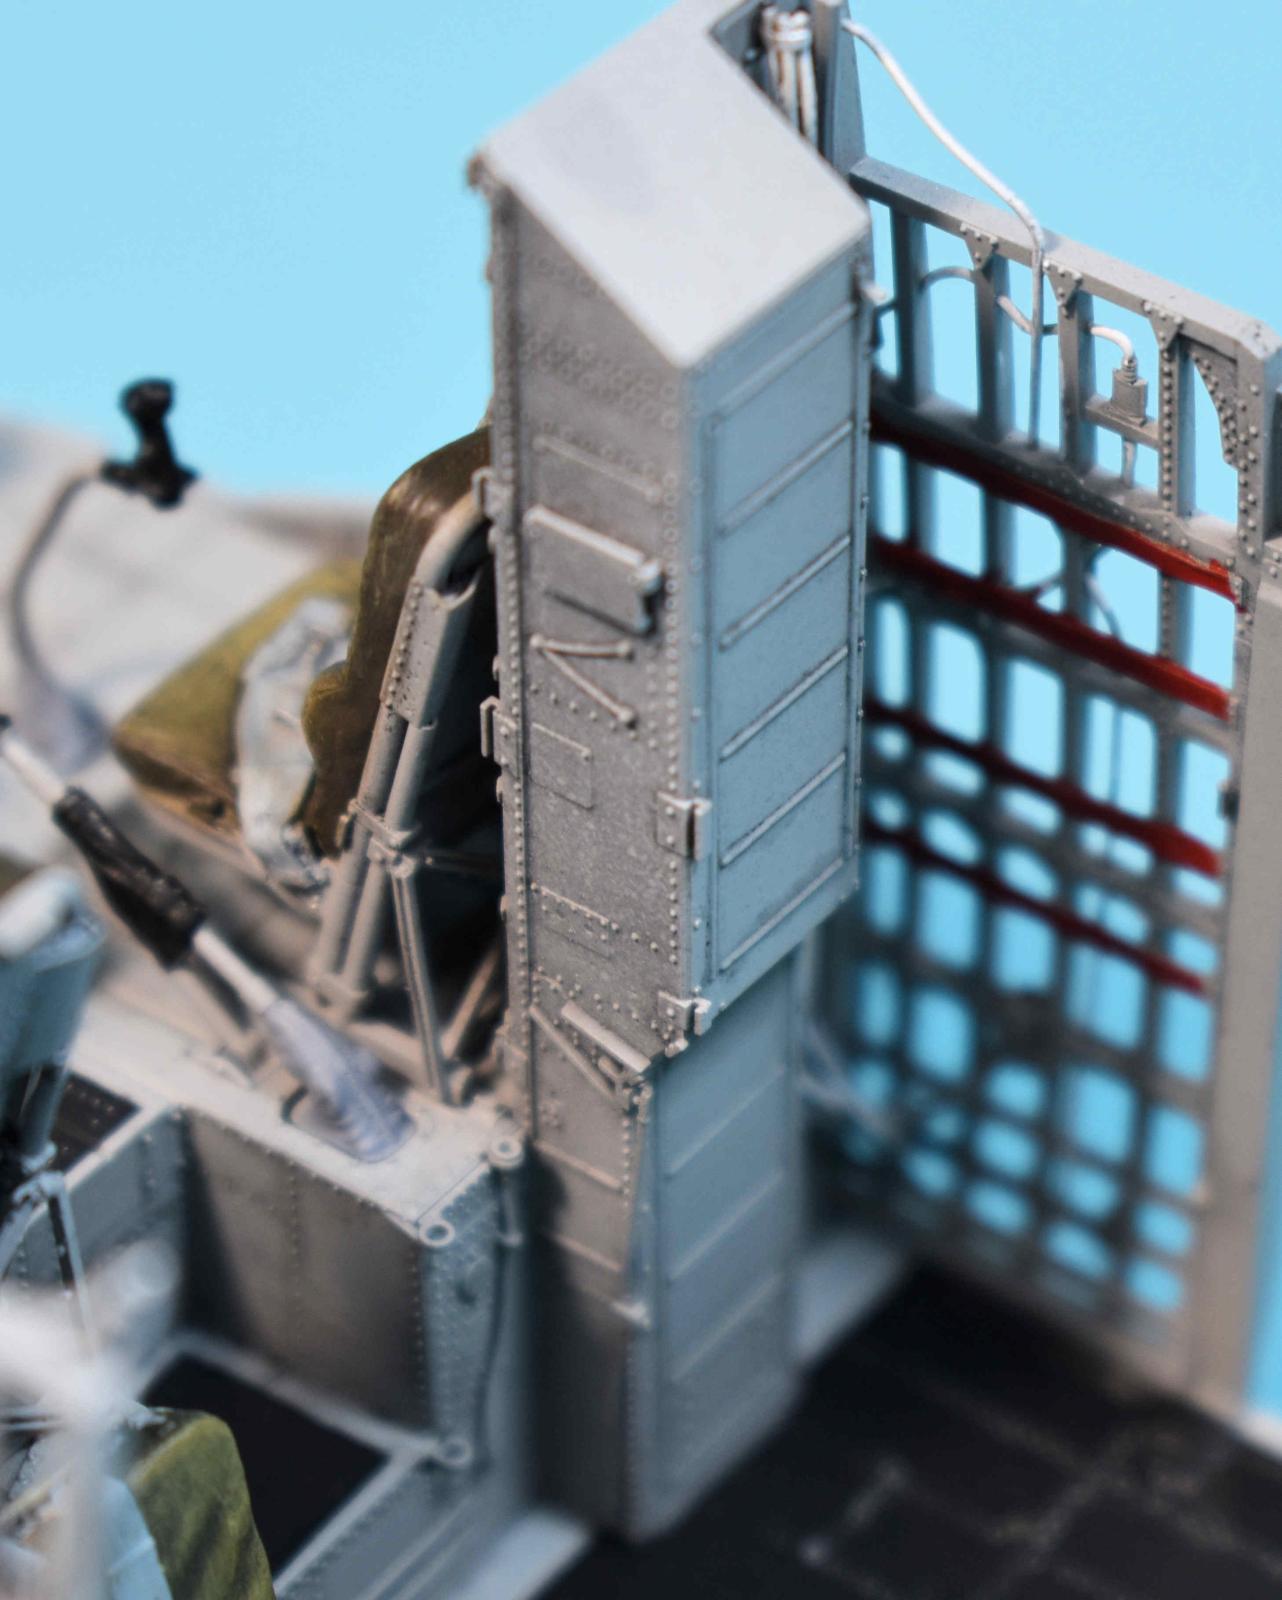
Rear of Cockpit Detail
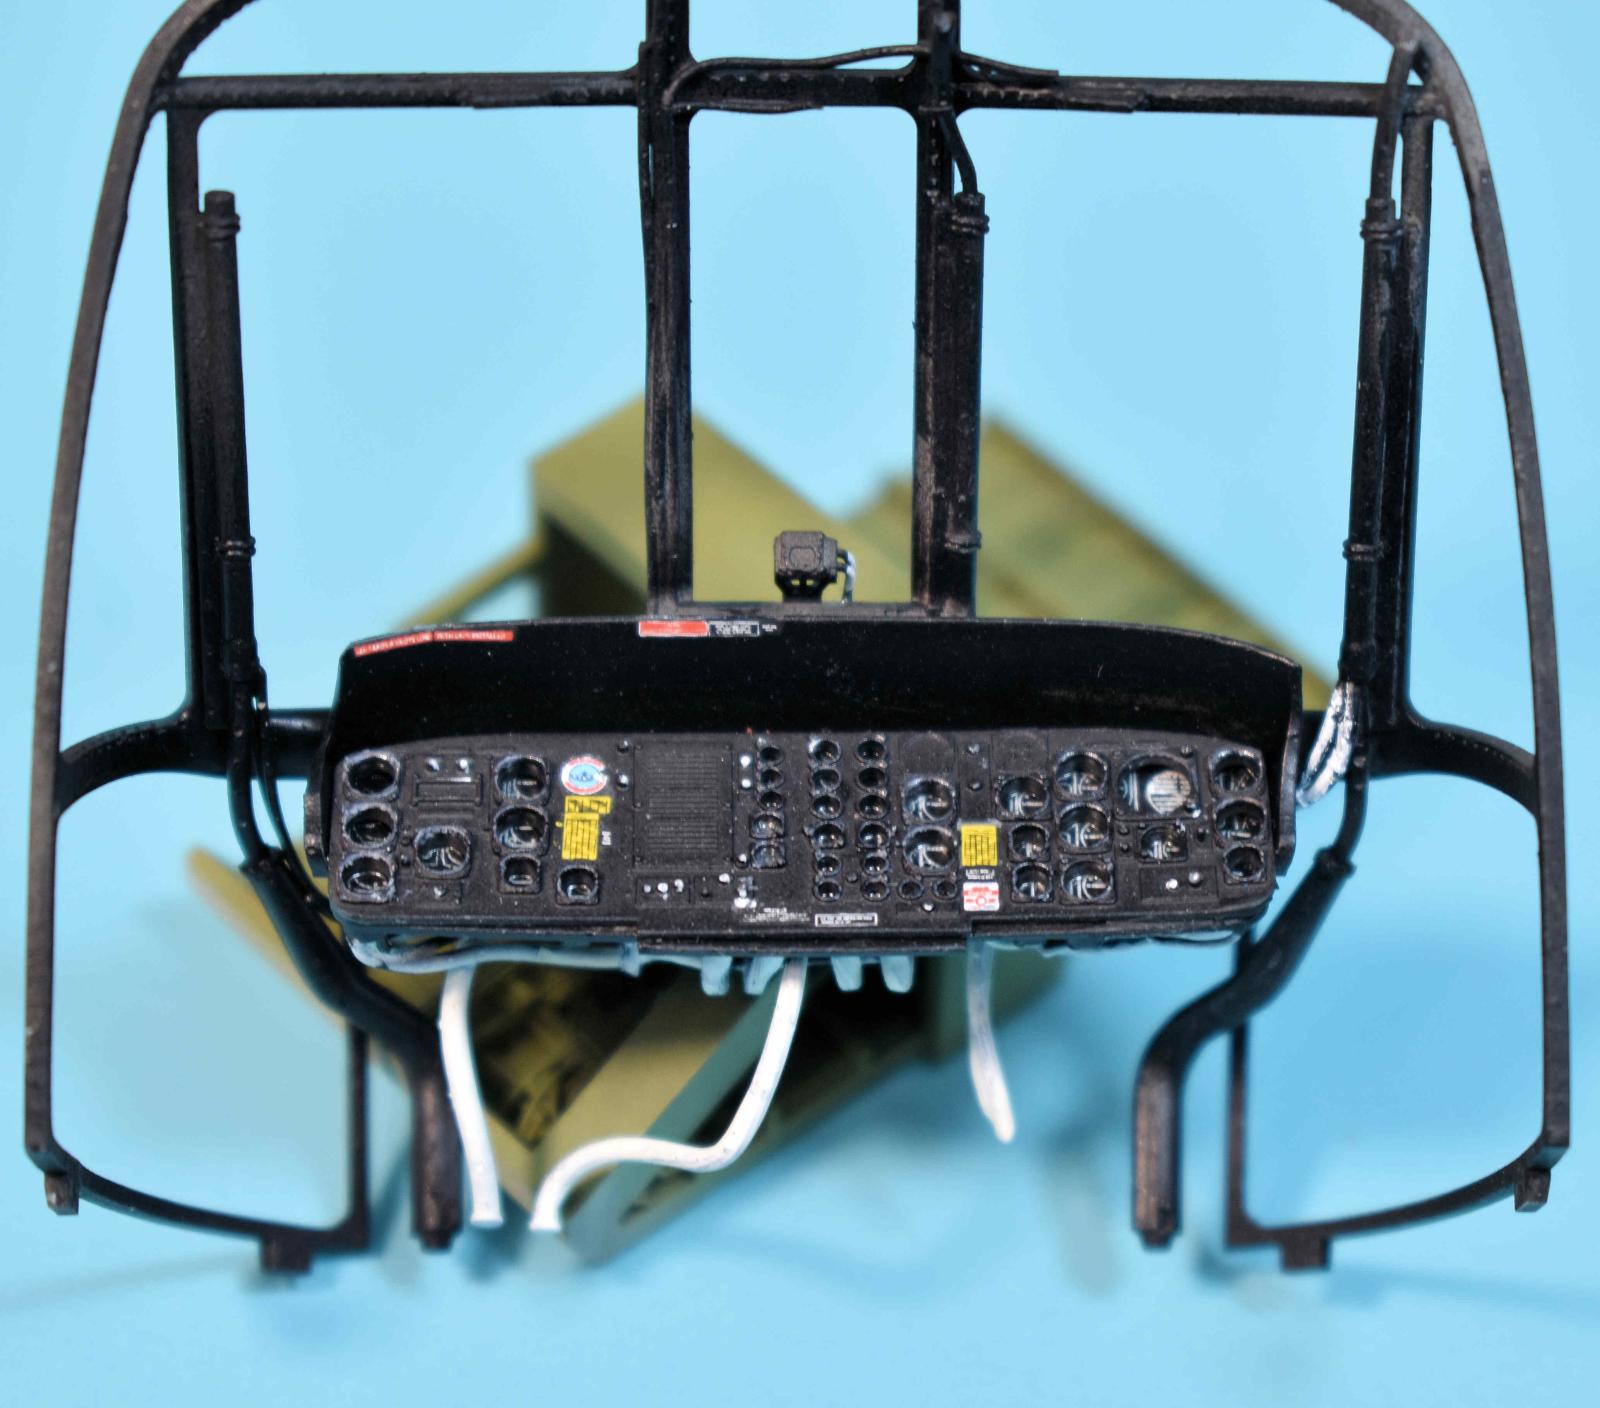
Instrument panel and Front Cockpit Framing
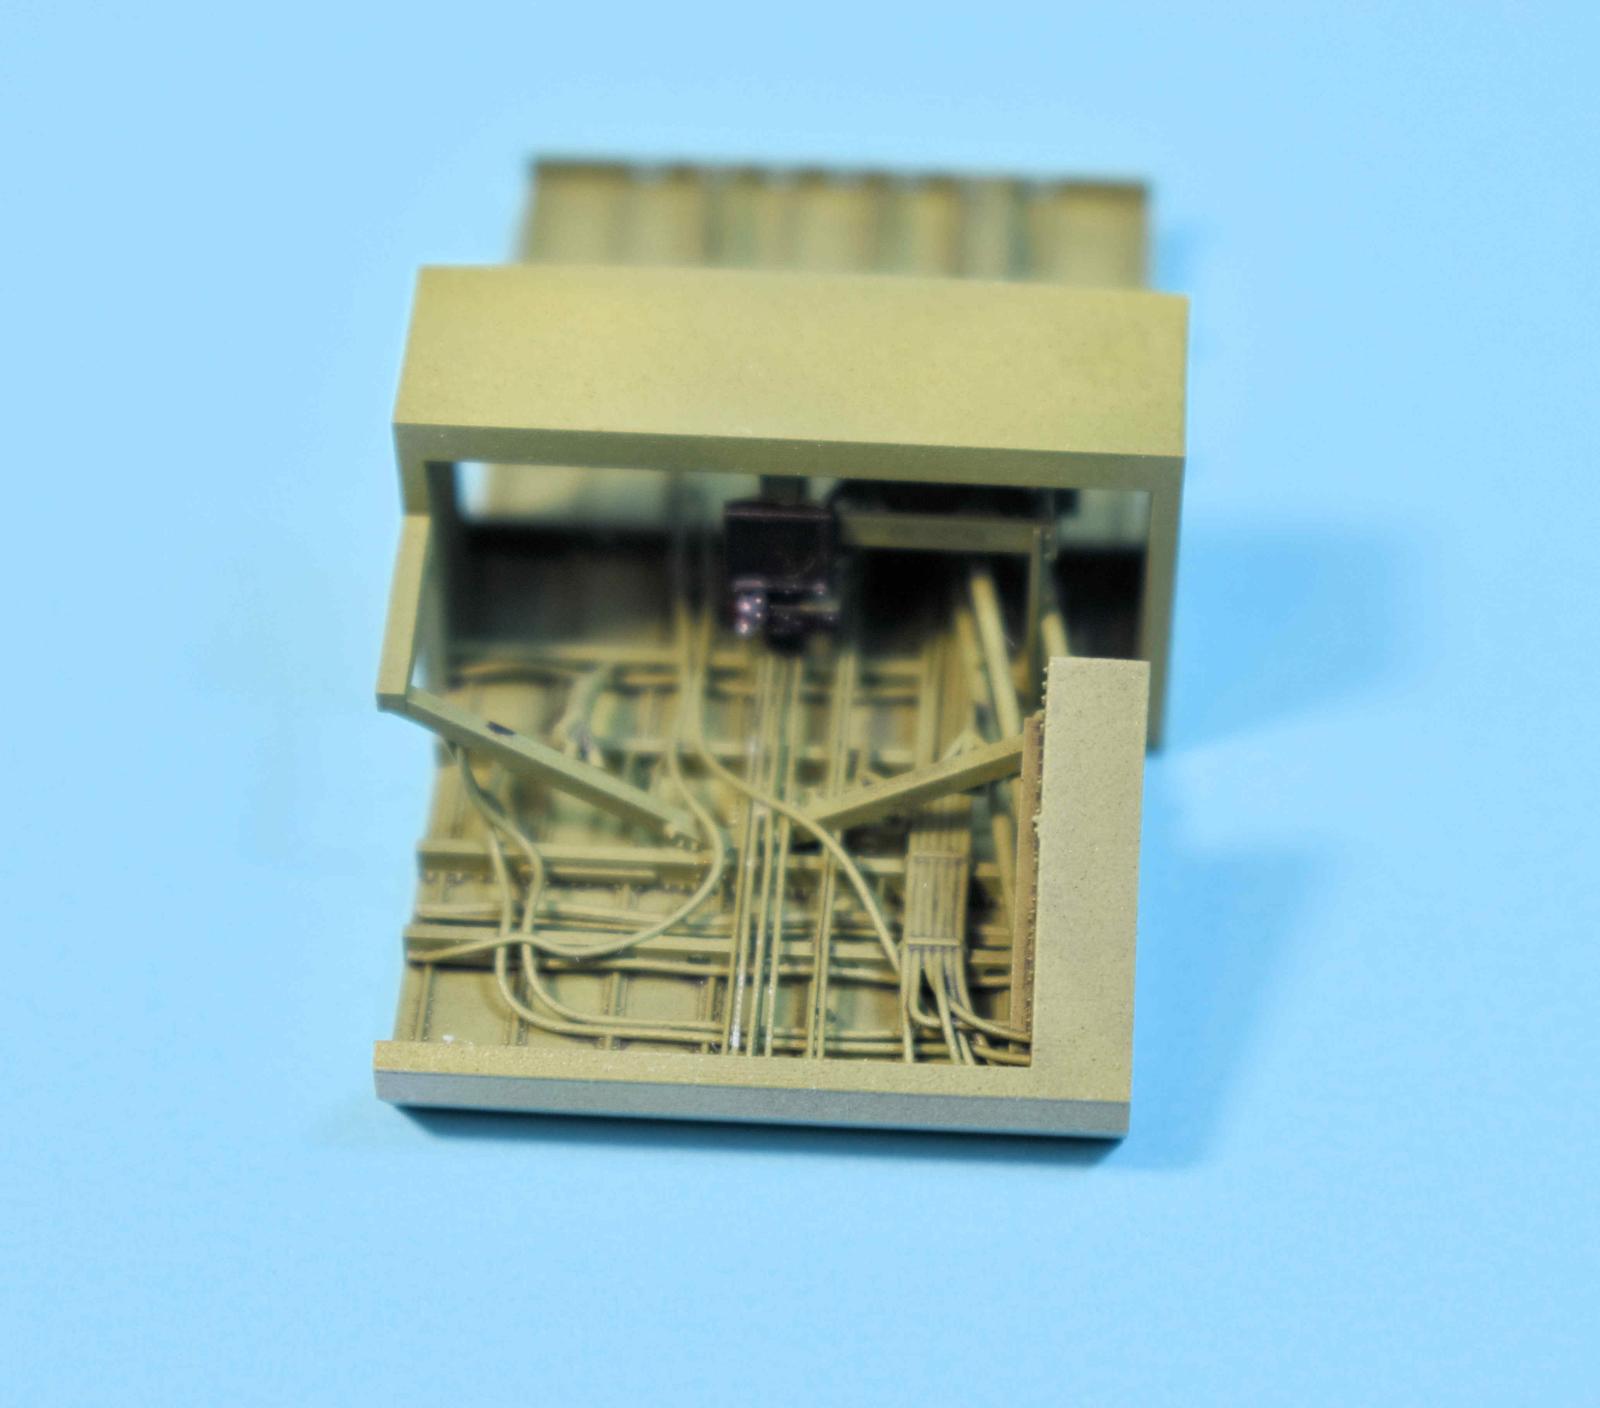
Access Panel Area Above rear Cockpit
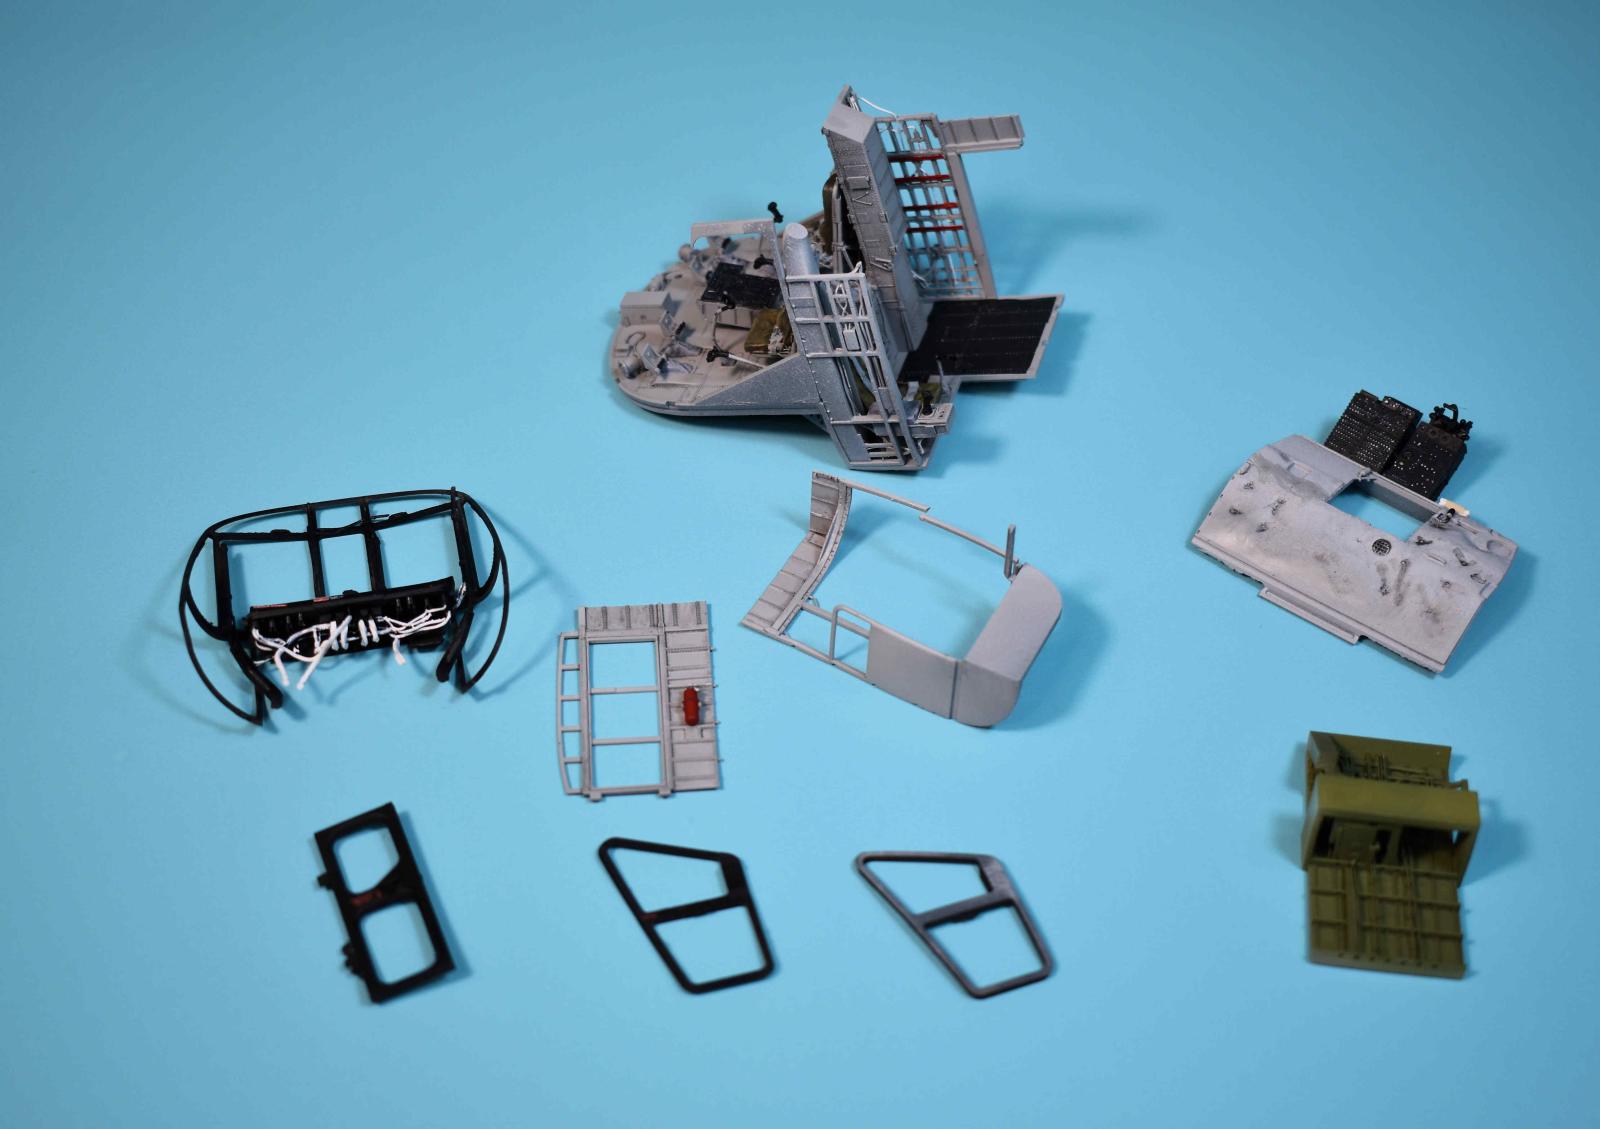
Assembly In Progress
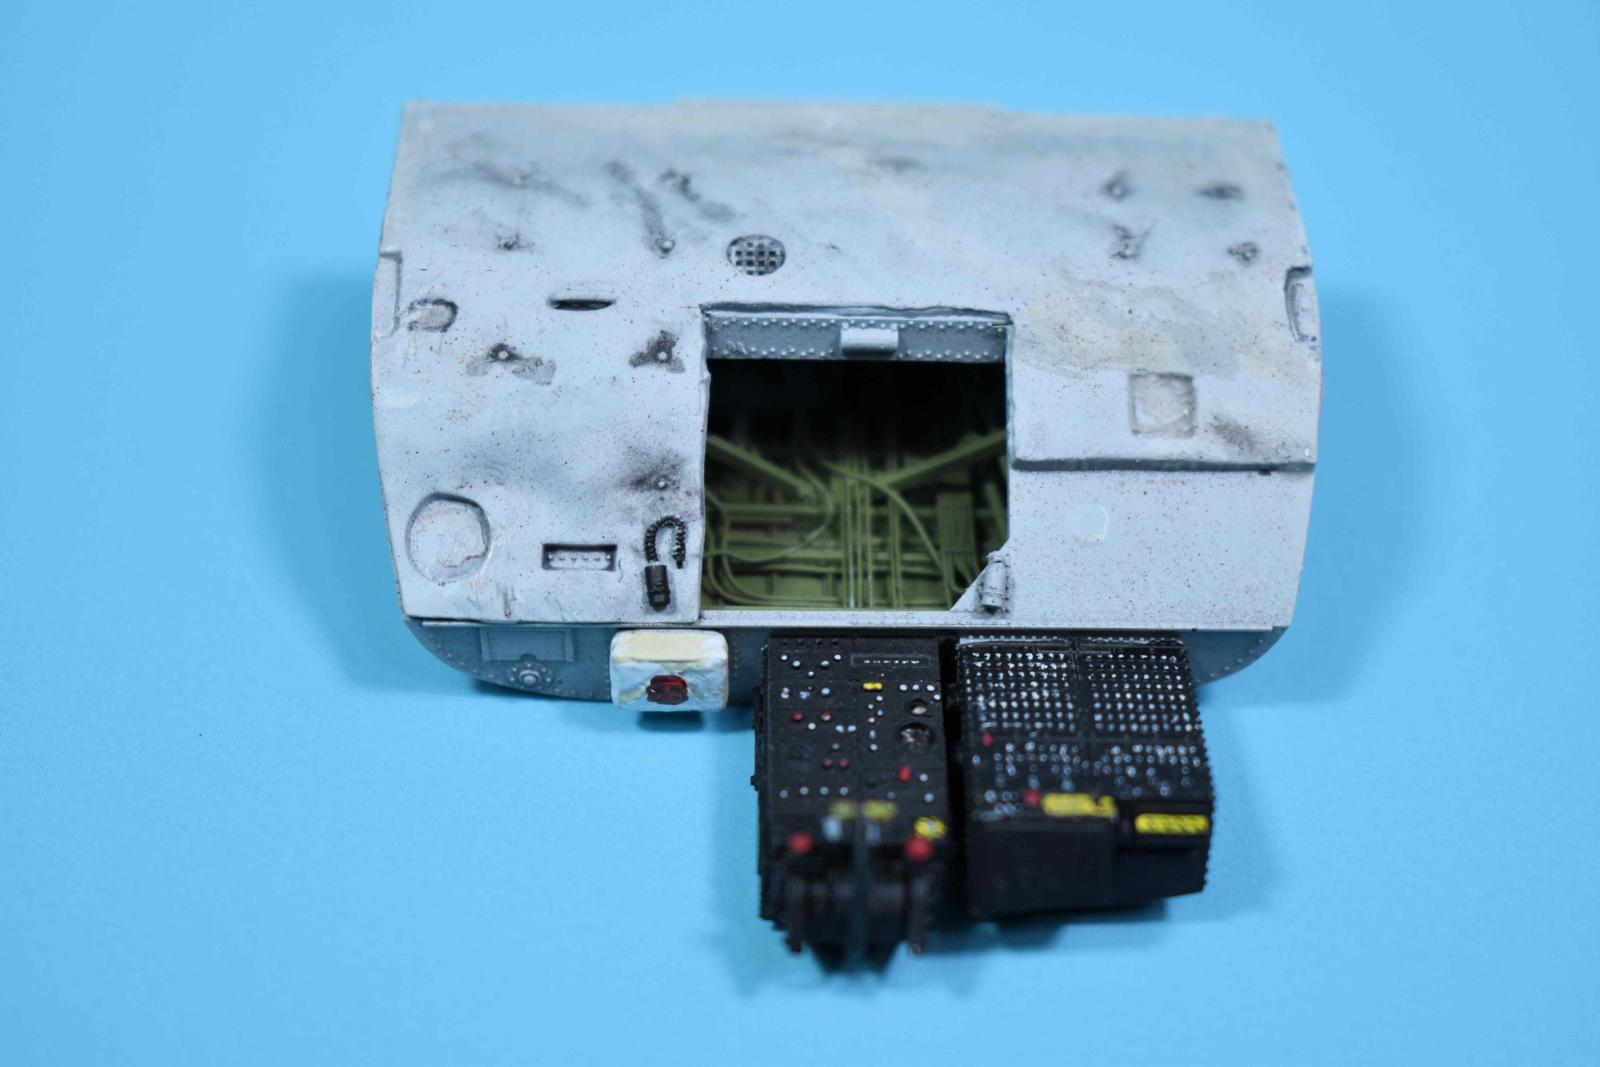
Rear Roof
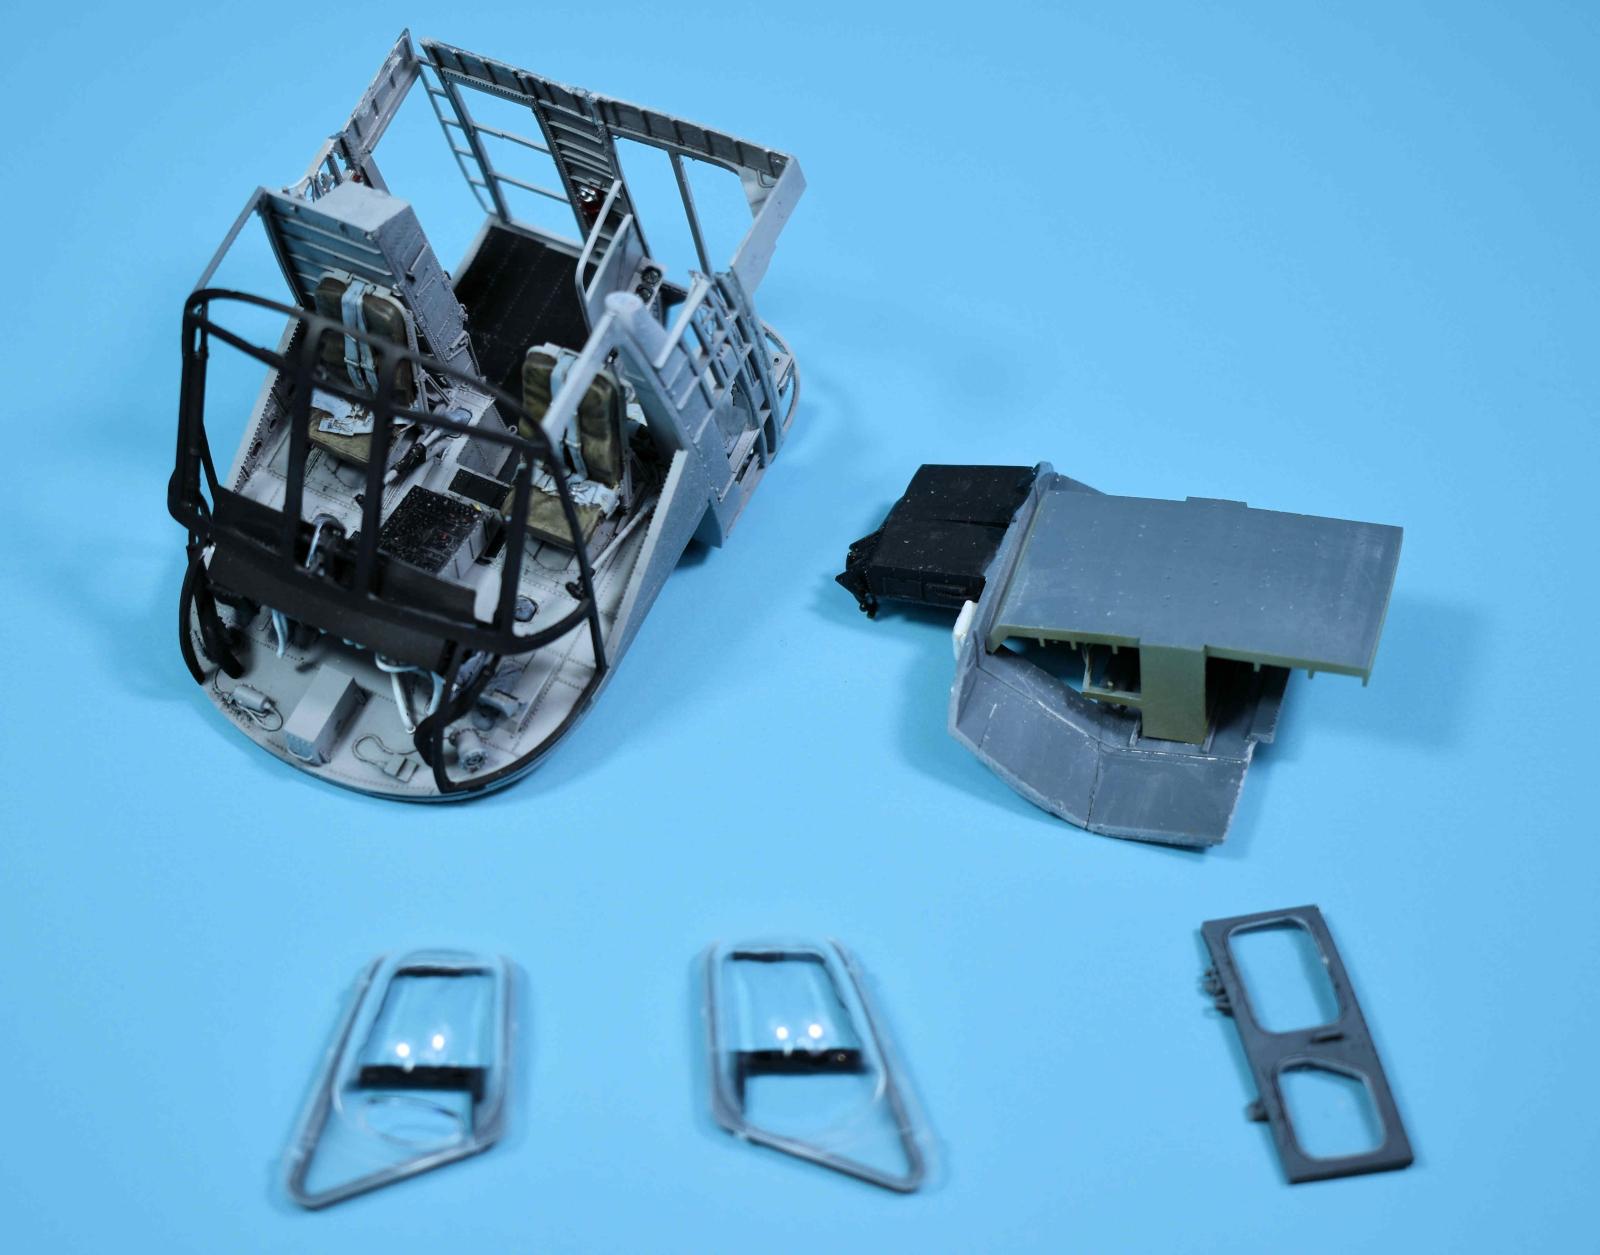
Assembly Finished
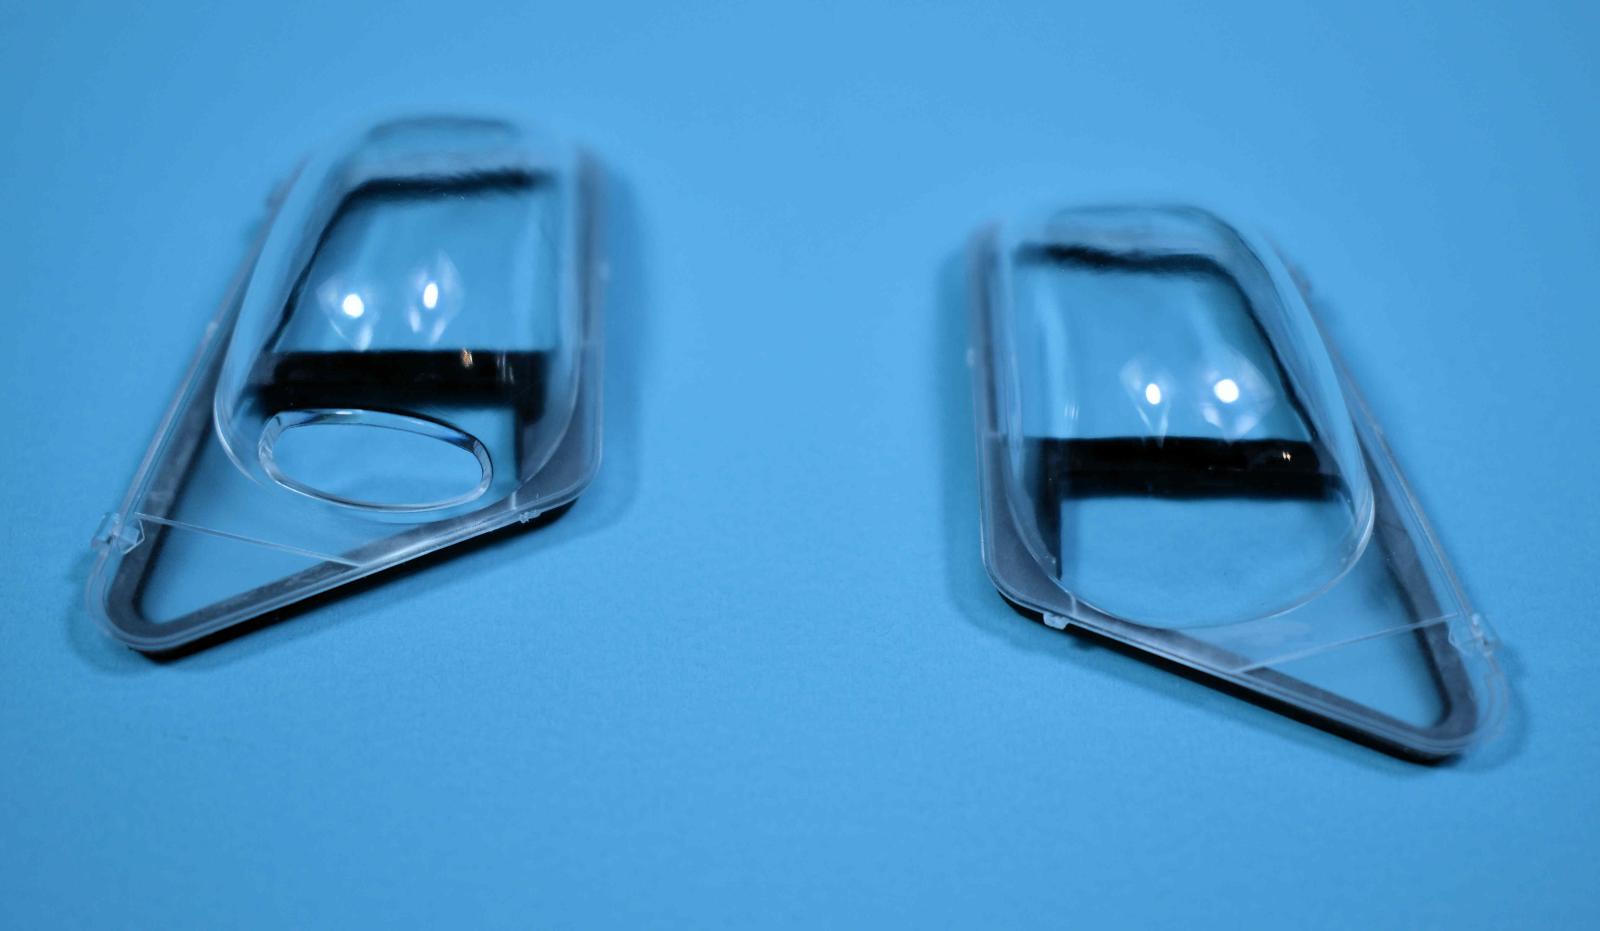
Frames Added to Side Doors
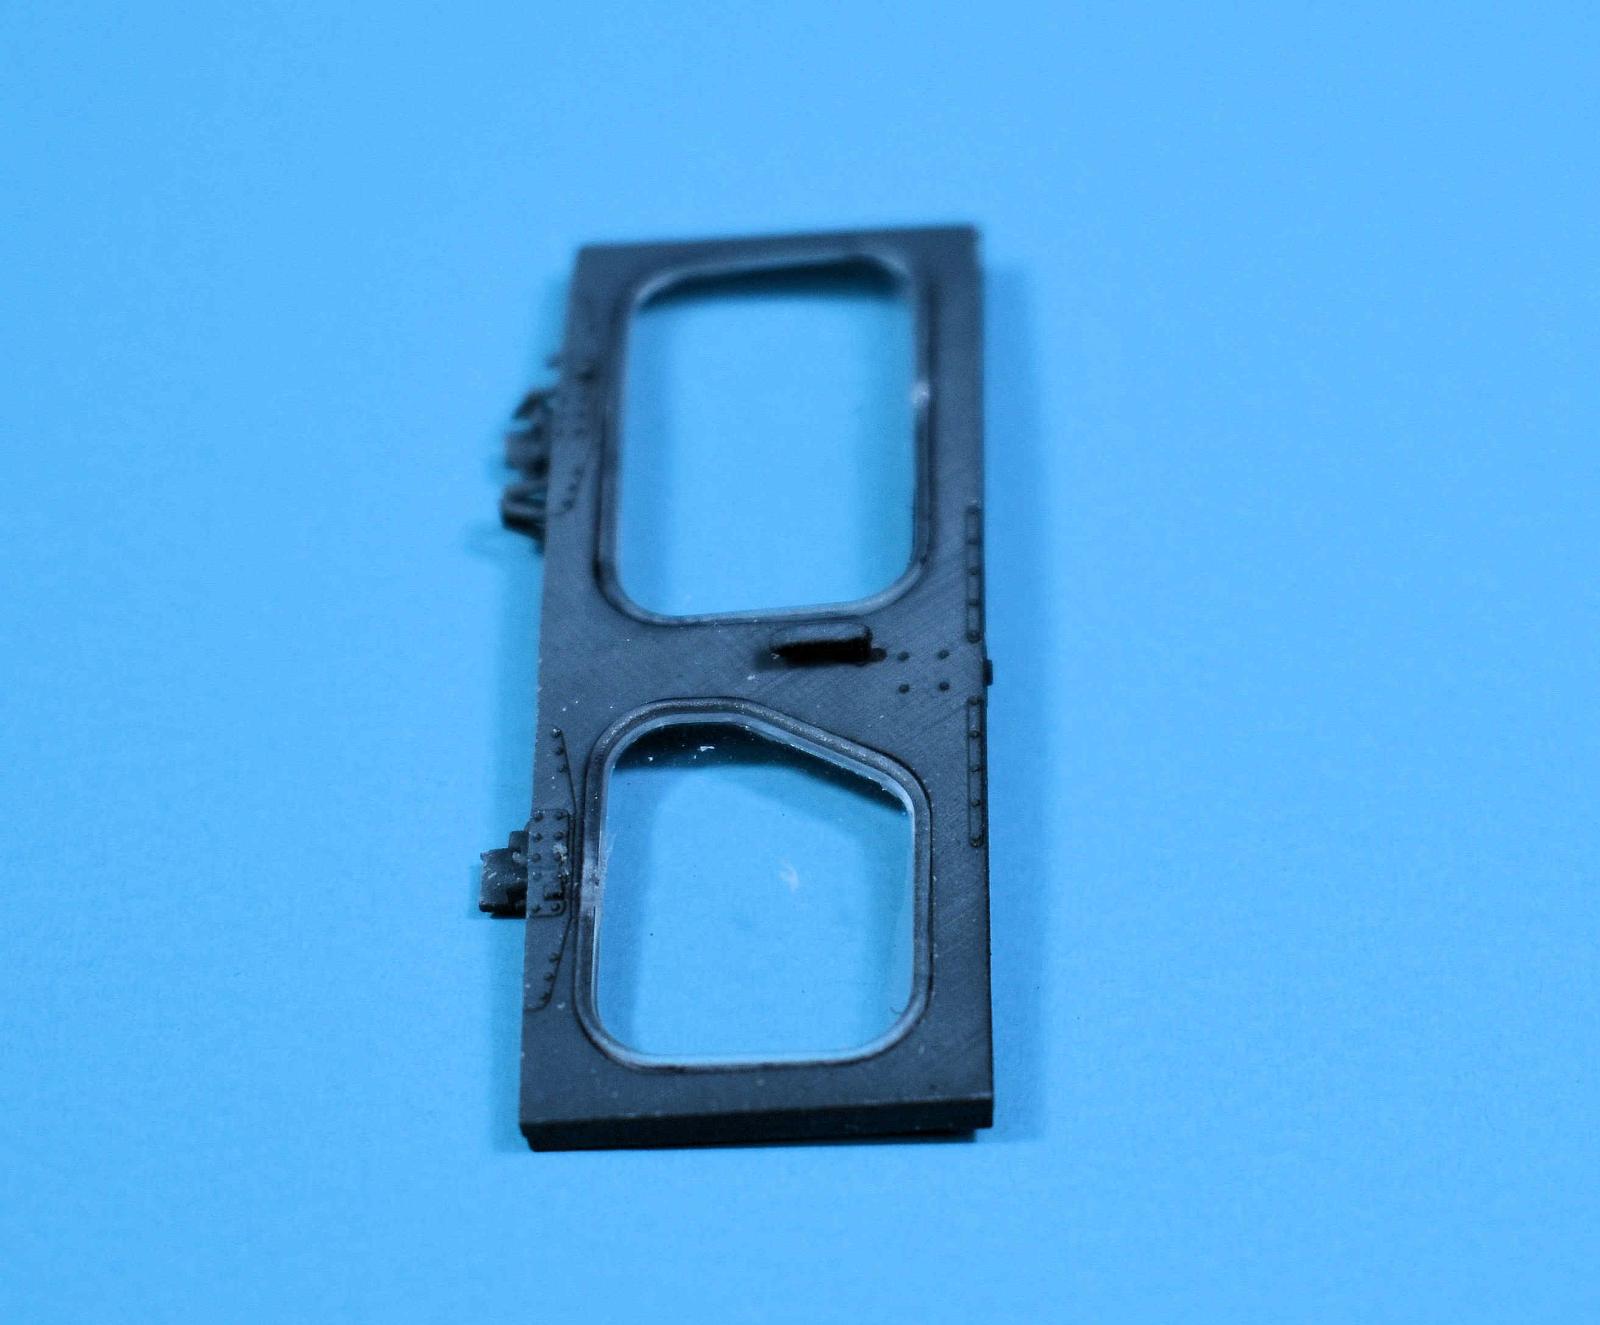
Rear Door
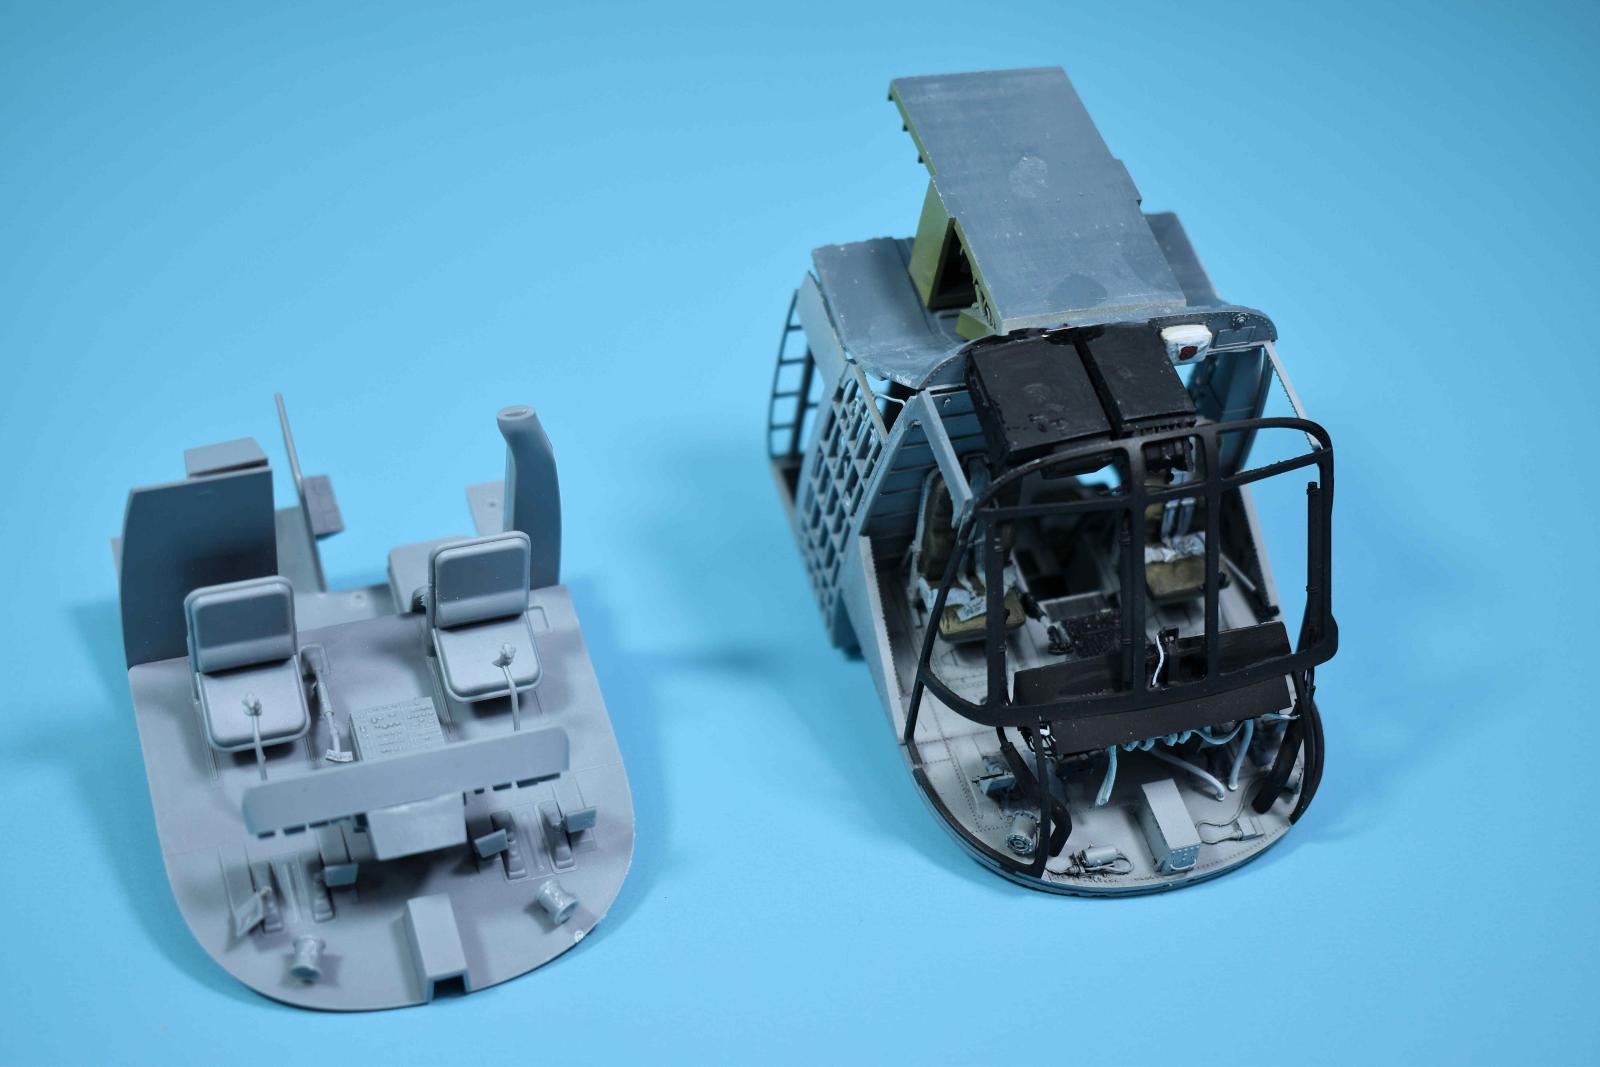
Kit vs. Reskit
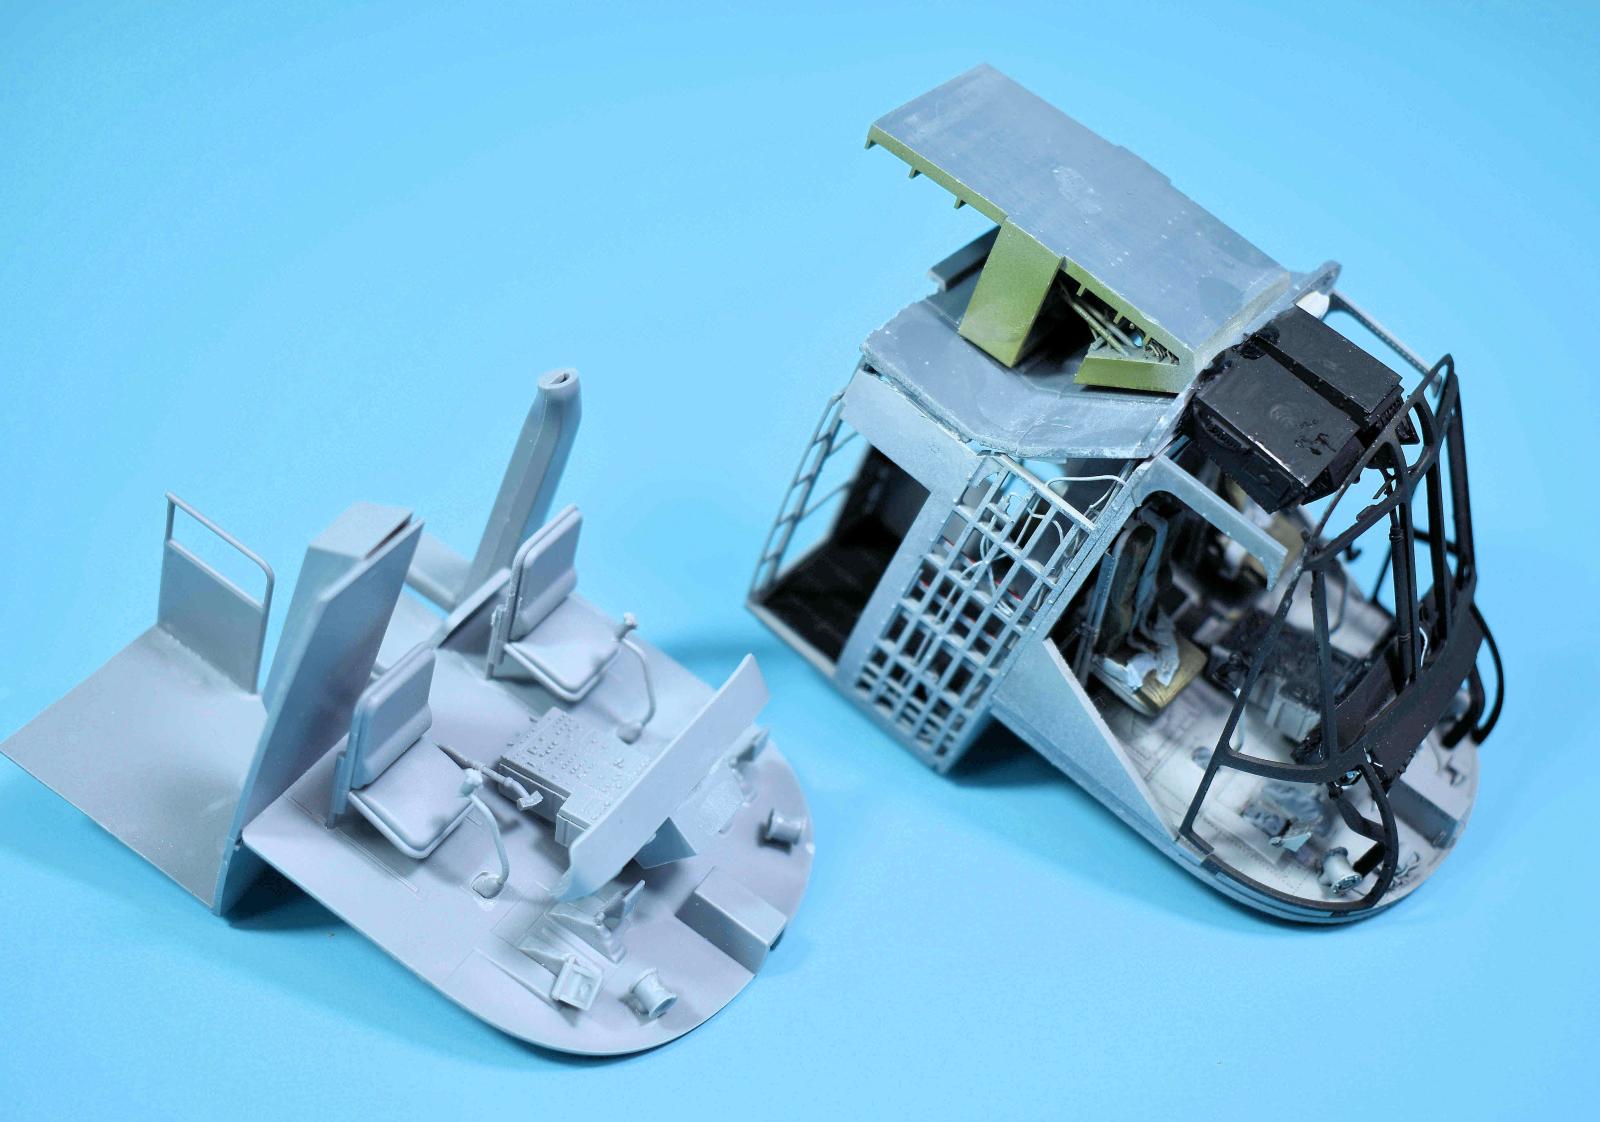
Kit vs. Reskit
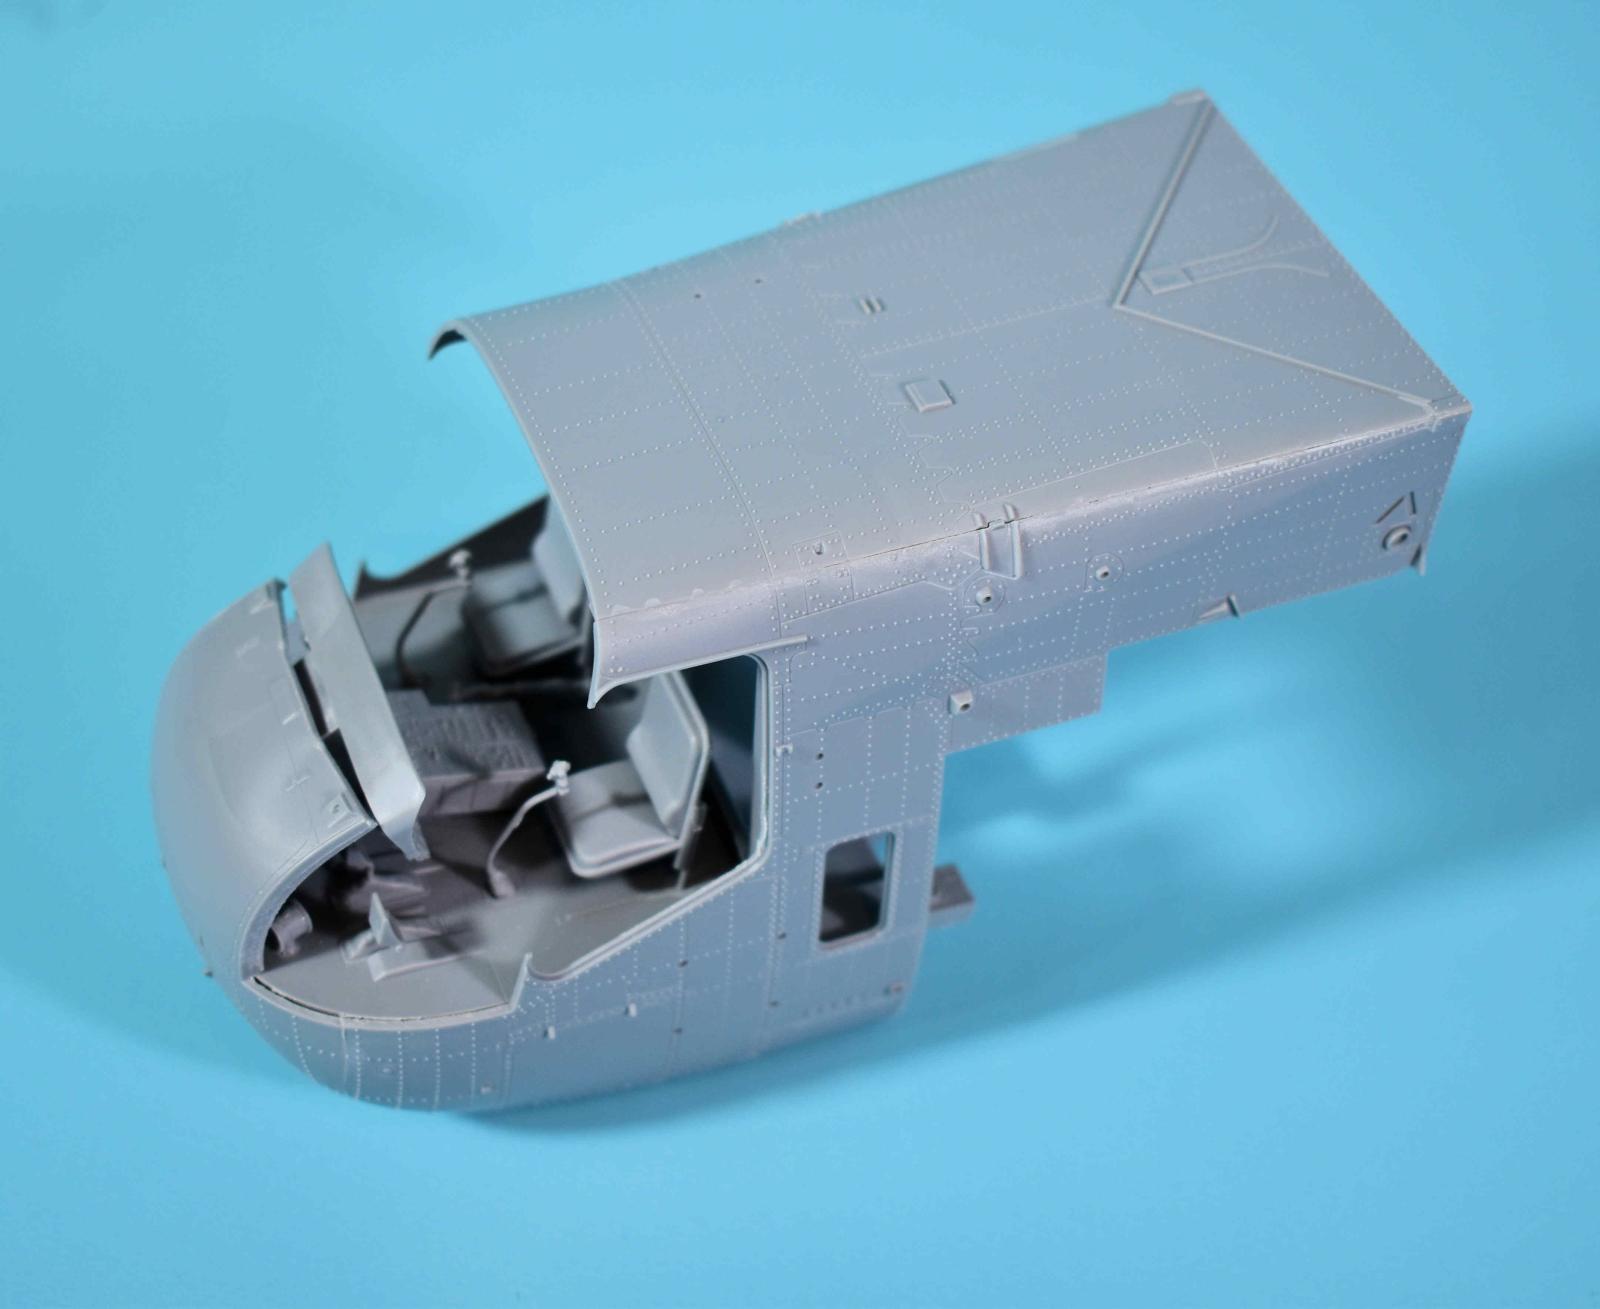
Kit Cockpit Installed
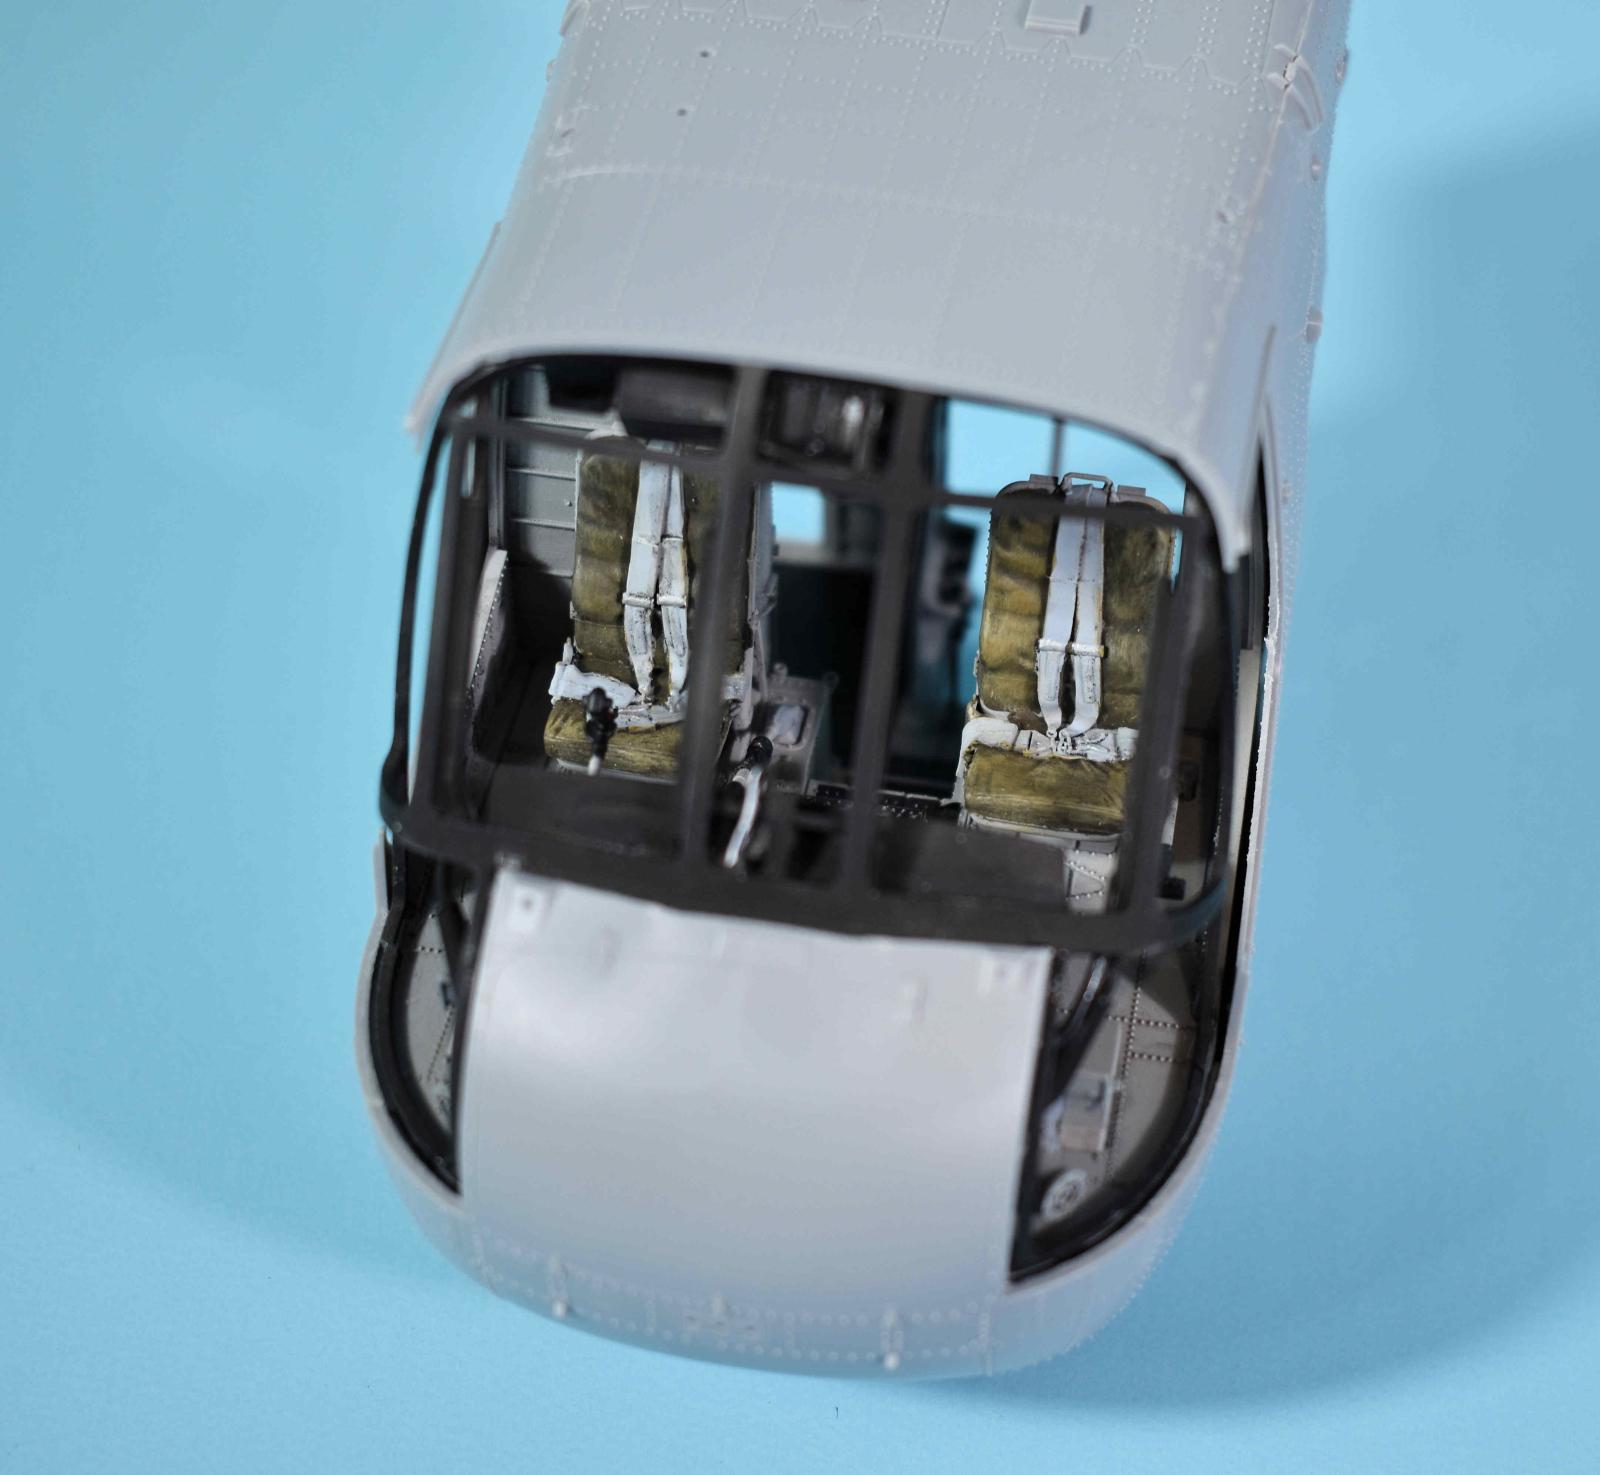
Reskit Cockpit Installed
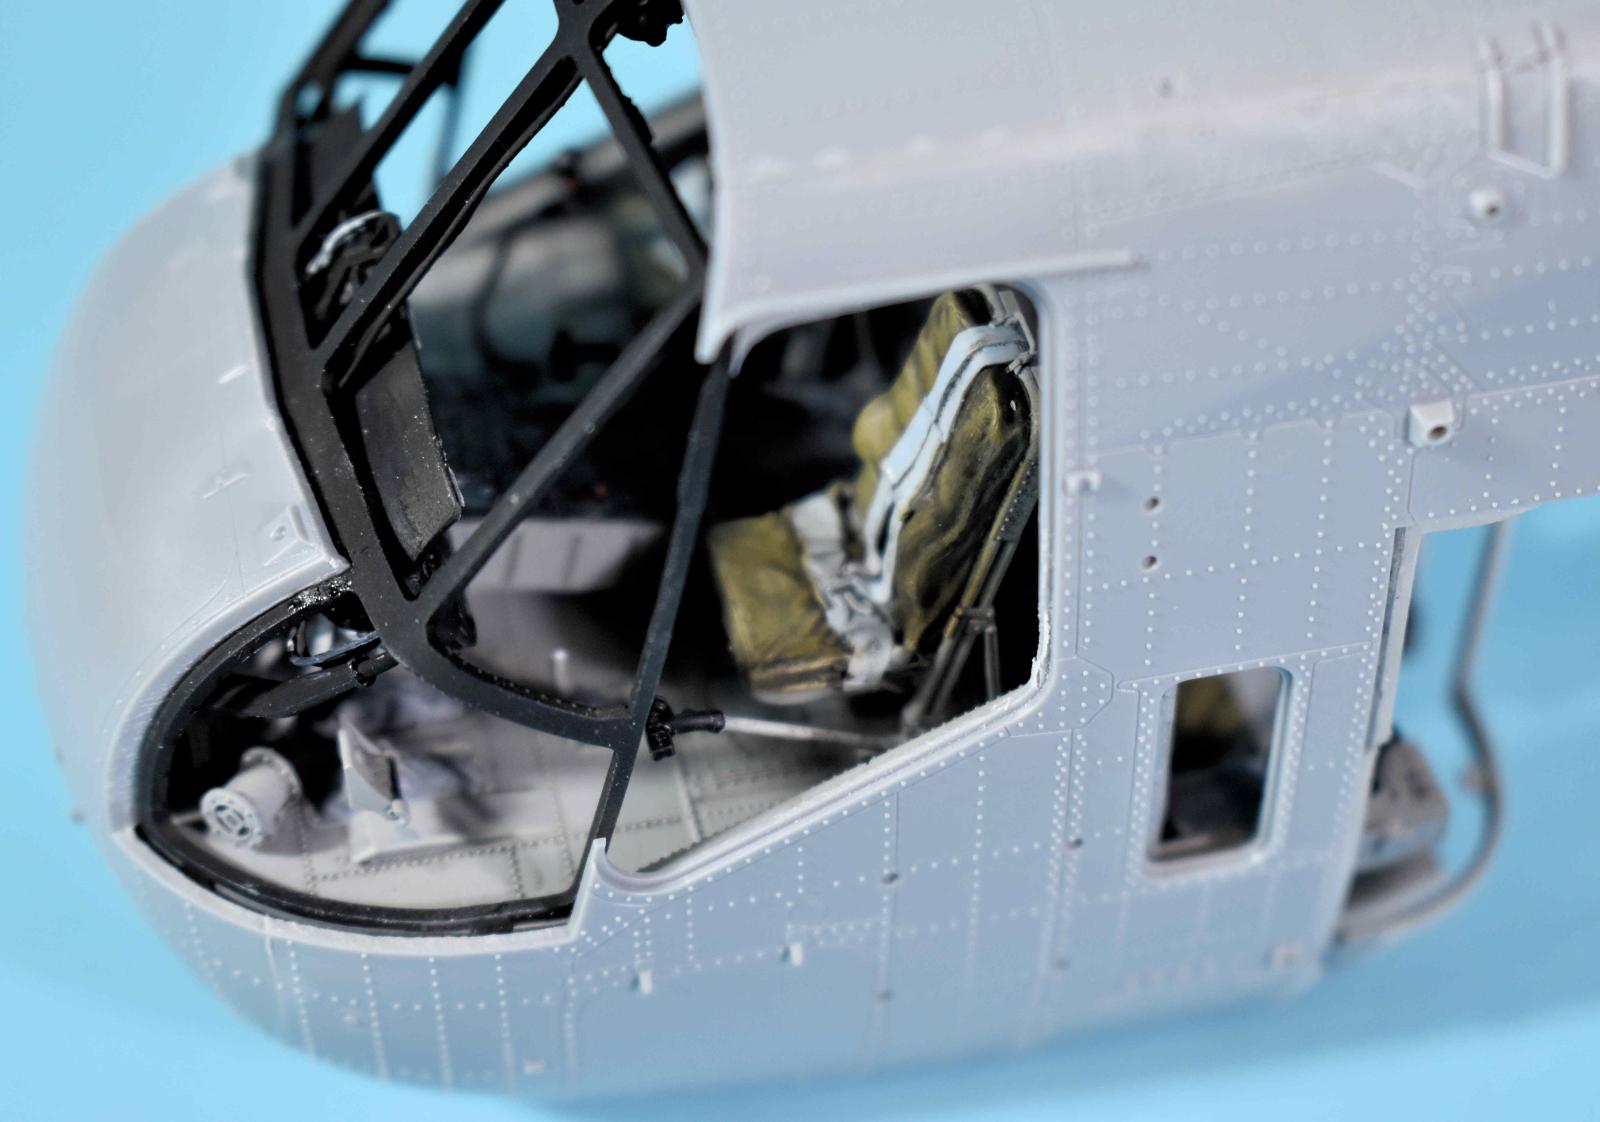
Reskit Cockpit Installed
Comments
Add new comment
This site is protected by reCAPTCHA and the Google Privacy Policy and Terms of Service apply.
Similar Reviews