
British Infantry Tank Mk III Valentine Mk II with Crew
History and Performance
The history and performance of this vehicle has been addressed in an earlier review, and therefore I will have nothing more or new to offer.
The Kit
This is the first MiniArt plastic kit that I have seen. The kit is packages in a sturdy cardboard box, with all of the sprues, decals and instruction sheets bound in a securely taped plastic bag. The box top indicates that there are 657 Parts in the kit.
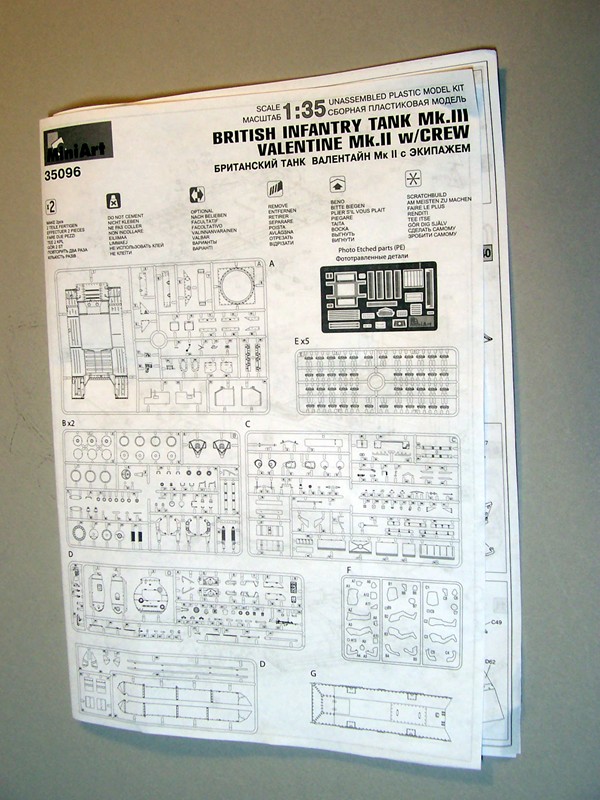
- Instruction: Two large, fold-out sheets comprise the instructions. There are eight pages, with the first dedicated to the sprue breakdowns, and the remaining pages cover 55 construction steps. The sprue breakdown diagram does not show any of the Parts as “not used” in this project. In addition, there is a separate full cover, multi-foldout sheet showing the colors and markings for seven vehicles, five all sand-colored vehicles, while two are sand-and-military brown camouflage schemes.
- The last page of the color profiles includes a list of paint manufactures and their colors suggested for use on this model.
- Sprues and packaging: There are twelve sprues included in the kit, plus the lower hull tub. The Parts are molded in a "Dragonesque" grey plastic, with the surface detail surprising crisp. No flash was observing in this initial inspection. Ejector pins marks, when present, were generally found on surfaces that would be ultimately concealed.
- Clear Parts: There are no clear Parts in this kit.
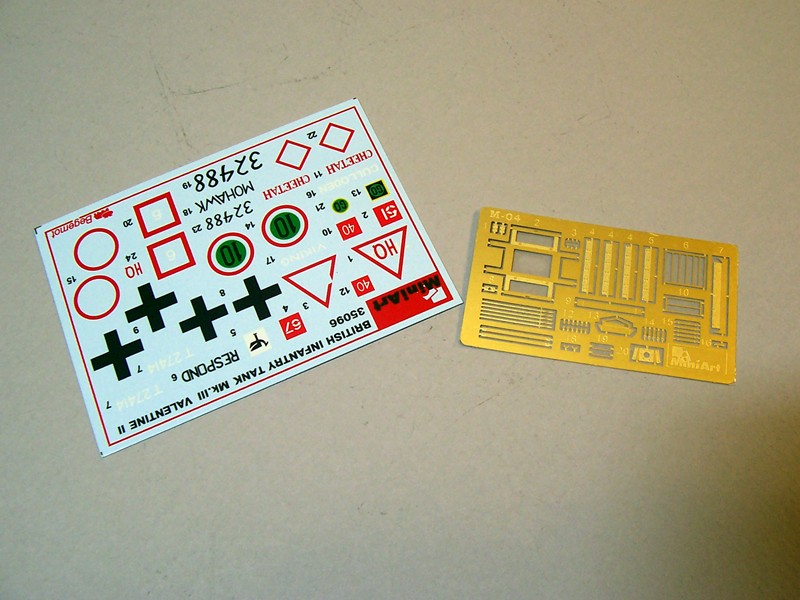
- Photoetch: A small fret of photoetch is included.
- Figures: Three multipart figures are included. The heads and headdresses are separately molded. There is flash present on the entire figure Parts.
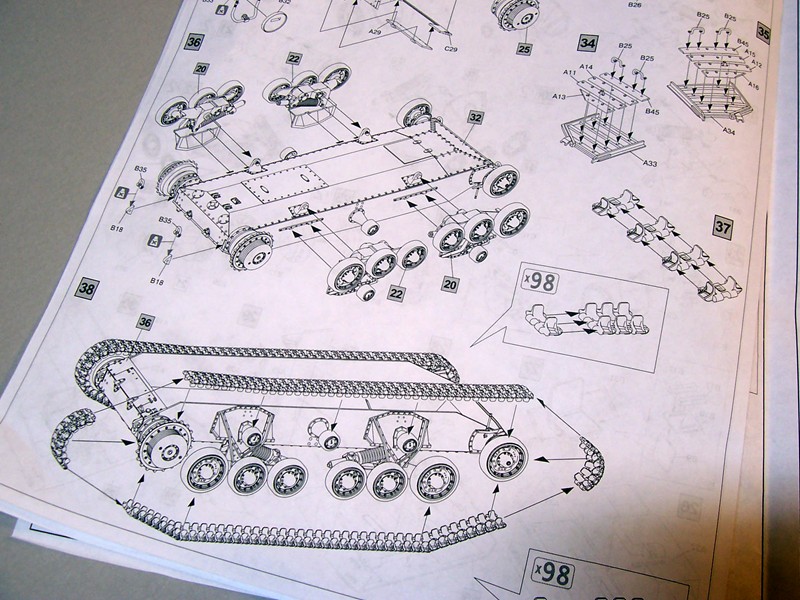
- Running Gear and Tracks: The tracks are the individual links design. There are five dedicated sprues for these Parts, and there were no ejector pin marks to contend with. Each link has four attachment points, and therefore will require some care and cleanup when removing from the sprue tree. The “lack” of ejector pins marks is a big plus.
- Decals/Markings: The decal sheet appears to be manufactured by “Begemont”, and the decals appear to have a flat finish, but the clear portions appear a bit glossy…
Construction
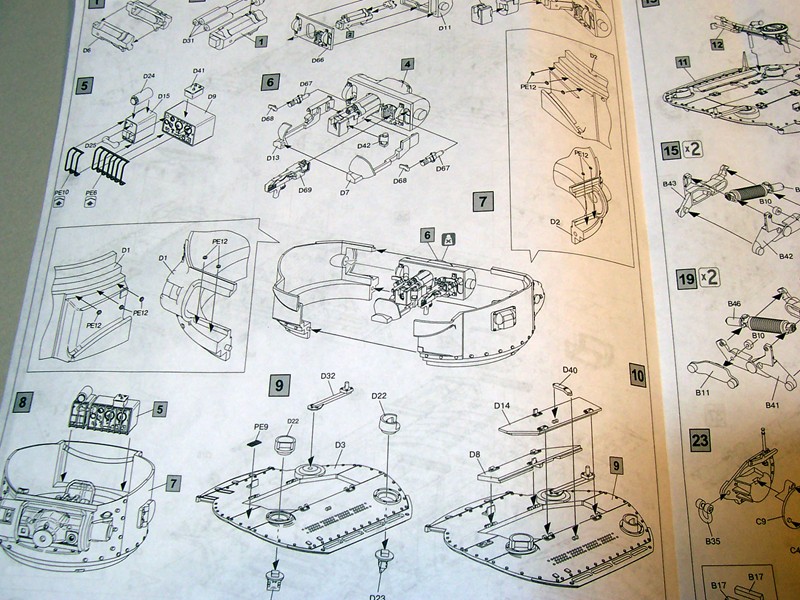
- Turret and Armament: Oddly enough the first 14 steps are dedicated to the construction of the main armament and the turret. The turret interior will be a very busy space, and how much of the detail will be seen once the turret is closed and the hatches left open, is questionable. Decide now if the work is worth it. The main gun construction requires the installation of many small Parts, but the fit is remarkable. The Parts are quite delicate and care is required to maintain the proper alignment.
- Step 7 shows the installation of several PE bolt heads around the turret. I have never had much luck with PE bolt heads, and therefore planned to use slices from a small hexagonal rod. I also elected to delay the bolt head installation on the turret until both halves were glued together and the seam finished.
- The small PE Part fixed to the top of the turret is noted as Part PE8, but is actually Part PE9. There are no fold line guides on Part PE7, and therefore small care is required to attain the proper configuration of this Part prior to super gluing in place.
- Once the turret halves are glued together a vertical seam in the front and rear must be dealt with. The steps below the mantel will be especially challenging to work with. I found the commander hatch covers (Parts D8 and D14), if fixed in a closed position, required the installation of small bits of styrene glued to the underside of the turret roof before they would stay in place. Even so, the fit was not perfect in that small gaps appeared at the back edge of Part B8. Some sanding and tweaking was required for a more suitable fit.
- Running Gear and Tracks: The bogies, rear drive sprockets and front return rollers are a rather involved bit of work with several Parts required per subassembly. Fortunately the instructions were clear enough so there was no confusion with the various assemblies. I held off installing the wheels and sprockets until the painting was completed. There will be plenty of nooks and crannies for the airbrush to contend with. The running gear is quite complicated and the instructions must be followed closely. Once the various subassemblies have been completed and allowed to cure completely they may be installed on the lower hull. Care is required to assure the proper alignment of the Parts so that the wheels and tracks fully contact the work bench surface. This would prove to undoubtedly be the trickiest Part of the build for me.
- Lower Hull: The lower hull tub was not as robust as similar Parts in Dragon kits, but was adequate. As noted earlier much care is required when installing and aligning the running gear.
- Upper Hull: There are several main steps, plus several subassemblies, involved in the fitting of the many Parts to the upper hull. The work involves a combination of PE and plastic Parts. Once again the fit was remarkable in most instances.
- I held off the installation of the headlights as these assemblies are quite fragile. The attachment points are less than adequate. I drilled out the lights’ base brackets (no easy task) and installed thin wire to fit into a small hole drilled into the hull at the mounting locations. This resulted in a much more rigid, but still not substantial, installation.
- I fitted the side skirts to the upper hull as I planned to paint everything with a sand base color before installing the tracks and upper hull. Step 51 shows the installation of the side rails to the skirts. There were no locators to facilitate this installation, but in reviewing the various paint schemes I realized the rails were o shown on any of the profiles, and therefore were left out of this build.
- During the construction phase I often test fitted the upper hull to the lower hull. Some careful alignment is required to get everything to fit properly. I began to see that the rear of the upper hull had a slight twist or warp, and the engine deck and left rear fender did not quite fit as nicely as the right hand side did. This became a major concern. The warp is so subtle that it was not evident during the construction, and I could see no real good way to eliminate the ill fit. When it was time to fit the upper hull to the lower portion I applied solvent to the front mating joint and clamped it firmly. I did the same at the rear, but used two clamps to hold everything in place. I left the clamps in place over night.
- Decals: The vehicle that I modeled had only three markings on it. “Cheetah” was placed fore and aft, and went down quite nicely. No decal film was evident.
- Finishing/Painting: The model was painted with Tamiya acrylic paints, and weathered with oils. Two coats of future floor wax were applied prior to placing the decals.
- The Figures: The three figures included in this kit will require a good deal of effort to remove the flash. Each figure is made up with separate legs and arms, torso, head and headdress. I started with the hips and legs, and once firmed up, I fitted the hips to the torso, and again allowed the join to harden. A small gap resulted at each legs-to-hip join and some filler was required. Each figure has a unique pose and should add to any diorama of vignette. The amount of cleanup to eliminate the flash and mold line added a good deal of time to the figures assembly.
Conclusion
For me, this was one of the more complicated builds that I have attempted, only because of the many steps in the instructions, and the many small Part. Several of the kit’s Parts were misidentified in the instructions which caused some momentary confusion, but nothing significant. The fit of some Parts was a bit fiddly, but again nothing that could not be completed. Several Parts had less than adequate mountings, and therefore some creative building techniques were required. I did end up with several plastic and PE Parts that were not shown on the instructions, and therefore I went back though the many steps to make certain that I had not missed anything. The only disappointment was the ill-fit of the rear upper hull with the lower hull. That condition may have been my own doing, but I am not certain.
This kit is not for inexperienced modelers mainly due to the many small Parts, the many subassemblies, and the fitting of all the many Parts together. I generally followed the sequence of construction as shown on the instructions, but in light of the many small subassemblies that were shown I often skipped ahead and installed the subassemblies in their final locations. Not all the Parts have locator pins, and therefore care is required when assembling the subassemblies to avoid any misalignment with later work.
I enjoyed this build and would recommend it to anyone with experience. I wish to thank Dragon USA and IPMS/USA for the opportunity to build and review this kit.

Instruction sheet
Instruction sheet
Instruction sheet
Decals and photoetch
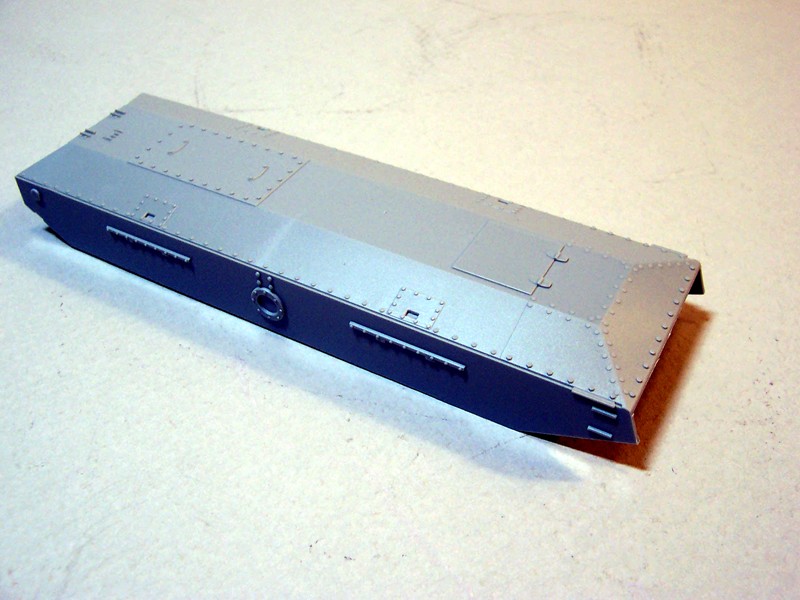
Lower hull
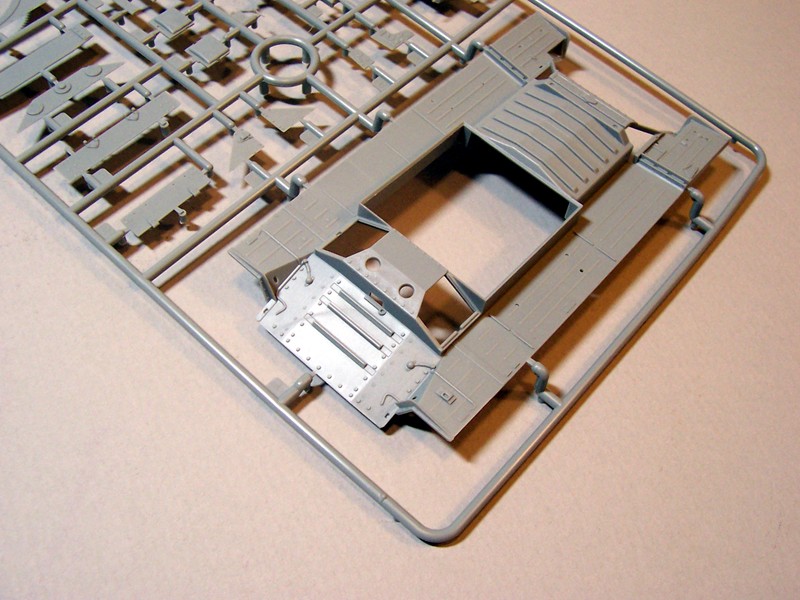
Upper hull
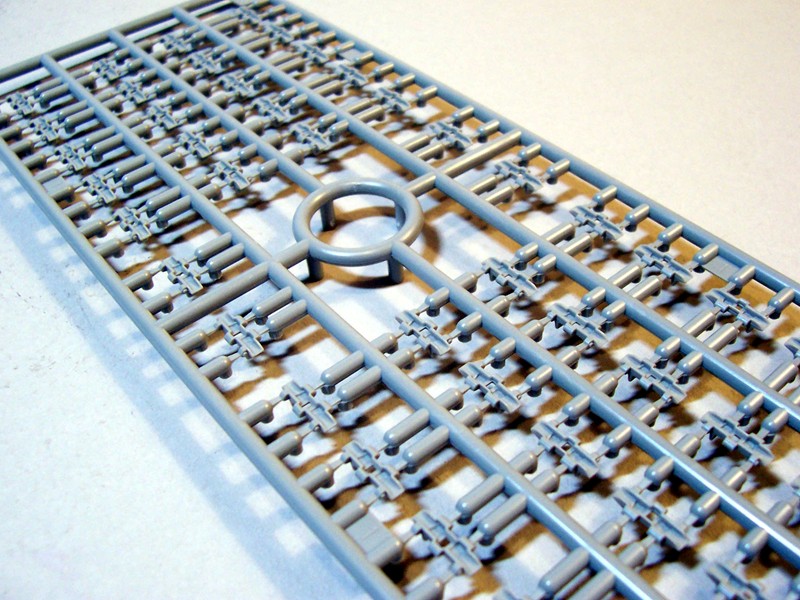
Sprue sample
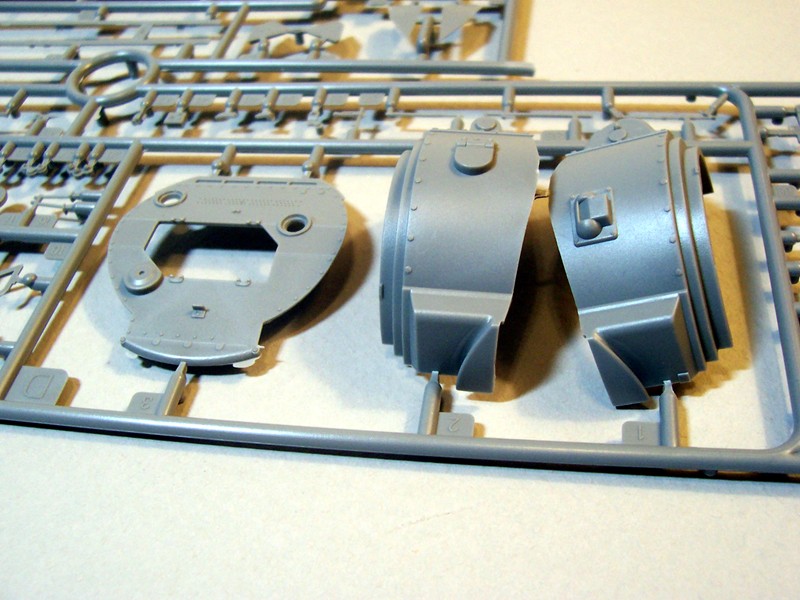
Sprue sample
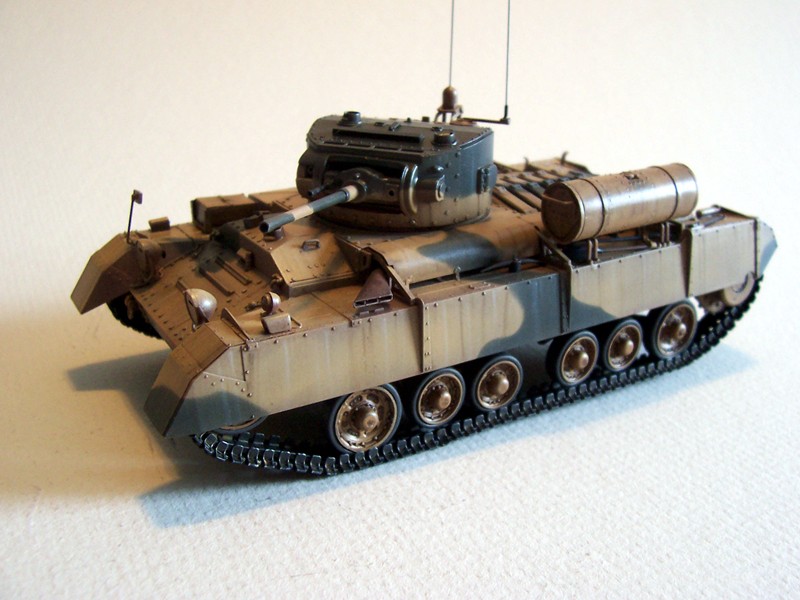
Completed Model

Completed Model
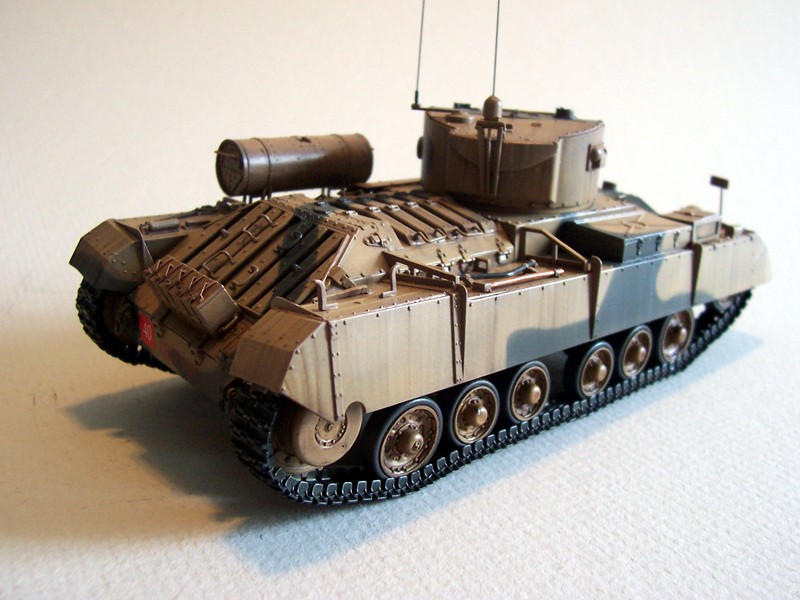
Completed Model
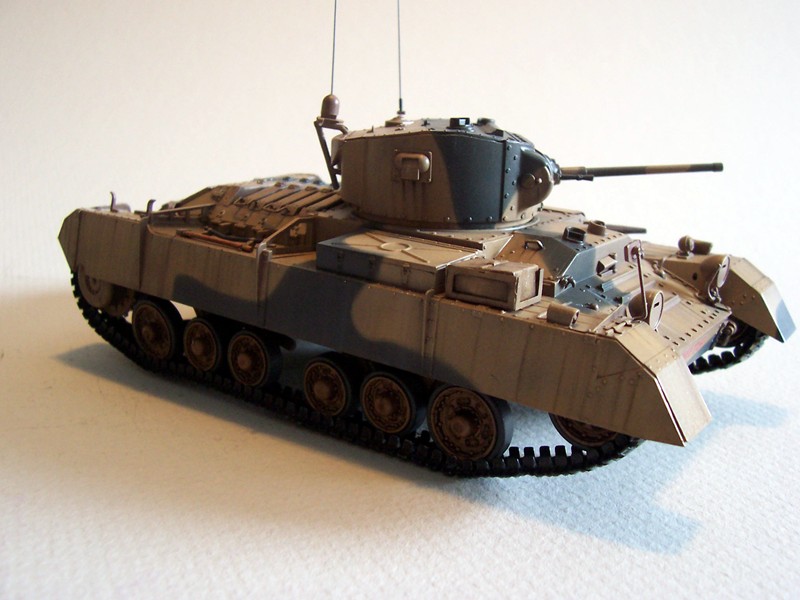
Completed Model
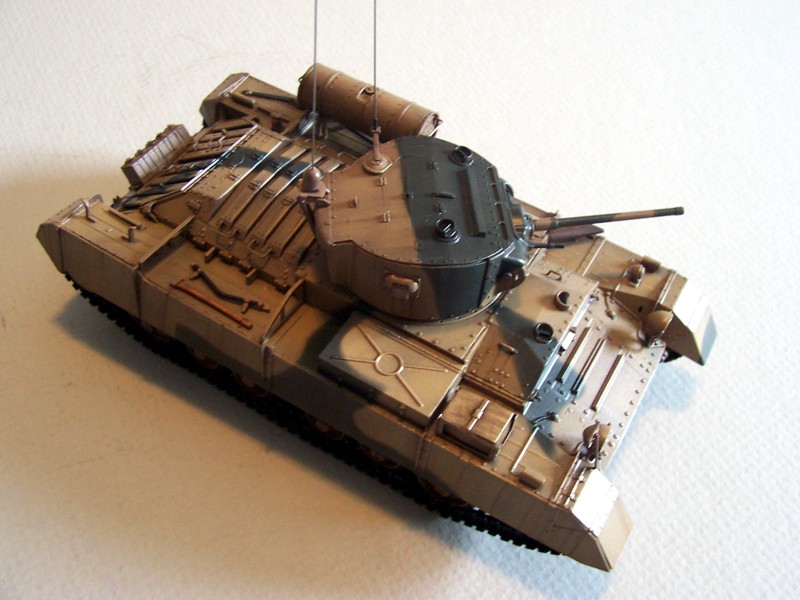
Completed Model
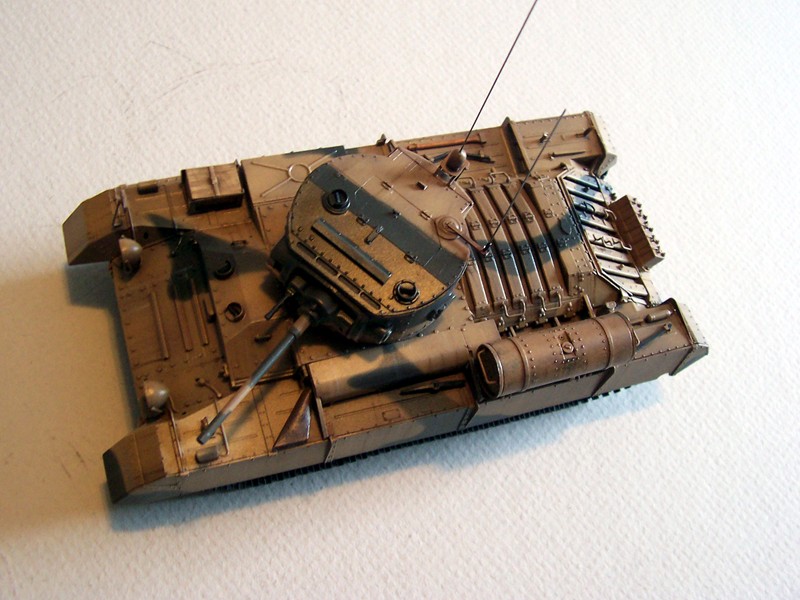
Completed Model

Completed Model
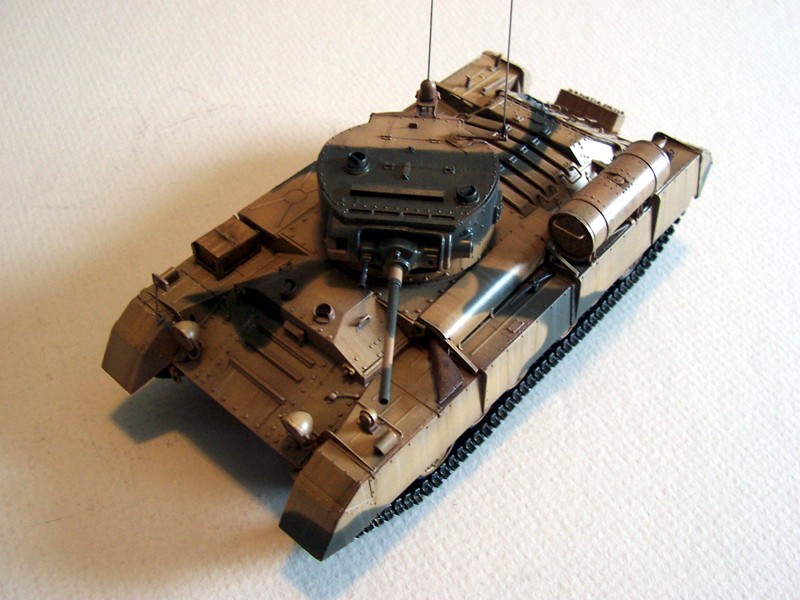
Completed Model

Completed Model

Completed Model

Completed Model

Completed Model

Comments
Add new comment
This site is protected by reCAPTCHA and the Google Privacy Policy and Terms of Service apply.
Similar Reviews