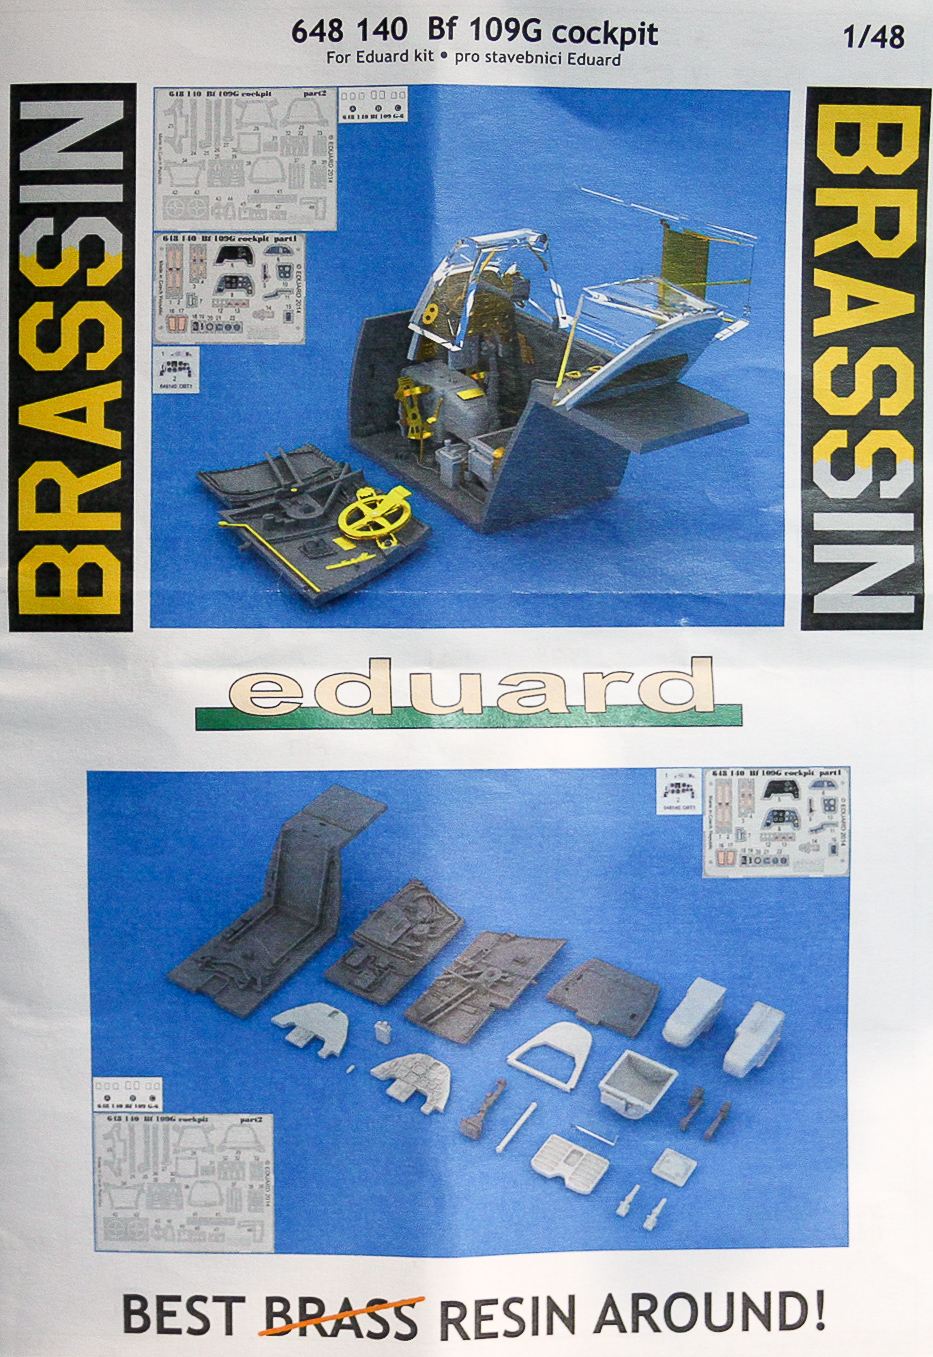
Bf 109G Cockpit
Without a doubt, the Eduard 109G-6 has to be one of the most controversial kits in the past year or two. Personally, I’ve had a good look at completed examples as well as a good look at the plastic in the box, and I’m pretty happy with the kit.
For this review, I’ll be looking at the Eduard Brassin Bf 109G cockpit made for the Eduard kit. I did not try to fit this set into another manufactures kit, so if you wish to attempt using it with another kit, I wish you all the best. I should note that parts are included for both early and late model B-6s. Obviously, you will want to choose your version before assembling this cockpit and the kit, for that matter. For this review, I chose to build the early version of the cockpit.
Out of the box, you receive very finely cast, bubble-free resin cockpit parts. Also included is a small decal sheet, one clear sheet of gun-sight glass, and two photo-etch (PE) frets: one brass and one pre-painted. The parts are packaged in a very sturdy foam-padded box/tub along with the instructions.
I first removed all the larger resin parts from their pour stubs and gave the resin a good wash. The small parts were purposely left on the stubs to avoid losing them. Really, the resin parts fit together without any problems. As far as the resin goes, I don’t recall any “gotchas.” You can even leave most of the pour stub on the cockpit base to help strengthen the part.
Most of the PE went into place with little or no problems. I suffer from UTPES (Uber-Tiny Photo Etch Syndrome), and sometimes I struggle with small PE parts! I did lose a couple of the small instrument panel levers, but Eduard is Johnny on the spot with spares of the smaller, more easily lost, parts. I did have a bit of an issue fitting the armor plate that mounts behind the pilots head, but overall, it was almost not even worth mentioning.
The resin and PE was primed with Tamiya primer and then painted with Tamiya paints. Obviously, you will need to work out the painting order because of the fact that many of the PE parts are pre-painted. Eduard includes two instrument panels, one smooth to aid in mounting the pre-painted PE panels and one with a raised panel and decals for those who prefer this method. I chose to use the former.
Once the cockpit is assembled, it is necessary to grind away the molded detail inside the fuselage halves. After a couple of minutes with my handheld rotary tool, I was ready to check the fit of the cockpit. At first, it didn’t fit. The instructions don’t show the removal of part of the cockpit edges from the fuselage. It was necessary, for me at least, to do this so the cockpit would fit. My suggestion is to leave the edges in place until you see if they are needed or not.
Overall, I am pretty pleased with the fit of the cockpit. It’s a good little build and is a kit all by itself. The Brassin cockpit is highly recommended and provides a bit more detail over the kit parts.
Big thanks to Eduard for providing the review sample and to IPMS/USA for the chance to review the resin.


Comments
Add new comment
This site is protected by reCAPTCHA and the Google Privacy Policy and Terms of Service apply.
Similar Reviews