
Albatros D.III
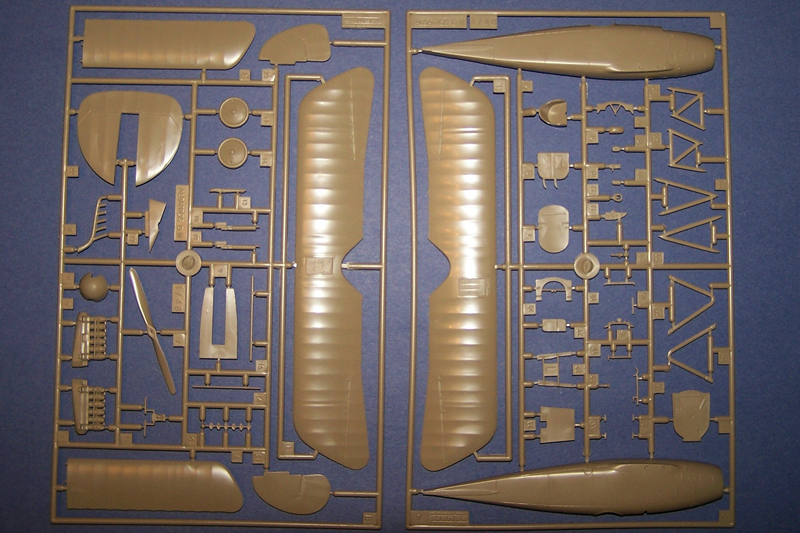
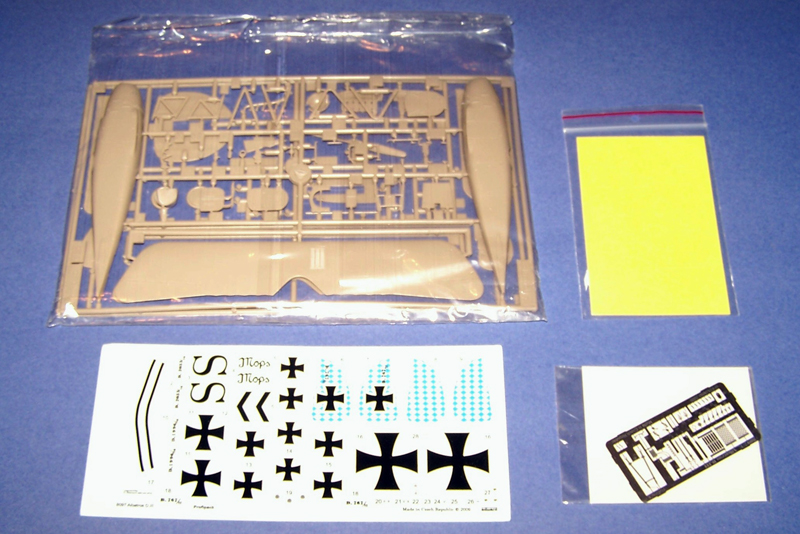
On a first look you find the reboxed plastic along with a photo etch fret and a masking set. You also have 5 decal options that I will get to shortly. Removing the plastic from the resealable bag you’ll see all the hard work paid off for the Eduard crew. The level of detail is incredible and the offering is just as nice today as it was 10 –11 years ago when first released.
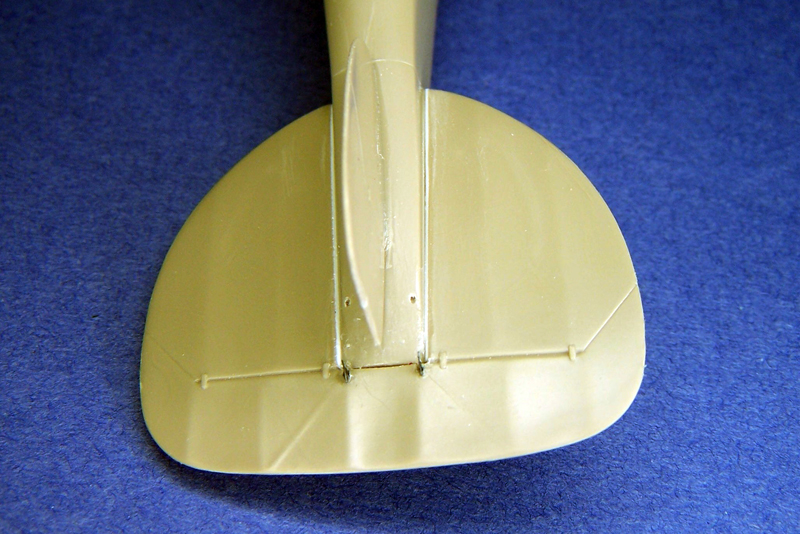
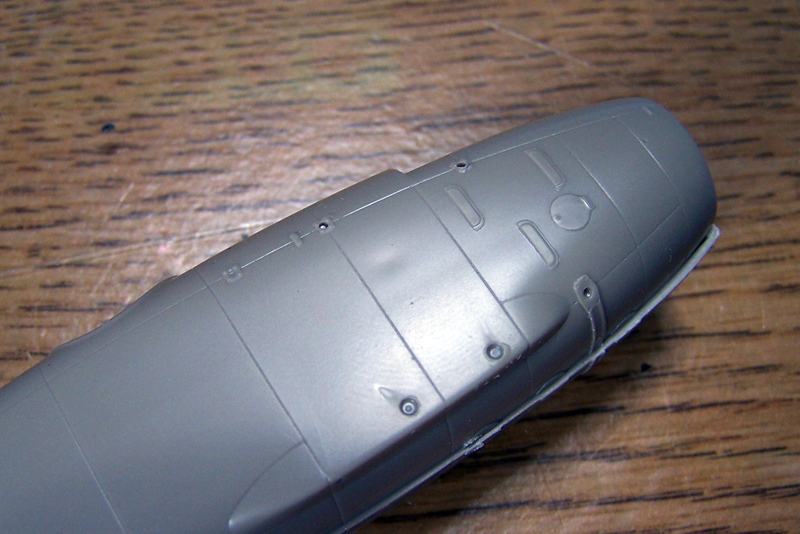
The only detectable blemishes to note are a few minor sink marks that are easily repaired. The first ones are four dimples located on the empennage two on top and two on bottom. The others are under the cockpit opening.
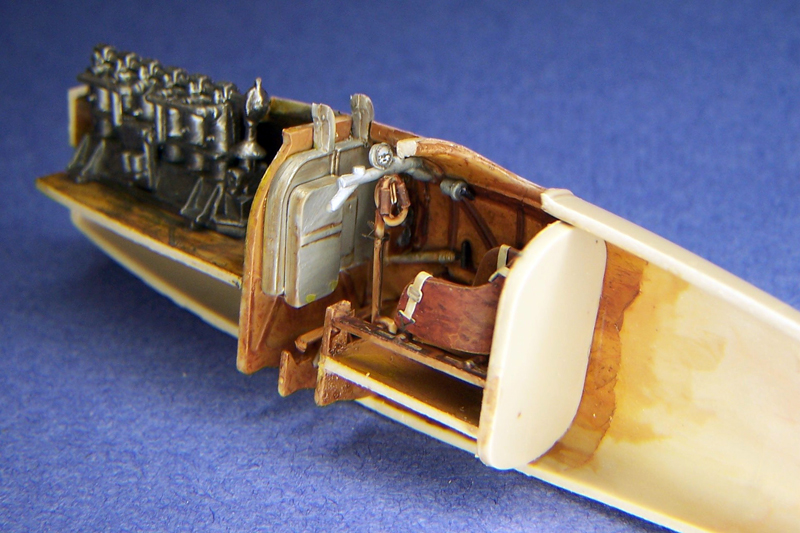
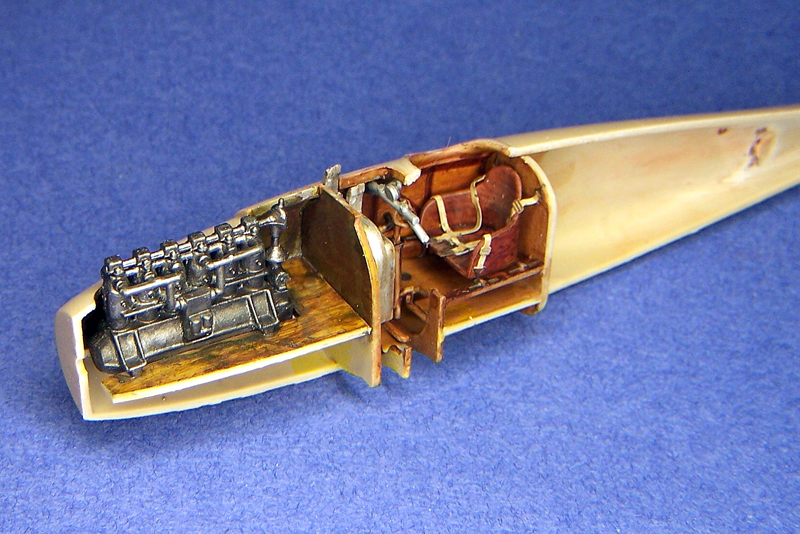
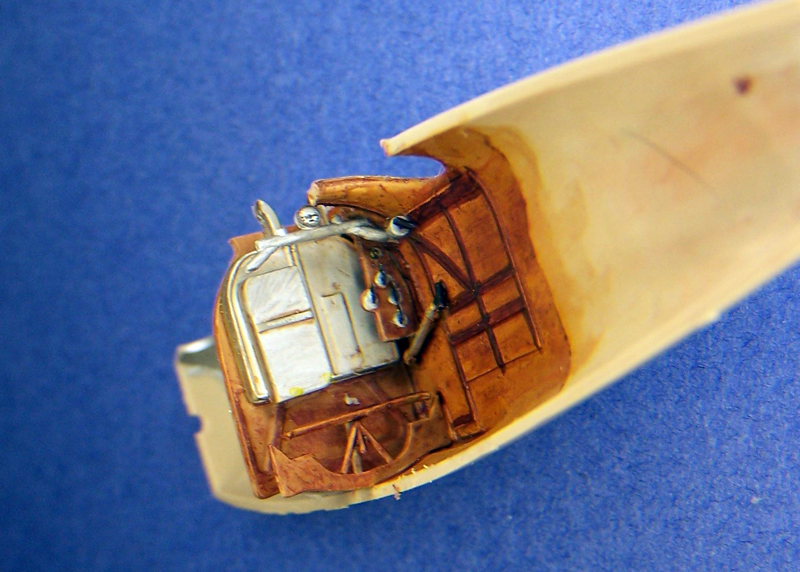
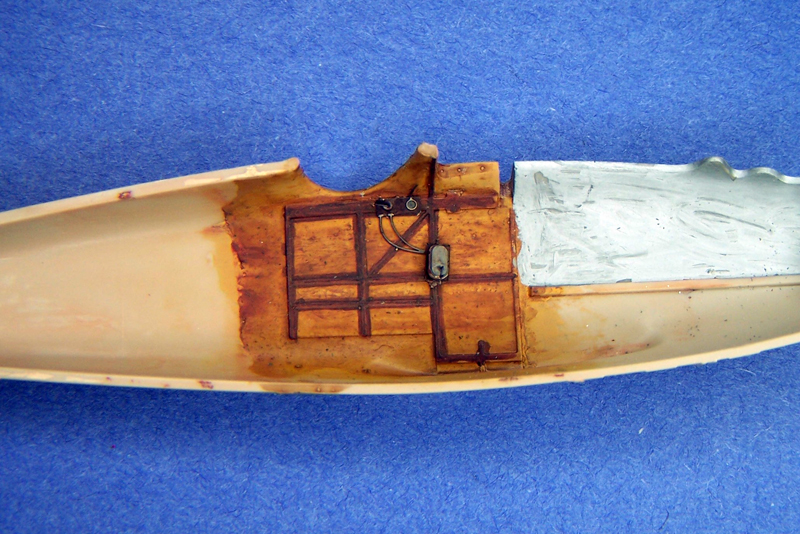
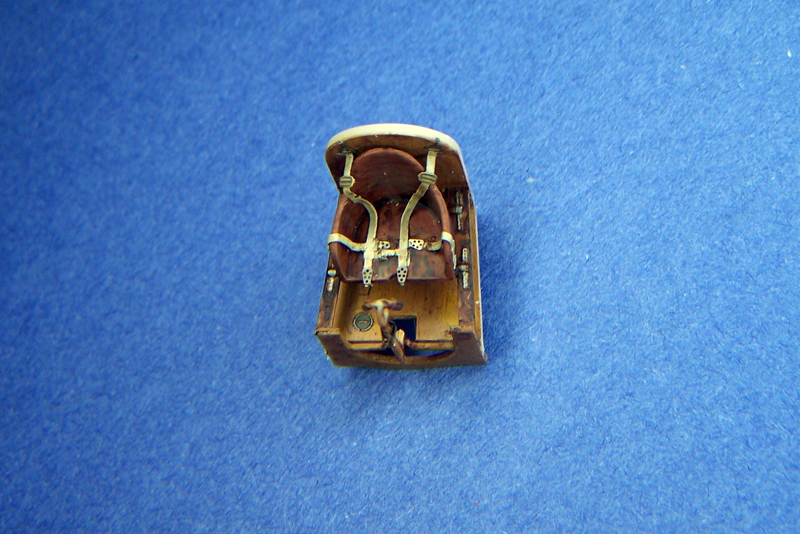
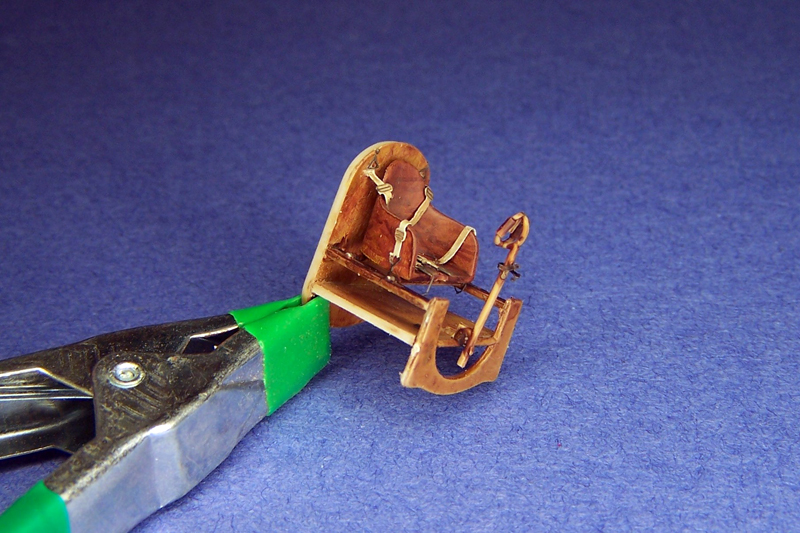
I began the straightforward construction as set forth in the instruction with no difficulties. Adding the photo etch details when called for. The cockpit turned out to be a little gem of sorts and will mostly be hidden.
The side walls were finished out with the photo etch bits added making for an interesting and somewhat busy layout. I tried for an old world craftsmanship flavor so the painting may not be accurate.
The Engine went together without a hitch and fit nicely along with the cockpit in the fuselage halves.
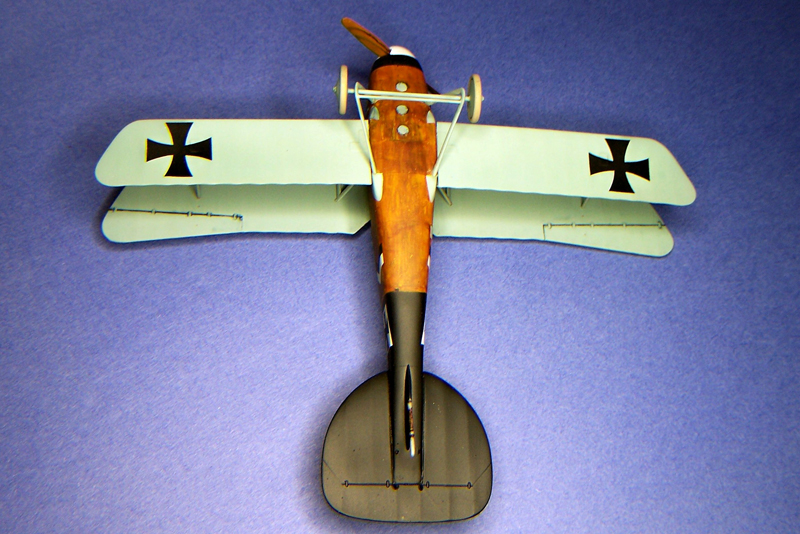
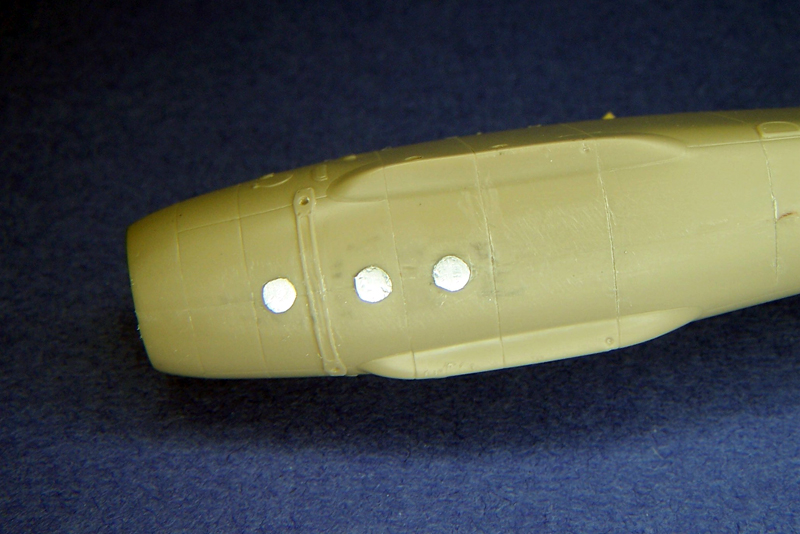
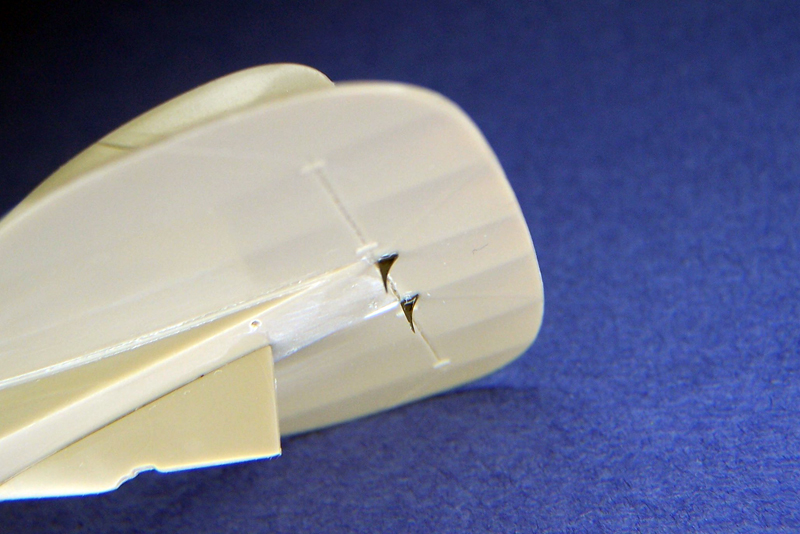
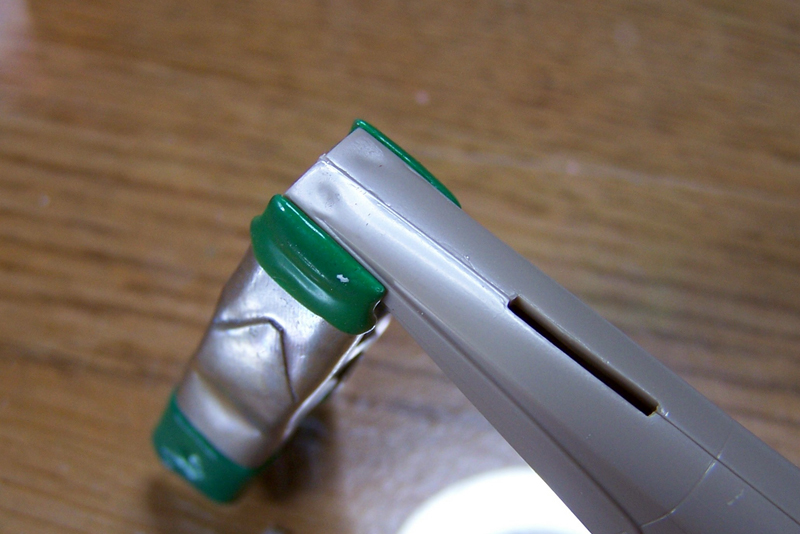
Once the halves were closed up I encountered a small problem with the fit of the horizontal stabilizer and needed to shim it to fit, a couple piece of thin plastic card saved the day. Another problem area occurred while trying to work out the bottom seam line. I found it easier to replace the detail rather than trying to work with it. I used HVAC foil tape and cut new disk covers. Also the photo etch cable horns add very nice touch.
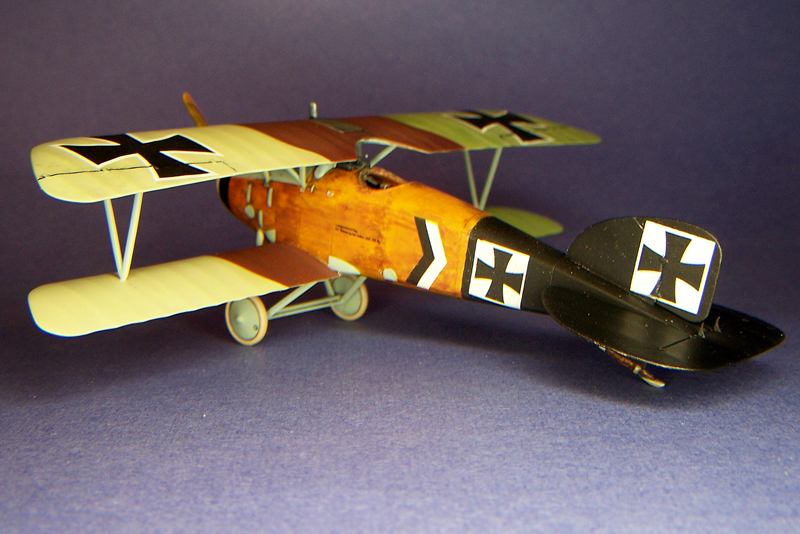
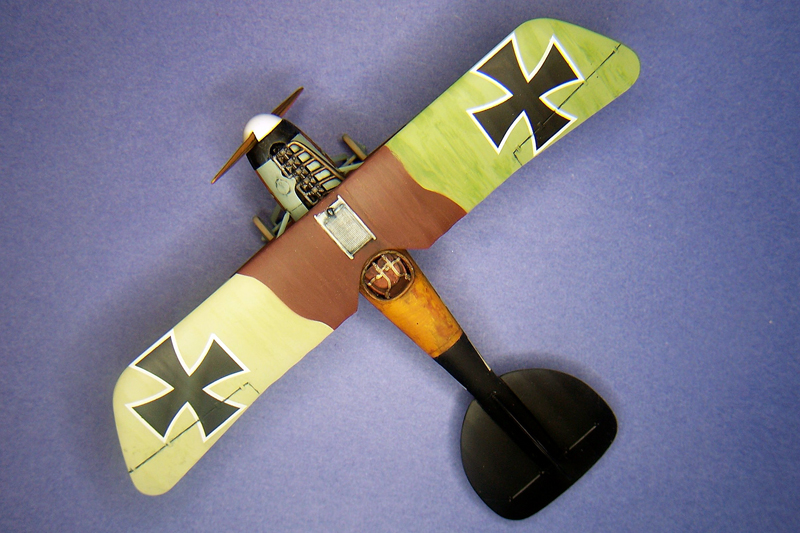
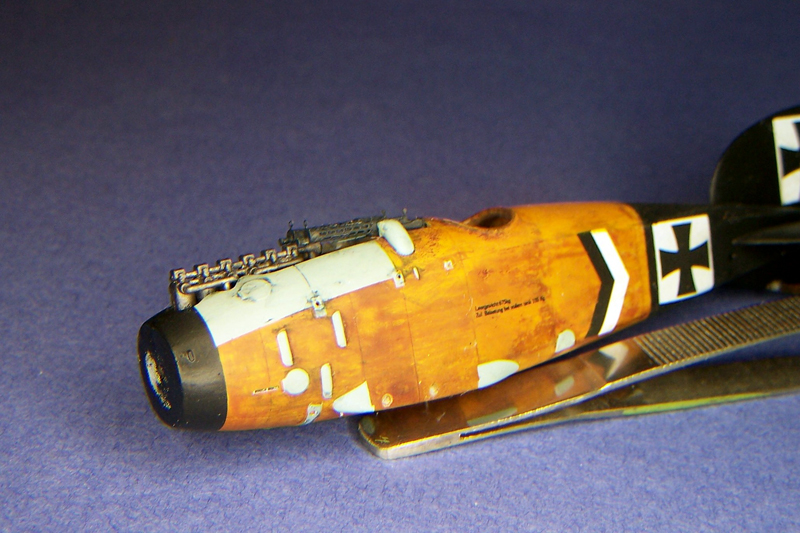
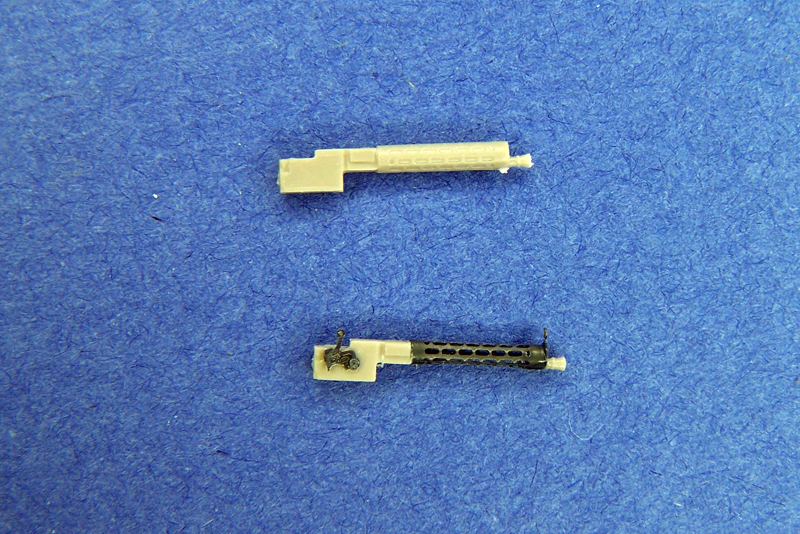
Next the machine guns received the photo etch upgrade. This is so simple and worth the extra effort. I rolled the cooling jackets around a drill bit shaft. Nothing hard, then just cut plastic and glue on the photo etch. The placement of the guns became a little tedious but rewarding.
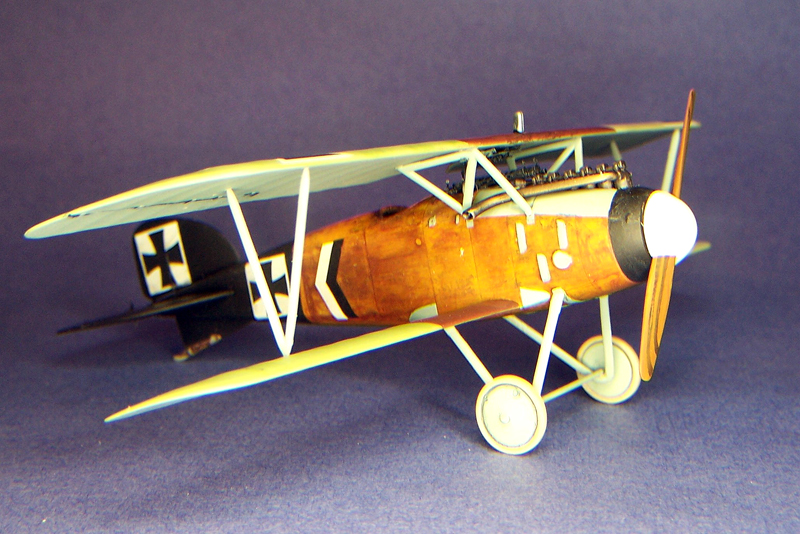
Choices, Choices, Eduard provide 5 decal options this sucks because you only have enough plastic to do one. So I chose the box art for my subject because that’s the one my wife wanted. It is also the first scheme covered in the decal options. Its here we find five beautifully illustrated color plates found in the last pages of the instruction booklet… score.
The 5 choices are:
- Oskar Muller – Jasta 12
- Julius Buckler – Jasta 17
- Oskar Seitz – Jasta 30
- Rudolf Hohberg – Fa(A)263 / Hans-Georg Lubbert – Jasta 11
- Ernest Hess – Jasta 28w
The rest of the Construction went well and I did not encounter any difficulties worth mentioning I did stop short of detailing out the kit with my own finishing touches in order to offer an unbiased and unembellished OOB build. The coolant lines and guy wires do not come with the kit and so these are a few of the items I will be adding All in all an enjoyable build. Thanks to Eduard and IPMS for this little gem.

Comments
Add new comment
This site is protected by reCAPTCHA and the Google Privacy Policy and Terms of Service apply.
Similar Reviews