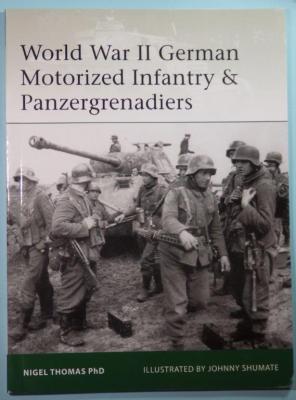
At the start of World War II, Germany’s advancements in mobile warfare shocked the world with their speed, ferocity, and success on the battlefield as they swept across Europe. Although, not always successful at the start, Germany was the first army to combine tanks, artillery, air power, and mobile infantry into a dominating force on the battlefield. Over the course of the war, the Allied powers tried to figure out a way to replicate Germany’s successes, with varying results. As reserves and resources became more scarce, Germany’s capabilities became more and more degraded and they were never able to get the same results they experienced during the early part of the war.
May 2017
History
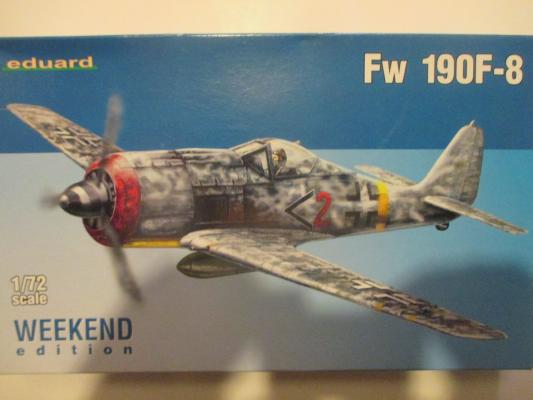
The Focke Wulf FW-190 is probably one of the best known of Luftwaffe World War II fighters, and while the FW-190A fighter version was the major production model, a large number of ground attack variants, known as FW-190F and FW-190G, was produced to replace the vulnerable Stukas as the war progressed. The essential difference was the deletion of the outboard wing cannon, and the fitting of various types of bomb and rocket racks. The central rack could carry a bomb or an auxiliary fuel tank, while the wing racks usually carried bombs or rockets, although some aircraft, mainly “G” models, carried wing mounted drop tanks. These versatile aircraft were issued to Schlachtgeshwadern, ground attack units, in large numbers, and in fact, a number of pilots in these units became aces, although their primary role was attacking ground targets.
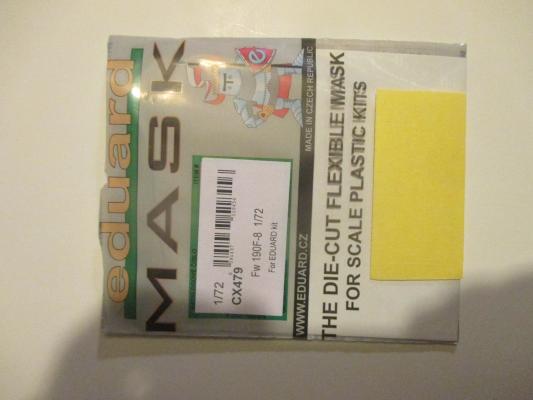
This product is a set of paper adhesive masks for any of the Eduard FW-190A and FW-190F kits. It will also work for almost any current FW-190 kit. Although I haven’t tried it on any of the FW-190D kits on the market. It is made up of two sheets of yellow masking paper, with cutouts for the canopy, windshield, and wheels. Although the wheel masks are included, the instruction sheet only covers the canopy masks, which will do for either the flat or bulged unit. These can be removed undamaged from the sheet with a pair of pointed tweezers, and they are simple to use. They cover the edges of the canopy only, and the central window area is supposed to be filled in with liquid mask, although masking tape works just as well. They save a lot of work and are highly recommended for use on any FW-190 kit.
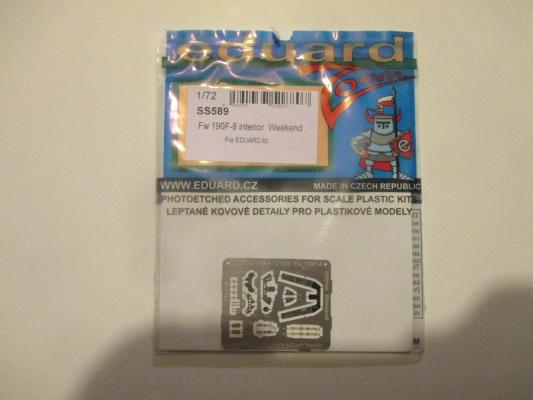
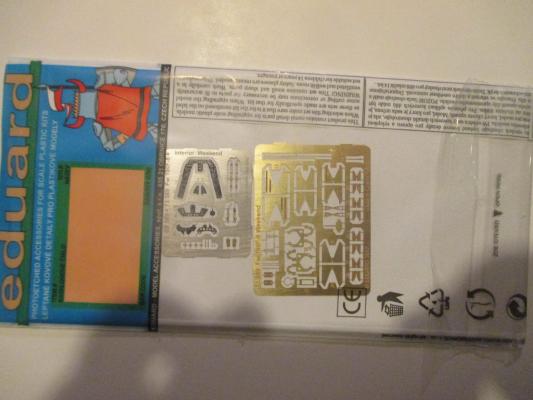
This product is a small photo-etched sheet of metal that provides interior details for the cockpit of the Eduard FW-190A/F kit. It provides details for the instrument panel, seat belts and shoulder harnesses, and at least one interior wheel control for the cockpit side. Instructions are clear, and the effect on the cockpit interior is traumatic. The only problem I had was with the large piece for the side panels along with the mounting face for the lower instrument panel. This is all done in one piece, and I had trouble lining it up, so I had to cut the side control portions off and glue them directly to the cockpit parts on the kit. This is a welcome addition to the kit, and is worth getting. It is a lot easier to use these than it is to paint the kit details under a microscope. Recommended.
This product includes two photo etch sheets for the Eduard FW0-190A/F kit. One is the previously described SS589 sheet, and the other is a different detail set, #73-589, which provides some exterior details, such as bomb fins, as well as some wheel well details and a part for the landing gear. If you get this set, you don’t need #SS589, as it is included here. This one is recommended if you want to add interior detail to your model.
The Eduard Bf-109F kit cockpit is quite nice in the box but it does lack the crispness that can only be offered in resin and photo etch. The Brassin set is designed for the Eduard kit. As such it will fit with minimal work.
Contained in a plastic thermoform package the set includes 17 light grey resin parts with no bubbles or blemishes anywhere. There are some clear resin parts included for the fuel inspection tube and the cockpit lights. As this is an Eduard set, it has to have photo etch. There are two photo etch frets, one is pre-painted and the other in brass. There is a plastic film for the gunsights. A decal is provided for the instrument panel should you elect to use that one. You get the option of one of two ways to represent the instrument panel.
Packaged inside of the traditional blister pack with foam protection are seven beautifully cast light grey resin pieces and one fret of photo etch.
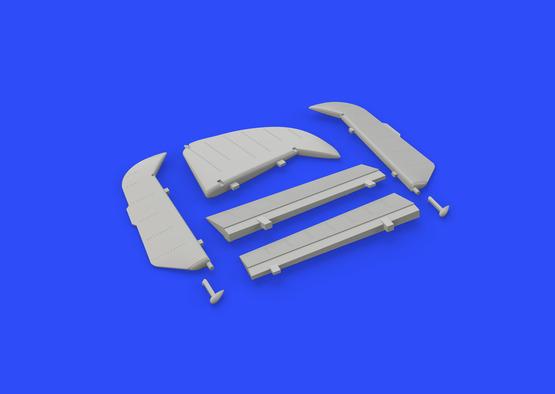
The resin pieces all feature beautiful surface detail including the stitching on the fabric portions. Other than cutting the parts from the pour blocks there is no other cutting required on the kit. se parts are drop in replacements for the kit items. y feature finer details and the addition of photo etch thin trim tabs. On the tail surfaces you have the option to cut off the molded on resin trim tab you can replace it with a photo etch one or leave the resin ones in place. I elected to leave them on for the tail. ones on the aileron fit perfectly and were attached with superglue.
The other thing is that the ailerons have a more robust attachment point for the mass weight. That is the little dangly thing on the bottom of the aileron. Eduard gives you three just in case you let the carpet monster eat one.
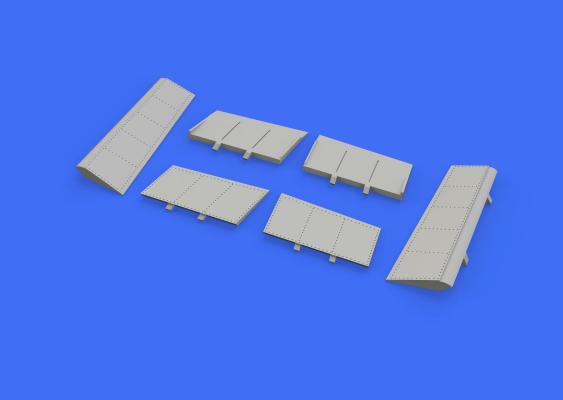
The Bf-109F had a very unique flap setup when compared to the Emil version. The split flaps required extensive engineering. The outer portion was the traditional flap style, but the inboard flaps were different. The inboard flaps had two functions, one was to act as a flap but the other was as a cooling flap for the glycol radiators. The Friedrich had a unique style as well with a boundry layer being channeled through the upper portion of the inboard flap. This caused the F to have a ‘space’ between the two layers on the upper inboard flap. This is impossible to mold in plastic effectively.
Eduard has offered a complete photo etch version of this which works well but required a lot of bending. This new set offers the best of both worlds, resin and photo etch. This set comes in a blister pack with six pieces of grey resin with no blemishes. And one fret of photo etch with 14 pieces of brass to add. Most of these are stiffeners.
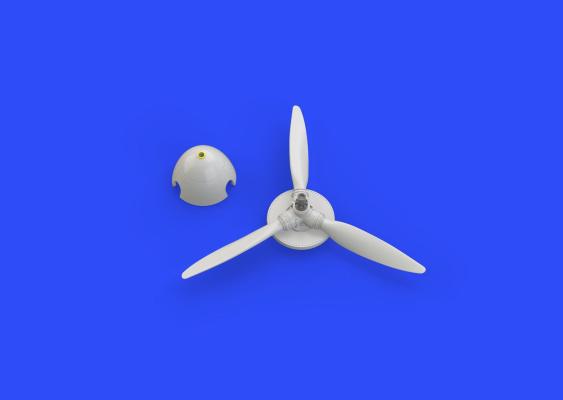
If you want to add some neat detail to your Eduard Bf-109F you may want to consider leaving off the prop spinner and exposing the propeller hub assembly. This certainly will add visual interest and add to any aircraft maintenance diorama.
Packaged in a blister package, protected by foam inserts, these seven light grey resin pieces are all that you need to do it. A small fret of two photo etch circular rings are included. The resin is blemish free. One of the pieces is an alignment tool to aid in drilling the centering hole and also setting the proper pitch angle.
This set is nearly identical to the EARLY version. The only difference is the propeller blades themselves. This set replicates the VDM 9-12010 type of blade which is slightly larger than the earlier VDM 9-11207. This type was typically found on the Bf-109F-4.
The Mil Mi Hind is an awesome and feared gunship/attack/transport helicopter. Its first flight was in September 1969 and introduced into service in 1972. It is still operating today.
Master Models is a Polish company that specializes in producing some of the finest turned brass and resin aftermarket parts I have seen!
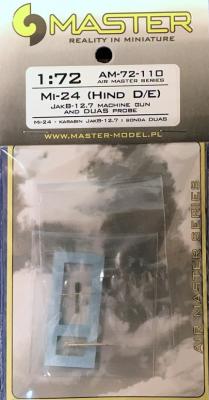
This resin/brass set can be used on any 1/72 scale Hind D/E, but I have the Hasegawa kit to compare it to. While the gun and DUAS probe straight from the kit is very good, the detail on the Master Model set has to be seen to be believed! In this 1/72 scale, I needed a magnifier to fully appreciate the work that has gone into making these parts.

