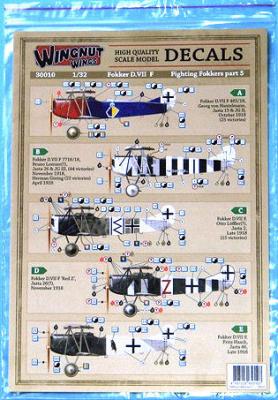
Released simultaneously with the Fokker D.VII F kit, this decal set provides five alternative markings for the BMW IIIa-powered version of this famous fighter. It is the fifth in a series of decal sets that Wingnut Wings now offers for the different versions of their Fokker D.VII kits. This set includes two decal sheets, printed by Cartograf. The larger sheet contains the personal markings for each of the aircraft, with codes, national markings, and a variety of panel sections with bands and shapes that wrap around the fuselage. These panels have a number of indents and holes located within them that coincide with the location of openings for control lines, fuel filler ports, etc. The second sheet provides additional sizes of national markings, instrument decals, data plates, propeller markings, and additional stencils.
What's New
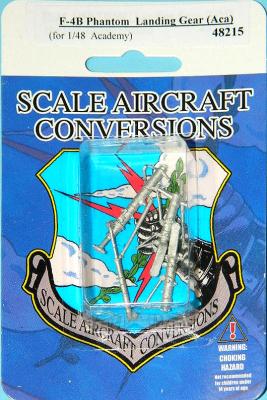
SAC continues its prolific output of gear to handle the loads on our models. This is yet another drop-fit set designed for an aircraft which can put it to good use, particularly if you load it down with resin aftermarket ordnance (guilty, Your Honor) like an F-4.
Everything was a perfect fit. Main gear legs fit nicely in the resin gear wells (toldja I was guilty). The nose gear slid into place just as easily; the actuating ram also went right into place.
And as usual, my favorite, most-best part…now I don’t have the concern of collapsing gear within a year after I finish the model.
Highly recommended and well done to SAC for yet another winner! Thanks as usual to our friend Russ at SAC for providing IPMS USA this set, and IPMS for sending it to me for review.
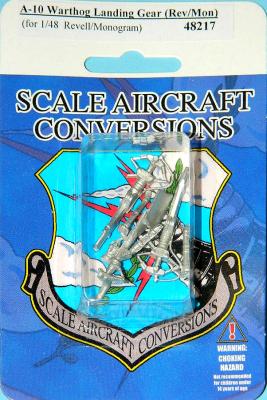
Once again, SAC continues its prolific output of gear to handle the loads on our models. This set is perfectly suited for an aircraft like the A-10, particularly with its offset nose gear leg and one-sided wheel yoke. The plastic version will fold or break over time; you may be fortunate enough not to have this happen, but why chance it?
Everything is a perfect fit. Main gear legs and the nose gear are duplicates (with crisp detail and more durable brake hoses – as you can see, the kit parts have a lot of flash on them). Note: This particular A-10 molding dates back to 1987; I first picked up one of these kits at the now-defunct downtown hobby shop in Montgomery, Alabama, while attending Squadron Officer School. That’s how I remember when it came out, as I walked from the base to the shop every Saturday. Yeah, dumb, I put myself at risk, but modeling won out.
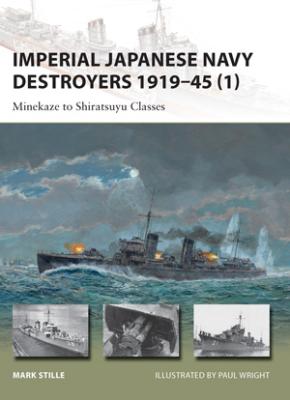
Being an avid fan of Imperial Japanese Navy (IJN) destroyers, I was eager to get my hands on this book. The Japanese had two major advantages on the US Navy during the early days of WWII: a superbly trained and equipped air arm and their excellently equipped and crewed destroyer flotillas that made themselves utterly terrifying weapons during engagements like the Battle of the Eastern Solomons. The first chapters of the book provide a good summary of Japanese doctrine and how it developed from the naval treaties and influenced design. The meat of the book specifically addresses the early post-WWI designs leading up to the legendary Fubuki-class destroyers and their successors up to the Shiratsuyu class. Finally, the author provides a summary, defining why these magnificent machines utterly failed to make a lasting impression on the results of the Pacific War.
Introduction
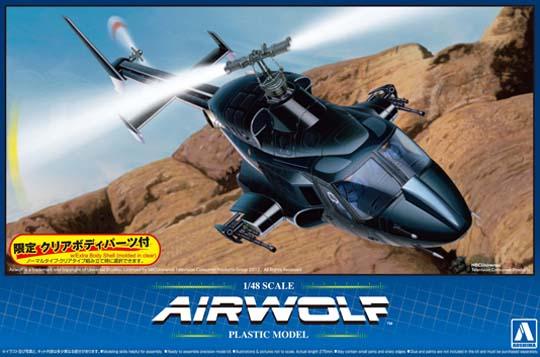
Who doesn’t remember Airwolf? This show is everything good about the 80’s wrapped up into one full hour every weeknight! Highlights from the show include: the spy game, technology, the Communist threat, and, of course, one sleek, futuristic aircraft. Using a Bell 222, the producers of Airwolf designed a supersonic helicopter complete with enough weapons to take down an army, as well as every electronic gizmo. But this review isn’t about the show…so let’s get onto the kit, shall we?
The Kit
At first glance, the kit is a very cleanly cast. Everything is chock full of wonderful detail and very little flash. Included are two versions of the fuselage – clear and black. I will touch on these later, but let’s just say to throw the clear one away, it has no use. Additionally, the kit comes with a stand featuring 3 points of articulation…I loved the stand so much that I have asked Aoshima to release them separately.
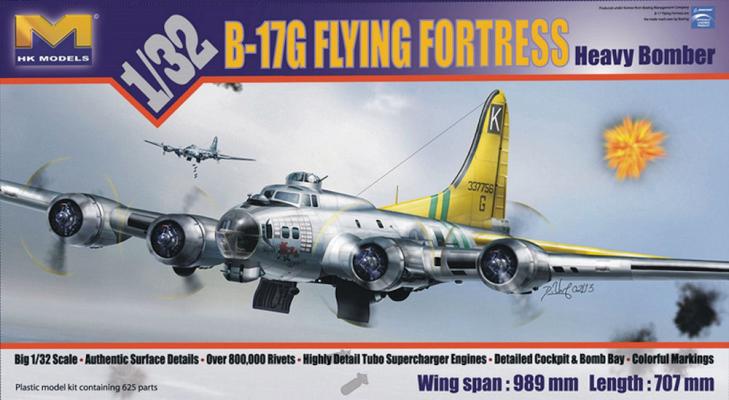
This second installment covers the midsection interior, which is from the aft bulkhead of the bombardier and navigator compartment through the bomb bay and to the ring mount around the ball turret. Instruction steps 1 through 15 are used to construct this mid-section subassembly. I continue to be impressed by the fit and detail of the moldings.
Please consider that the associated pictures illustrate in-progress shots. There will be much touch-up, and I was reluctant to get too carried away with painting until I had a better feel for what was visible or need dry-brushing, etc.
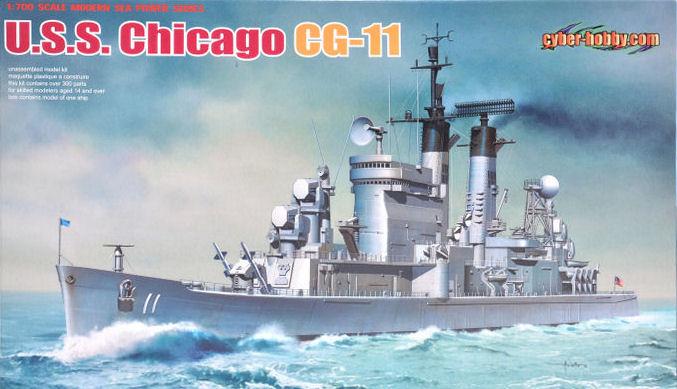
This is the second Cyber Hobby ship model that I have been privileged to build as a reviewer (the first being the USS Virginia), and I will say that this was just as enjoyable of a build, representing a cruiser that saw service over five decades. There were no real complications with the build itself, but know going in that there are several photo etch items to add, and there are many small parts in the kit. The most challenging part of building this kit for me was the decals that are applied on the deck. If you have a fondness for the USS Chicago, or want to build a Baltimore-class heavy cruiser, I would highly recommend this kit for you.
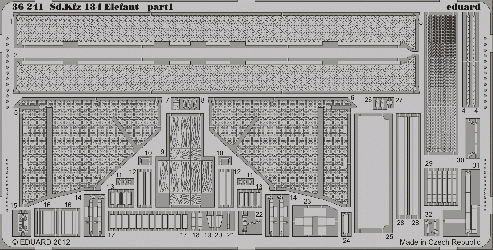
Since Tamiya released their version of the Elefant, it had been on my wish list. Upon obtaining the kit, I noticed that it needed some more details. Italeri and Dragon both make a 1/35th scale Elefant and with proper adjustments they can be make into nice models.
The Tamiya detail set from Eduard contains two frets and nice, readable instructions. The fenders are really well detailed compared to the kit parts. It is a shame to have to cover them up with zimmerit. Thinking about this, I plan on putting their fenders on a Ferdinand kit, since the Ferdies didn’t wear zimmerit. There are also a bunch of small PE tool clamps and clasps. When applied, they look so much better than the kit’s molded-on ones.
In my opinion, this is a well-detailed set on PE which will make it onto two of my kits. Just now I need to get a good etch-mate folding tool. I would like to thank Eduard and IPMS/USA for a chance to review it, and you for taking the time to read it.
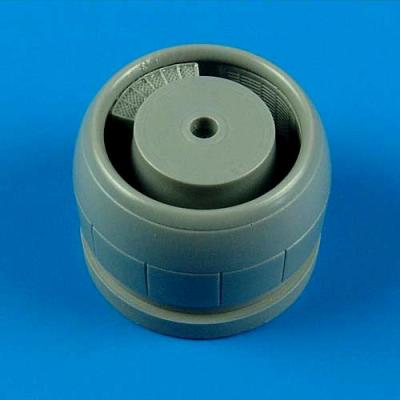
The Hobby Boss Ta-152C is a really nice kit; however, they made one really big mistake. They made the forward cowling with the incorrect oil cooler. It should have an annular oil cooler design. This is difficult to make in plastic, but in resin it is easy. This set will change the whole look of your kit’s nose.
Molded in light grey resin that is perfectly formed and blemish-free on a moderate pour block, the cowling has the annular cooler molded perfectly inside the cowling. The cowl flaps are molded closed. This may be not to some builders’ likings. I think it is fine just the way it is.
If you want to make your Hobby Boss Ta-152C an exceptional kit, you will need this engine cowling. This will address the biggest issue with the Hobby Boss Ta-152C in a simple, effective, and inexpensive way – a replacement for their forward cowling.
Highly recommended.
Thanks to Quickboost and IPMS/USA for the review copy.
Ultracast has been producing some of the best and easiest to use aftermarket items for years. Well, they haven’t changed their key for success.
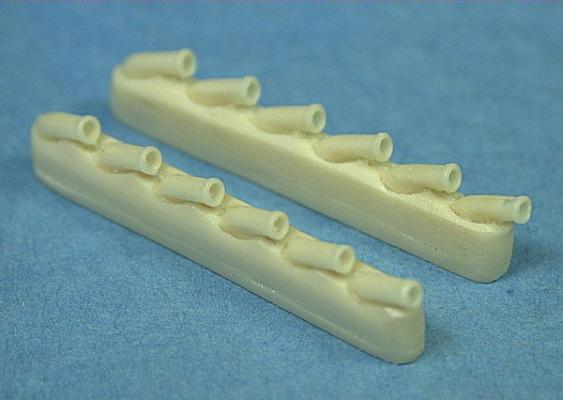
The latest releases are designed to be added to the Accurate Miniatures P-51B/C Mustang kit. What can you say about these little gems? In both sets you get two banks of exhaust stacks molded in light cream-colored resin. The exhaust ends are hollowed out perfectly. They are beautifully cast and are easy, drop-in replacement for the kit parts. Just remove the parts from the pour block and paint – a simple and easy way to do a tedious job.

