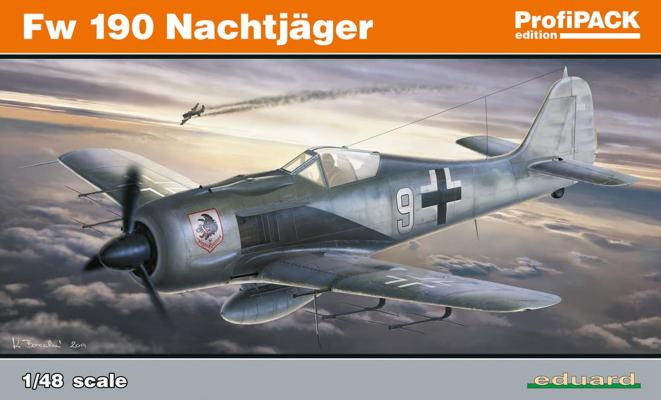
This kit is a new Profipack boxing of the venerable 1/48 scale Eduard FW 190A series, this time in its Nachtjager guise. It was my first foray into the Eduard FW 190 and I was blissfully unaware of the quirks of this kit. I started working on this kit during a build night at my Local Plastic Model Club and two other members warned me as to what I had gotten myself into. As the build went on I was to see why everyone has a love hate relationship with this kit and why it paid to heed their warnings. The Eduard Profipack is chock full of what we’ve come to expect from Eduard. Superb photo etch for the cockpit and other external parts (in this case the antennae for the FuG 217 Radar). Excellent masks for the canopy and wheels, and enough plastic parts to practically make two full kits. It also comes with an extensive decal set for 4 different aircraft from the a-5 through a-8 series and a sheet of stencil decals as well.
What's New
Diving back in, we'll build the cockpit. It is similar to the frame itself. This starts with the two side walls which are detailed with extra levers and gauges and the throttles. These are painted RLM 66 so it stands out from the RLM 2 frame. The rudder pedals are painted and they are sandwiched between the two side frames and attached to the fuselage. Fit is perfect. The instrument panel is next and there are two choices. One is clear and there is a decal that can be added to the back. The second is solid and you can add the decals to the front. I built the clear version with Elmer's in the glass parts and then painting and adding the decal to the back. Once dry, I sprayed the back of the panel black as it is visible in the plane. To finish off the cockpit, the instrument panels is added to the frame and then added to the cockpit with its bracing. The linkage rods and control stick are added and the cockpit is done.
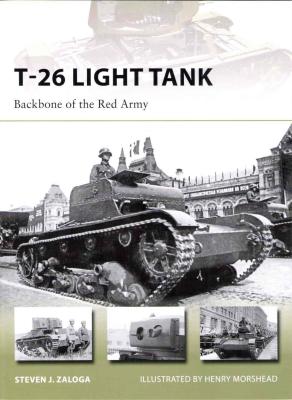
The New Vanguard series from Osprey Publishing is not so new anymore, but they continue to produce one quality publication after another. It seems that at one point they will run out of topics, but thankfully, they have not. The series’ most prolific author, armor expert Steven Zaloga has turned his attention to the T-26. As the subtitle of this book suggests, it was one of the most prolific tanks in the Soviet Army in the late inter-war era.
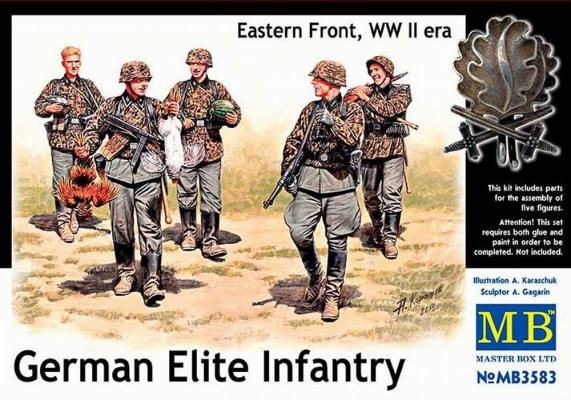
This kit contains two grey sprues with 63 overall parts to build 5 full figures of SS infantry troops on the Eastern Front. Three of the soldiers are carrying food, so it seems that they just raided a farm and are happily on their way to make dinner. One soldier is carrying two chickens, while another has eggs or potatoes in his helmet. A third is carrying a watermelon on the box top, but it really is a cabbage. Most are smiling and have happy expressions on their faces.
There also is a sprue with 112 parts of German weapons and personal equipment included. Only five weapons are needed, so lots for the spares box. Each figure is divided into a head, torso, two arms and two legs. The overall detail is very good, but some of the seam marks will need cleaning up. There is a lot of flash on the middle of this sprue.
Thanks again to Aires/Quickboost for providing these excellent review items to review; and to IPMS leadership for shipping the item to me…
Once again, a simple upgrade with serious improvement.
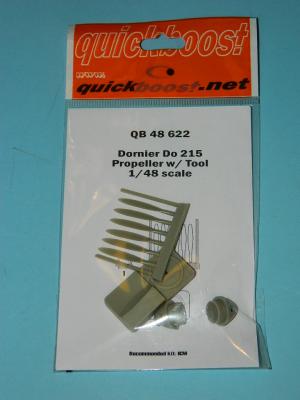
Look at the Kit supplied prop and spinner; if used, they will look OK, but you will have a fillet on the back side of the props that doesn’t exist on the actual aircraft.
Look at the difference on the QB prop and spinners when installed. These took all of ½ hour to do.
First, Cut off the back of the spinner pour stub. I used a razor saw to cut around the circumference, then final cut to the center. Easy to do, and WEAR A GLOVE to prevent personal injury.
Next, use the prop and spinner shaft jig supplied with the QB set. Appropriate drill bits were used to finish the shallow shaft hole, then you put the spinner in the jig, and carefully drill out the shaft hole in the spinner from behind. Blow out the fluff from the prop holes, and….
Thanks go to Aires/Quickboost for providing IPMS USA this review set and IPMS leadership for passing it my way!
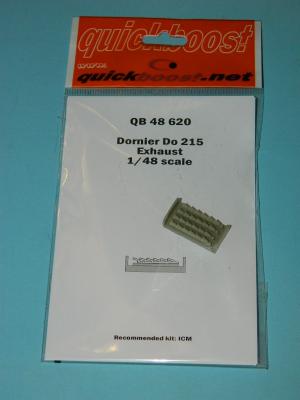
Not much to this one; replace the kit items with the Quickboost exhausts and save yourself the serious pain of clearing out the kit exhausts… it’s a no-brainer! I took the QB set, painted them with Testor’s Burned iron metalizer (I used a brush) and cut them off the pour stub… installed with superglue, Fantastic!
This set rates 10 of 10; Worth every penny! Thanks again to Aires/Quickboost for another great review opportunity, and IPMS for allowing me to do the job!
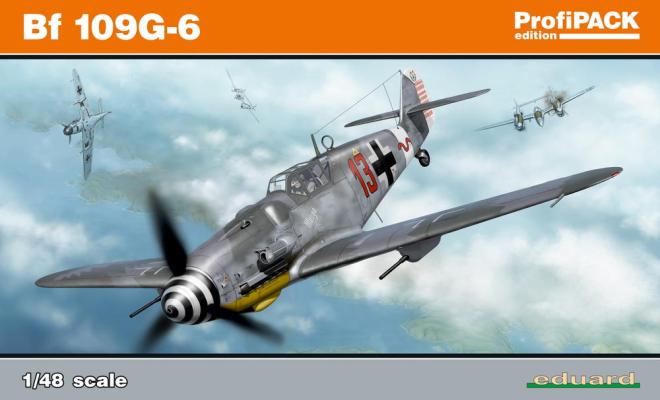
Having built the Eduard MiG-21PFM and the Spitfire Mk.IXs I had high hopes for the new Eduard Bf-109G, my favorite airplane. The MiGs and Spitfires are some of the finest fitting and most accurate kits on the market. They are about as perfect as you can get a kit. So each kit should get better right? Well not always.
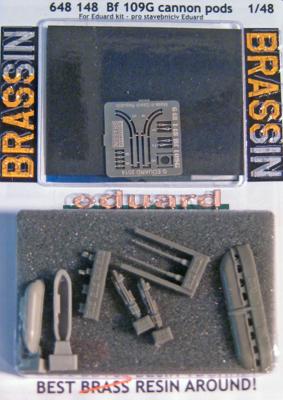
The underwing gondolas were designed for the Bf-109 to replace some of the firepower lost when the F/G models were designed. The problem with the pods was that they adversely affected the handling of the aircraft. Still the addition of two 20mm cannons was desirable especially when dealing with enemy bombers.
The Eduard kit comes with two gondolas in the kit. They look nice but they are 2mm too long and don’t fit on the wing of the model. Well I’m glad to tell you that this is not the case with the Brassin ones. They fit the wing of the model perfectly.
The need to blow apart the formations of the American bombers led to the development of rocket carrying aircraft. The biggest rocket widely used was the WGr.21. This was fitted to the Bf-109 as early as the G-2.
Background
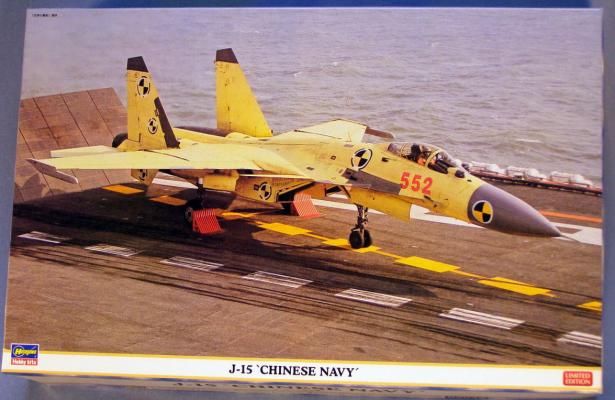
During the 1970’s Russia started the development of modern carrier borne fighter aircraft. The Sukhoi design team started with their basic Su-27 Flanker and added such carrier items as tail-hook, folding wings and structural improvements plus a set of forward canard wings to produce their proposed Su-33.

