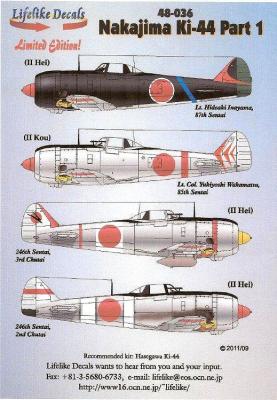
Lifelike Decals has always produced some fantastic decals with awesome marking options. This latest decal sheet is designed for the Hasegawa Tojo kit. Typical of Lifelike Decals, this sheet contains four marking options of three II Hei and one II Kou. All the aircraft have the yellow identification stripes on the wing leading edges for that little splash of color.
What's New
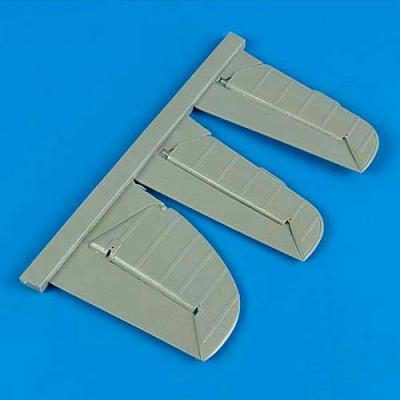
I like to articulate my flight controls, but I can never get it to look just right. The biggest hassle is the curved portion on the flight controls themselves. Quickboost offers a solution. Molded in light grey resin with no blemishes, a Bf-109F rudder and two elevators with rounded leading edges are now offered as a solution to that problem.
You will have to cut the horizontal tail surfaces and bevel the attachment area, but this wasn’t too difficult. I did this with Dymo tape and a scribing tool. Once the part was removed, the parts were trued up and then the bevel was done with a round file. All this ensured a proper fit. I pinned the elevators to the plastic piece to allow me to install and adjust the elevators to the same angle. Everything is relatively easy and within the realm of most modelers.
I elected not to use the rudder at this time, but the same process would be used for it as well.
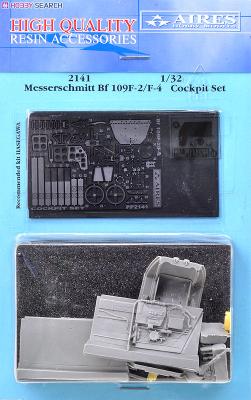
For me, Aires has always been synonymous with quality aftermarket products. This latest release is designed for the 1/32nd Hasegawa Bf-109F-2. Like many of their cockpit sets, this set is based off of resin parts, accentuated with photo-etch metal parts and a pre-printed decal film. The instructions are on an 8.5x11 sheet of blue paper. They are a little vague with some parts, but present nothing that can’t be determined with good references.
The resin is molded in light grey on 11 resin pour stubs. I did have a bubble on the base of the stick. This was easily fixed with some Apoxy Sculpt. The rest of the detail is exquisitely rendered. My floorboard was slightly warped but a little hot water took care of it. The seat is beautiful and looks great, especially with the addition of the PE seatbelts.
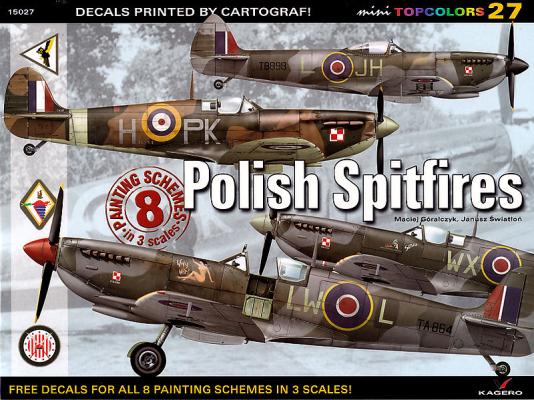
I will not hide the fact I've always been a huge fan of the Supermarine Spitfire and specifically the Merlin-engined marks. Kagero has released volume #27 in the Topcolors series and this one certainly does not disappoint. This publication is dedicated to Polish Spitfires, specifically to eight machines ranging from a Mk I to a Mk XVI.
What your money buys you is a stunning publication with a beautifully printed glossy cover and 18 stunning pages of profile drawings of the eight Polish machines. Also included is a sheet of decals representing all eight schemes presented in the book. I shouldn't forget to mention the fact the decals are printed by Cartograf. The publication and decal set arrives in a re-sealable plastic bag which I thought to be a nice touch to preserve and protect your investment. I would hope more companies would provide this type of service like Kagero.
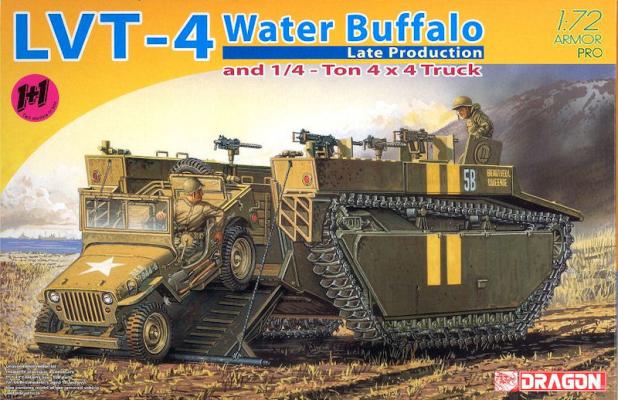
Usually, when I get a Dragon 1+1 kit, it contains two of the same plane or AFV. Not this one. It contains the LTV-4 amphibious landing vehicle and a Jeep, which can be put in as cargo or, with the ramp down, can be shown loading or unloading.
The LVT was developed as a civilian ambulance/rescue vehicle which would operate in swampy areas where “normal” wheeled and tracked vehicles were useless. It had a watertight hull, with propulsion in water provided by the movement of the tracks. The unit could go directly from water to land to water with no problems. The Marines in the Pacific Islands found this particularly useful, as many islands had offshore coral reefs which would stop landing barges well offshore. The “Amphtracs” (or “Amtracs”), as these amphibious tractors were called, could cross the reefs and go up on the beach as far as needed.
History and Performance
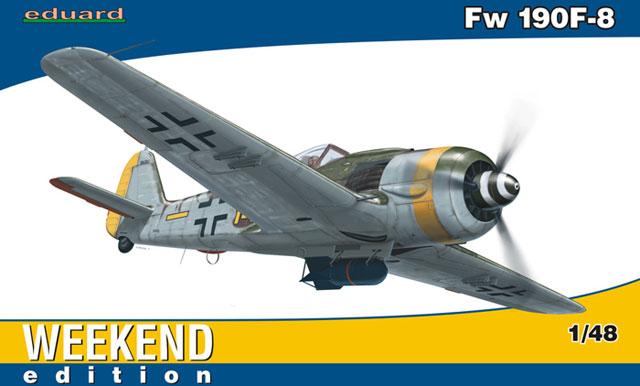
The Fw-190 entered operational service in the summer of 1941 and immediately left its mark on aviation history. Over 20,000 Fw-190s were built in various series and saw service on all fronts during the war. The Fw-190A series was initially designed as a fighter/interceptor, but its performance fell off dramatically at higher altitudes. The Fw-190F-8 was designed as a ground attack aircraft and performed this duty remarkable well. The Fw-190 was also flown by the air forces of Hungary, Romania and Turkey.
See the Osprey publication “Production Line to Front Line Focke-Wulf Fw 190” by Malcolm V Lowe for a history of the design and combat of this aircraft.
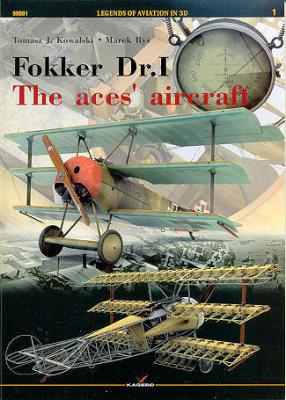
I was fortunate enough to review the new Kagero Fokker Dr. I: The Aces’ Aircraft, Legends of Aviation in 3D book. This is the first book in a series of aviation books they are releasing in 3D. Now don’t get freaked out, the whole book is not in 3D, just some prints that show the plane and its components. You get a really nifty 1950’s style pair of 3D glasses, too (the old blue and red kind that some of you might remember from your childhood).
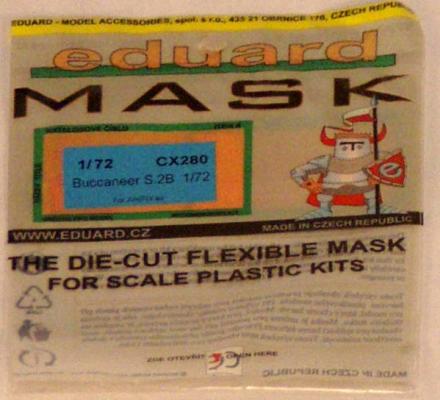
I've had an Airfix Buccaneer in my to-build pile for about ten years since I bought it in a flea market in Florida. I'd never used die-cut masking sets (or liquid mask) before, so I took up this product as something of a challenge.
The product is relatively easy to use...more so on the canopy and windshield than on the landing gear. Still, you need liquid masking agent to complete the job on the canopy, and I'm not sure I did the job right. After painting and removal of the masks, the canopy had either residue or etching left behind on some of the liquid masked areas. I'd kept the masking on for more than a week, so that might have something to do with it.
I didn't get a chance to photograph the completed windshield. The mask removed some of the paint from one of the frames, so I'll have to go back and do touch-up there.
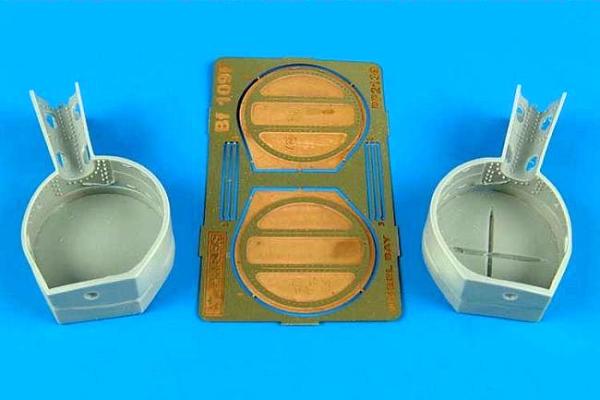
One of the areas that the 1/32nd scale Hasegawa Bf-109 kits lacks is the wheel wells. There is no lining and the detail is a little heavy. Aires now offers an option.
The Aires set includes two resin wheel well inserts and a small fret of photoetch. The parts are molded in light grey resin without any imperfections that I could see. The instructions are adequate for the job at hand.
Start the addition by deciding whether or not you want the round or squared off wheel wells. If you elect to use the squared off one, you’ll have to do it now. Then start thinning out the upper wings and the area around the wheel well opening. You will have to remove a good amount of plastic and thin out the upper wing, but nothing that a Dremel tool with sanding bit can’t fix. The process was actually quite easy. I removed some of the stiffeners in the kit wing but it wasn’t really necessary.
Bottom Line
Another entry into aftermarket 1/700 scale US Navy 20mm mounts. Has single and double tripod mounts. Photoetch steel with close to scale look, not difficult to fold, fair value, but still has flat barrels. One of few sources for 20mmx2 mounts. Will give acceptable, good-looking 20mm mounts for late WW2 USN warships.
One major bugaboo for 1/700 scale warships has been oversized light AA weapons. Most injection-molded kits have 20mm barrels that are more like 3-5 inch guns when scaled up to actual size. Gun shields are thicker than battle ship armor plate when scaled up. In other words, most WW2 models suffer from light AA weapons that are way too big, wide, chunky and oversized, enough so to make the model look toy-like instead of accurate. This is especially true for US Navy WW2 warships, which carried numerous Oerlikon 20mm mounts.

