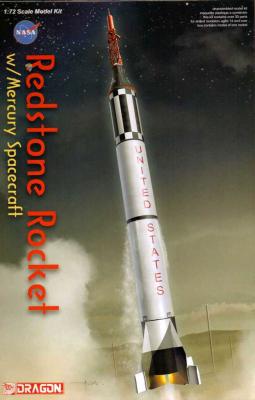
The early 1960’s were characterized, in large part, by the “Space Race” between the United States and the Soviet Union to place a man in orbit, with an end goal of a manned lunar landing. Struggling to keep pace with the Soviets in those early years, the United States ultimately forged ahead, leveraging every asset at its disposal. One such asset was the Redstone rocket. Originally designed as a weapons delivery platform, the liquid-fueled Redstone was more stable and reliable than its early solid-fueled counterparts, thus making it a preferred launch vehicle for placing America’s first astronauts into space, although not into orbit. Redstone supported two manned suborbital missions in 1961 – Freedom 7, piloted by Alan Shepard, and Liberty 7, piloted by Gus Grissom – prior to the introduction of the more powerful orbit-capable Atlas rocket.
What's New
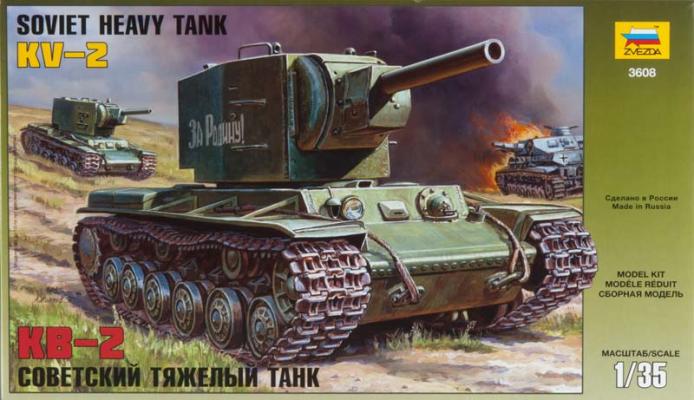
The numbers: 11 sprues with 412 parts, 17 of which are not used, and two options for tracks, vinyl and link-and-length injected plastic. Due to the fact that a couple of the sprues are duplicated, several of the smaller parts, like lifting hooks, have extras included, which is nice considering the carpet monster in my house is always hungry.
A nice feature is the box, as shown in the photograph. The box art (separate photo included) is nice and will be a help in deciding which way the tracks run, but the box is very sturdy and will be re-used at my house for spare parts.
The plastic itself is very nicely detailed; seams are reasonable and there is no flash. The number and placement of injector pin marks are about what you’d expect, mostly hidden on the inside. The injected tracks have some that will have to be dealt with if you choose that option. Purists will want to thin the hull fenders, and it is an easy job due to the engineering put into this kit.
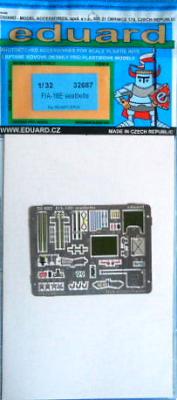
Eduard has fired up another set of seatbelts to fit in with their PE Interior set for the 1/32 F/A-18E. Aside from their beautiful and accurate seatbelts, Eduard has also included lots of stuff for the enhancement of the seat for this kit. It has colored “padding” which fits to the seat bottom and back. There are also other small items that can be added to the seat for detail that will make this seat really something to look at. The belts and all the other items are painted beautifully with details that can’t otherwise be matched by dry brushing. The instructions are clear and concise and, importantly, not intimidating. Of course, the use of CA glue will be necessary, but using it sparingly and carefully along with a little weathering or a wash should produce great looking results. I definitely recommend this package for this kit, which plainly shows that a little can go a long way. Also, the price is right, which makes it a complete value.
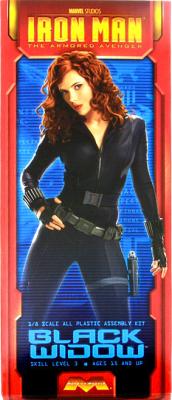
I want to start the review by saying this is my first journey outside my comfort zone of building aircraft, so keep that in the back of your mind. What may be very obvious to the hard core figure modeler may not be to me. Anyway, the Moebius figure is a wonderful representation of Scarlett Johansson, AKA “The Black Widow," as she appeared in the Iron Man 2 movie. The kit is touted as being for ages 15 and up and is presented in 23 pieces molded in a fleshy-colored polystyrene. The base of the kit is a nice representation of a simple tile floor. The various figure parts are generally broken into halves and are assembled as such. Like building an aircraft, it seemed necessary to plan out how far to take the figure before painting the parts. My logic path led me to think it would be a trade-off between masking for the painting process and working on filling the seams. So here we go.
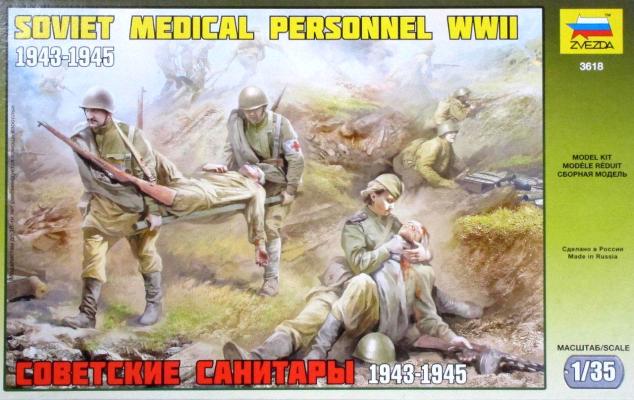
This set contains 5 figures. These are arranged in two groups. The first group is two litter bearers carrying a wounded soldier. The second group is a female medic comforting a wounded soldier.
These figures come on a sprue with 44 parts. The illustration on the box front is an approximation of the 5 figures. There are significant differences in the poses of the two wounded soldiers and the female medic. The computer-generated picture on the back of the box is an accurate representation of the figures.
This set had very minimal flash and no ejection pin marks. What mold lines found were easily removed with a sharp blade. There are no decals, and the painting instructions are just for the major items. The paint colors are coded only for Testors.
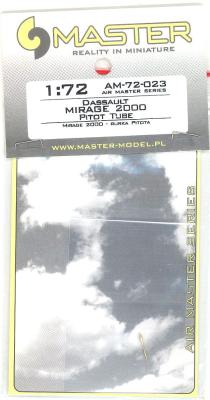
This is the second time that I’ve used one of the turned brass aftermarket pieces from Master Models Poland. The piece that I’m reviewing is the pitot tube for the Dassault Mirage 2000. As luck would have it, I’ve been working on a Heller Mirage 2000 and was really happy to receive this part.
The first thing I would like to point out is how good the packaging and instruction sheet is. The packaging consists of a zip-lock type bag while the part is in a smaller bag, keeping it from moving all over. The instruction sheet is very clear and easy to understand, only needing 3 steps. Cut off original part. Drill a hole (0.8 mm). Glue in the new metal part. Just be careful drilling the hole, especially in 1/72.
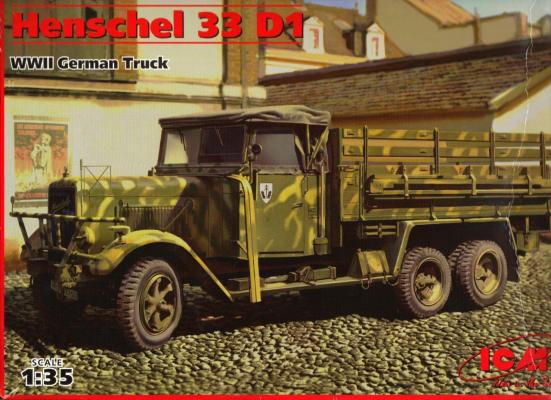
When I think of “Blitzkrieg,” I usually think of grey Panzers sweeping across the Polish, French, or Russian countryside, followed in hot pursuit by armored half tracks. The concept of Blitzkrieg required mechanized movement of weapons, men, and supplies. And, while the Germans used more horses than vehicles in the invasion of Russia in 1941, they did have mechanized transport in an attempt to keep pace with the tanks and half tracks. And here for the first time as an injection plastic model in 1/35th scale is the German truck produced in the highest numbers before and during WW2 – 22,000 units, in fact.
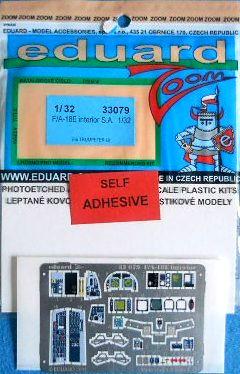
Eduard has come out with a smaller version of their interior set for the F/A-18E. It’s a full self-adhesive set, with one fret containing the same items as in the larger interior set (#32688) for the same aircraft. This set is designed for those who are only interested in just covering the instrument panel and side consoles. There are two other items included on the fret, one of which is for the top of the fuselage and the other for the canopy. These were already included on the fret in the larger set. In fact, it’s the same fret. So it seems we get a bonus, as it wouldn’t make sense for Eduard not to include those parts. All of the colors and details are perfect, even when compared to photos of the cockpit.
When I received the package with this item from Dave Morrissette, I thought the review might be a task, but this one turned out to be just wonderful.
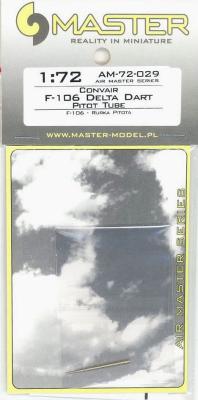
What you get is a turned brass pitot tube which just glues on to replace the Hasegawa pitot. The brass part has the correct shape and fits right into the hole in the kit nose.
Then we come down to the part where this thing really paid off. I was fiddling with some fit issues with the canopy, and I hit the pitot with my sleeve. The plastic part would have been in about 4 pieces. The brass part just turned the nose (and the whole airplane) slightly. Zero damage.
Highly recommended. The caveat here is that the Hasegawa kit is quite old, and there’s no interior, the seat is sub-standard, and the aftermarket for the kit would be a seat and this pitot. So it’s up to you on what level of detail you want to install. This is a good start, though.
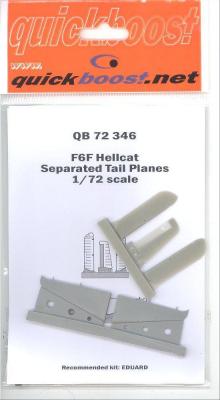
Quickboost just keeps adding to their great line of quality resin aircraft accessories. The latest addition is for the Eduard F6F Hellcat. It is up to their usual standards: molded in grayish colored resin, smooth, seamless and bubble free. One thing of note is that they are really easy to remove from the mold block with just a few passes from a hobby saw.
The tail planes that come in the Eduard kit are okay and are molded as one piece but the Quickboost parts are molded separately so that they can be modeled in the down position with the rudder shifted. The Quickboost parts are superior and add just that much more realism to the finished kit. The resin parts are very easy to install and fit in place perfectly.

