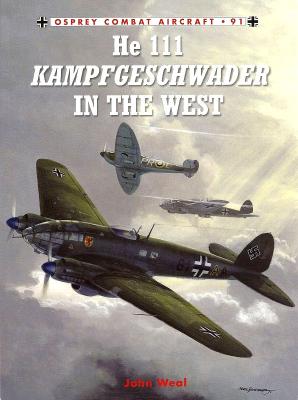
Although ostensibly designed to be a civil airliner, the military potential of the He-111 was of greater importance to Germany in the mid-1930s. Of the several prototypes built by Heinkel, the second and fourth were configured as civil versions to carry 10 passengers and mail. The first and third were configured as the military versions. While Lufthansa took delivery of six aircraft, development continued on the military version, with deliveries made to the first operational squadron in May, 1937. This aircraft went on to become the primary medium bomber of the Luftwaffe during the early stages of WWII. Before WWII ended, more than 7,500 He-111s were built.
What's New
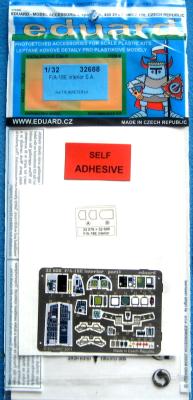
Eduard has once again followed suit and comes right behind manufactures when a new kit is developed and released for sale. This time Eduard has come up with the full interior for the F/A-18E from Trumpeter. This package comes with enhancements for the instrument panel and side consoles in full color which have been copied to the exact specifications that can be allowed. The details of these PE parts just cannot be possibly duplicated by hand and, because of the perfect colors, it makes for the best possible instrument panel that can be replicated. This is also followed through with the side panels, small switches, and tiny dials which are located on the panels. Since all panels are self adhesive, gluing is not necessary unless handled improperly. Even so, if that should happen, a little CA glue should suffice to hold it in place. There are two frets included in this package. One of them is for the instrument and side panels which are in full color.
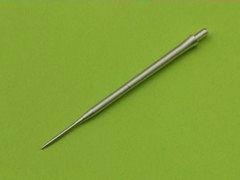
Master Models continues their excellent line of replacement pitot tubes with one designed for the Trumpeter/Hobbycraft F-105. The part is a single milled aluminum piece. The first picture shows how it compares to the Trumpeter kit part – no seam and much finer on the end. Also, it will be a lot harder to break off. I then compared to the Trumpeter kit nose and the old Cutting Edge replacement nose. Fit to the Cutting Edge pieces was superb and to the kit not bad, as I did have to open the hole a little.
For as many times as I have broken kit pitot tubes either prepping them for a build or after the build going to contests, dusting , etc., this is a great bargain at $7.00. It is a drop-in fit and is tough and better detailed. Highly recommended!
My thanks to Iwona and Piotr Czerkasow from Master Models for the review sample and IPMS/USA for the opportunity to review it.
Thanks very much to Iwona and Piotr at Master Model for providing us this review item. IPMS/USA is always excited to have high-quality products show up in our mailbox.
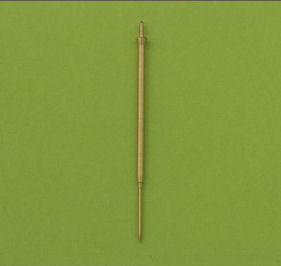
Look at the picture and tell me I can say anything that will add to what you see. This is just an amazing little item; one turned brass F-104 pitot tube. Next to the kit injected item, it looks less chunky, is far stronger than plastic, and adds more than a little to the final product. It makes the kit pitot look like a wooden 2 x 4! I have purchased a bunch of these things, for not only the F-104 but other century series birds as well. They are that good!
I rate this as higher than 10, as I can’t come close to this level of machine work. Thanks once again to Master Model for this item, keep them coming! And thanks to IPMS/USA for the opportunity to say so.
Many modelers were excited with the release of the 1/48th scale Demon series from Hobbyboss, as the only kits available prior to this were limited run kits from Grand Phoenix, Collectaire, and a vacuform, too, I believe. For those desiring that extra shimmer to a nice kit, Aires has come to the rescue with five sets to add even more detail. The sets, prices and part numbers are listed below:
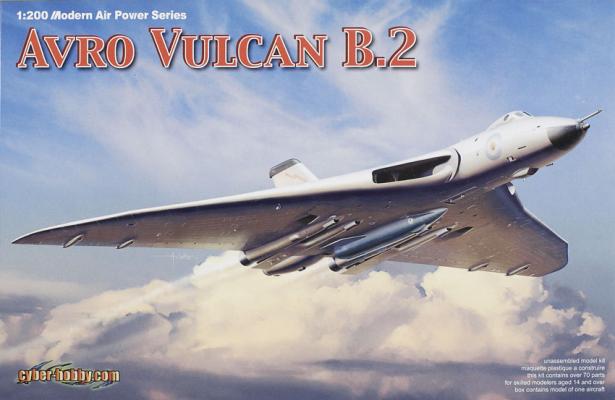
Dragon has started producing kits in 1/200th scale of larger planes. This is a great idea for those who want a replica of a specific plane but don't have the shelf space for larger kits. This issue is the Avro Vulcan B.2 and comes with three grey plastic sprues and one small clear sprue. Molding is excellent and there are a little over 50 parts and half of it is landing gear and wheels. There is the option to build in-flight or on the ground. Two sets of markings are provided:
This is a high quality magazine filled with high quality photos of extremely well done models. I have never found an issue of this magazine to disappoint and this issue is certainly no different in that regard!
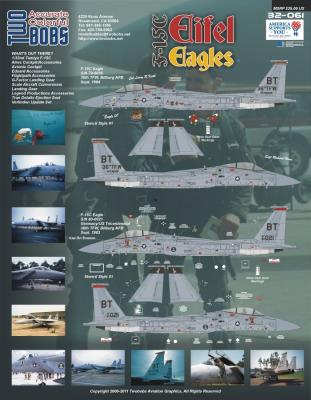
32-061 $25.00
48-236 $20.00
First, sincere appreciation to our friends at Twobobs Decals for providing IPMS/USA these review items. These sheets provided impetus for me to finally properly build an F-15 from one of my old units. Twobobs have consistently filled a niche for decals previously unavailable from other sources.
Enclosed within the standard protective plastic sleeve are three decal sheets to mark F-15Cs from the 36th TFW at Bitburg AB, Germany accurately. Although this base is now closed, it used to be the hub of F-15 operations within central Germany. In my former life in the USAF, from 1988 through 1990, I was the F-15 Weapon System Maintenance Manager at 17th AF at Sembach AB, GE; we had to provide daily tracking and status of all our jets, as the “Cold War” was not so cold and we only had so many Eagles to fend off the Russian hoards… Was an interesting time, and I didn’t realize how good I had it.
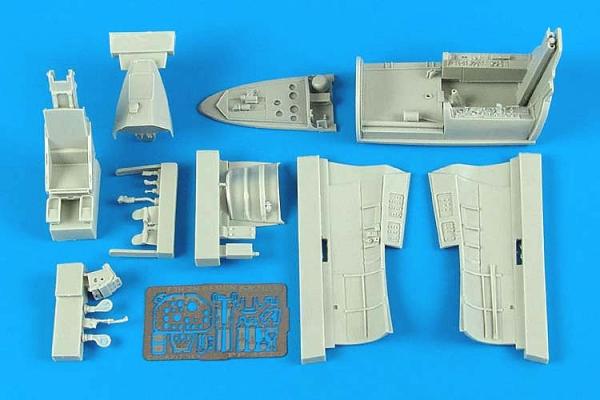
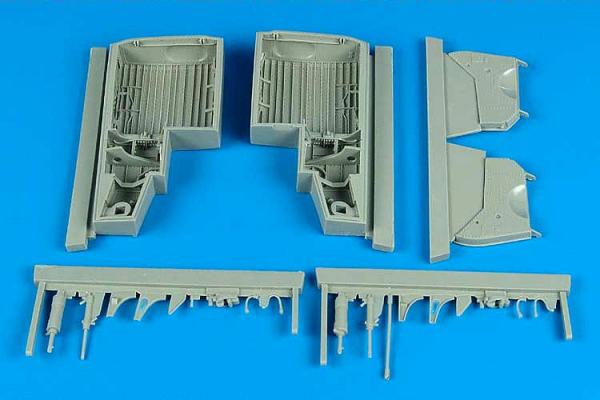
This is a fine addition to the model maker’s resin arsenal by our friends over at Aires. It goes a long way toward addressing one of the weaker areas of many Thunderbolt kits.
The design of the original plane presents mold makers with something of a difficulty, given that the wheel wells of the lower mid-mounted wing extend into the fuselage. The fact that the wells on any P-47 model are eminently visible, and the full size version fairly complicated to boot, make matters more gnarly yet for the finesse- and detail-conscious modeler.
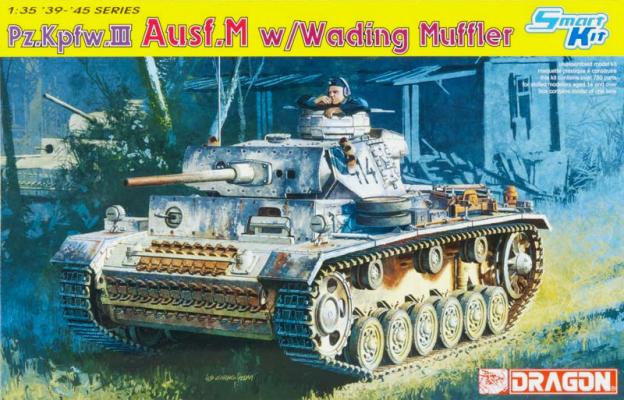
This is a multimedia kit comprised of 650+ styrene parts on 17 sprues, magic tracks, one braided metal wire (which is very stiff even after annealing), one photo-etched fret, decals, and the set of instructions that need to be reviewed very carefully before gluing any parts together.
Most Dragon models today are a collection of old sprues with new sprues added to create a new kit variant. In this case, Dragon has done so and you will have some sprues with the same letter but are called out by the color or upper or lower case (see Sprues Black G, Blue G and Black g).
Step 1. This step is the assembly of the idler wheel, drive sprockets, road wheels, and return wheels. There are no problems here other than the removal of the mold line which is noticeable on the road wheels.
Step 2. This step is the chassis build. There are 4 mold stubs on the top of the chassis tub that need to be removed. If you don’t remove these stubs the fenders will not fit.

