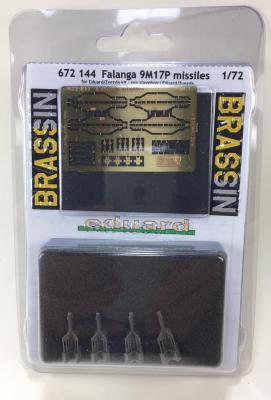
The Falanga 9M17P Flite (NATO reporting name of AT-2 Swatter) is a radio controlled anti-tank missile developed by the Soviet Union. It was one of the standard weapons fit of the Hind A and Hind D helicopter gunships used in the Soviet Union, many Eastern Europe countries and others that operated the Hind A and Hind D helicopters. The missiles were normally mounted in pairs on each side of the helicopter. The launch rails usually mounted at bottom of the end plates on the Hind’s stub wings. The missiles were also mounted on several types of armored personnel carrier of the BRDM series.
What's New
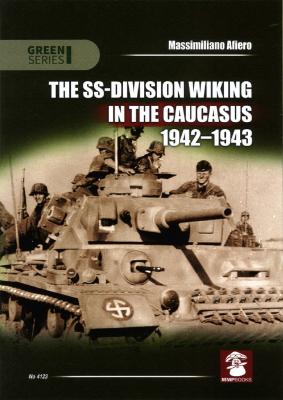
Massimiliano Afiero was born in Afragola (Naples Province) in 1969. Massimiliano is a computer programmer and teacher, but has long been a serious historian of World War II. He has been extremely active in writing articles for many history magazines in his native Italian, Spanish, and English. You can also find him as an active participant in many military history websites. Massimiliano has personally interviewed many Waffen-SS veterans and has published their experiences in World War II. He published his first book, ‘Hitler’s Foreign Volunteers’, in September 2001, and has now amassed 33 published books. He is currently the Editor-in-Chief of the magazine SGM (Second World War), Ritterkreuz, The European Volunteer, Fronti Warning, and The Axis Forces. You can find his website at http://www.maxafiero.it
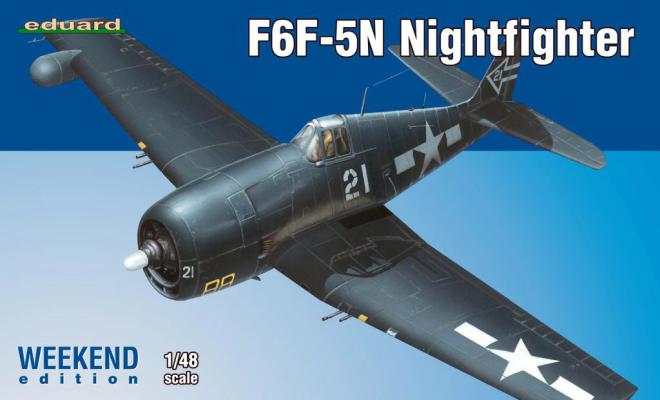
Eduard has released a full line of Hellcats in 1/48 scale, covering from the early -3, to the late -5, including night fighter versions and even Royal Navy service markings. This particular boxing is the Weekend edition of the -5(N), with neither mask nor photoetch, but with two options for decals and a small number of resin parts to make the conversion to “night fighter”.
When I opened the box I found a total of 5 sprues (one clear) and 3 small resin casting for details like radio-altimeter, exhausts, radar housing for the starboard wing and cannons with nicely casted flash dampers. FYI: the nightfighter version of the Hellcat was capable of carrying a 20 mm cannon.
A note on the sprues: one of them –the fuselage one- was molded in tan, while the rest of the sprues were molded in blue-gray. And there were two full engine cowlings, but no indication of the second cowling in the instructions. I was a bit puzzled by the different plastic colors and two cowlings.
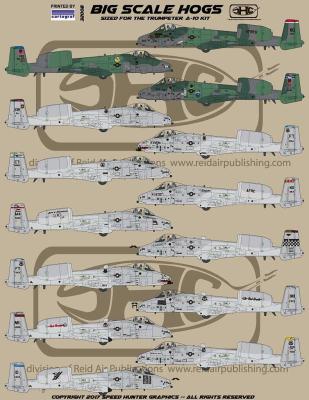
Speed Hunter Graphics is a part of the Reid Air Publications family and that means Jake Melampy whose owner as wells as chief cook and bottle washer. That’s a great thing for all of us who love the wonderful A-10 Thunderbolt II. I have had a love affair with this plane since I first saw one fly in an air show here in Cleve. Anything but sleek, it is a workmanlike flying tank whose appearance may be different but it also the last thing you would ever want to see if you are in an armored vehicle on the wrong side and it’s the best thing to see if you are looking for close air support.
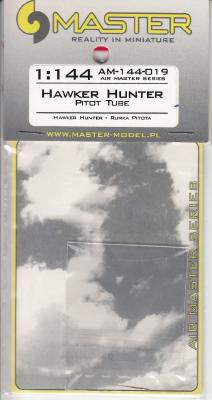
Master Model of Poland produces small brass parts for detailing models, be they aircraft or ships. They have parts for aircraft in 1/32, 1/35, 1/48, 1/72, and 1/144, mostly pitot tubes, refueling probes, and gun barrels.
The pitot part is a very fine piece of brass. The piece is much finer than the kit part.
I didn’t have a 1/144 Hunter on the shelf, so this review required that I build the Revell Hunter. As long as I’m building it, I may as well do it as part of my “Suez 1956” project. That’s why the Hunter has those red and yellow stripes, negating any camouflage effect.
Pitot Installation
Once the kit was almost finished, I got out the Master Model pitot and took the pictures. It was an easy installation. Revell gives you a little notch at the wing tip, and the CA provides a bit of filler. I then painted the pitot silver. No drilling, just a bit of CA and accelerator.
Overall Evaluation
Highly recommended.
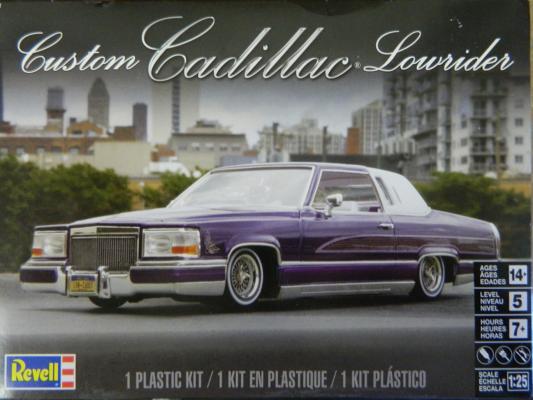
Never built a lowrider and still haven’t. This looked a pretty cool kit and I didn’t have a land yacht in my collection
Engine
I have no idea about the size of the engine, but I remember Cadillacs used to have some huge displacement engines. The kit supplies only those parts for a stock build and those parts fit together very well.
Interior
Door panel and dash engraving was very crisp and easy to detail paint. Rear seat is molded in and the front seat a separate unit. Side panels are spate pieces which makes for easier painting. The interior is also flocked.
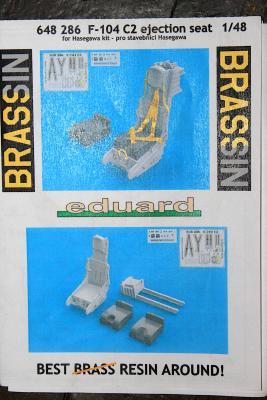
With the recent releases of the special edition F-104 kits from Eduard in 1/48 using Hasegawa plastic, Eduard has released the F-104 C2 ejection seat as a separate kit. The Lockheed C2 ejection seat was the most commonly used ejection seat for the F-104 in US service. It is a downward firing rocket propelled ejection seat.
This seat set is very simple. It contains the main seat frame, two seat options, rails, a small photoetch set and a small decal set. As this is a drop in replacement seat for the kit seat the assembly is very straight forward. Everything in the kit replaces the equivalently parts in the F-104 kit. The first step in the assembly is to remove the three large resin parts from the casting blocks, using a razor saw for this step. If you are careful minimal clean up will be needed. After clean up, wash the parts to remove the mold release agent that is often on resin parts.
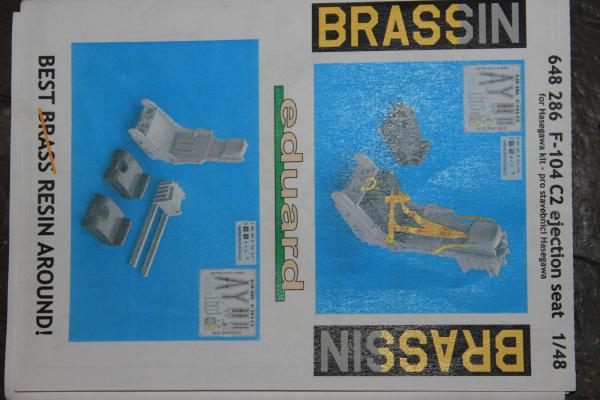
With the recent releases of the special edition F-104 kits from Eduard in 1/48 using Hasegawa plastic, Eduard has released the F-104 C2 ejection seat as a separate kit. The Lockheed C2 ejection seat was the most commonly used ejection seat for the F-104 in US service. It is a downward firing rocket propelled ejection seat.
This seat set is very simple. It contains the main seat frame, two seat options, rails, a small photo etch set and a small decal set. As this is a drop in replacement seat for the kit seat the assembly is very straight forward. Everything in the kit replaces the equivalently parts in the F-104 kit. The first step in the assembly is to remove the three large resin parts from the casting blocks, use a razor saw for this step. If you are careful minimal clean will be needed. After clean up, wash the parts to remove the mold release agent that is often on resin parts.
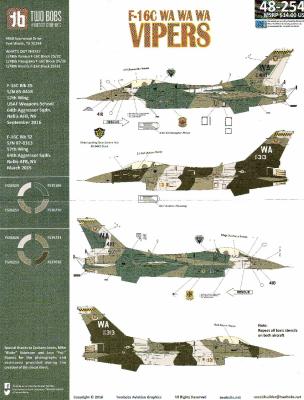
Twobobs always makes great decals and when this scheme popped up on the review list and included and arctic scheme aggressor, I knew I wanted to review it and build and F-16 in those colors. Inside the package are markings for two 1/48th scale F-16’s from 57th Wing at Nellis AFB. This group continues making aggressor schemes to mimic the newest schemes from our potential adversaries. In this case, the two schemes involved are the Arctic scheme with light gray/medium gray/very dark gray in bands around the jet for the first scheme and the second is the splinter scheme in blues and gray. Both jets are really nice looking but I wanted to focus on the Arctic bandit scheme.
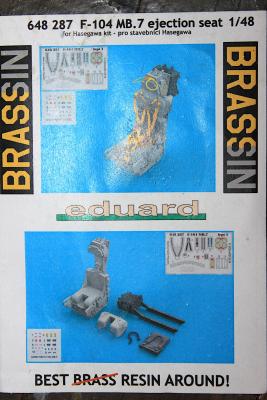
With the recent releases of the special edition F-104 kits from Eduard in 1/48 using Hasegawa plastic, Eduard has released the F-104 MB. 7 ejection seat as a separate kit. The Martin-Baker Mk. Q7(A) ejection seat was a replacement ejection seat for the F-104 in European service. It replaced the original downward firing seats with the newer upward firing design. The reason for this change is that in foreign service the role of the F-104 was expanded and in low altitude flight with heavy wing loads there was a very high rate of failure with the original downward firing seats.

