
Tamiya Honda CB1000F
“I Don't Want A Pickle...”
by Ben Morton
I should explain the title so as not to throw you off from the get go. The more refined and worldly among us may recall the name Arlo Guthrie. A singer-songwriter that had some notoriety for being Woody Guthrie's son and a few FM radio hits like the “Alice's Restaurant Massacre” and of course, “The Motorcycle Song”. The opening line of which is: “I don't wanna pickle, I just wanna ride my motorsickle.” Now, on with the show.
From Tamiya's website -
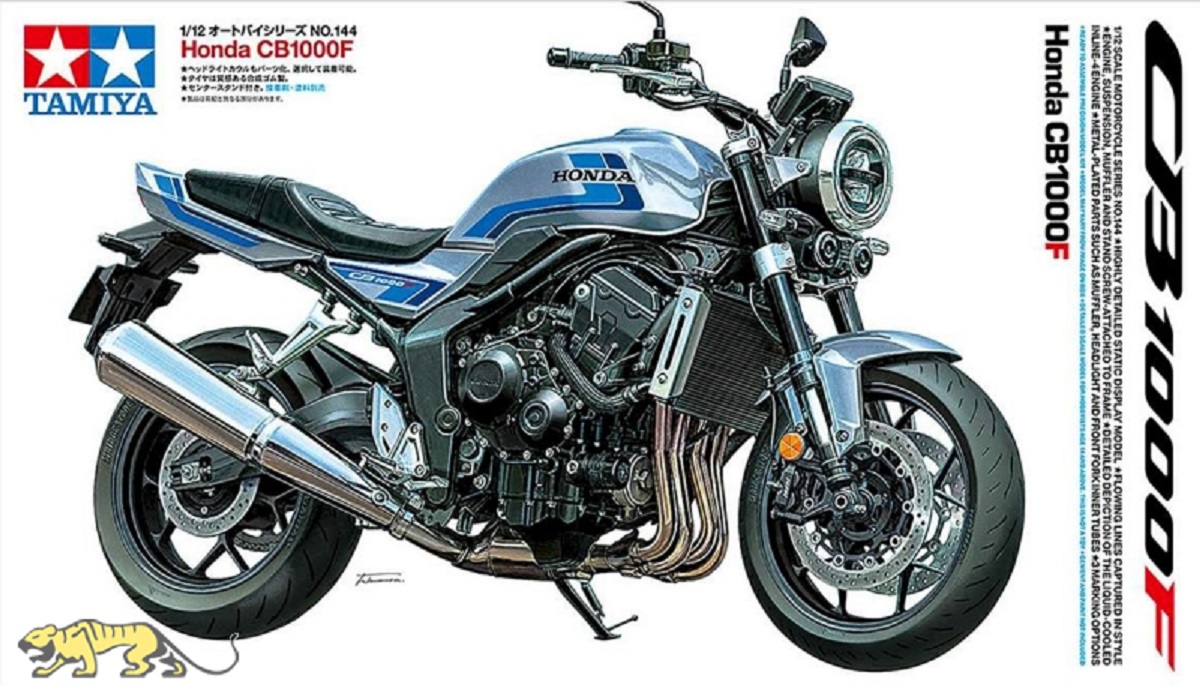
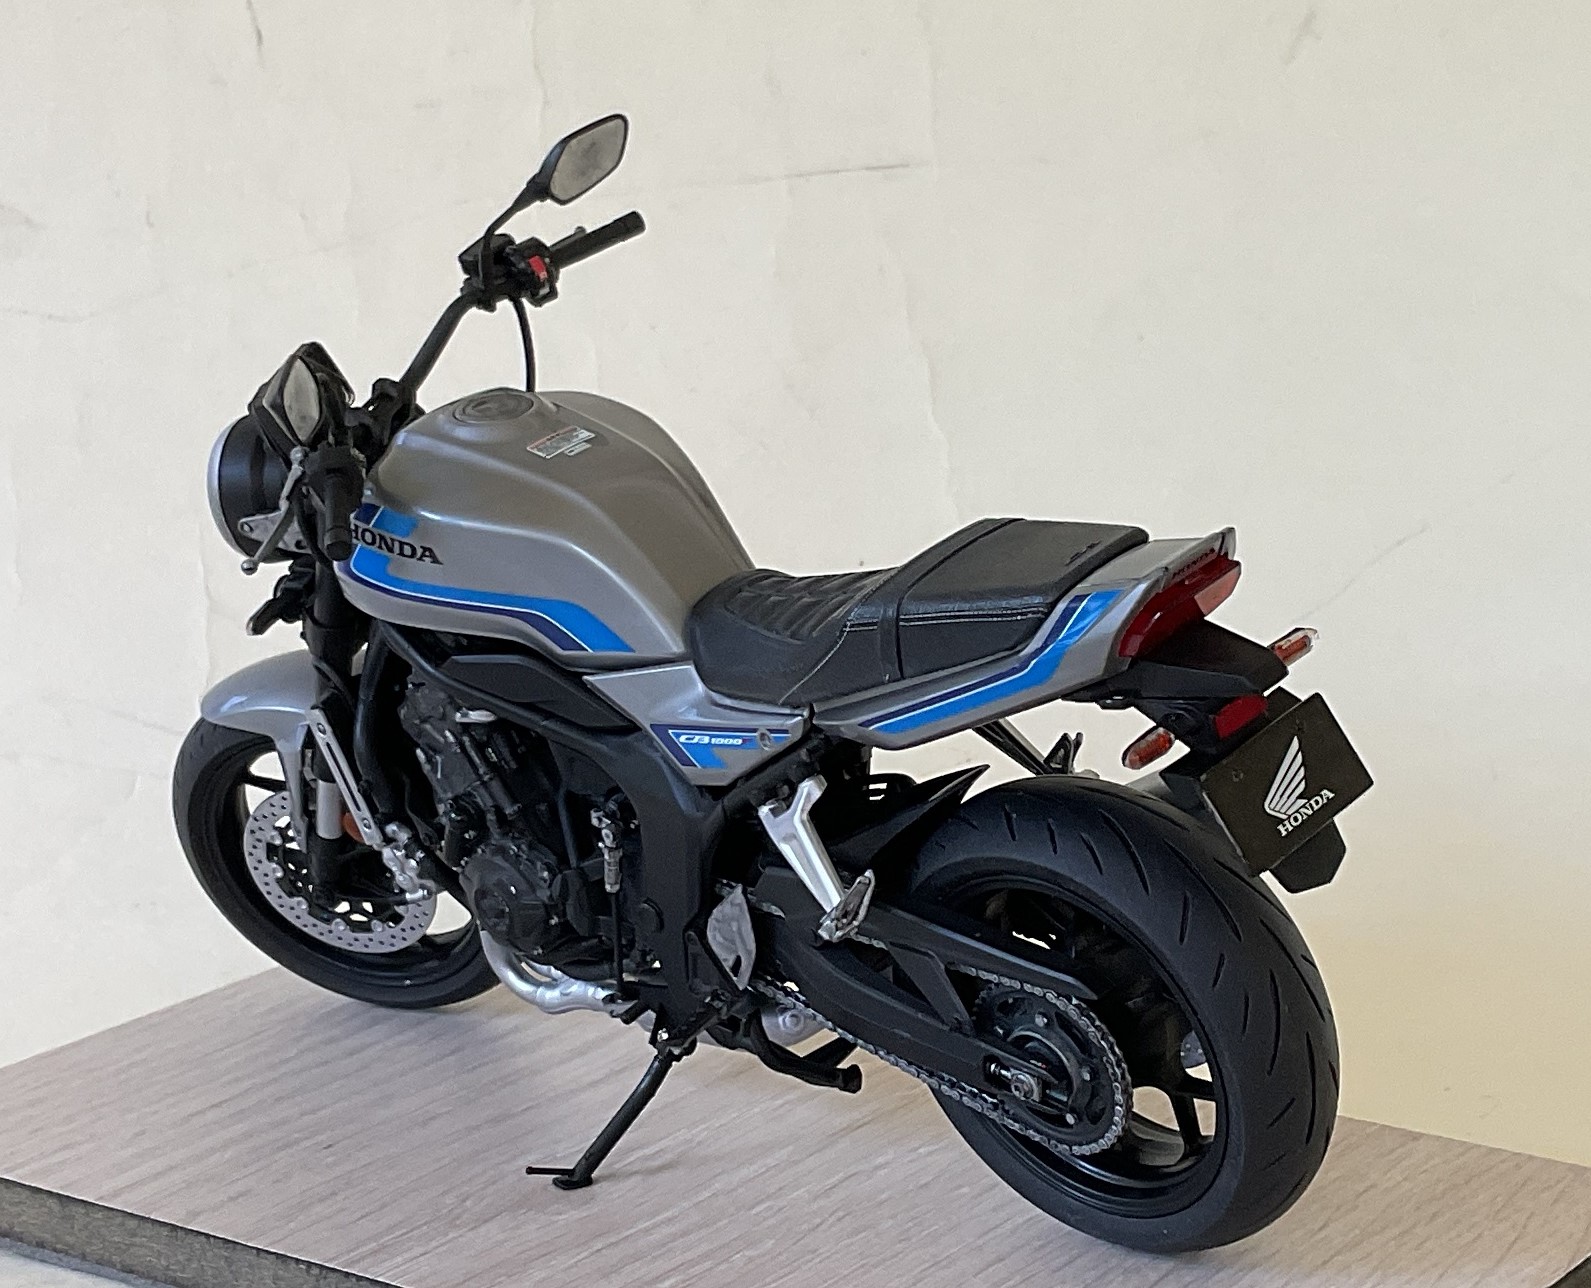
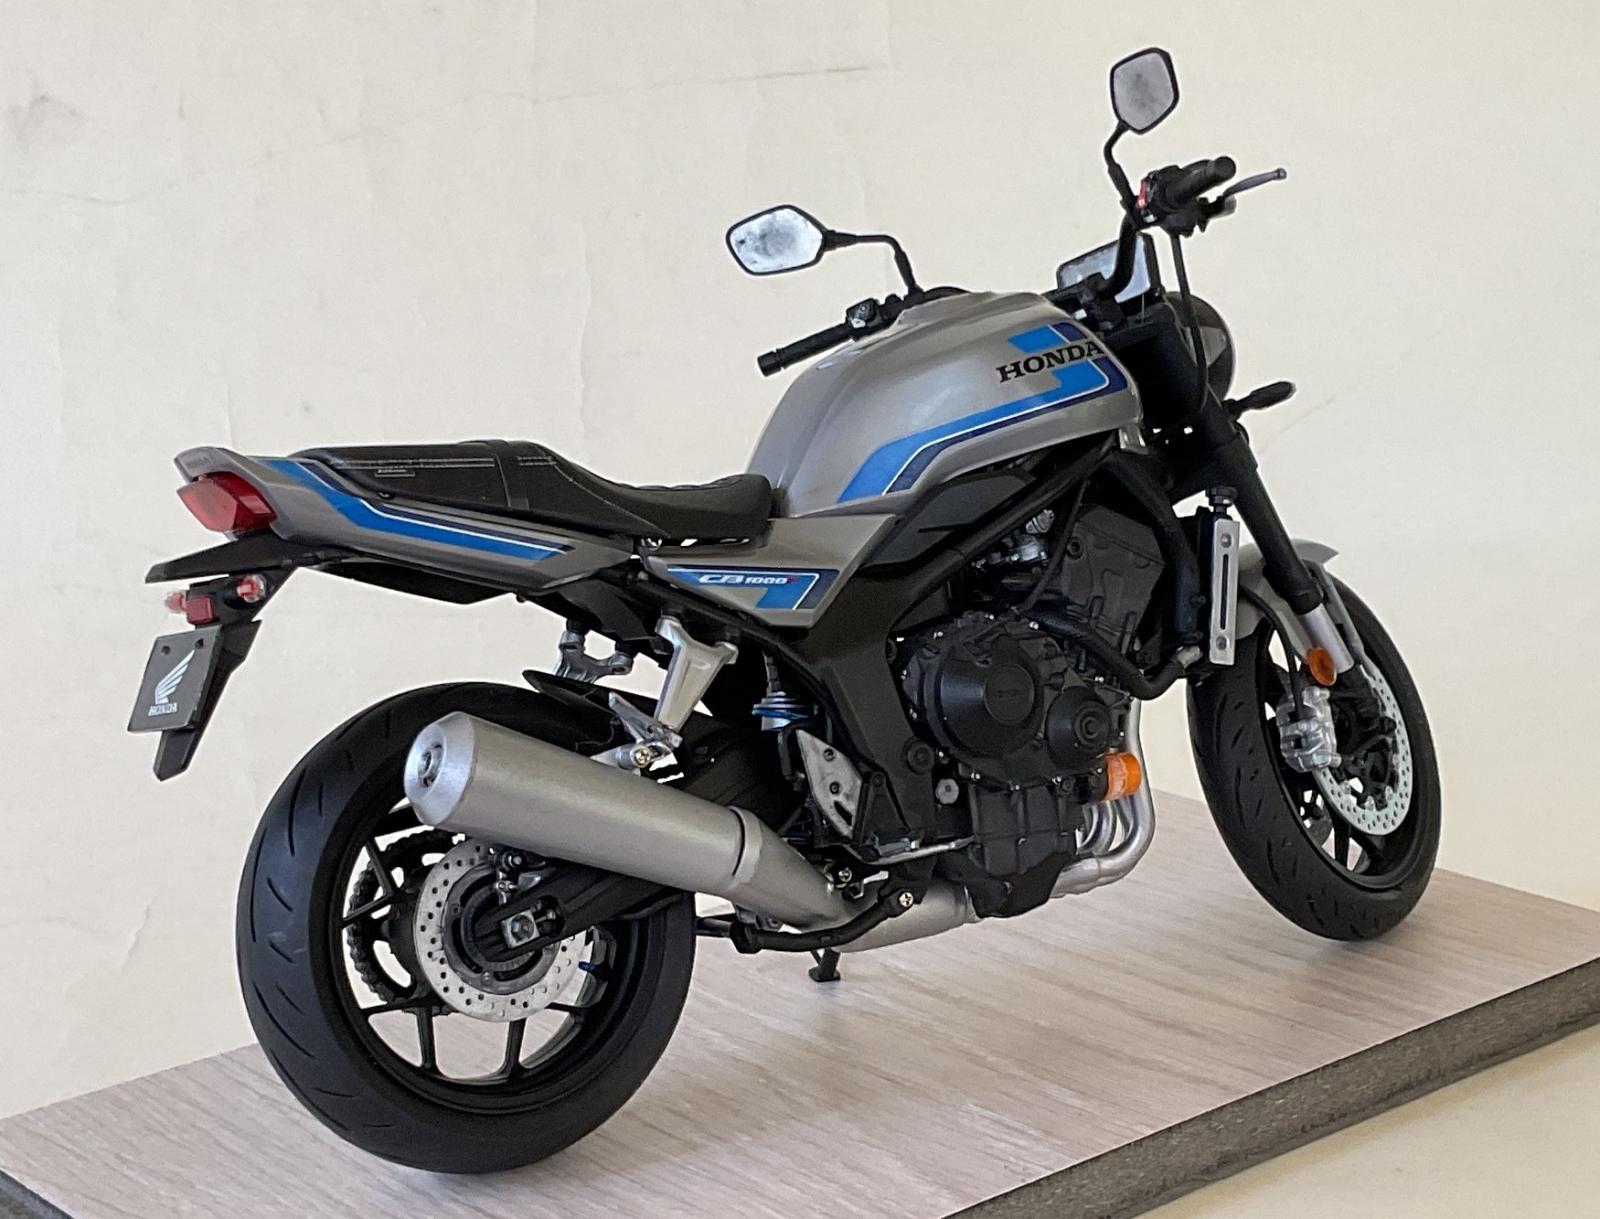
Honda’s innovative and immensely popular CB series of road, sport bikes was joined in November 2025 by the exciting new CB1000F, which takes design cues from the legendary 1979 debut CB750F/900F, including the blocky taillight and the muffler on its right flank. Modern technology abounds, though, exemplified by a 5-inch full color TFT LCD display and a SMART Key starter system. Its 999 cc liquid-cooled inline-four engine provides 124 PS (91 kW) of easily-harnessed power with rich engine sounds. The rider can avail themselves of an array of electronic support features, letting them enjoy the CB1000F in safety and comfort across a range of everyday situations.
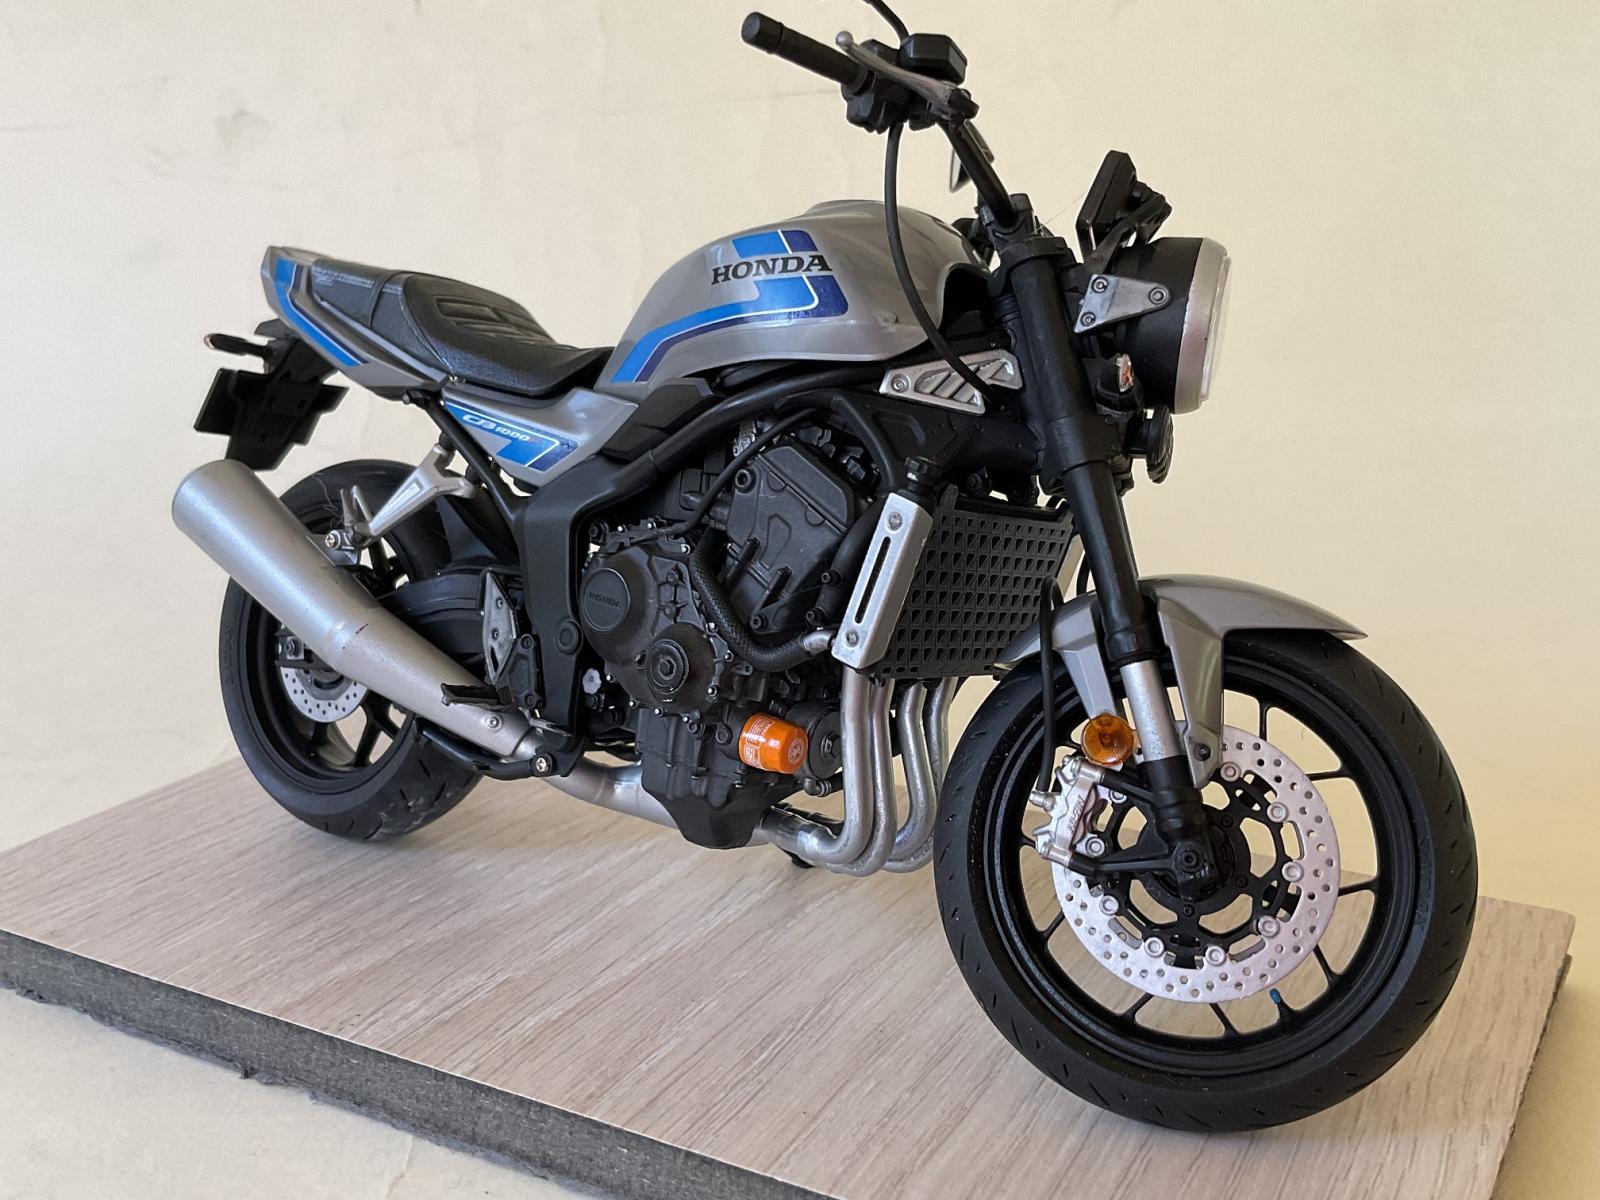
This is a 1/12th scale motorcycle kit of Honda's latest entry into that market. Honda seems to be going for a motorbike that blurs the line between cruiser and sport bike. They may have succeeded.
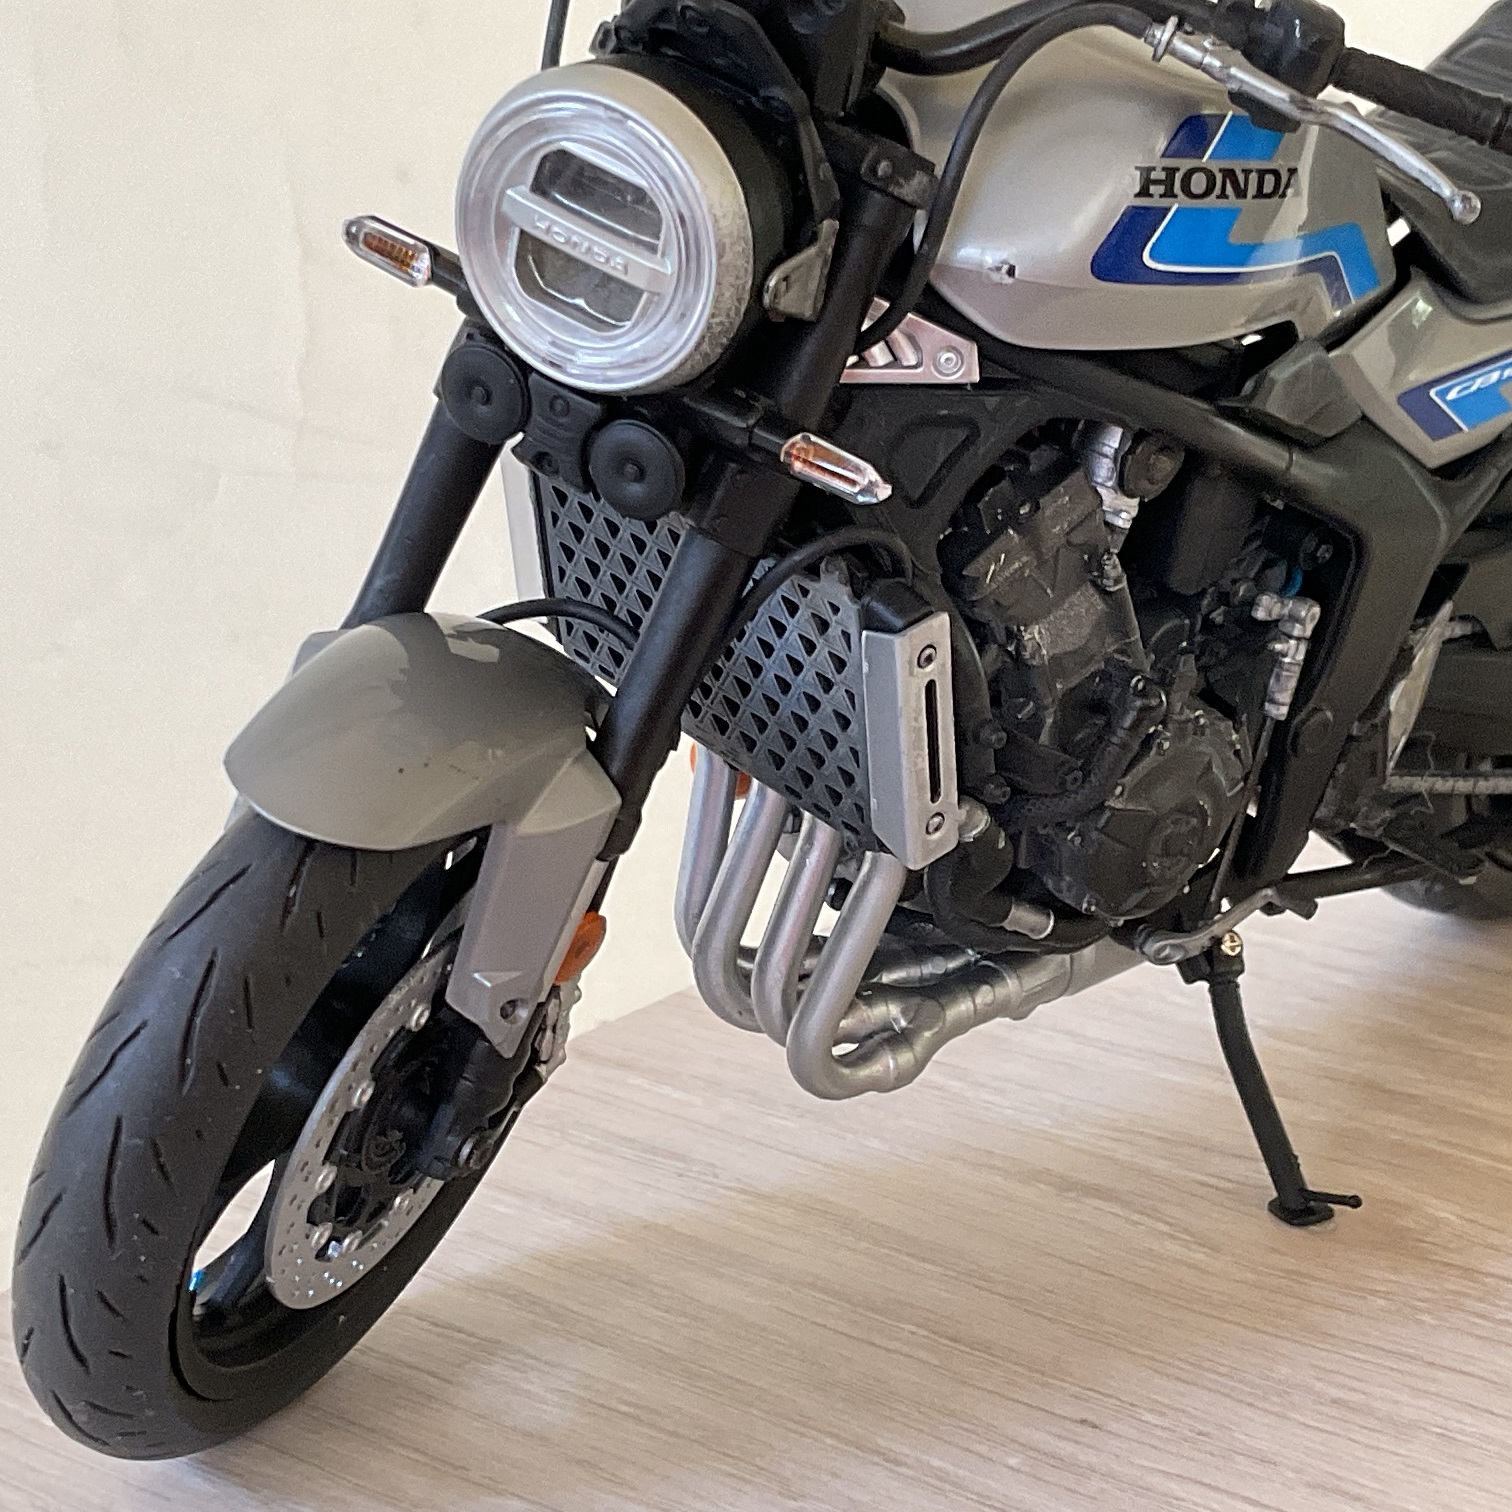
The kit features a detailed engine. Included with this portion of the kit are numerous hoses and fittings that have the mesh patterns molded onto them. Detailed throttle bodies and sprocket covers round out the engine bits. Vinyl tubing is provided for all clutch/brake lines. You are on your own if you chose to wire your bike. Although, in Tamiya's defense, you will be hard pressed to see any of that wiring.
There are three marking options and realistic rubber-like tires and a centerline stand. Some assembly is via metal screws and Tamiya provides those along with a baby Phillips head screw driver, for your convenience.
The plastic for the kit is molded in several colors, primarily silver and black. Additional sprues contain the clear bits for headlights lenses, turn signals and such. A clear, red sprue has the taillight cover and rear reflector. The lenses for the turn signals/windscreen and headlight bezels are molded in clear plastic. A smaller, chromed sprue handles the exhaust pipe, headlamp surround and rear view mirrors.
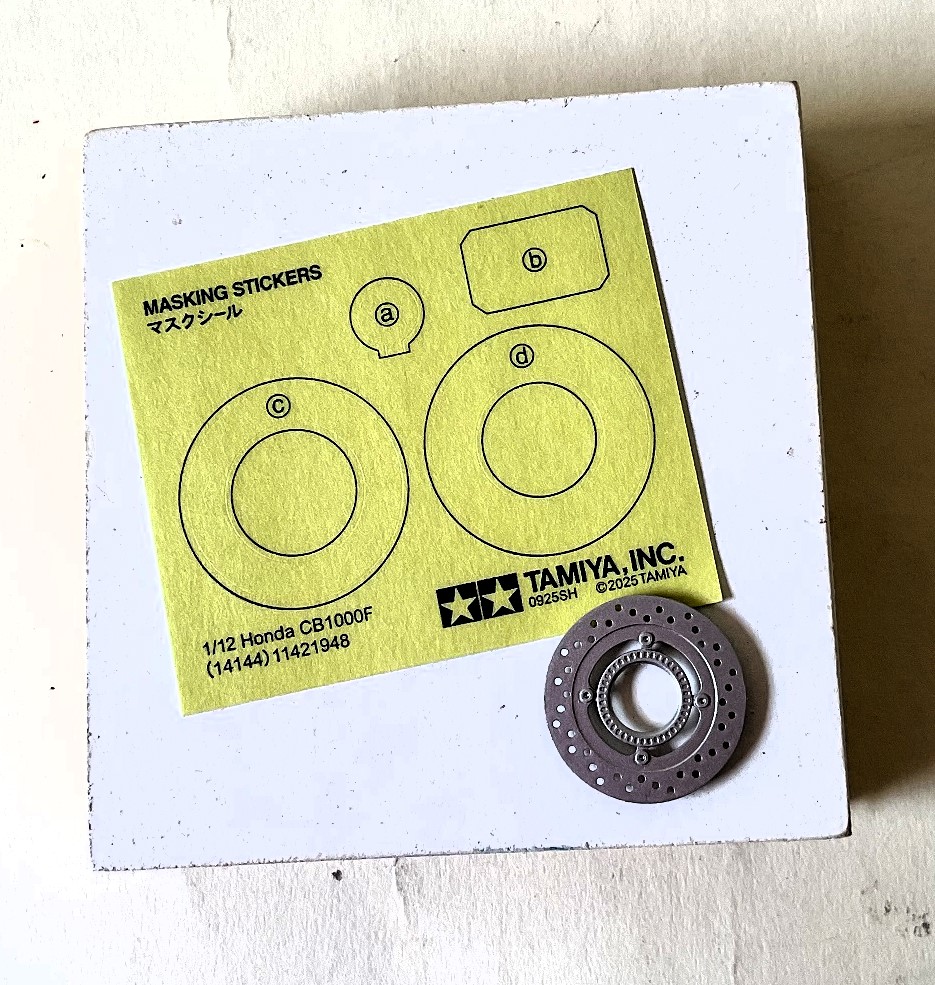
A small sheet of masks are provided for the rear brake disc, dash cover and gas cap.
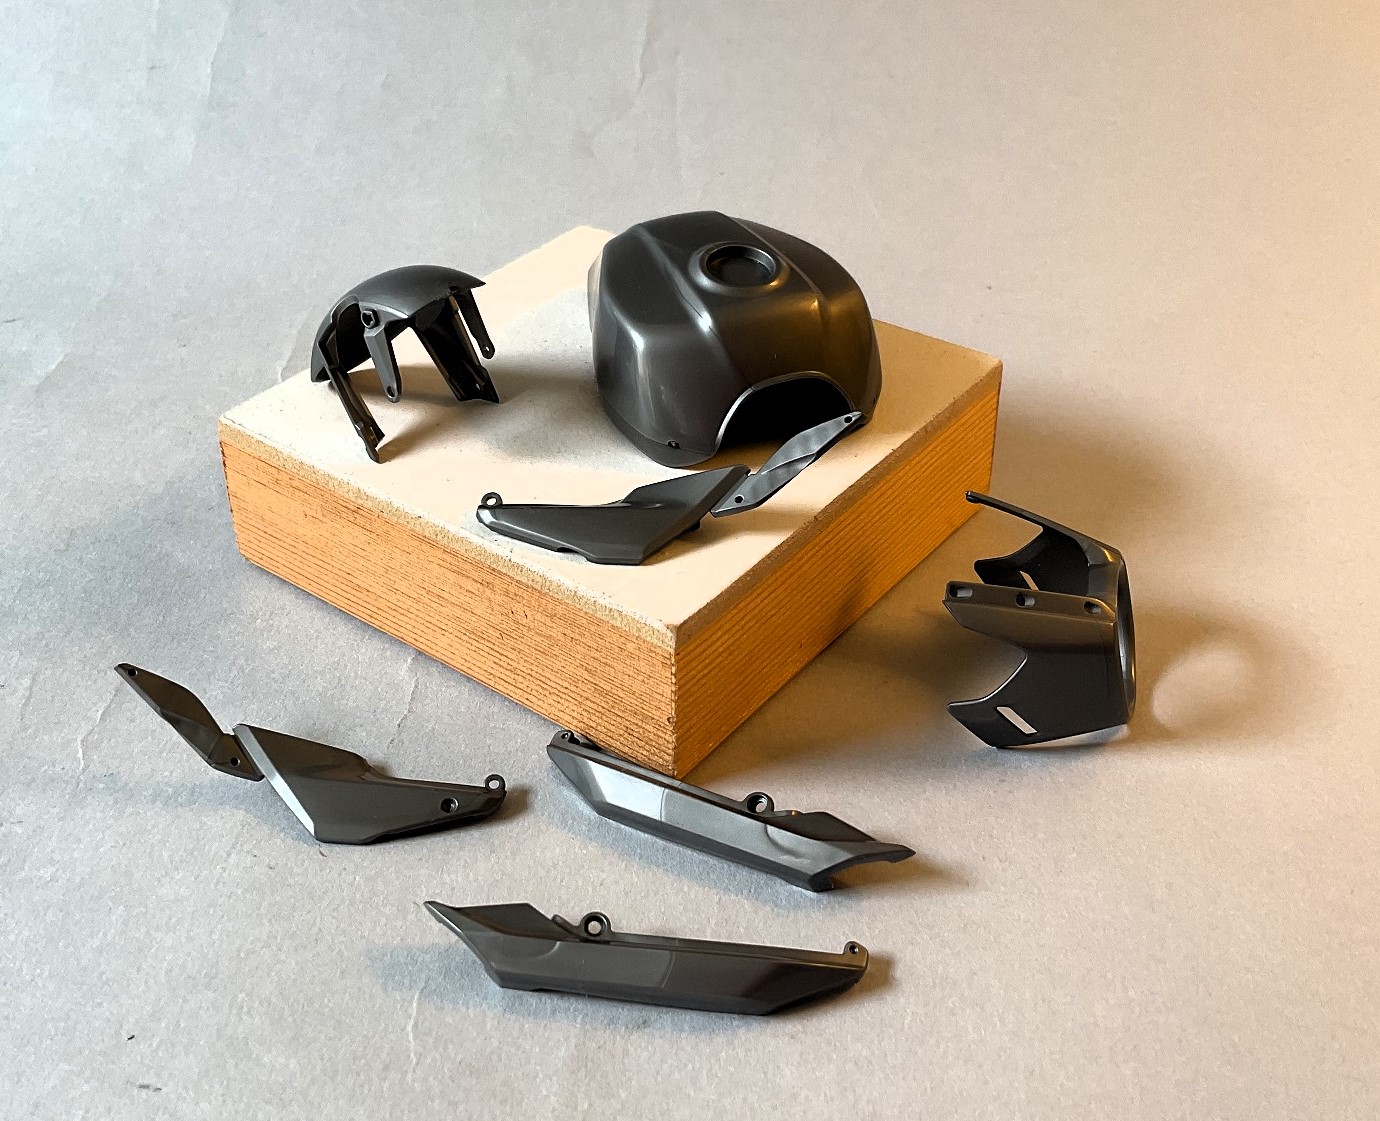
Some of the marketing material for this kit suggests that the Honda CB1000F can be assembled without the need for any major painting. I gonna test that theory in a few appropriate areas, notably the fuel tank, side cowls and seat cowlings. Those bits that would normally be painted silver.
With the engine assembled, the motorcycle frame comes into focus. Two main parts form the frame with spacers and attachment points rounding out this step. The completed engine gets attached, with screws, to the frame. Tamiya has some detailed assembly instructions/diagrams for mating the engine with the frame. Best pay attention as it can be fiddly. The painting suggestions would have you highlighting all of the bolts on the engine. I did that with an aluminum paint marker from the AK Real Colors series.
I've watched a few videos about building this kit. One builder had shaved off all the bolt heads, drilled out the opening and replaced them with aftermarket versions. It looks great. I didn't go that route.
My process, which I followed throughout the build, was to assemble the parts, paint them silver, paint that assembly black and then highlight the bolt heads with a paint pen. But don't let that stop you from going the route of that YouTuber. Most, if not all, painting was done with rattle cans from Mr. Surfacer (1500 Black) and Tamiya (Silver Leaf-TS-30). The engine and drive chain assembly were further treated to various AK pigments applied with a makeup brush (powder brush).
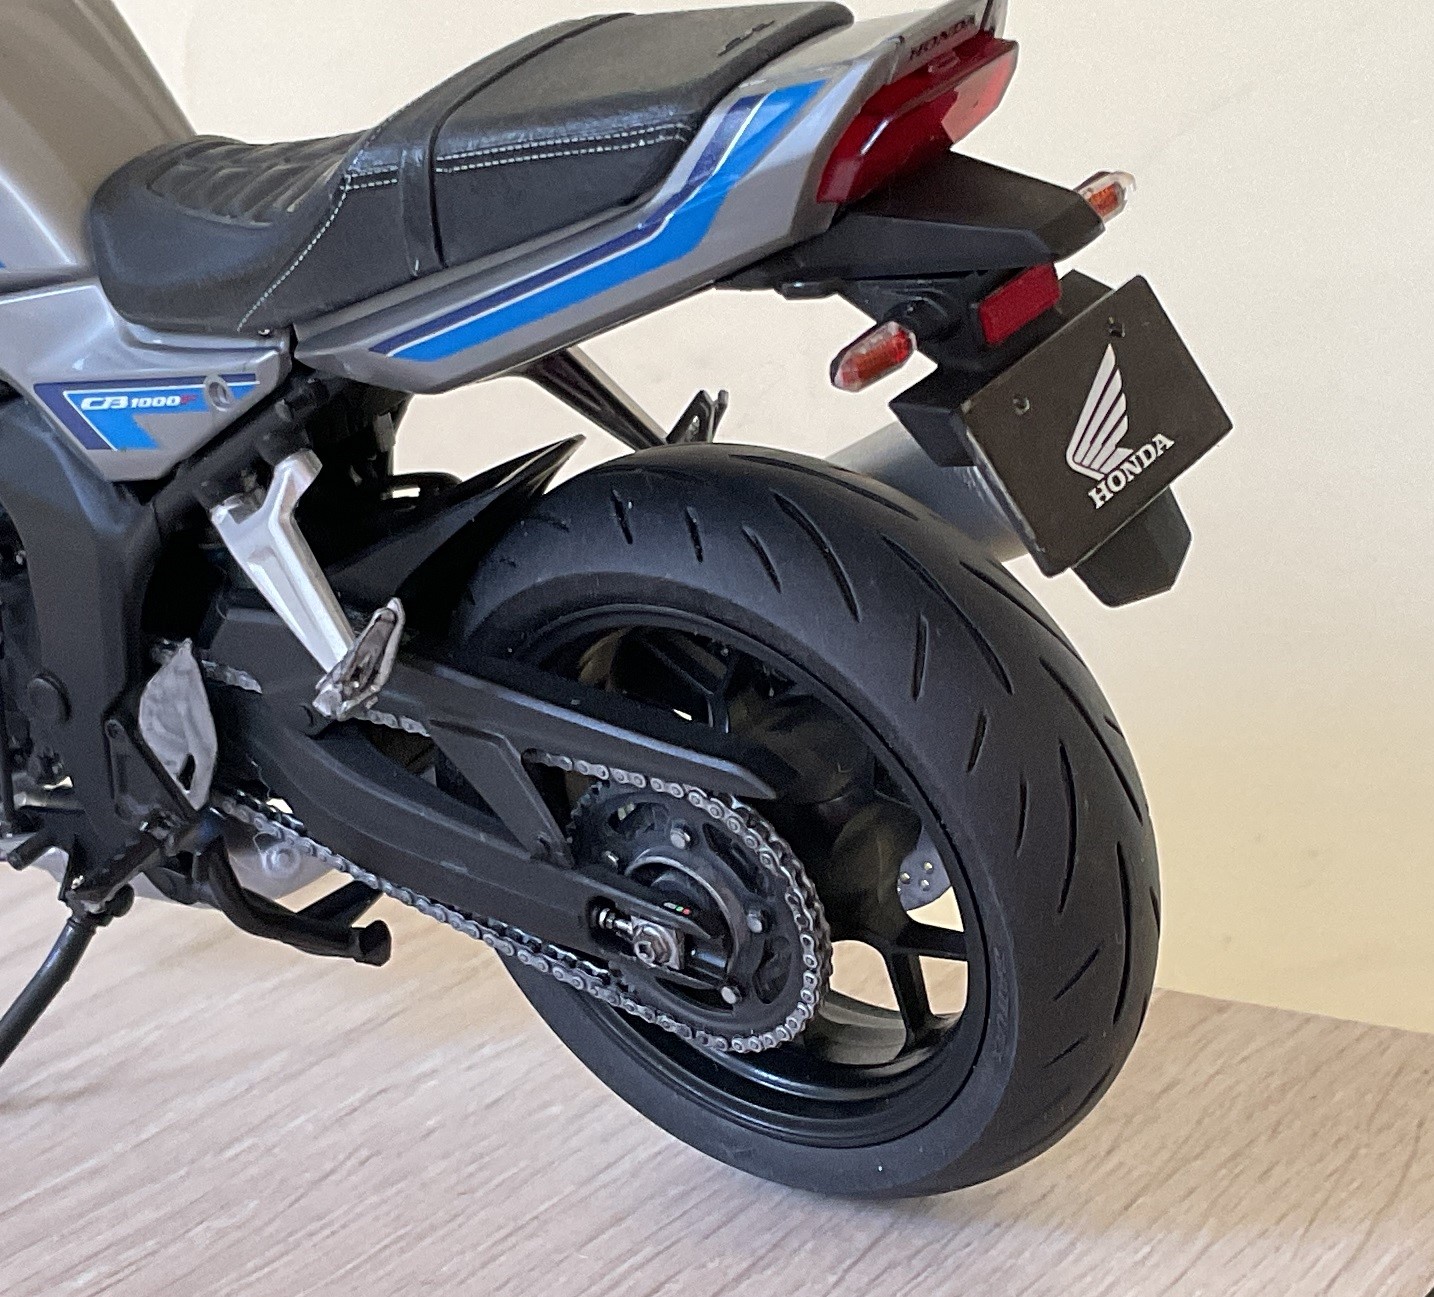
Things move along from here with the swing arm, rear seat damper (shock), and attaching the rear wheel. Tamiya provides soft rubber tires that look great. This is another area where following the assembly instructions might save you some grief. The tread pattern on the tires is specific and you don't want to mess that up. Otherwise your bike will only travel in reverse. Brake calipers/discs/brake lines get attached to the tire rims. Masking stickers are included to help with painting both the front and rear brake discs.
The drive chain is molded in two parts (left/right) which gives it a very detailed, authentic look.
That look was accentuated with some black panel liner. Attaching the swing arm assembly to the frame involves more screws and just like the sign says...do not overtighten. The license plate stay holds the license plate, rear tail light and turn signal lamps are then added.
Once accomplished it is on to the airbox. The airbox is cool motorcycle talk for that area/assembly directly under the fuel tank. As expected, the fuel tank gets attached to this a bit later in the build.
Fuel line (tubing) is threaded through and around this part. There are a number of lines running throughout the bike and Taniya has you add these as you go along with the building. Best to follow their lead and attaching them as suggested otherwise you may find it nye on impossible should you decide to wait until the end.
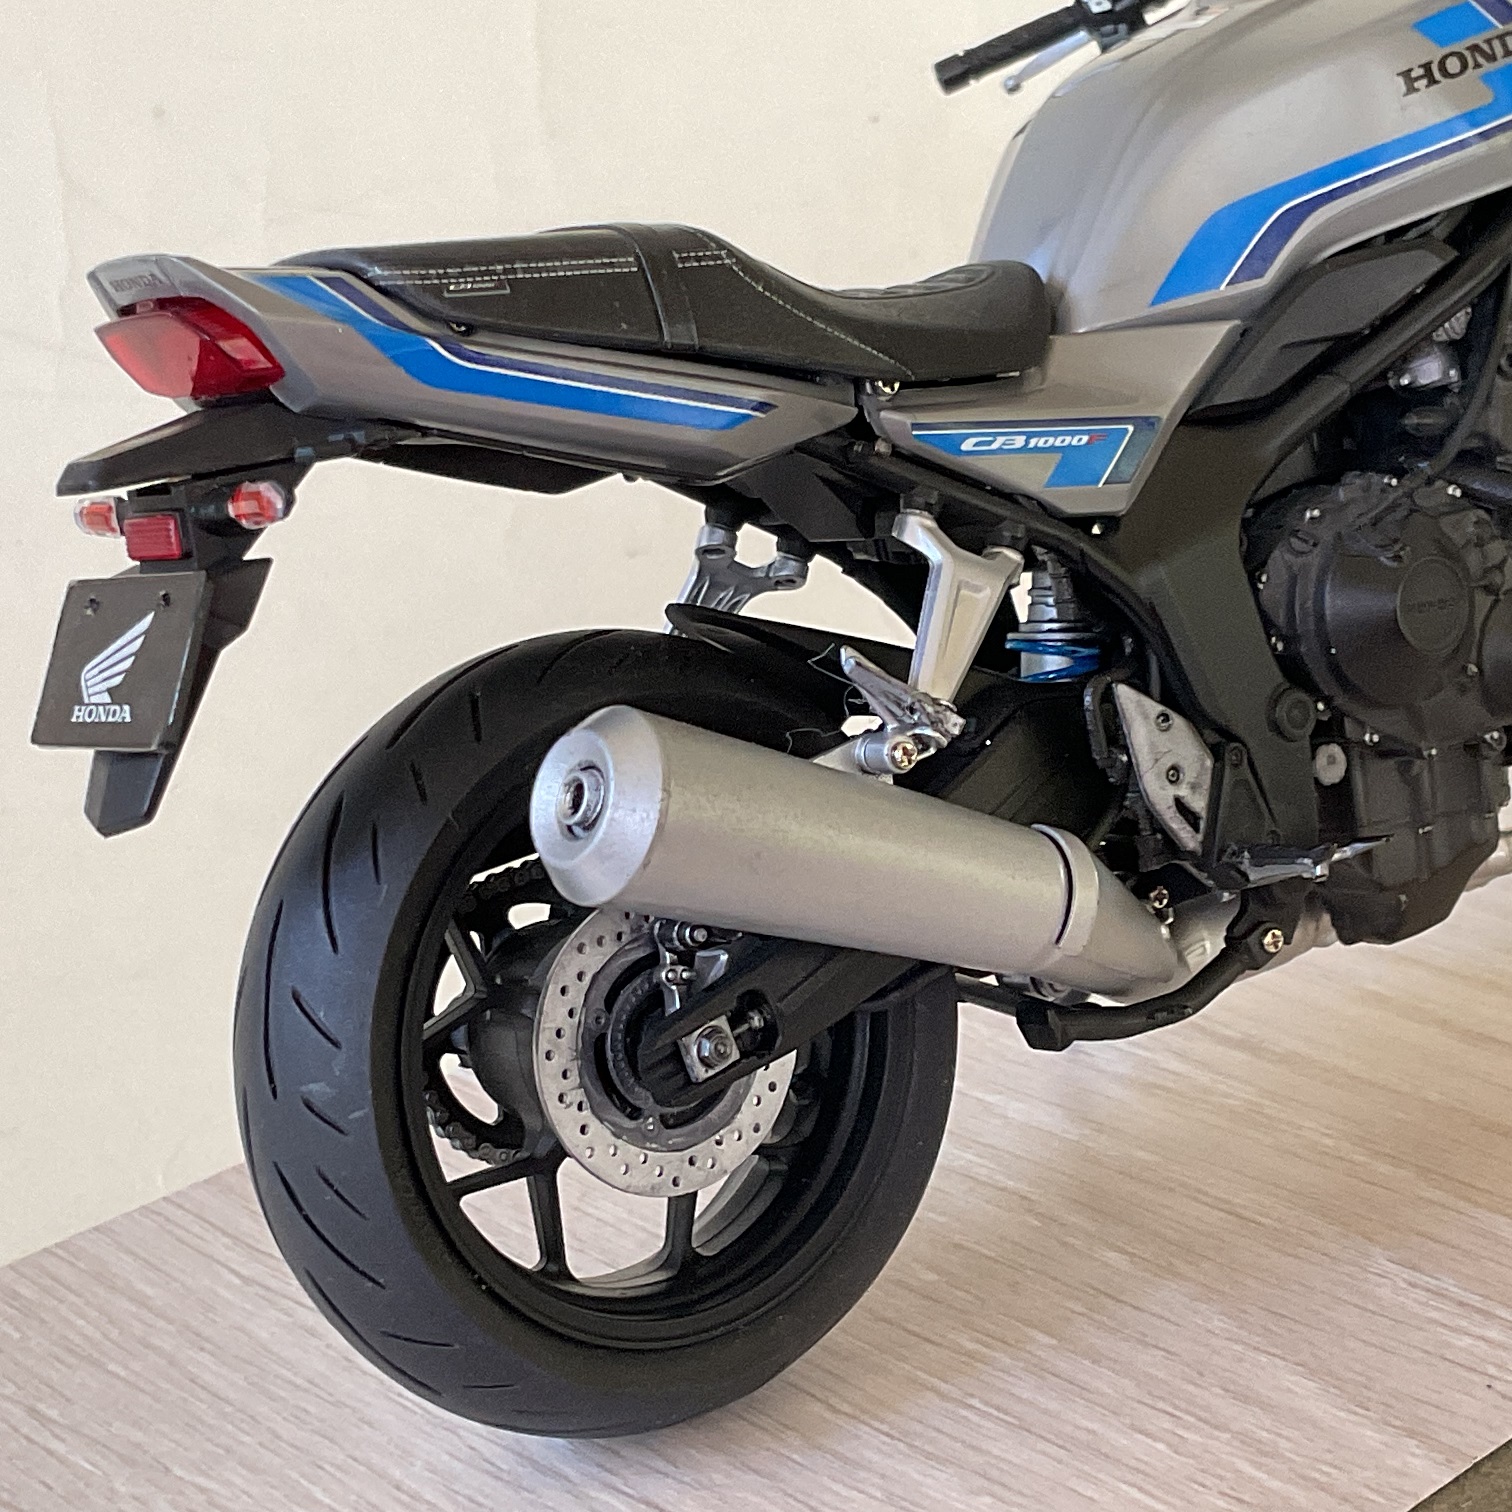
The exhaust is the next area of interest and is very nicely molded and more than looks the part. This sub assembly is really two separate assemblies. One the header exhaust/muffler section, the second the exhaust pipe. The radiator assembly with cooling fan gets added to the engine along with some cosmetic body parts to the frame.
The next six steps all involve adding the front fork and front tire assembly to the frame. The rubber-like tires get mated with the rim, brake calipers with lines are assembled and added along with the front fender. I found this all a bit fiddly but finally it did all go together just like the engineers drew it up.
The slight difficulty I had with the assembly definitely had more to do with this being my first motorcycle kit rather than anything else. There is a long screw (axle) that holds all this in place
(Step 26). Tamiya provides a cap to conceal the screw but only on one side. (?) That being said, there
is an extra part (#C16) on the sprues that, with some modification, will suffice.
The downhill side of the build is now upon as you add the head light stuff (bracket, light lenses, headlamp assembly). The head lamp assembly 'snaps' onto the bike. That is way more daunting sounding than in actual practice. More like a 'click'.
Fuel tank, side cowls, rider seat and shift linkage join the rest of the bike at this juncture. The fuel tank is a two piece affair but Tamiya provides those as upper and lower parts. Eliminating that pesky task of filling and sanding the parting line. This is a good spot to mention that mold parting lines throughout are at a minimum. All that I required to eliminate them was a quick pass with a sanding stick.
The same can be said for the sprue attachment points on the parts.
Handle bar and grips come next. This is a somewhat delicate assembly so take your time and try not to knock off the brake/clutch levers. The previously added vinyl tubing gets attached to the grips to complete this addition to the bike.
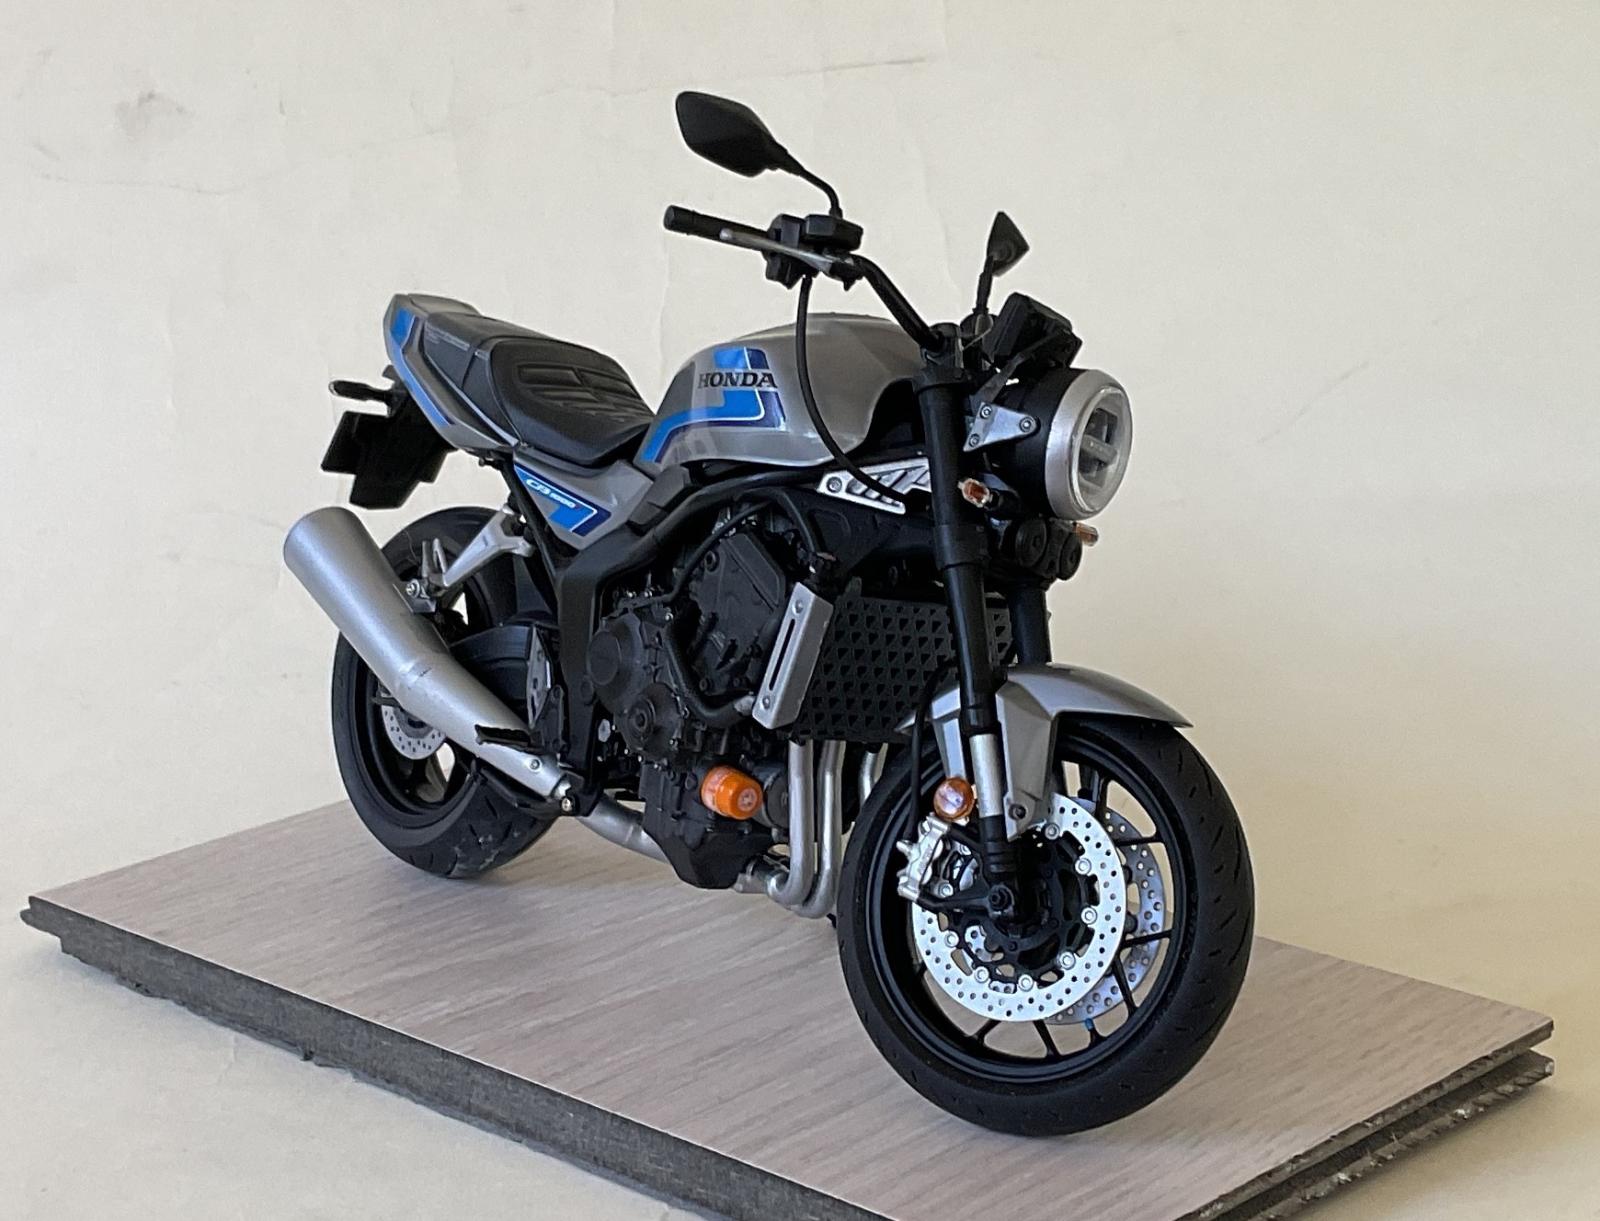
All that is needed now to complete the build is to add the front cowl/windscreen bit. This is an optional addition and comes as an add-on when purchasing the real thing as well. The look this headlight cowl gives to the overall assembly kinda reminds me of a 'Cafe Racer' style bike.
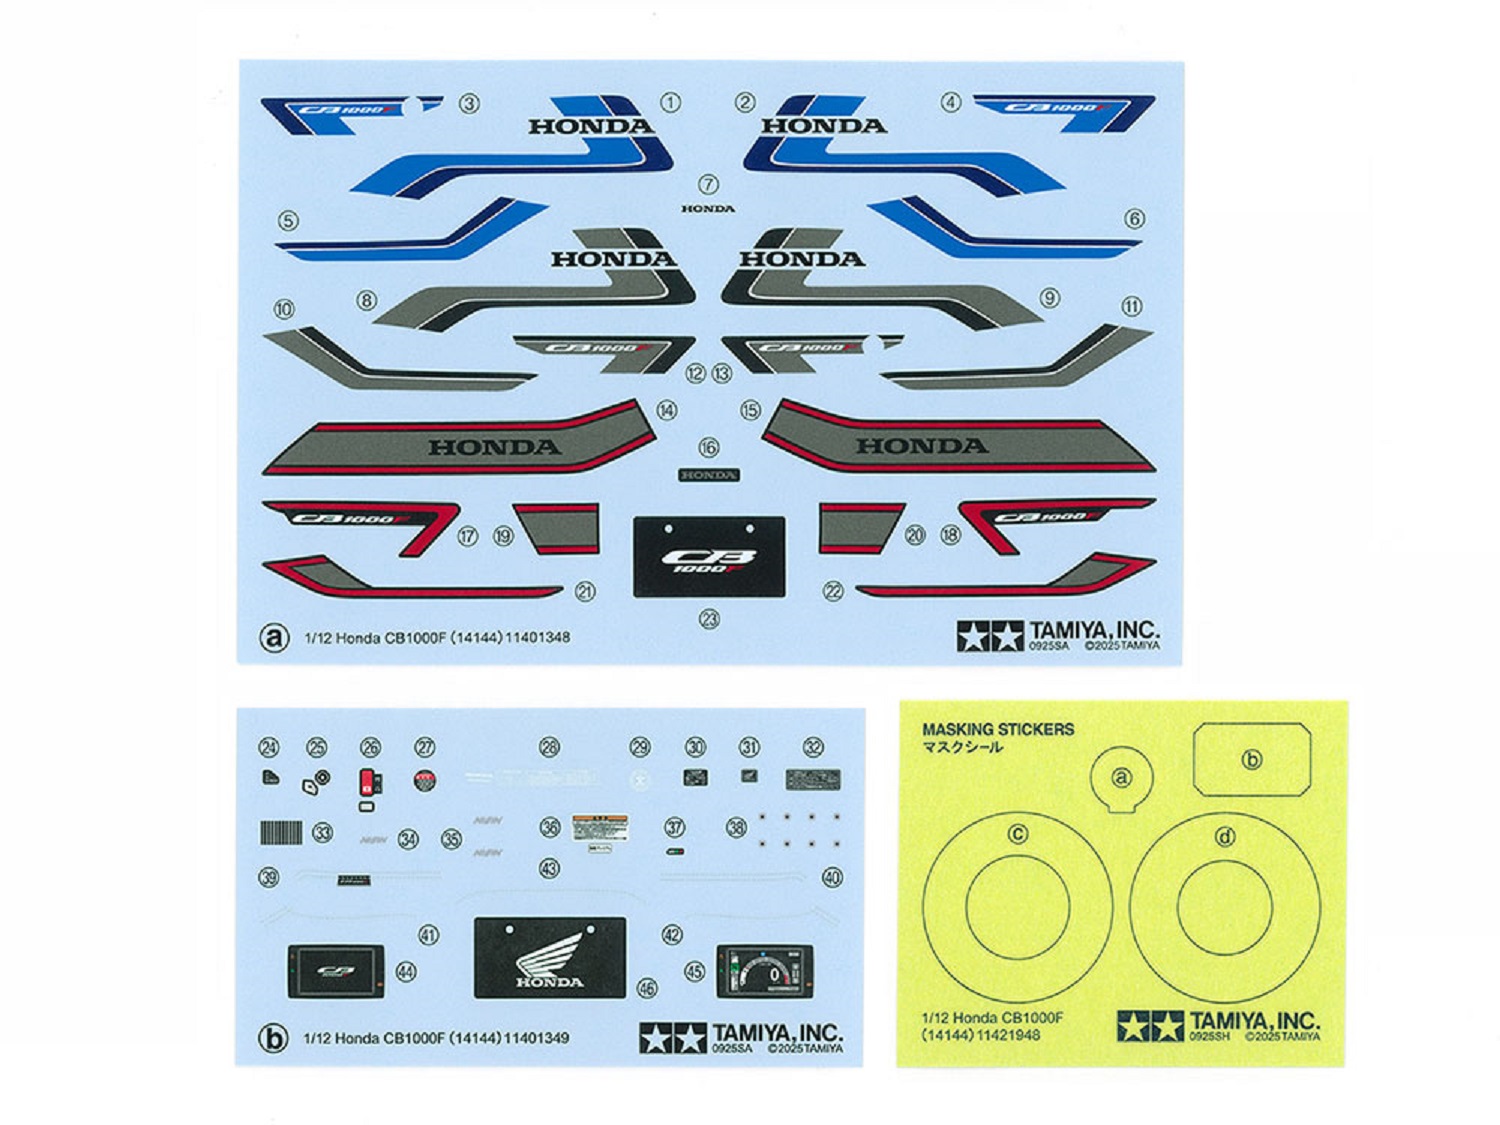
Decaling the bike really is the last stop on our cruise. Or, maybe the second port of call as the instructions have you add various stickers and placards as you go along. There are decals for the radiator cap, oil filter, fuel tank, manufacturer's data block, serial number and the accent stripping on the fuel tank and other body parts. Tamiya includes five separate decals to represent the accent stitching on the rider's seat. They all went down beautifully.
This is also where I decided to test Tamiya's claim that you could build this kit with a minimal amount of painting. All the body parts (fuel tank, side cowls, headlight surround and front fender) are all bare plastic. I polished each piece with buffers. I did this with fine grit, sanding sponges from Gunprimer. These buffers were developed for GunPla modelers as a way of shining up those war machines in lieu of painting. The only misgiving I had doing this was that the sprue attachments points on the fuel tank and front fender were nigh on impossible to remove.
As mentioned earlier, this was my very first motorcycle build. I do have several other kits, mostly Tamiya, that I have delayed building due to the daunting looking nature (generally) of motorcycle kits. This kit went together quite easily and with a minimum fuss, so much so that I might just dust off the 1/6th scale Harley-Davidson FLH that is languishing in the stash. All of which I 'blame' on Tamiya's wonderful Honda CB1000F kit.
“Now I'm off to see my friend Ray.”
Arlo Guthrie
My thanks to Tamiya and IPMS/USA for the review copy.


Comments
Add new comment
This site is protected by reCAPTCHA and the Google Privacy Policy and Terms of Service apply.
Similar Reviews