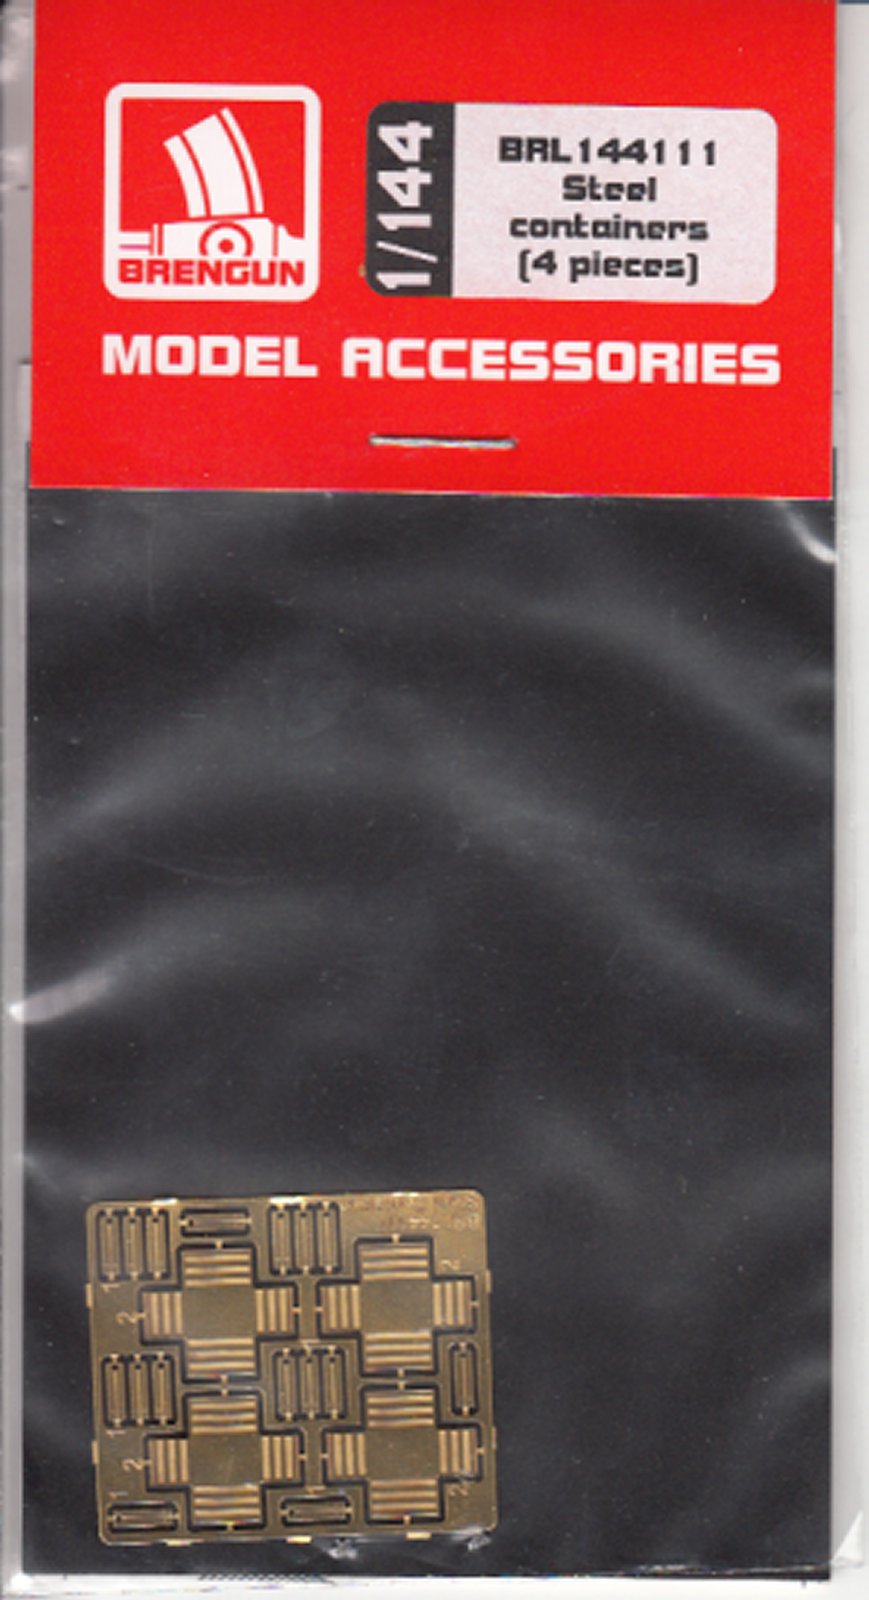
Steel Containers (4 pieces)
Brengun has been producing some interesting PE accessories to dress up the area around your model. I’ve seen examples of this type of container, lots of them. All painted Caterpillar yellow, in East Peoria, Illinois.
The steel container is a standard item around any industrial plant. They’re used to hold parts, subassemblies, junk, recyclable materials, and anything else that needs storage around the plant. They’re usually stackable, about 2 or 3 high, and can be moved with a forklift or overhead crane. The boxes are tough, almost indestructible. Almost.
The Kit
You get enough parts to make 4 steel containers. Each one consists of the box body and 4 corner legs/supports. The instructions don’t match up with the boxes. There’s only one fold required for each side.
Construction
The PE parts are nicely set up and laid out to allow each container to be separated from the fret, and then each of the 4 corner pieces to be removed.
I then folded the body of the container. The fold requires some finesse, as the fold needs to be sharp, square, and perpendicular. If the fold is slightly rounded, the sides don’t meet cleanly at the bottom of the box. I used a pair of flat-nosed pliers to get the fold square. After I had all 4 sides folded, I was able to tweak the sides to line up.
Each of the corners also has to be bent. I used a pair of fine tipped needle nose pliers. I put the corner part in with the length trapped halfway in the pliers, then bent the part with my fingers. As long as these are approximately 90 degrees, there’s less need for a sharp fold.
Once the box and the corner parts are folded, the only thing left is to attach the corners to the box. I used an acrylic hobby glue instead of CA because I’ve got a terrible track record of gluing the parts in the wrong place or off line with CA, and no way to fix it.
Putting the corners on required two days. I put two corners on, and knocked one of them off trying to put the third in place. At that point, I fixed the one I knocked off, and waited until the next day to put the second pair in place, after the glue had set.
Then all that was left was to paint it. I was tempted to use Caterpillar yellow, but settled instead for a medium green (34102) which would work well at a forward operating location for either armor or aircraft.
Overall Evaluation
Recommended. There are a bazillion uses for a set of these containers, as part of a model base or a diorama. They would also probably work with 1/72, if you’re into large scale.
Many thanks to Brengun for the review item, and to IPMS/USA for letting me review it.


Comments
Add new comment
This site is protected by reCAPTCHA and the Google Privacy Policy and Terms of Service apply.
Similar Reviews