
McDonnell-Douglas F-4B/N
The Aircraft
The F-4 Phantom first flew in 1958. Subsequent model improvements and Service Life Extension Programs keep it flying today, albeit in a secondary role. It has been used by the USAF, US Navy, US Marines and 11 non-US services. The Turkish AF probably has plans to paint an aircraft for the Phantom’s 50th anniversary.
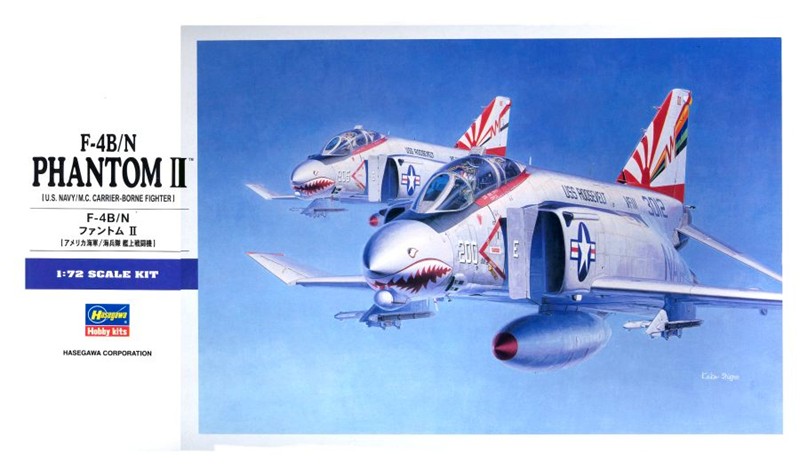
The Kit
This is another of Hasegawa’s “modular Phantoms”. You get a whole box full of sprues which allow you to build the model on the box top by selecting the correct fuselage front, horizontal stabilizers and wing. This approach works fine for the F-4 B through S, except for the RAF M and K models, which had a slightly different fuselage shape.
The sprues are designed to be modular. In this one, they use A, B, and J for the basic fuselage and wing, D for the non-slatted outer wing, G for the slotted stabs, and K for the forward fuselage. P, Q, R, T and W are the seats, gear, underwing add-ons and canopies. This allows maximum use of some sprues, with no necessity for compromises in the accuracy of the model. This means a little more work, as the fuselage is 4 parts instead of 2, but the results are certainly worth it.
The decal sheet covers 2 USN CAG birds, an N from VF-111 "Sundowners" and a B from VF-151 "Vigilantes". The third aircraft on the sheet is a B from VMFA-115 "Silver Eagles". The decal sheet is large, about 5 by 8 inches.
Assembly
I had only a couple of fit problems in this whole project. One is unavoidable, because the forward and rear fuselage sections have to be cleanly mated, and they’re large assemblies with no locating lugs. I had to use a little putty here, along with some scraping to get the front and rear sections to line up. Where the intakes fit into the fuselage side are a problem on just about every F-4 kit I’ve ever built, except for the Platz 1/144, where the intakes are molded in.
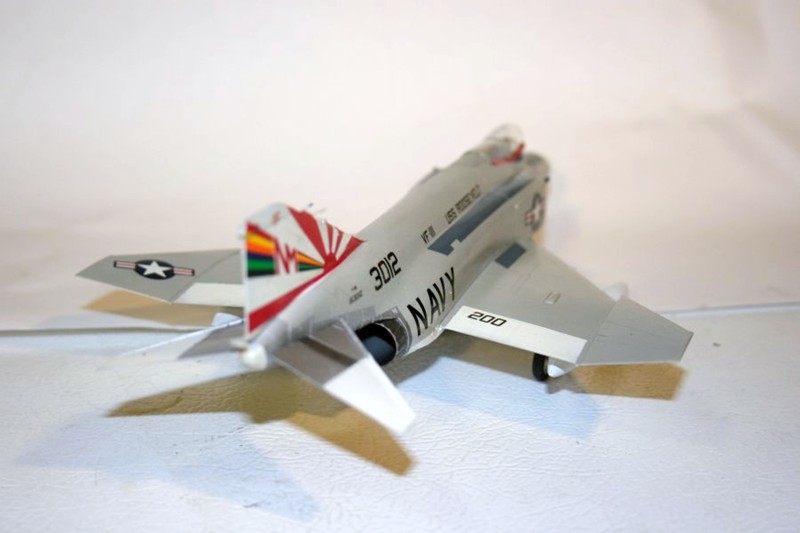
Everything just fit spectacularly well on this kit. The wing section mates nicely to the fuselage. The outer wing panels fit onto the main panel with no gaps, and have the correct dihedral when installed. The top of the vertical stabilizer fit onto the fin with no need for putty, just a little sanding stick action; even the landing gear legs and doors just kind of fell into place.
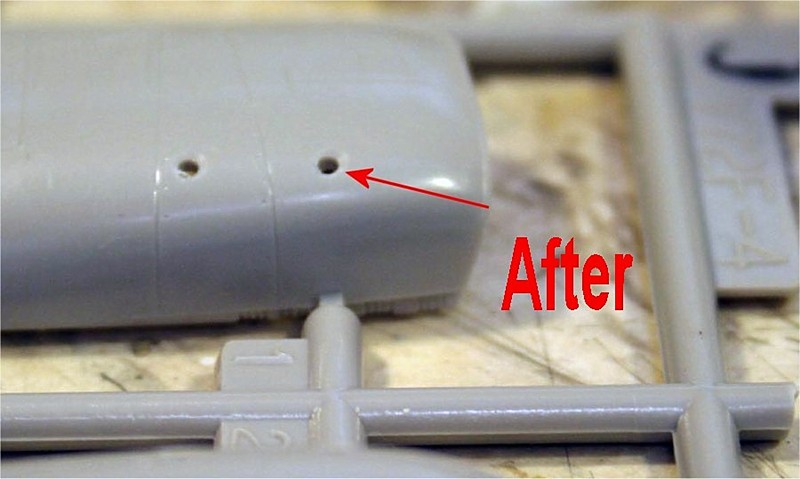
I’ll pass on one trick I used during assembly, which I learned from my father many years ago. You have to drill out the holes for the antennas on the sides of the intakes. When you drill the holes from the inside, the drill leaves some excess plastic around the hole. The trick is to use a much larger drill to quickly and cleanly remove this excess. My father showed me this while we were drilling an aluminum chassis for his Ham radio.
Painting
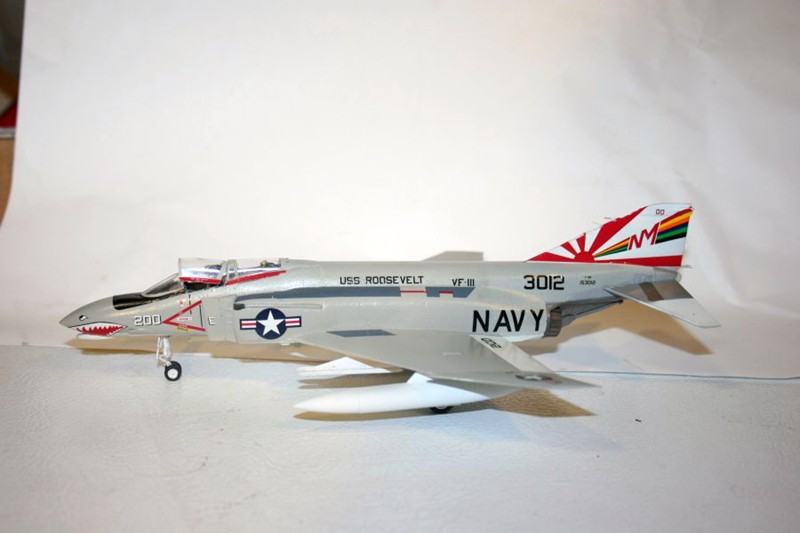
I chose the VF-111 N model because I didn’t have a Sundowner Phantom in my collection. I painted the underside with Floquil Reefer White, as well as the tail. I then painted the rest of the plane with 36440 Gull Gray. I then had to go back and mask and fix the demarcation line at the bottom between the gray and white, as the line makes it very difficult to mask the white while painting the gray. The other way, masking the gray and painting the white worked better. Future, and ready for decals.
Decals
The markings took longer than any other part of this project. Fortunately the decals are good quality and fit the model well. But since there are so many of them, I had to do them in four sessions, giving them a chance to set up before doing the next. I also Future'd the plane after the second spasm, just to be sure.
Finishing Up
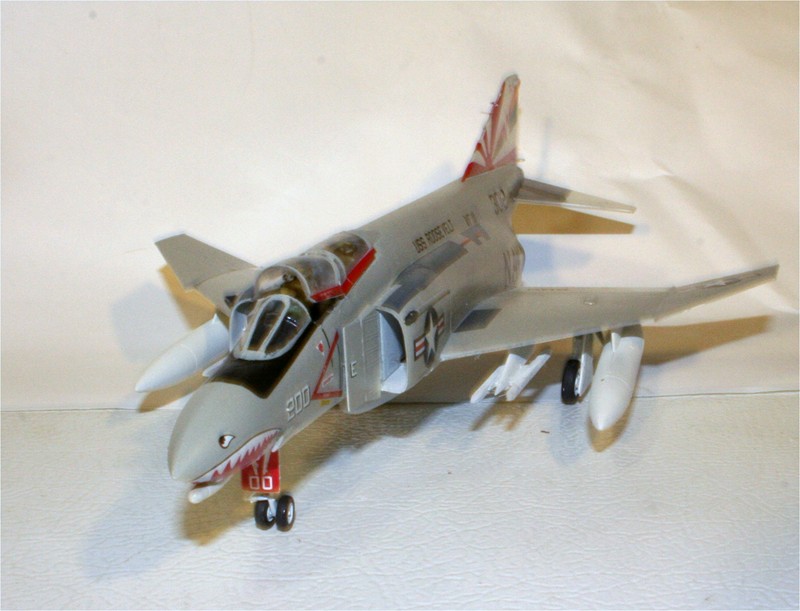
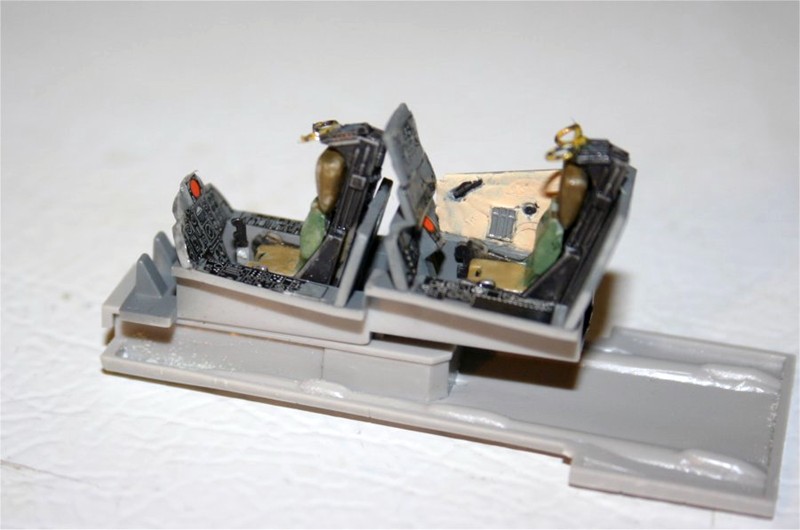
I had temporarily attached the canopy sections to allow painting and to protect the interior. I pried the pilot section off and left it partly open because the seat was just a tiny bit too tall, and I wasn’t going to rip it out just to get the canopy to fit. That was fit problem #2. The landing gear, fuel tanks, weapons pylons and horizontal stabilizers were added. No fit problems here!
Overall Evaluation
Highly recommended. Assembly is straightforward and it all works. The decals are fine. One of the shape problems on some early F-4s is in the nose. Hasegawa got this shape right. Look at one of Hank Caruso’s F-4 caricatures and that big, bulbous nose is very evident.
Thanks to Hobbico for providing another addition to my F-4 collection, and to IPMS/USA and John Noack for the chance to built this fine kit.


Comments
Add new comment
This site is protected by reCAPTCHA and the Google Privacy Policy and Terms of Service apply.
Similar Reviews