
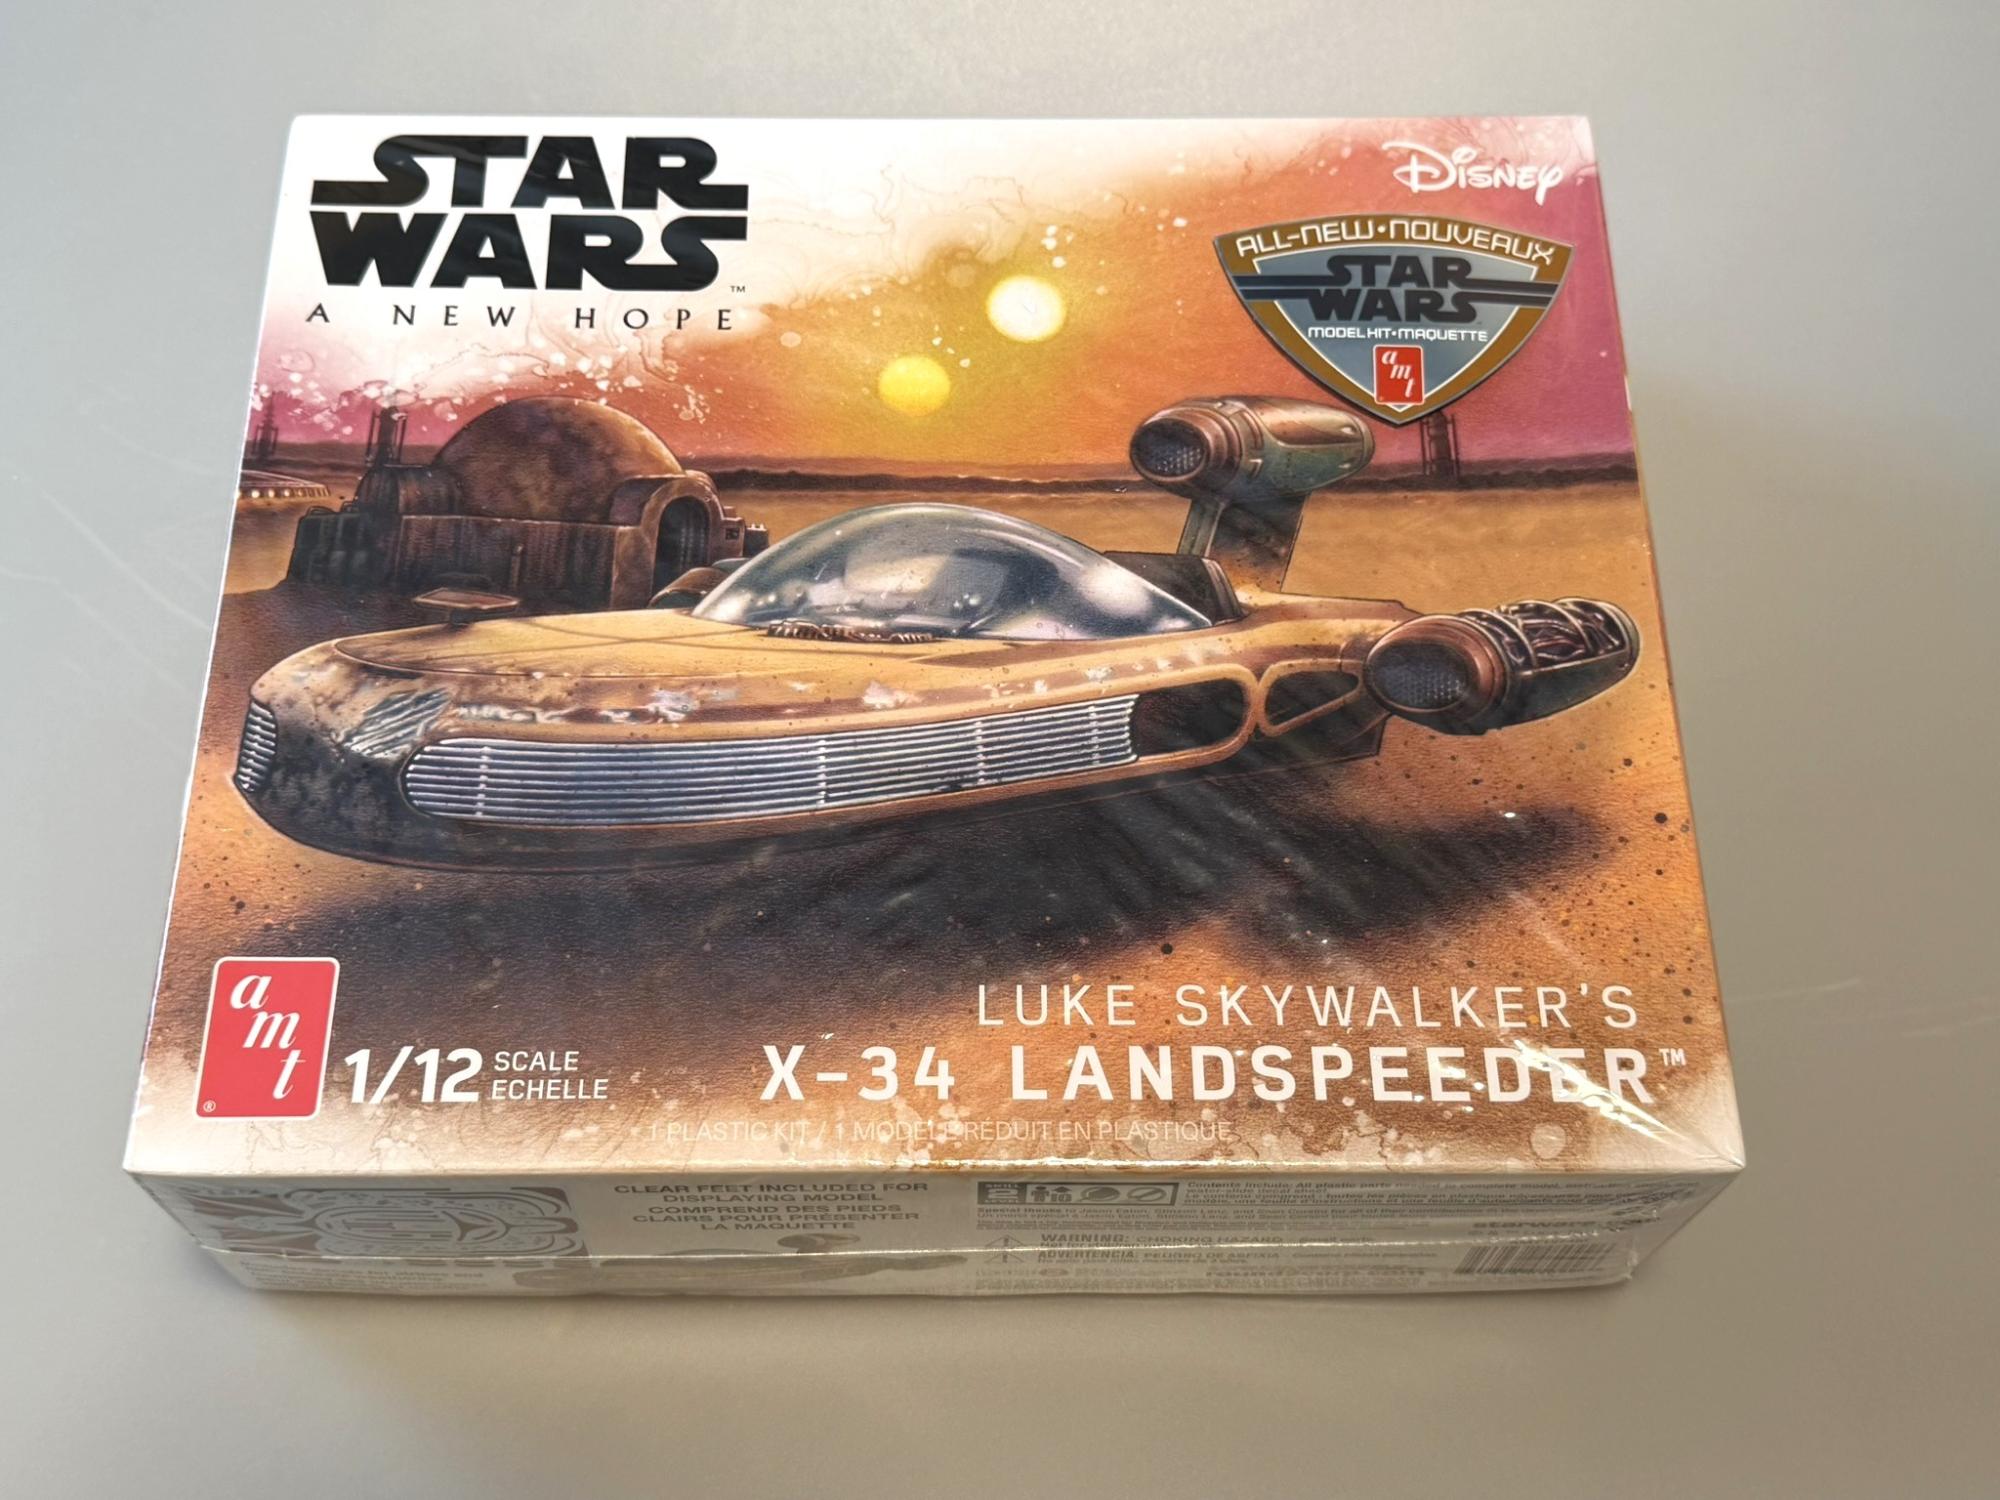
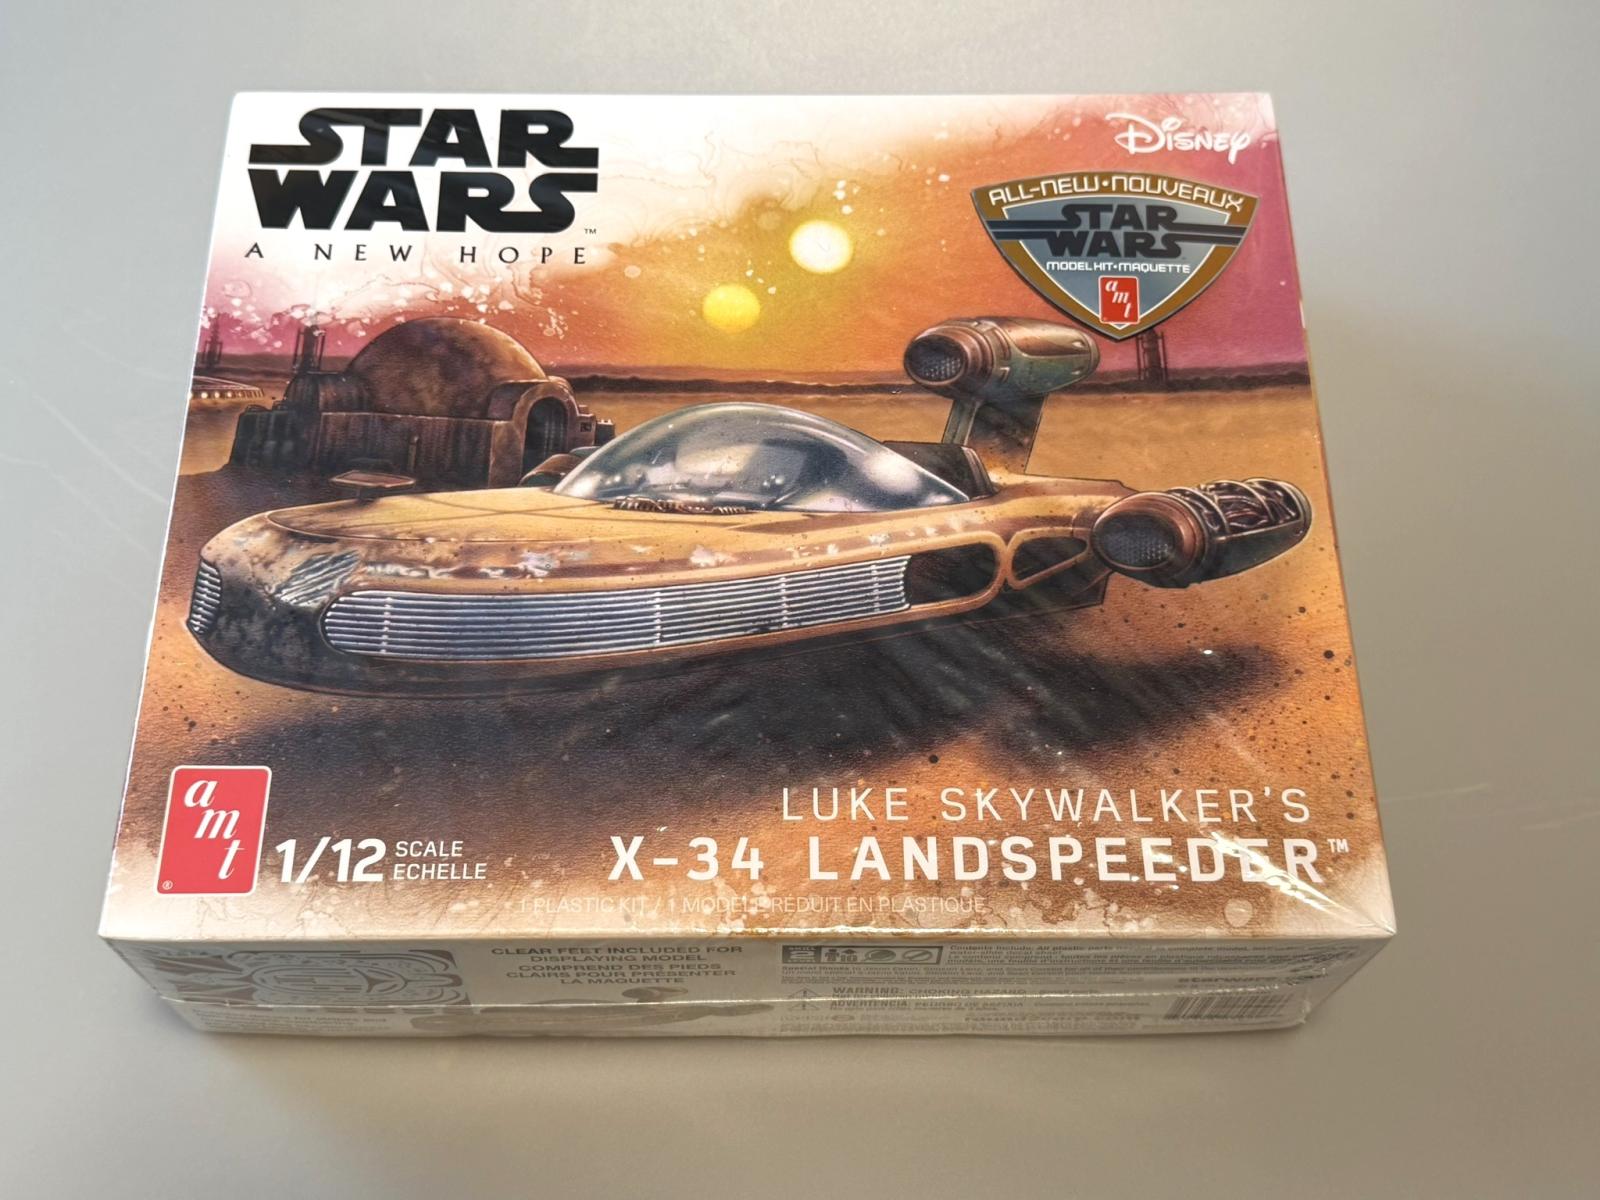
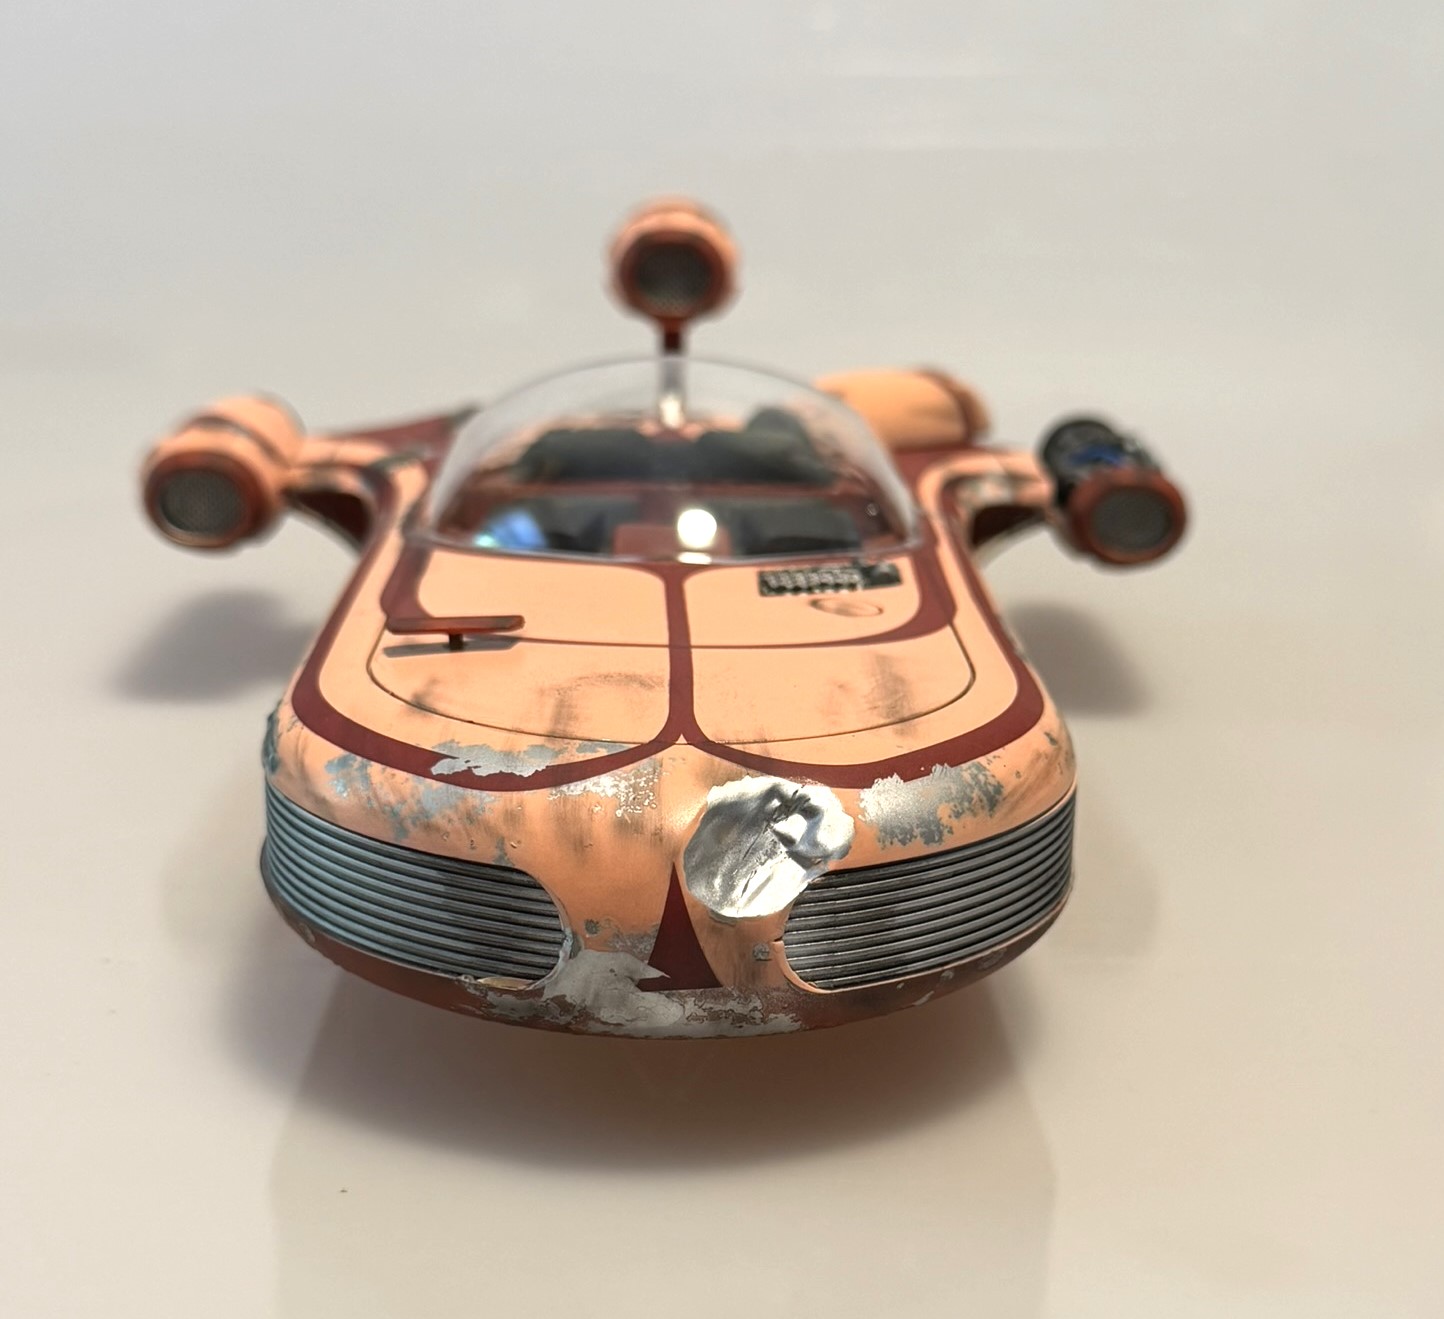
Luke Skywalkers' X-34 Landspeeder
What is in the Box
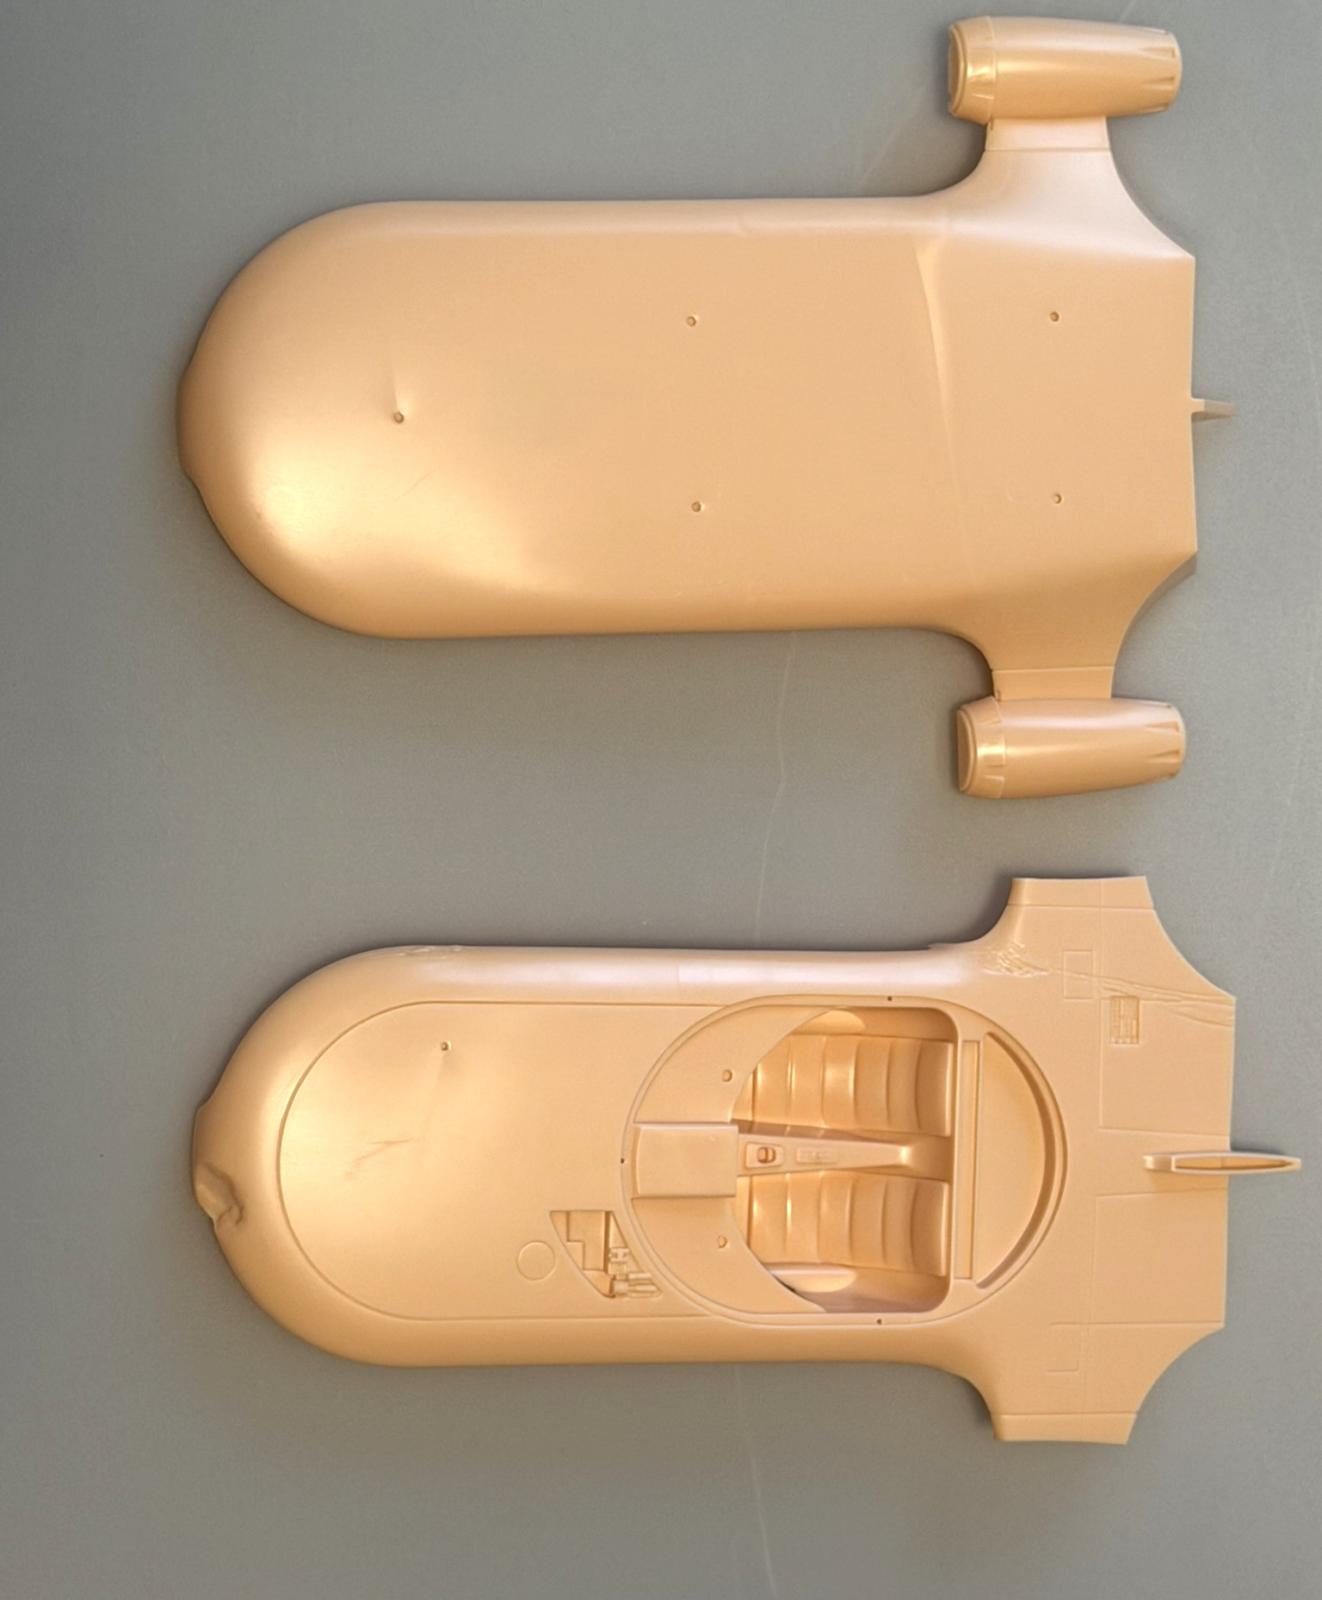
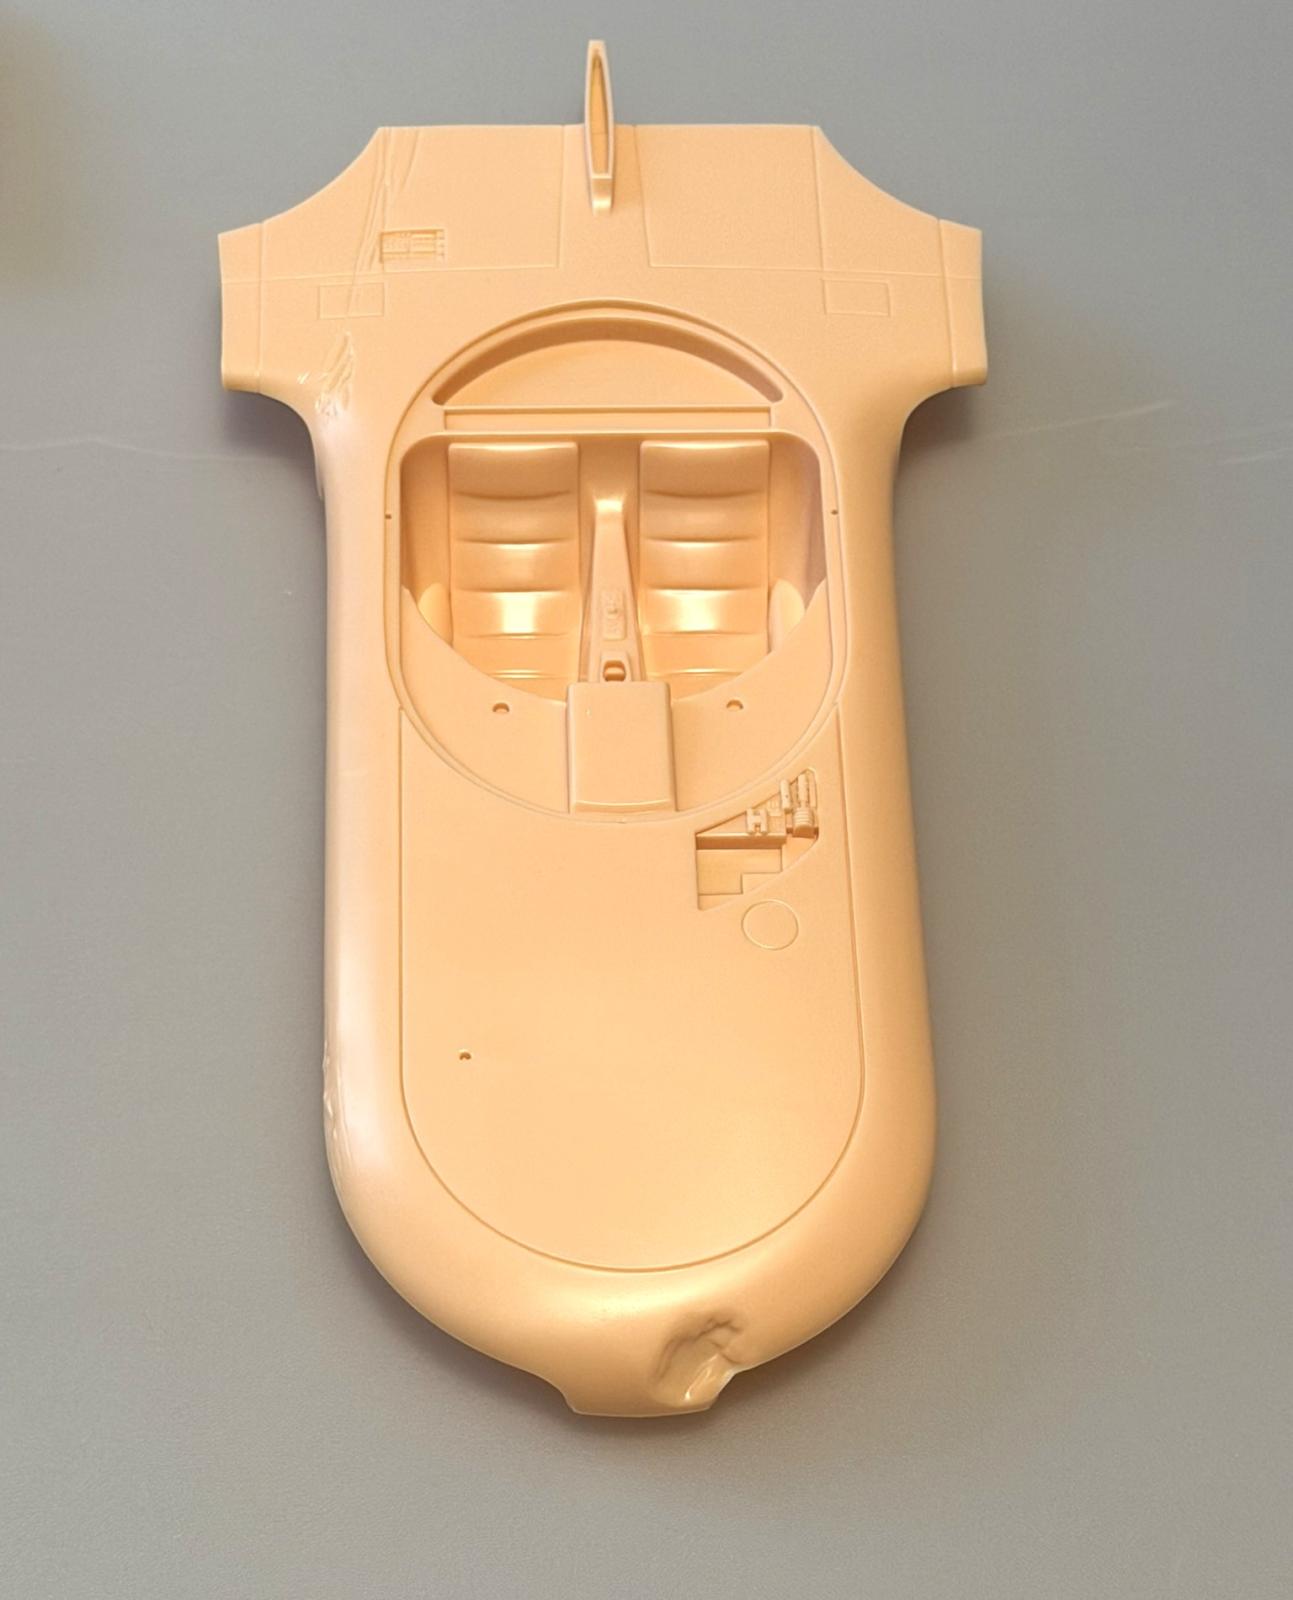
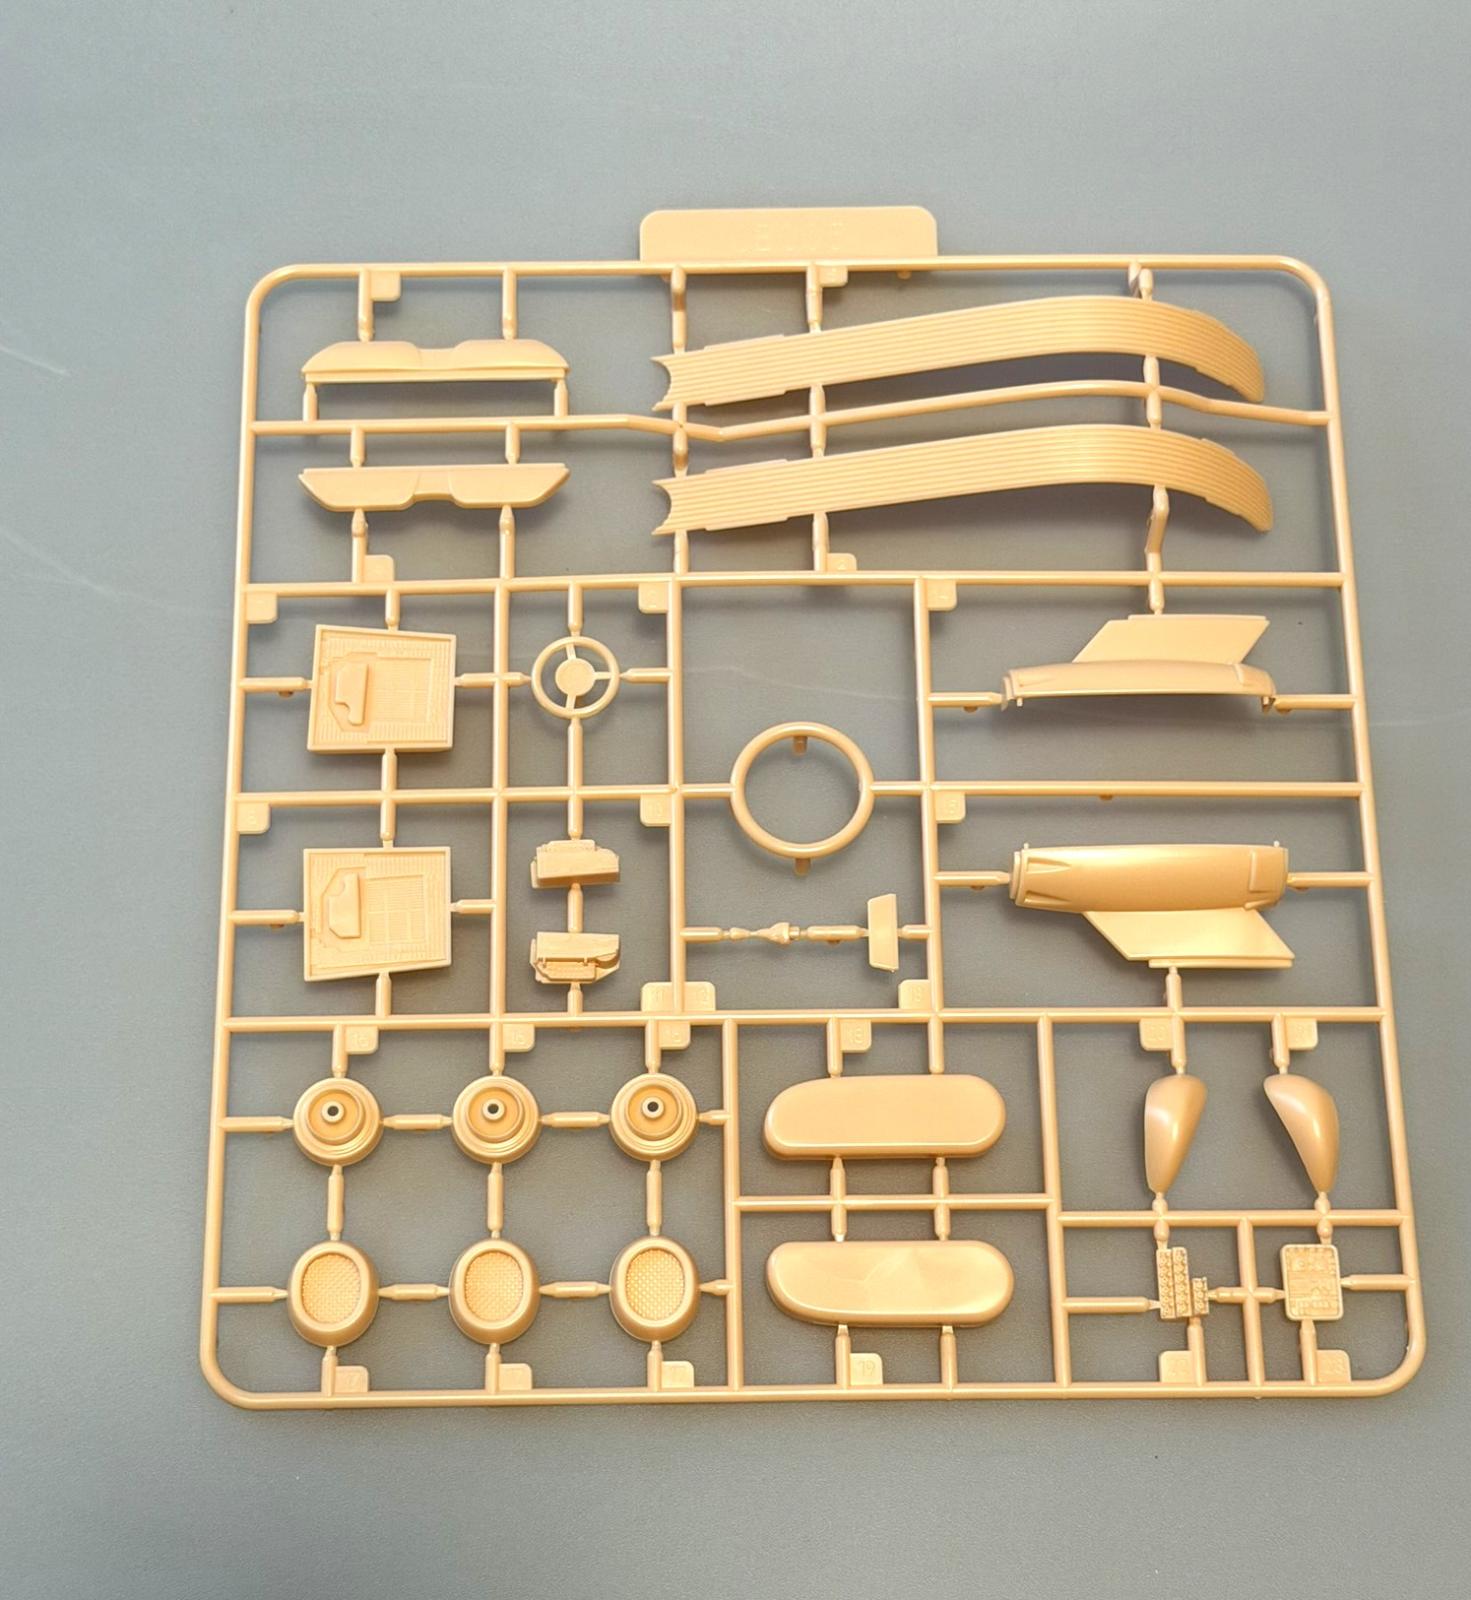
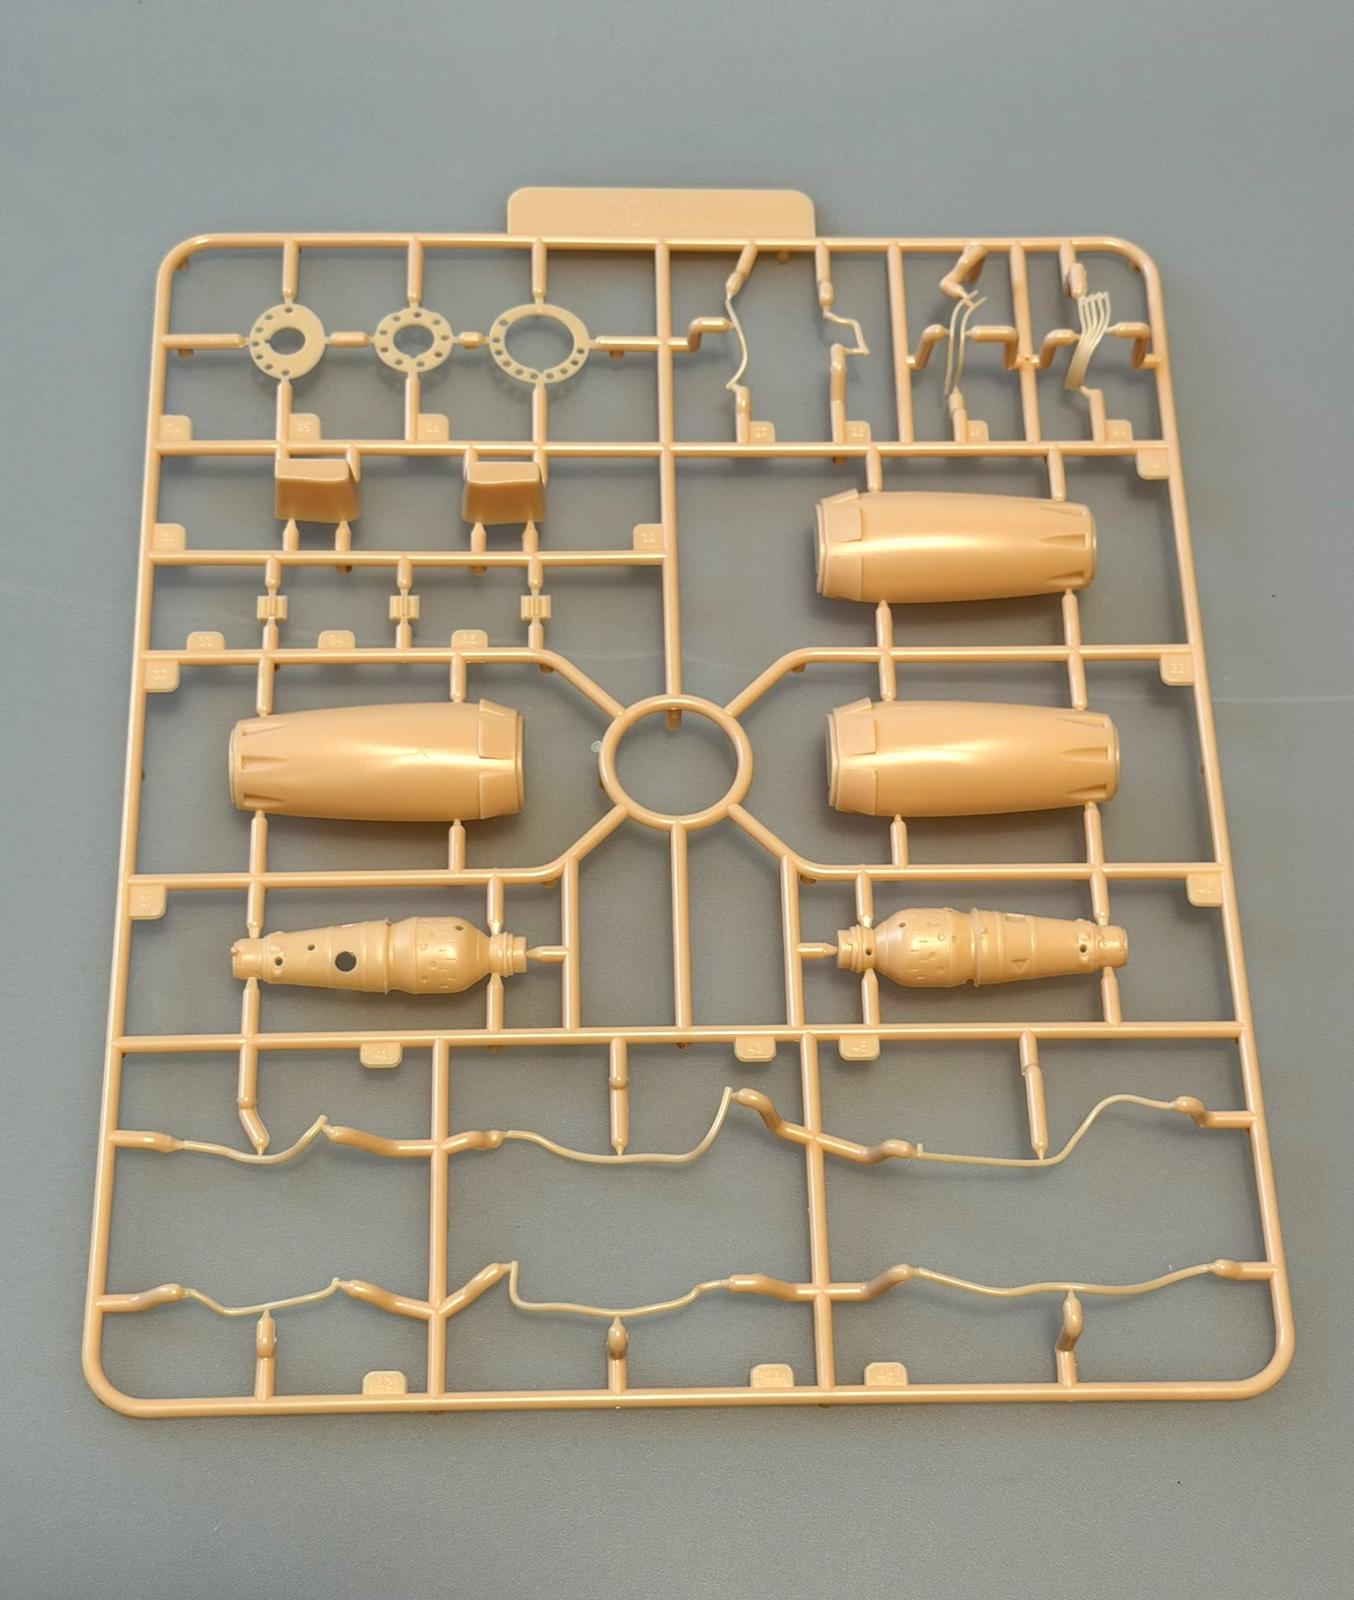
- 5 pink injection molded plastic sprues [58 parts total]
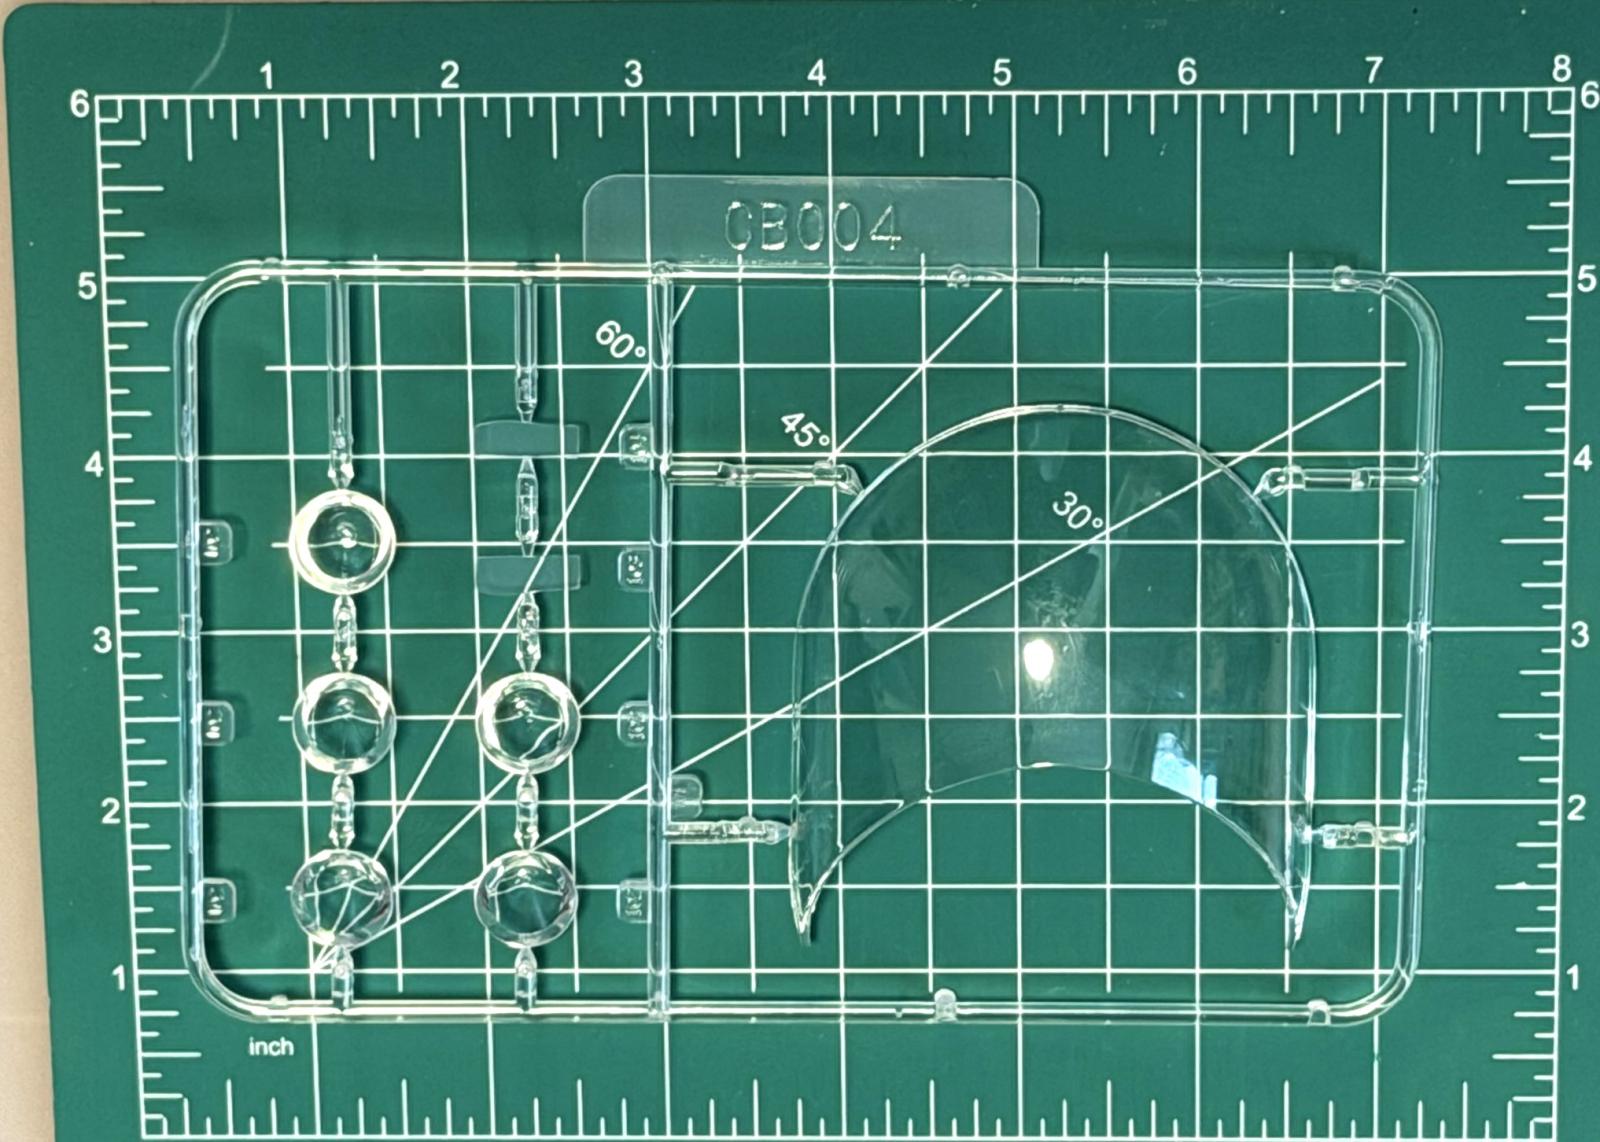
- 1 clear sprue
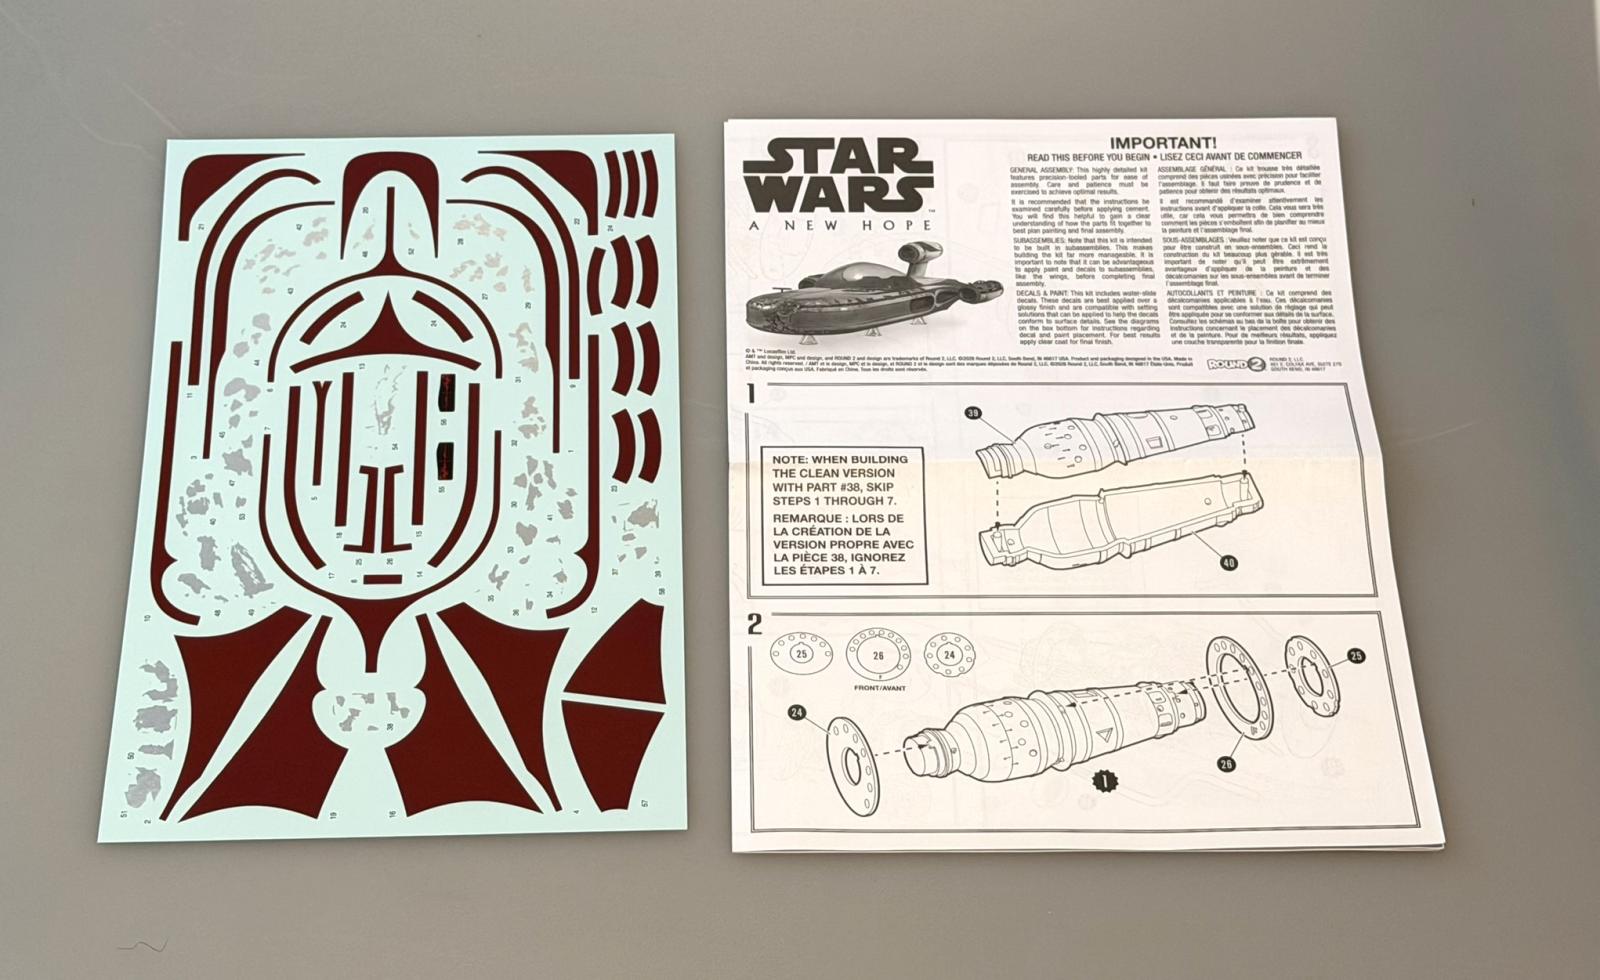
- 1 decal sheet with 1 markings options & damage decals
- 1 full instruction page
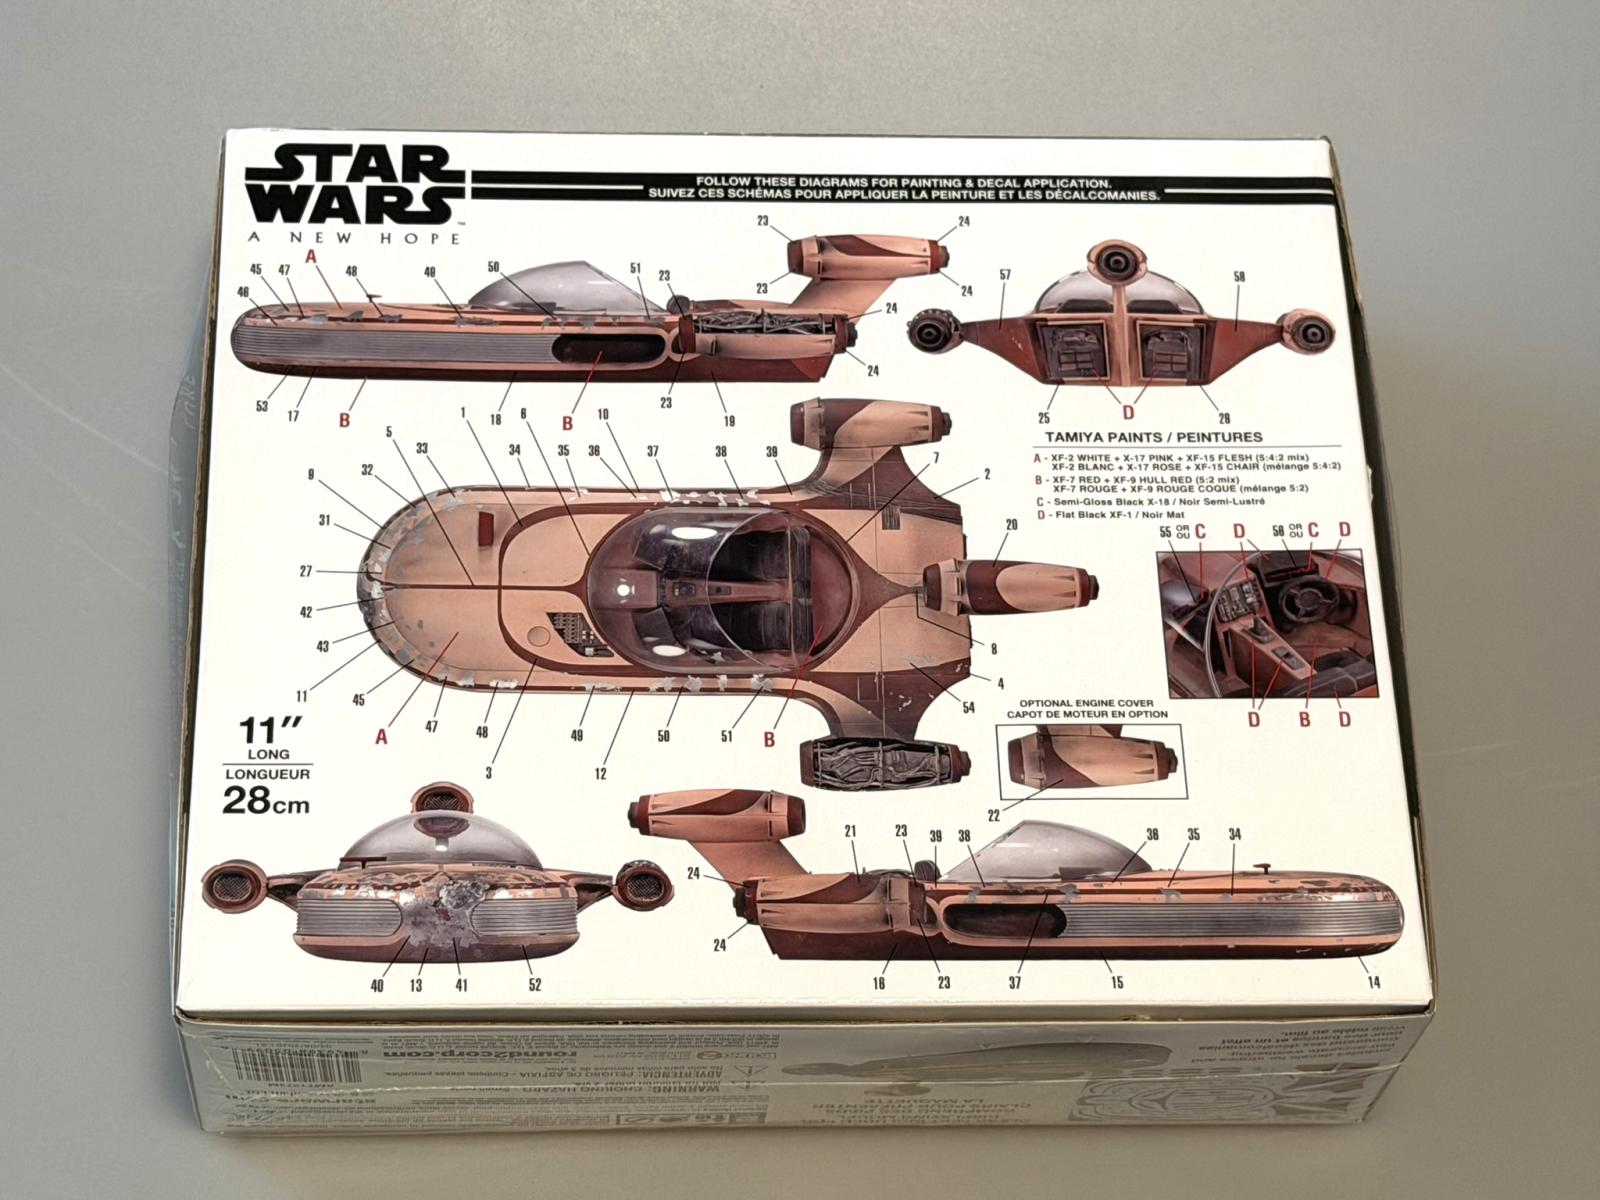
- 1 FULL color box top diagram
Construction
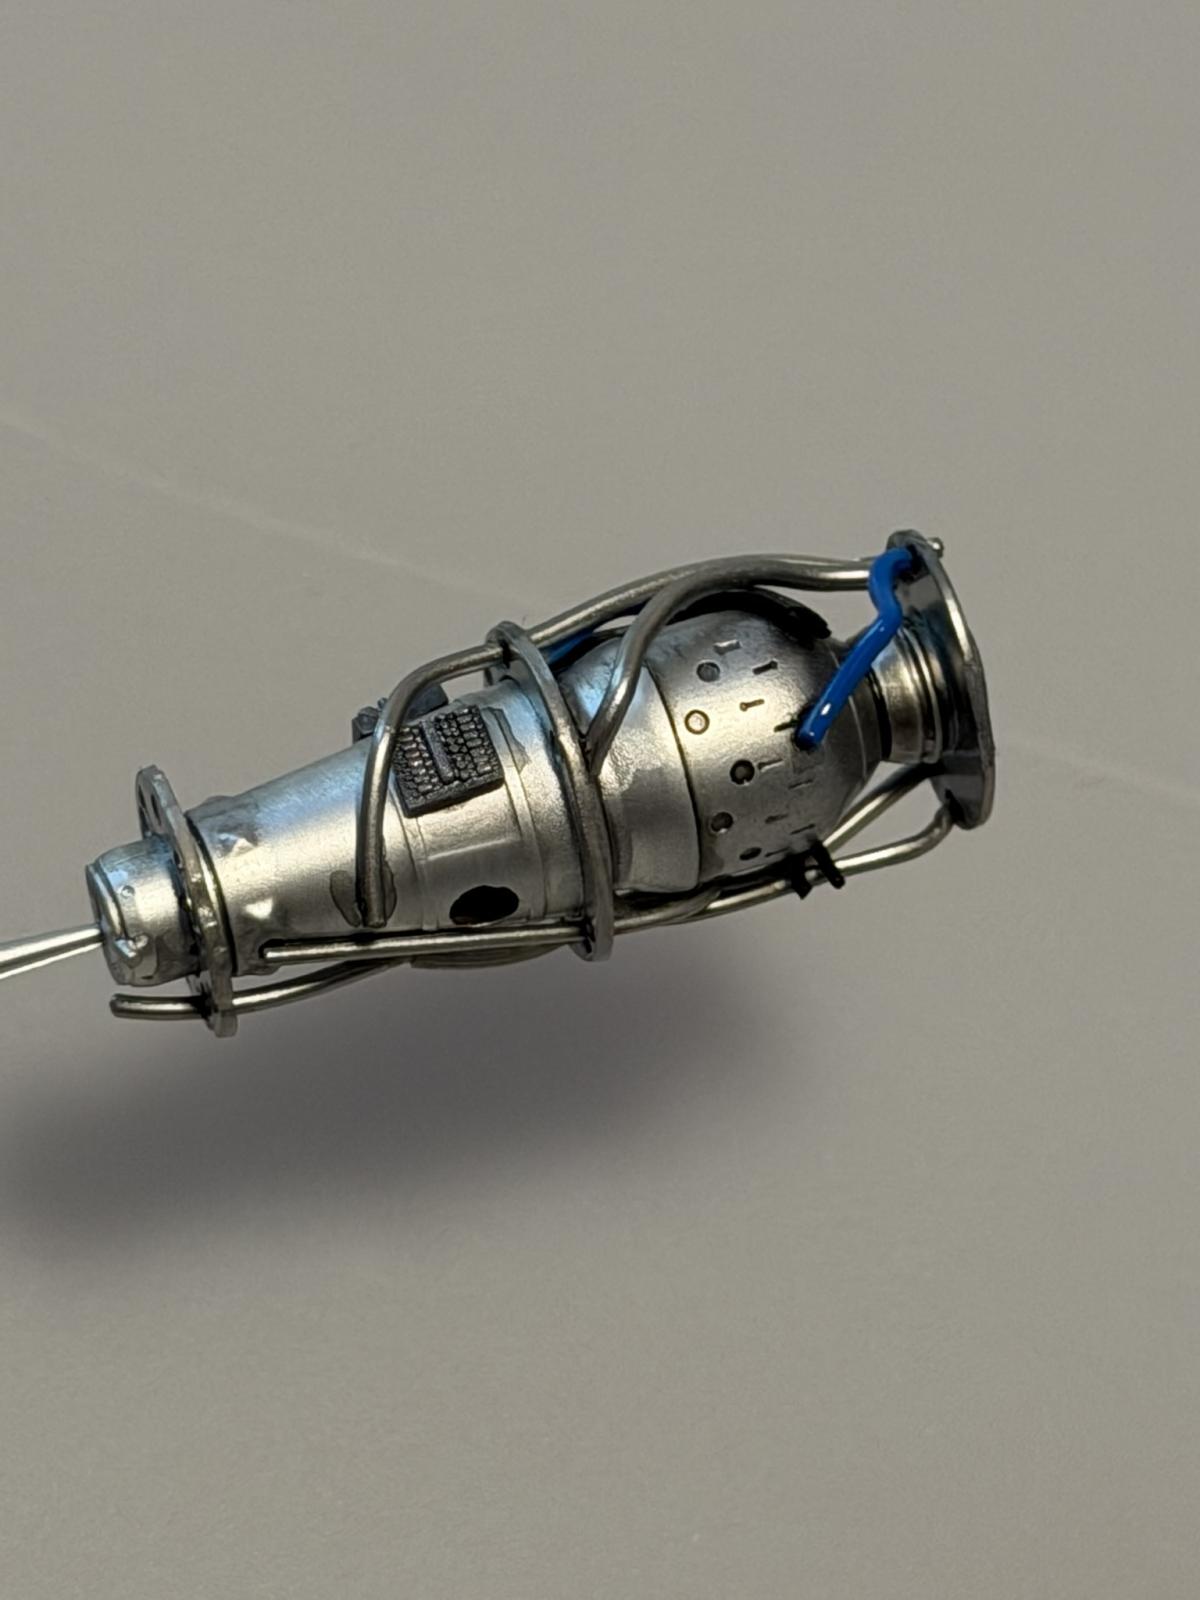
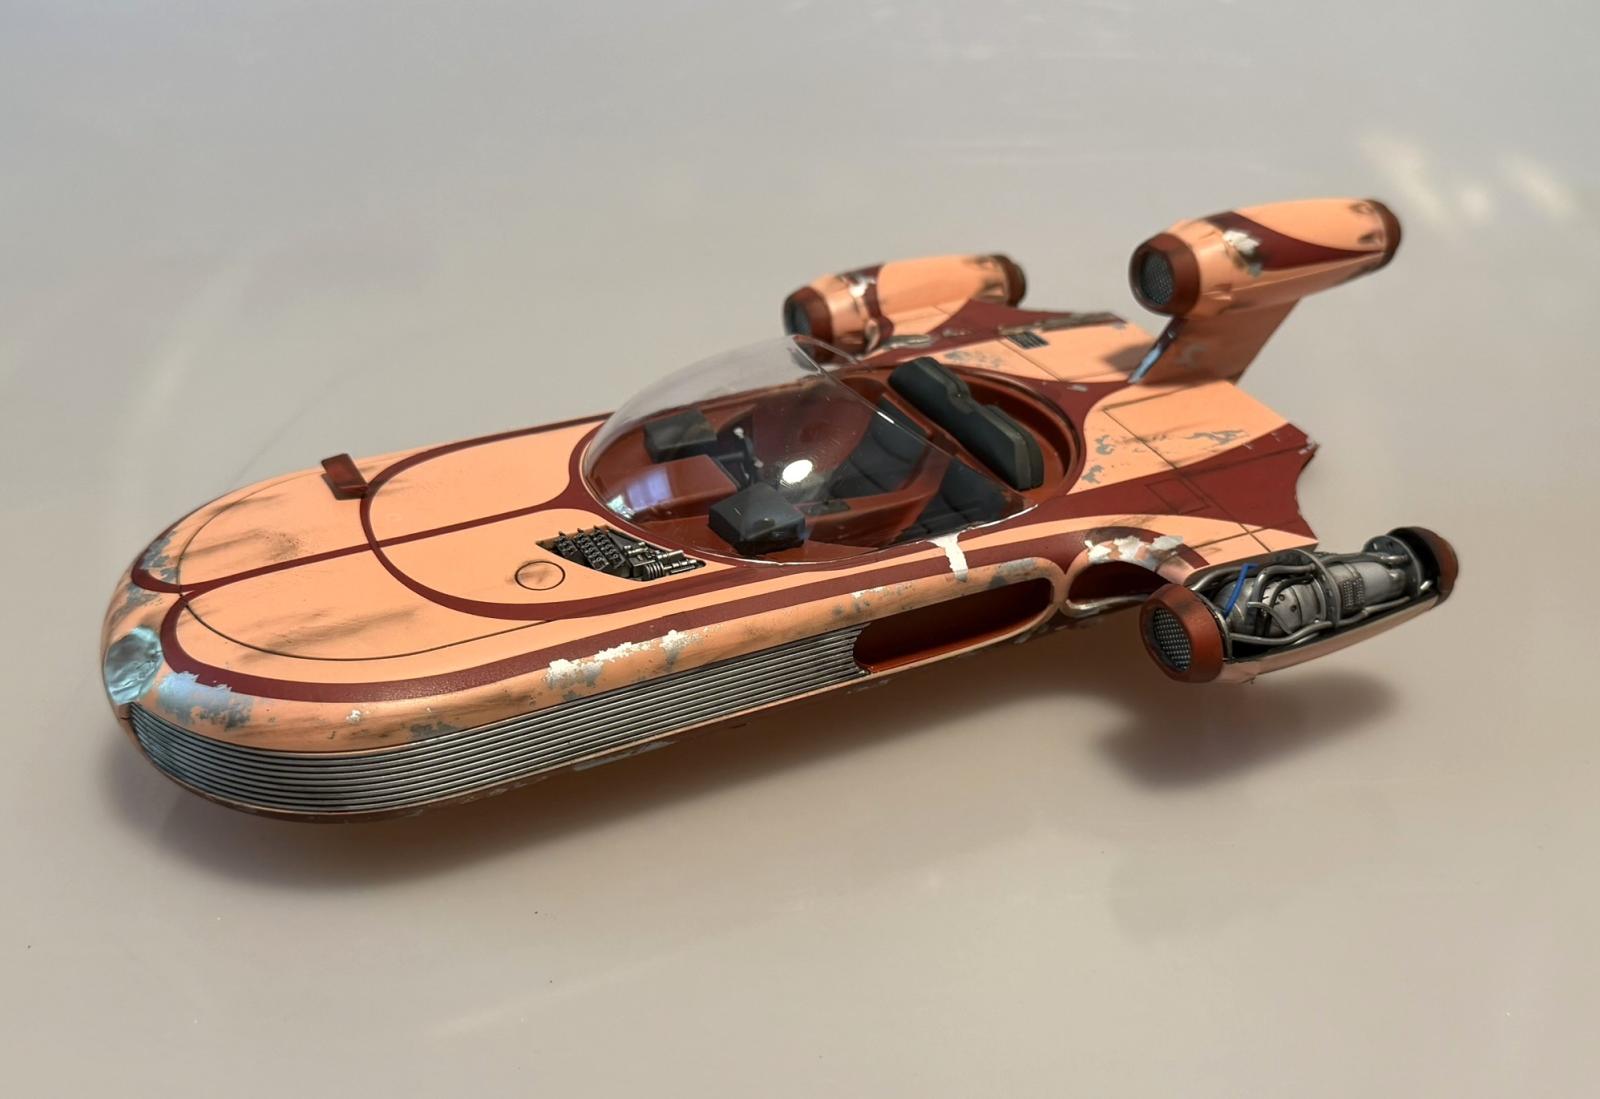
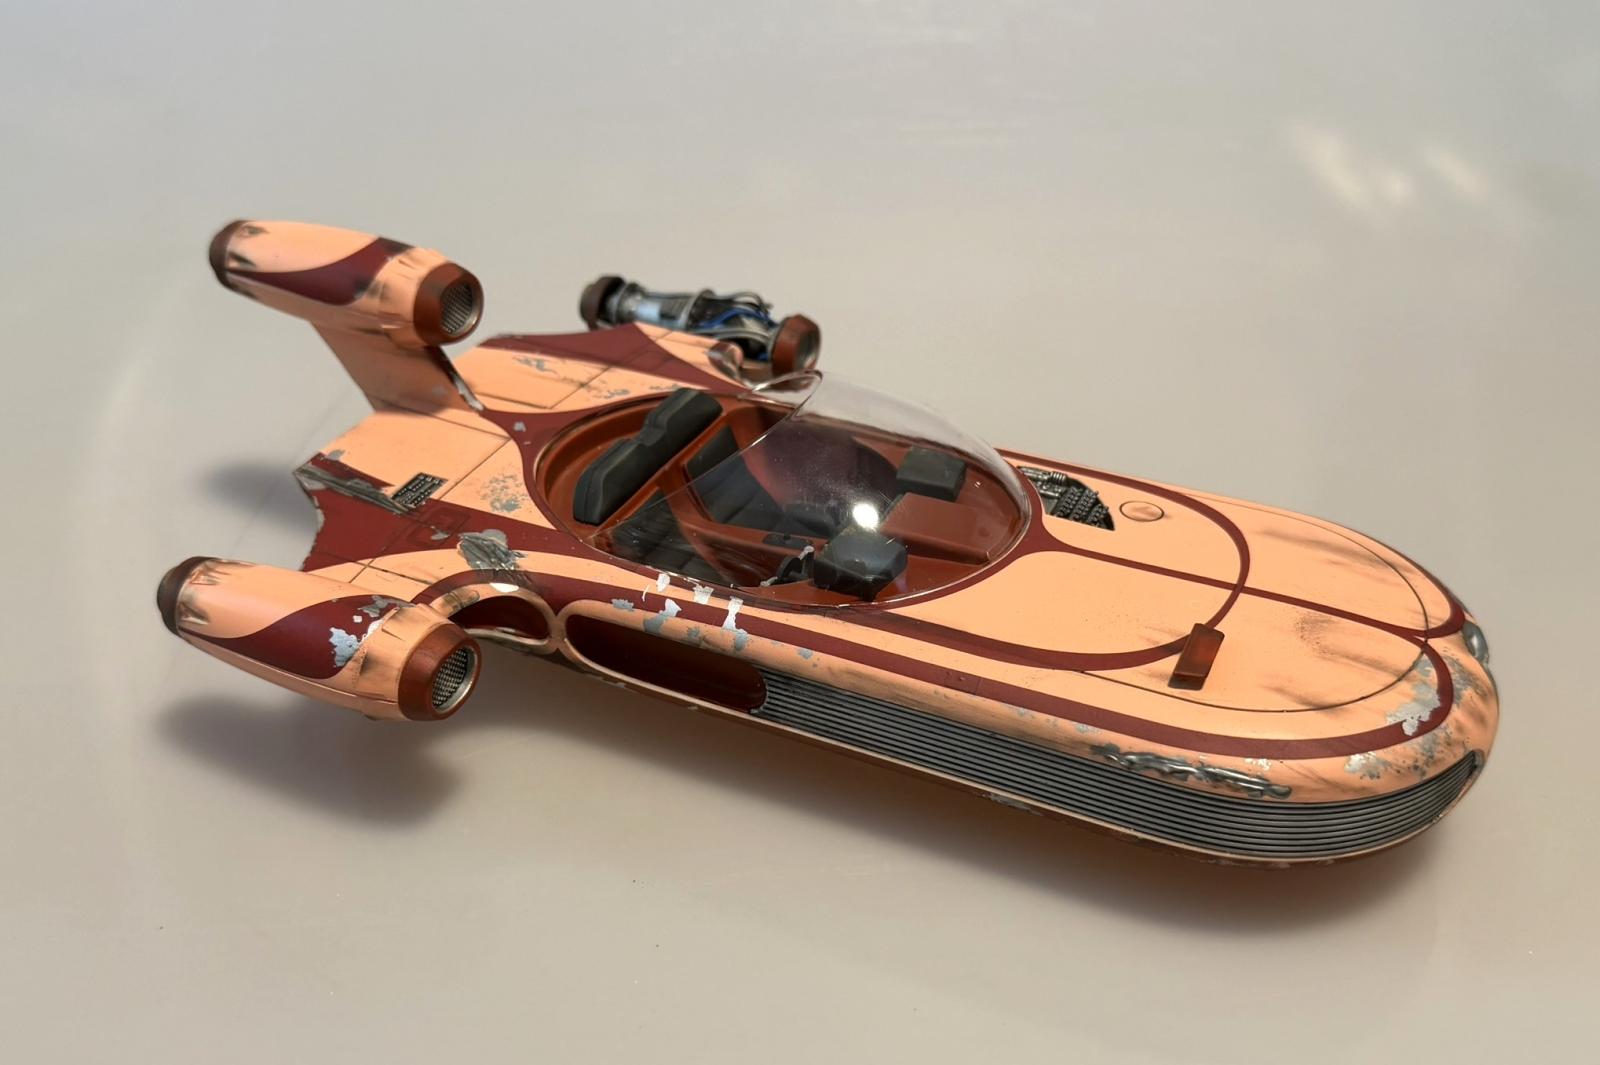
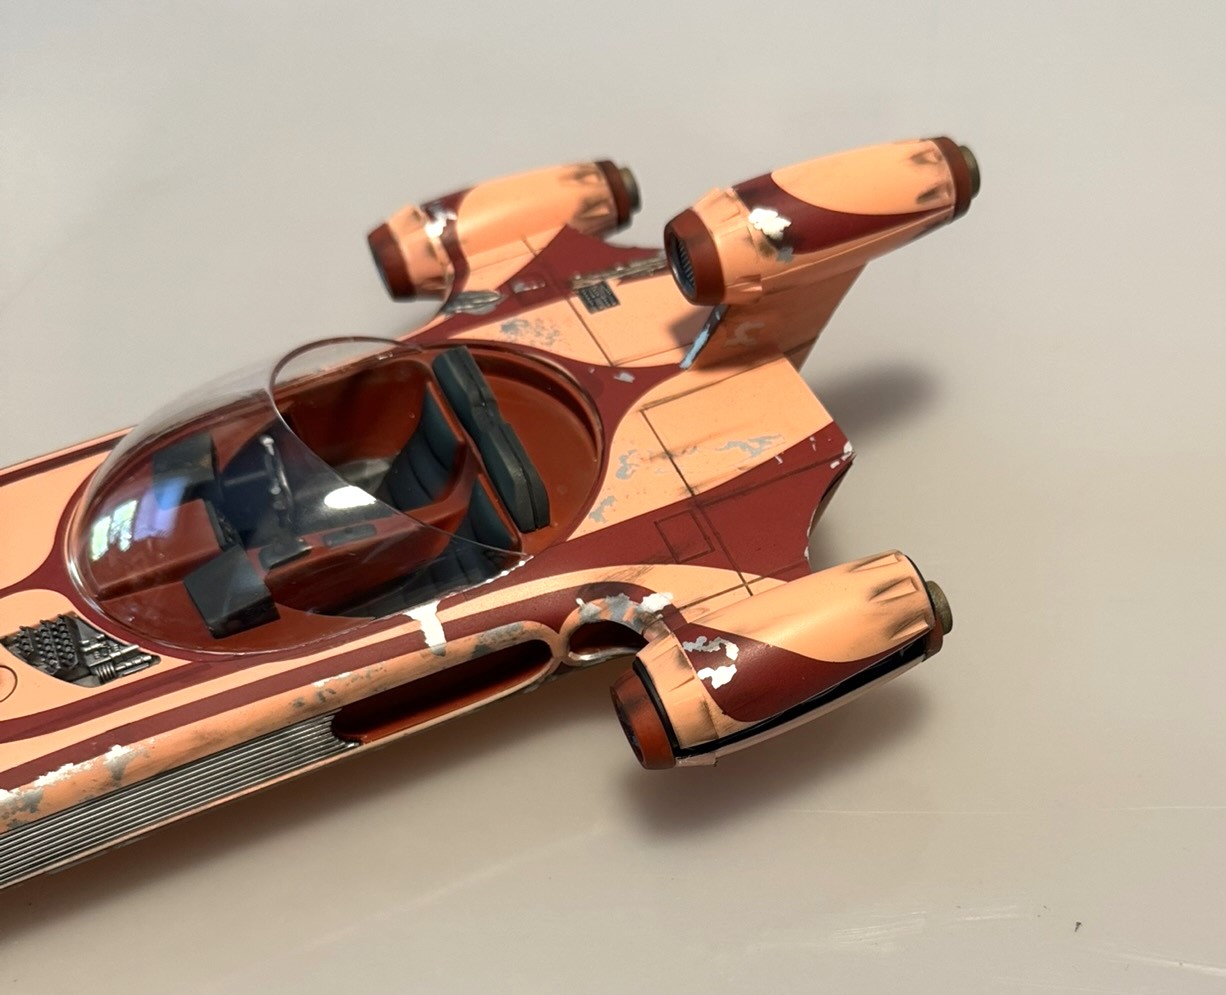
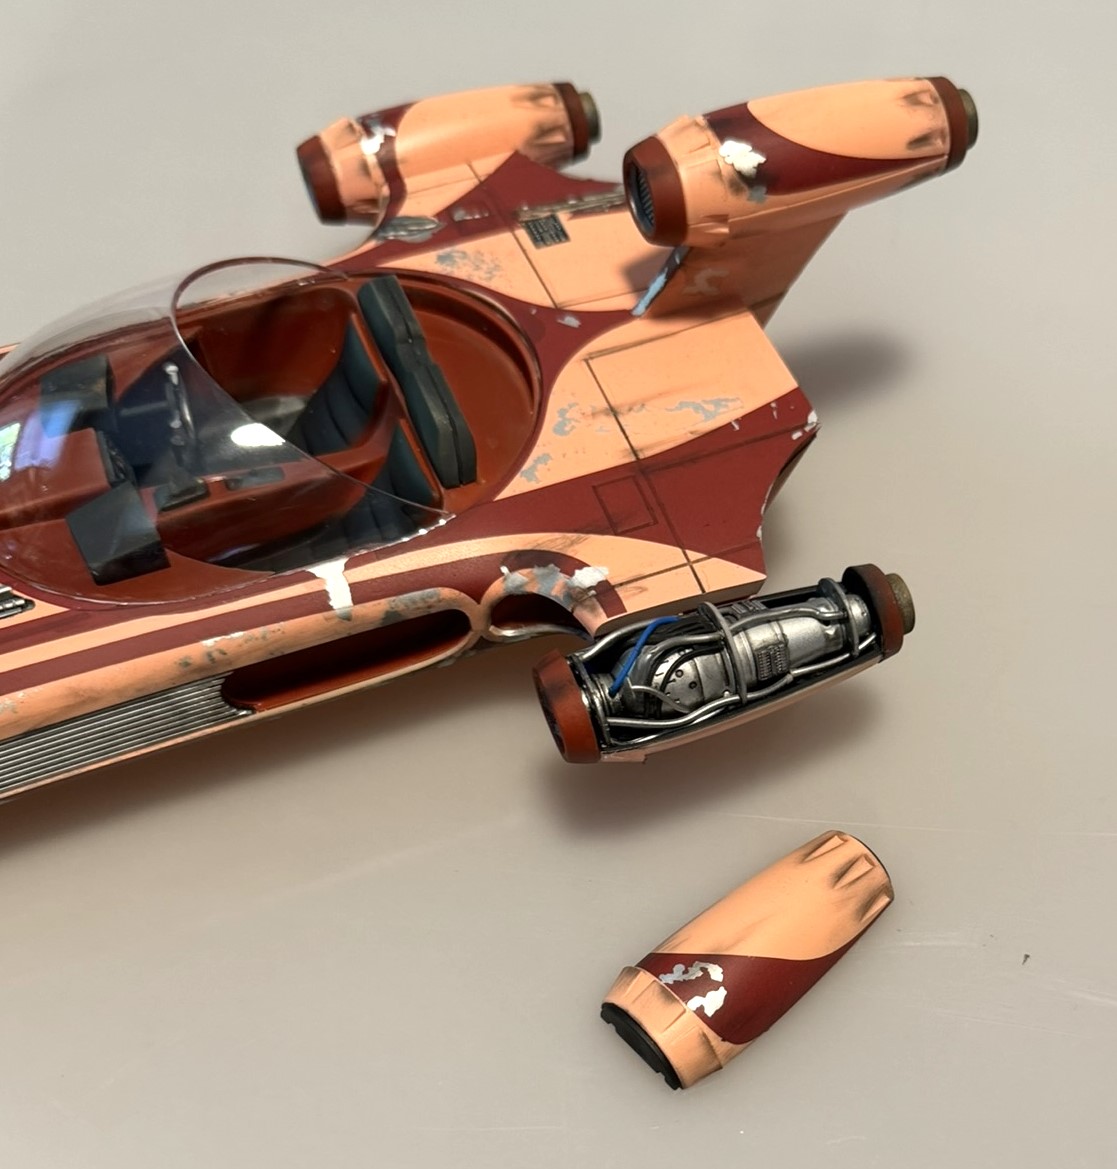
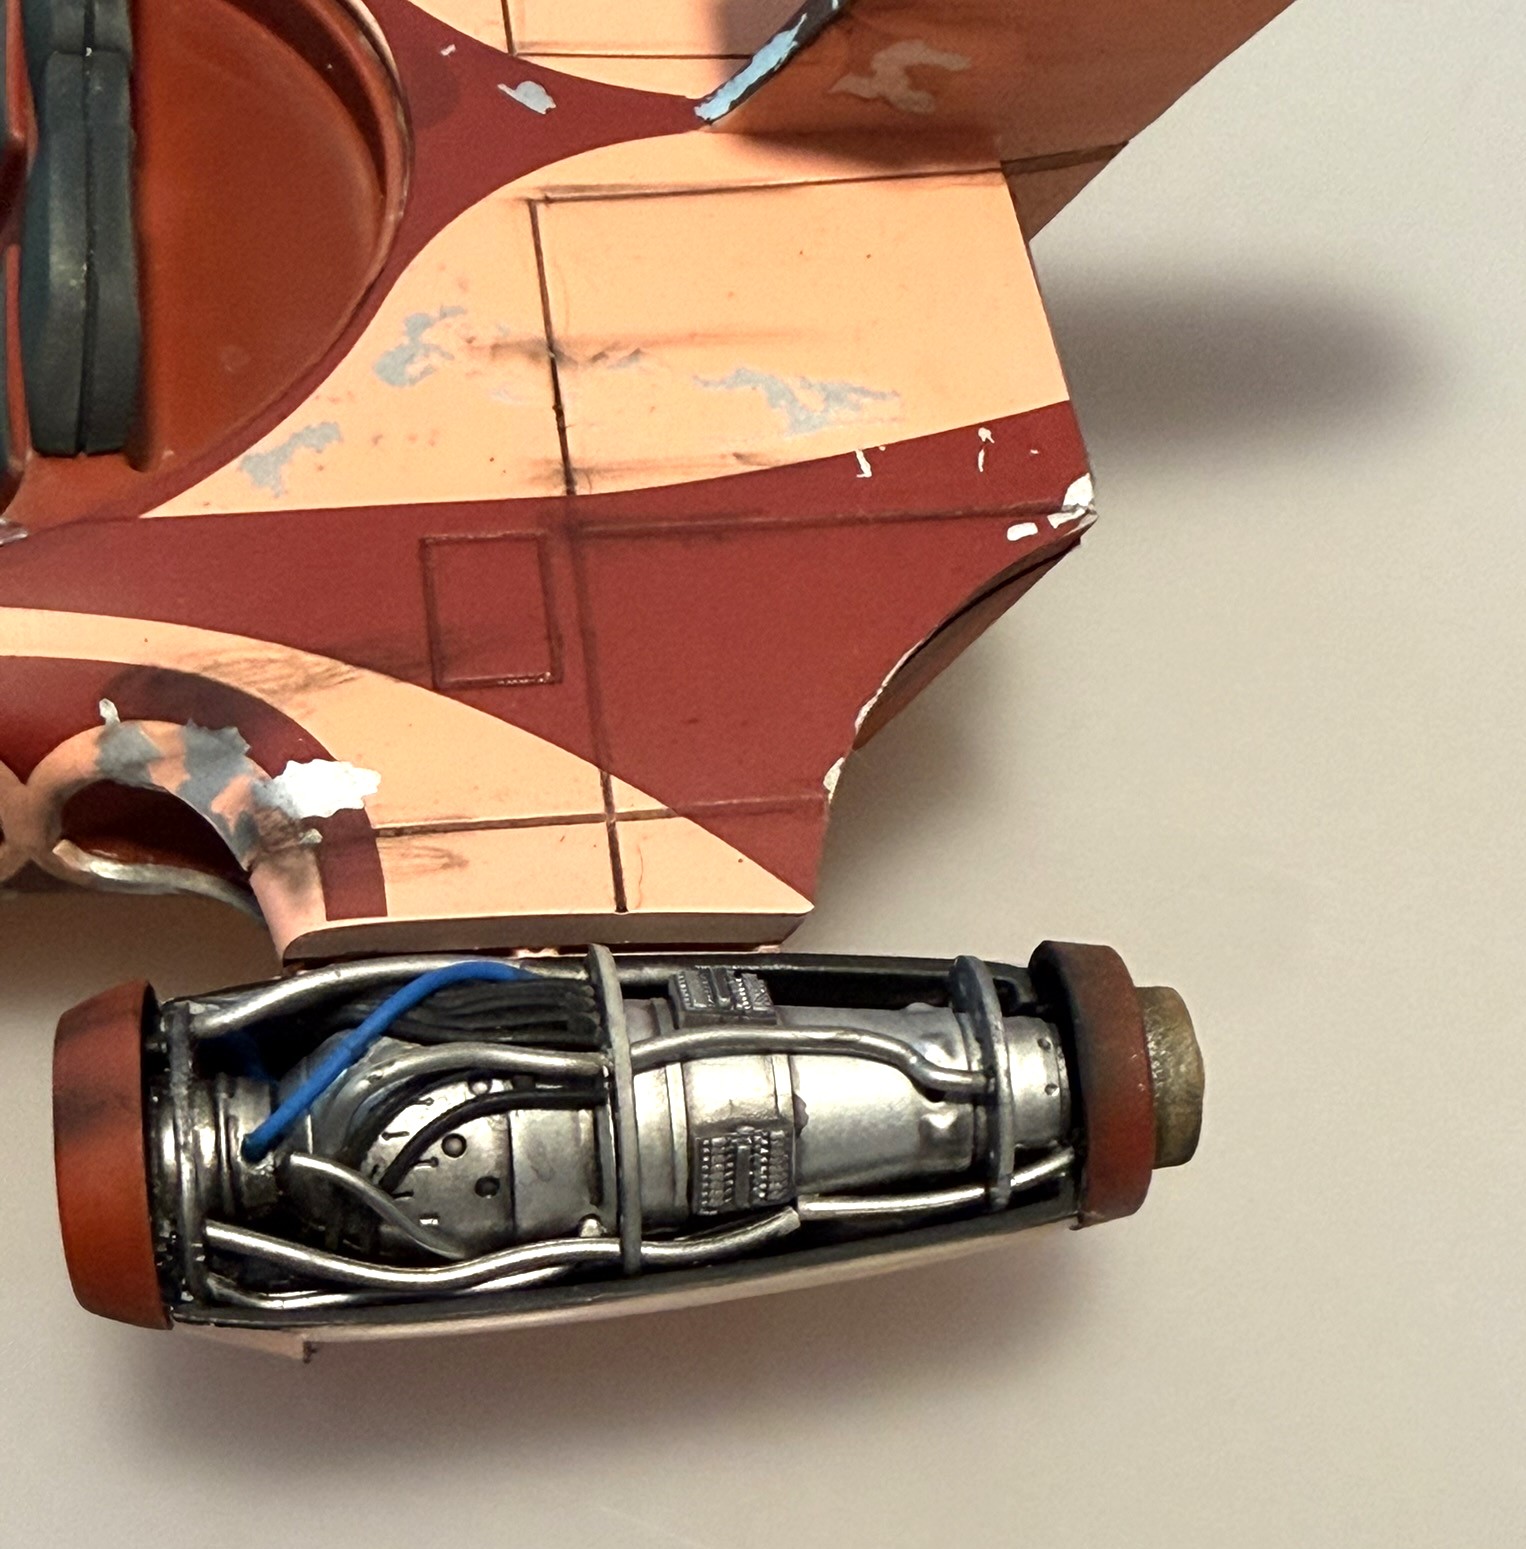
The construction begins with the exposed Speeder engine parts. These were all airbrushed with metallic paints-Gunze & Alclad various shades. Fairly simple construction but I suggest some dry fitting before painting. The next phase I pre-painted some assemblies before construction. This is in contradiction of the sequential order of the instructions. This will pay dividends in final construction and save some messy masking. There are two colors that require paint mixing [Tamiya paint codes] which I found the darker color closely resembles Tamiya Dull Red [TS-33] which I used straight from a decanted Spray can [TS-33 ]. The Lighter color I employed the prescribed paint mix [5:4:2 mix of XF-2 White, X-17 Pink XF-15 Flesh] . I also deviated from the instructions since all the paint chipping is provided in decals. I prefer to use my salt method and masking liquid. So I painted the undercoat of the main assembly in Tamiya Bare metal Silver [AS-12]. The rest of the parts fit well with minimal amount of sanding on a few seam lines. At this juncture I also dry-fit the clear canopy piece since it is so prominent. I wanted to make sure it fit well. The fit is good BUT I recommend careful cutting from the clear sprue to avoid any visible marking on the canopy. I also pre-painted the side metal vents with Tamiya AS-12 again. And put both these parts aside in preparation for final paint.
Painting and Weathering
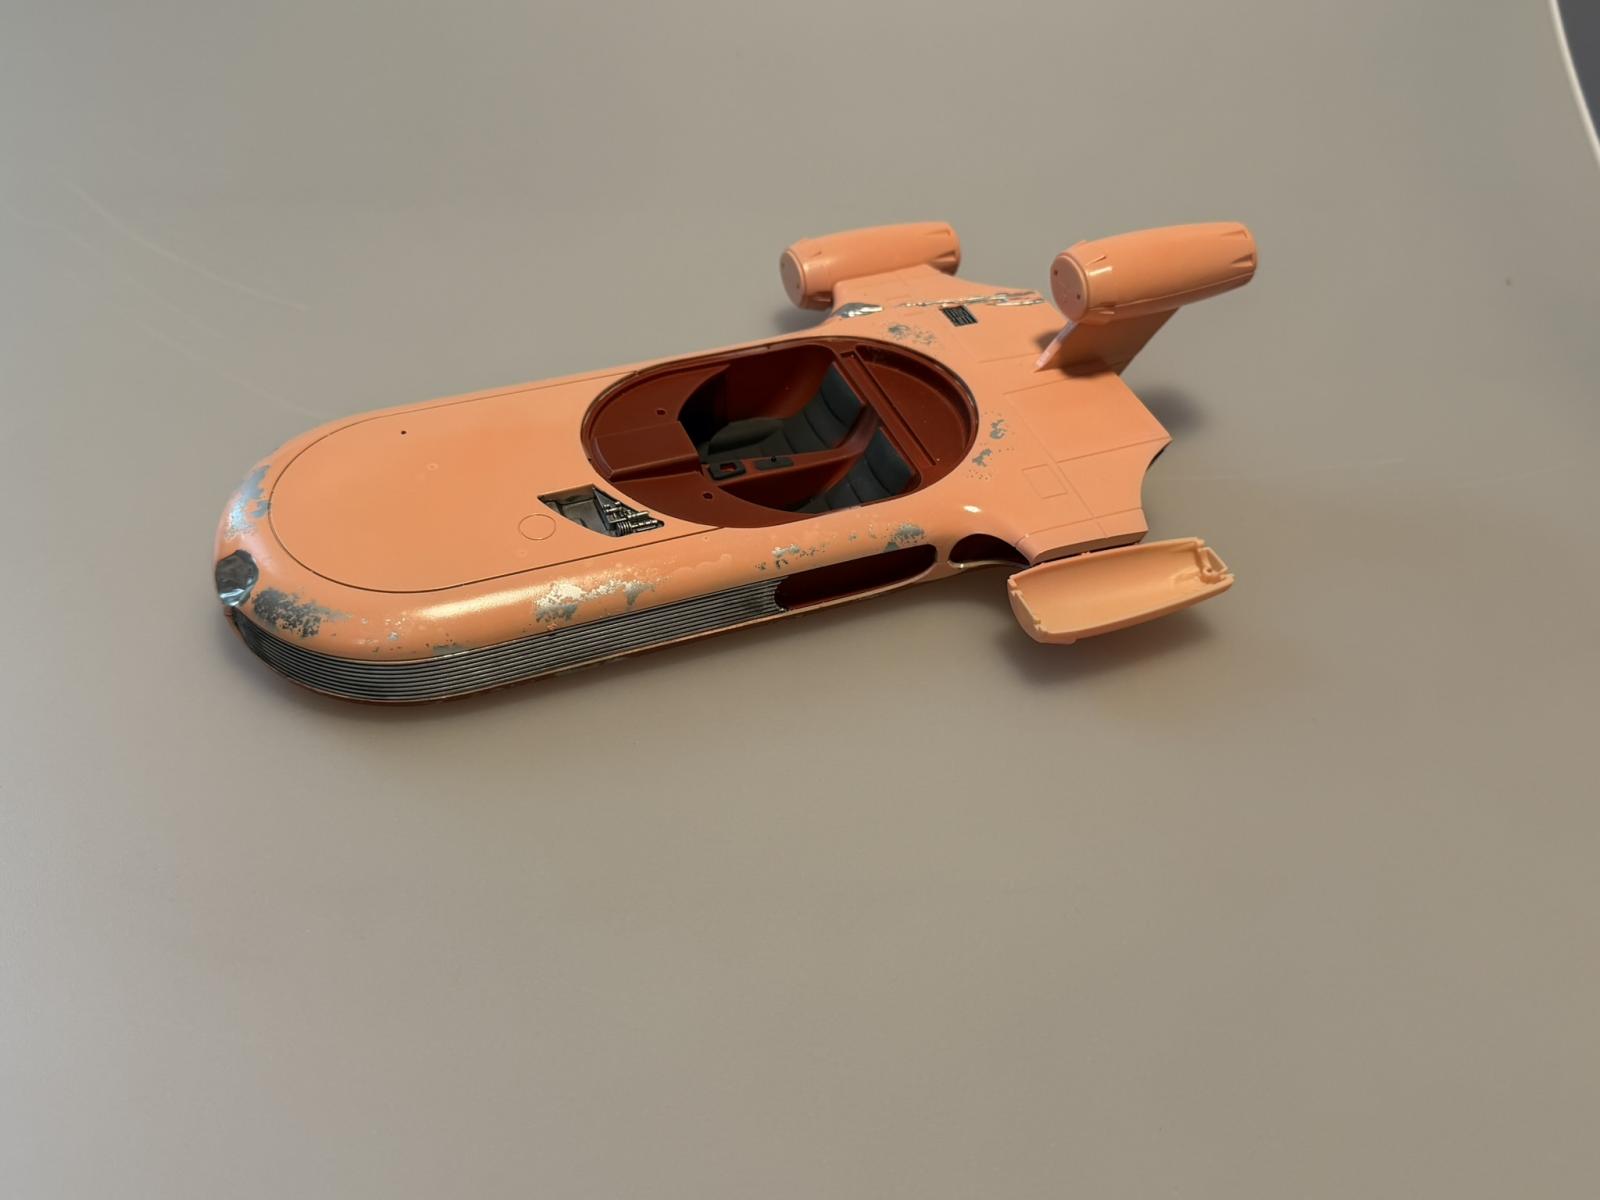
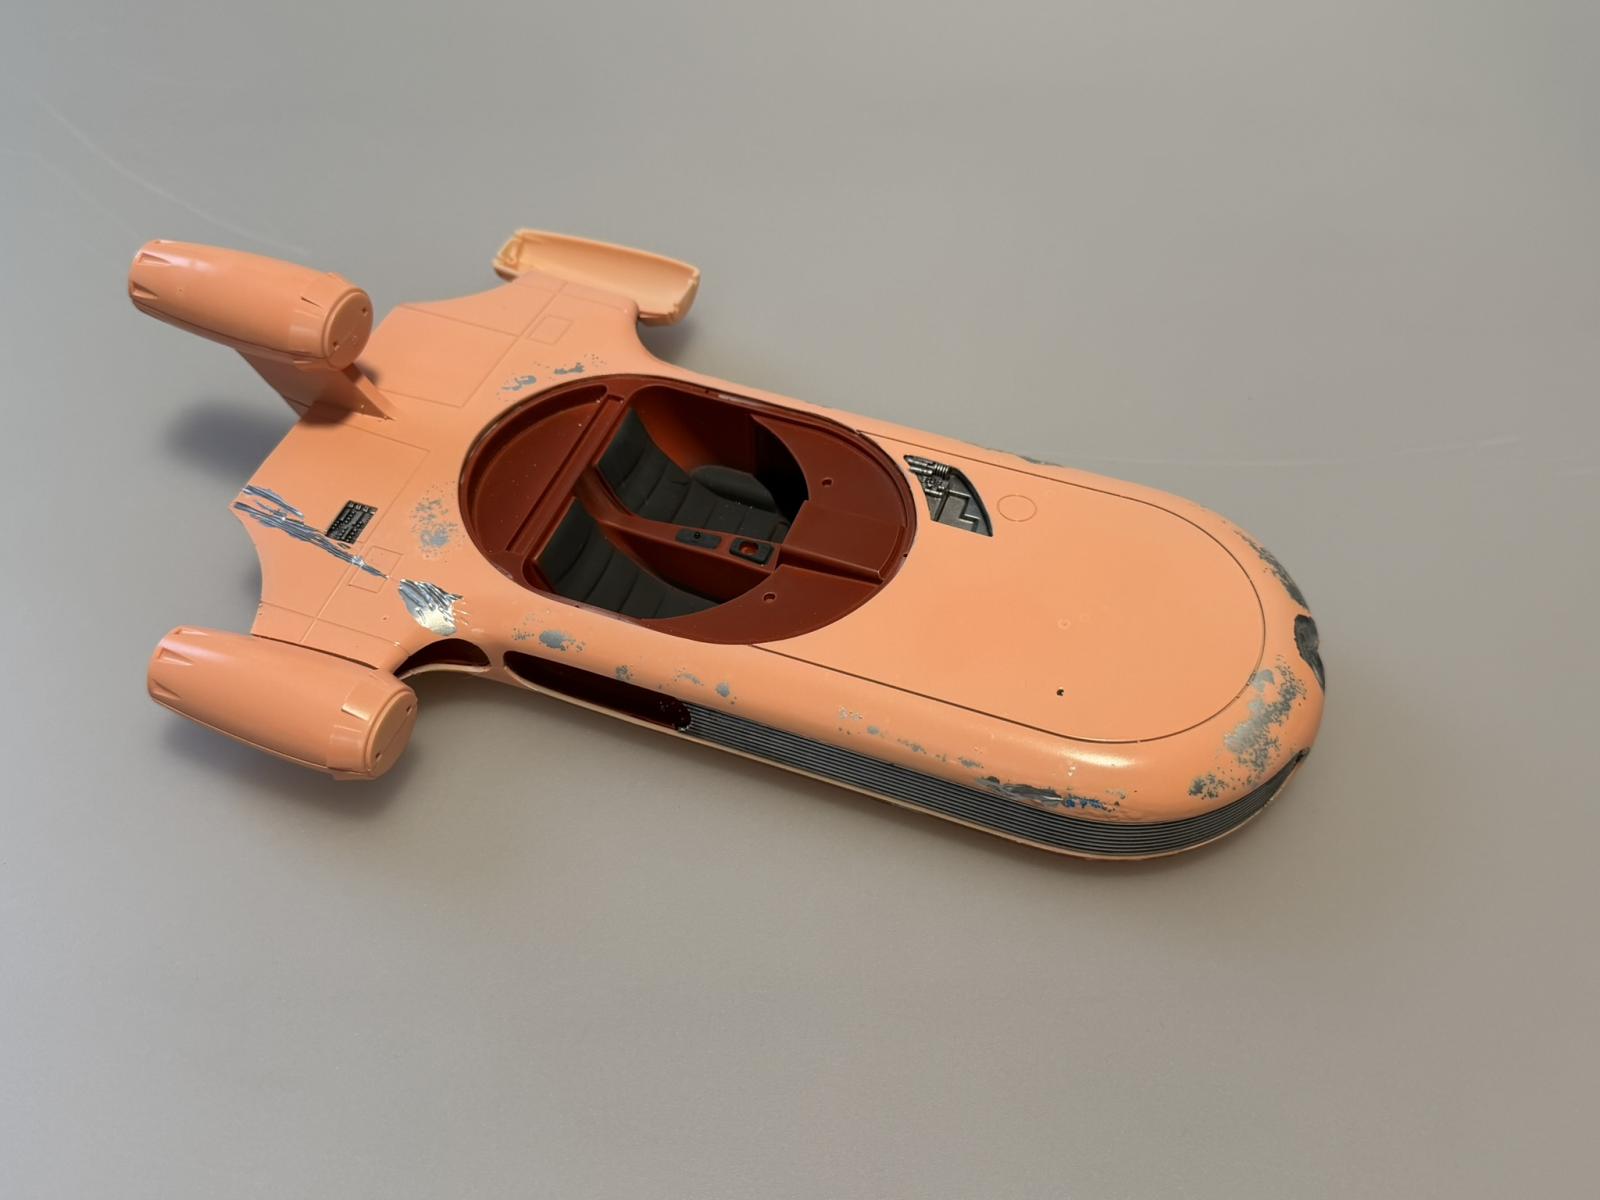
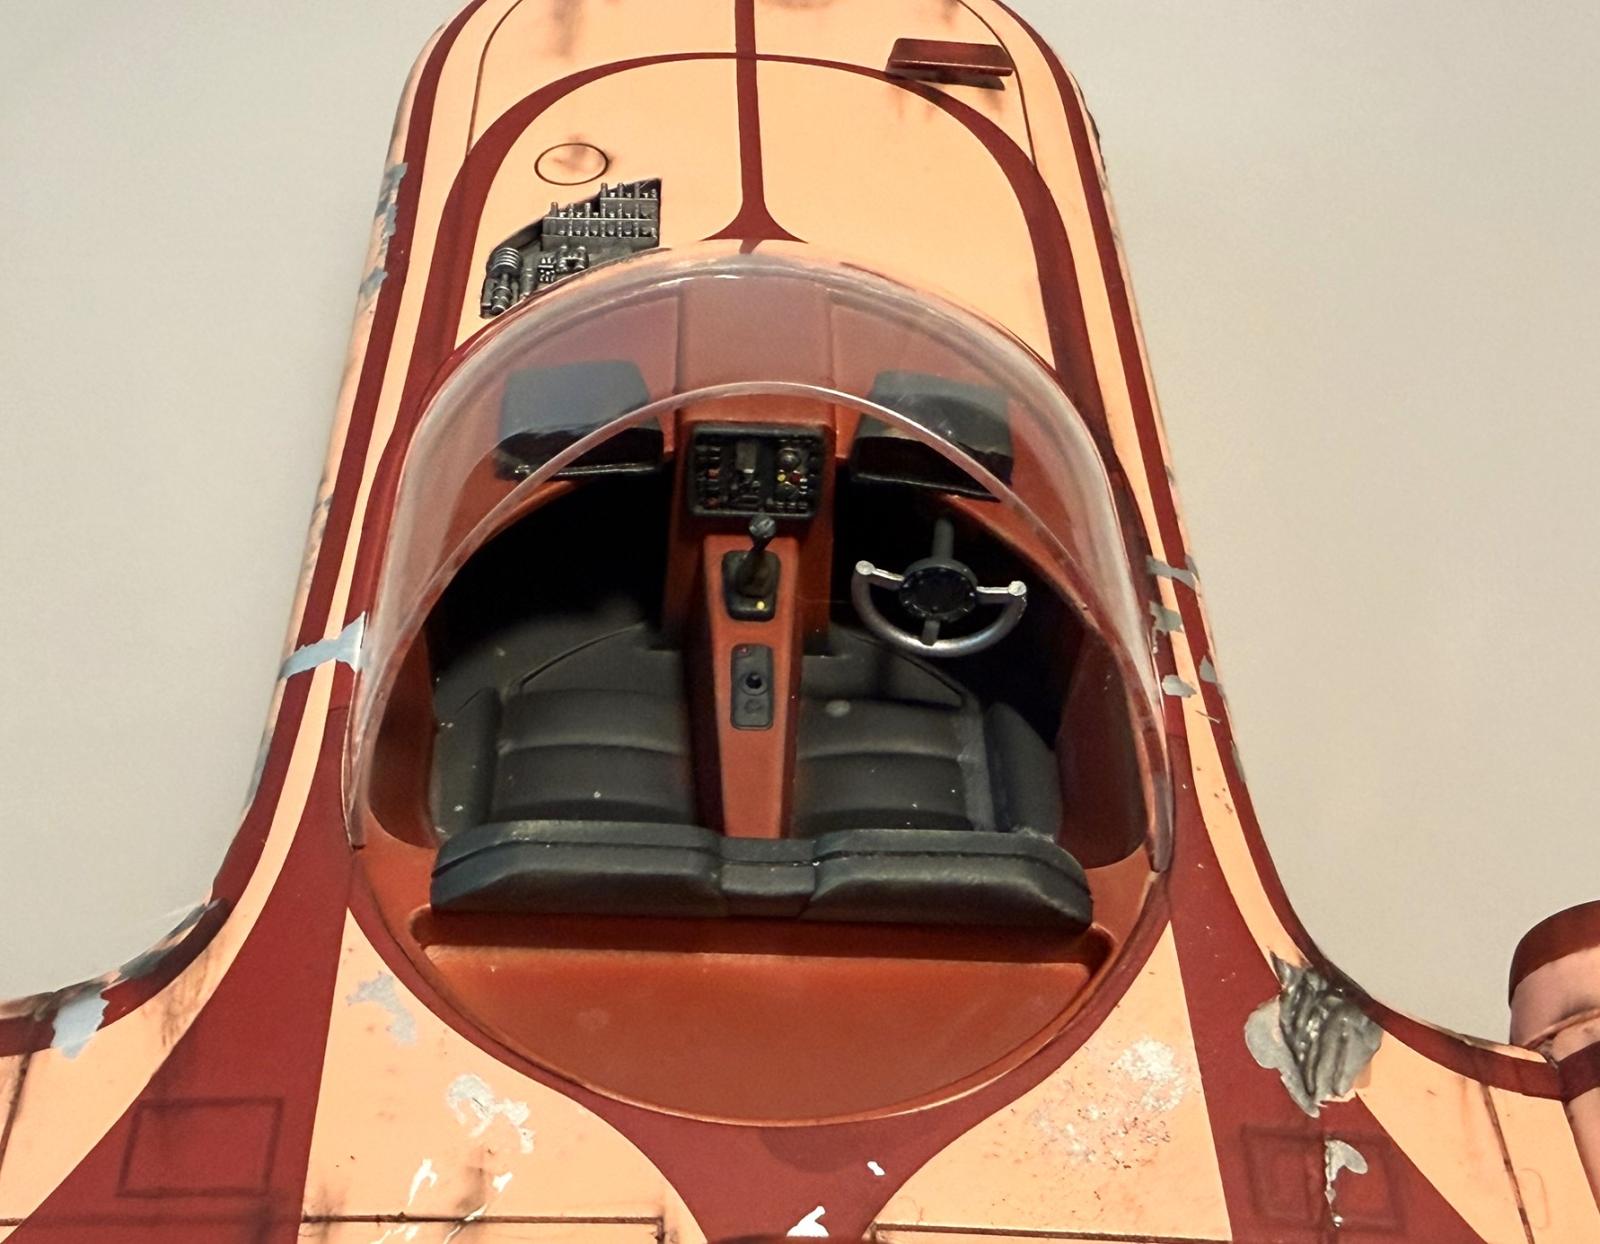
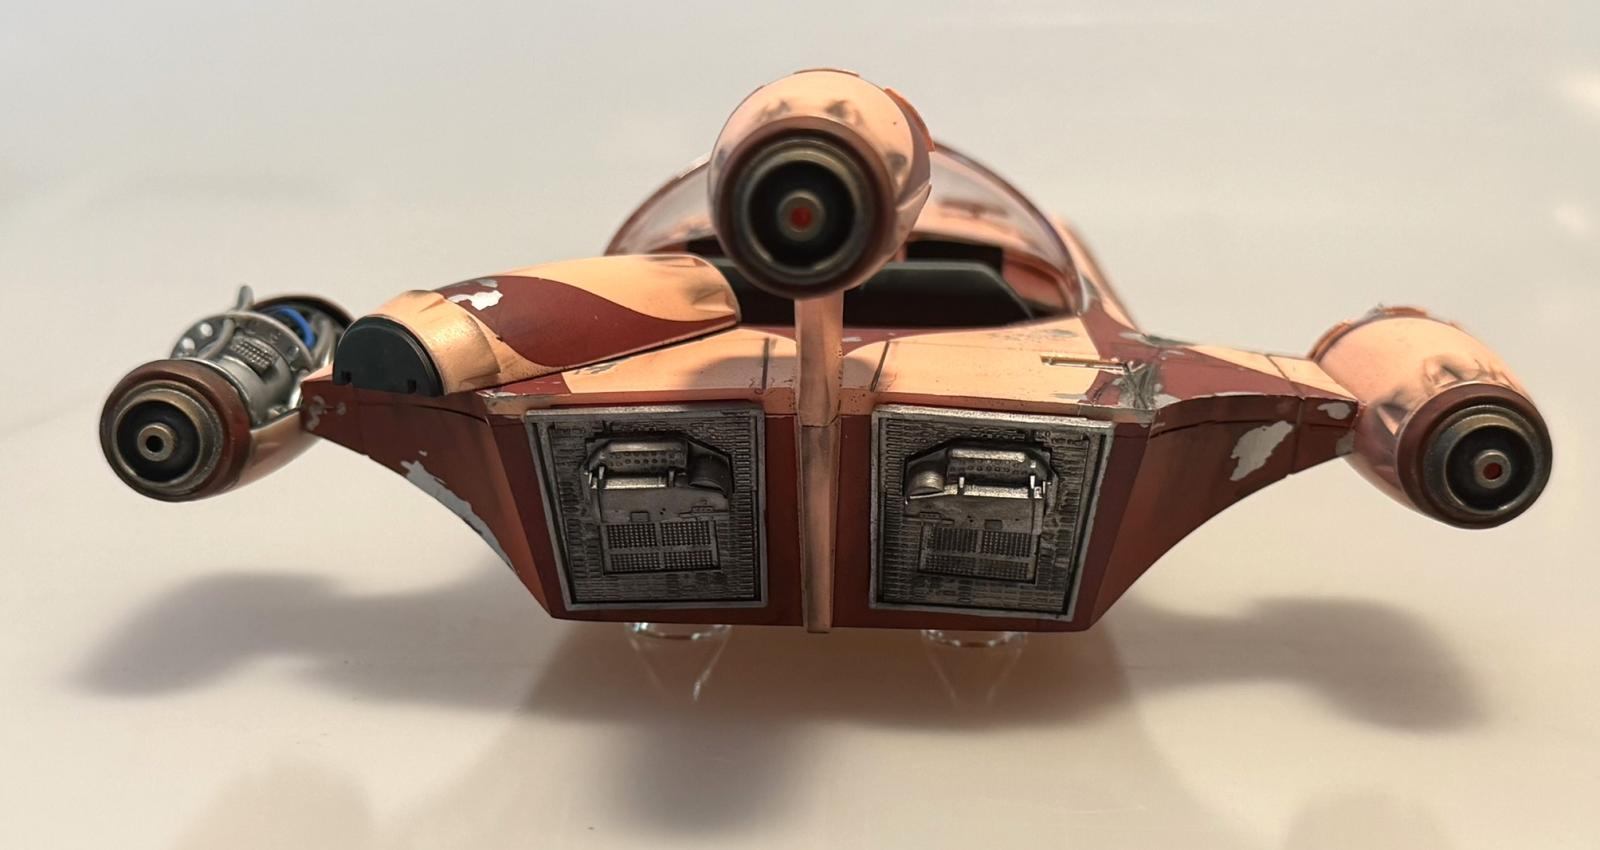
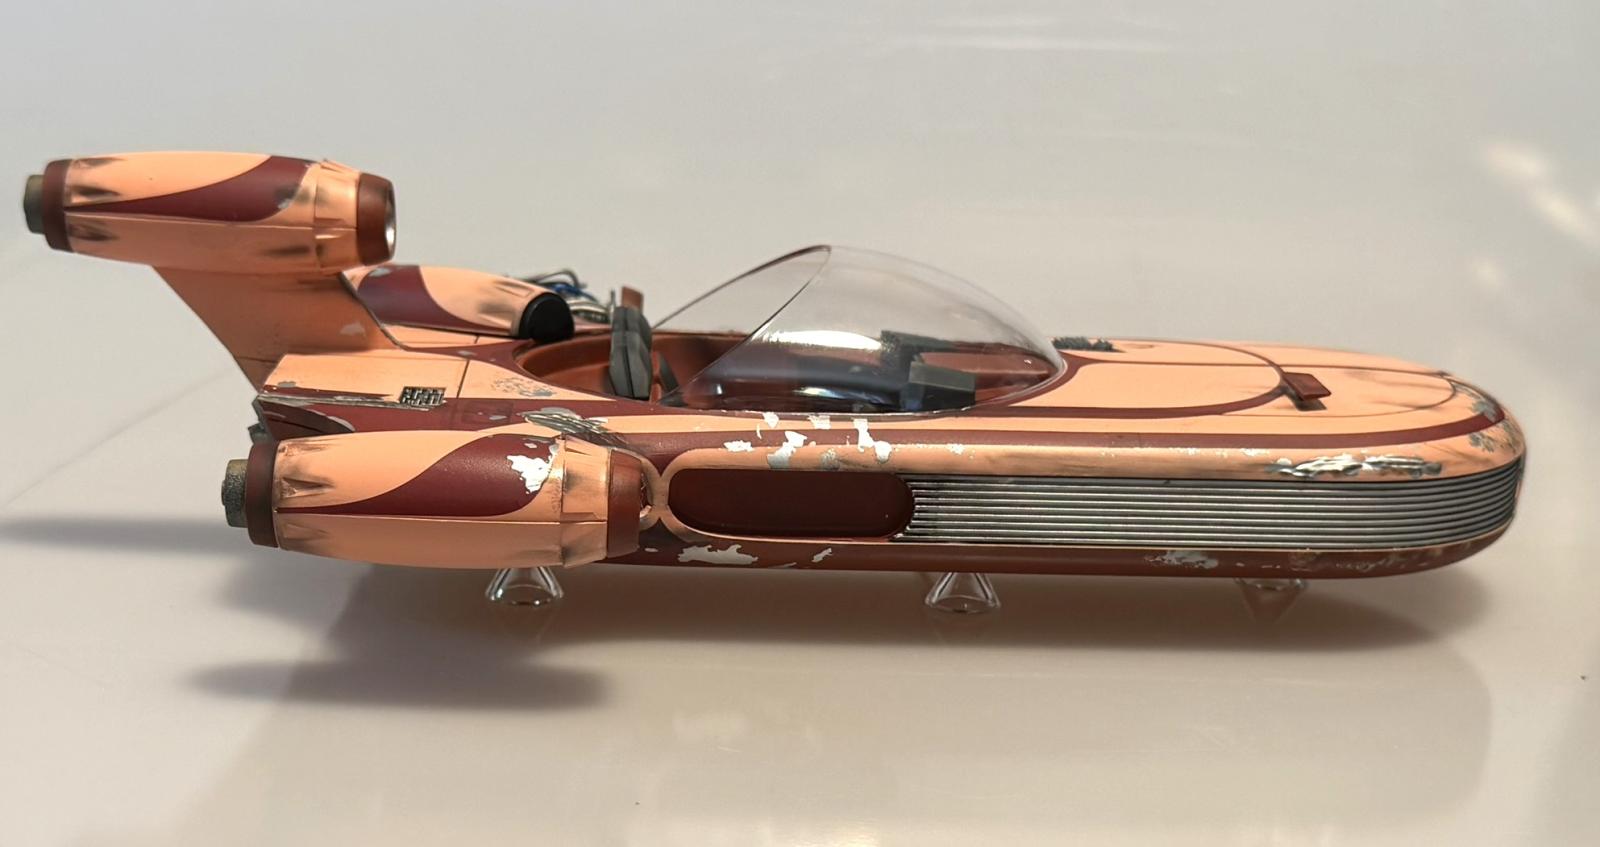
The interior parts were sprayed with Tamiya Dull Red TS-33 again and then allowed to dry & then were masked. I painted the bottom side with the same TS-33 and set these parts aside. The top was then masked and prepared for the paint chipping. The top hull was painted in the prescribed light pink sand color mix [5:4:2 mix of XF-2 White, X-17 Pink XF-15 Flesh]. Once this was dried I pulled all the salt and masking to expose the paint chipping. The top & bottom hull parts were cemented and the seams were tended to. I then touched up the seam areas with the appropriate colors. Once everything was dried I clear coated the assembly with Gunze Gloss coat. I then applied the various decals over a few nights. Decal adhesion was good and they responded well to decal solution. The decals blended both topside and underside colors well. Once all decals were on I sealed everything in with Gunze Semi-Gloss. Now the weathering began! I used a combination pastels and washes to achieve the well-worn look of the movie example. I also picked out the interior details and steering wheel. One modification was I cut the steering wheel component into a semi-circle as per the movie. Once the weathering was done I sealed everything in with another light coat of Gunze Semi-Gloss coat. The clear conical parts were attached to the underside to create the floating effect of the X-34 Landspeeder.
Conclusion and Ruminations
This was rather simple build with good fit. I can even say that Beginner could build this without painting it since it is molded in a close approximation to the upper side color. The extensive decals cover the striping and the paint chipping. You could just paint the bottom hull with a wide brush or a spray can of Tamiya TS-33. IT may have been prudent to mention this in the instructions—This would appeal to the beginner. Overall it is good size display and would scale out with any 1/12 car build.
Recommended
My thanks to Round 2 for the review sample and the opportunity to review it.
Comments
Add new comment
This site is protected by reCAPTCHA and the Google Privacy Policy and Terms of Service apply.
Similar Reviews