
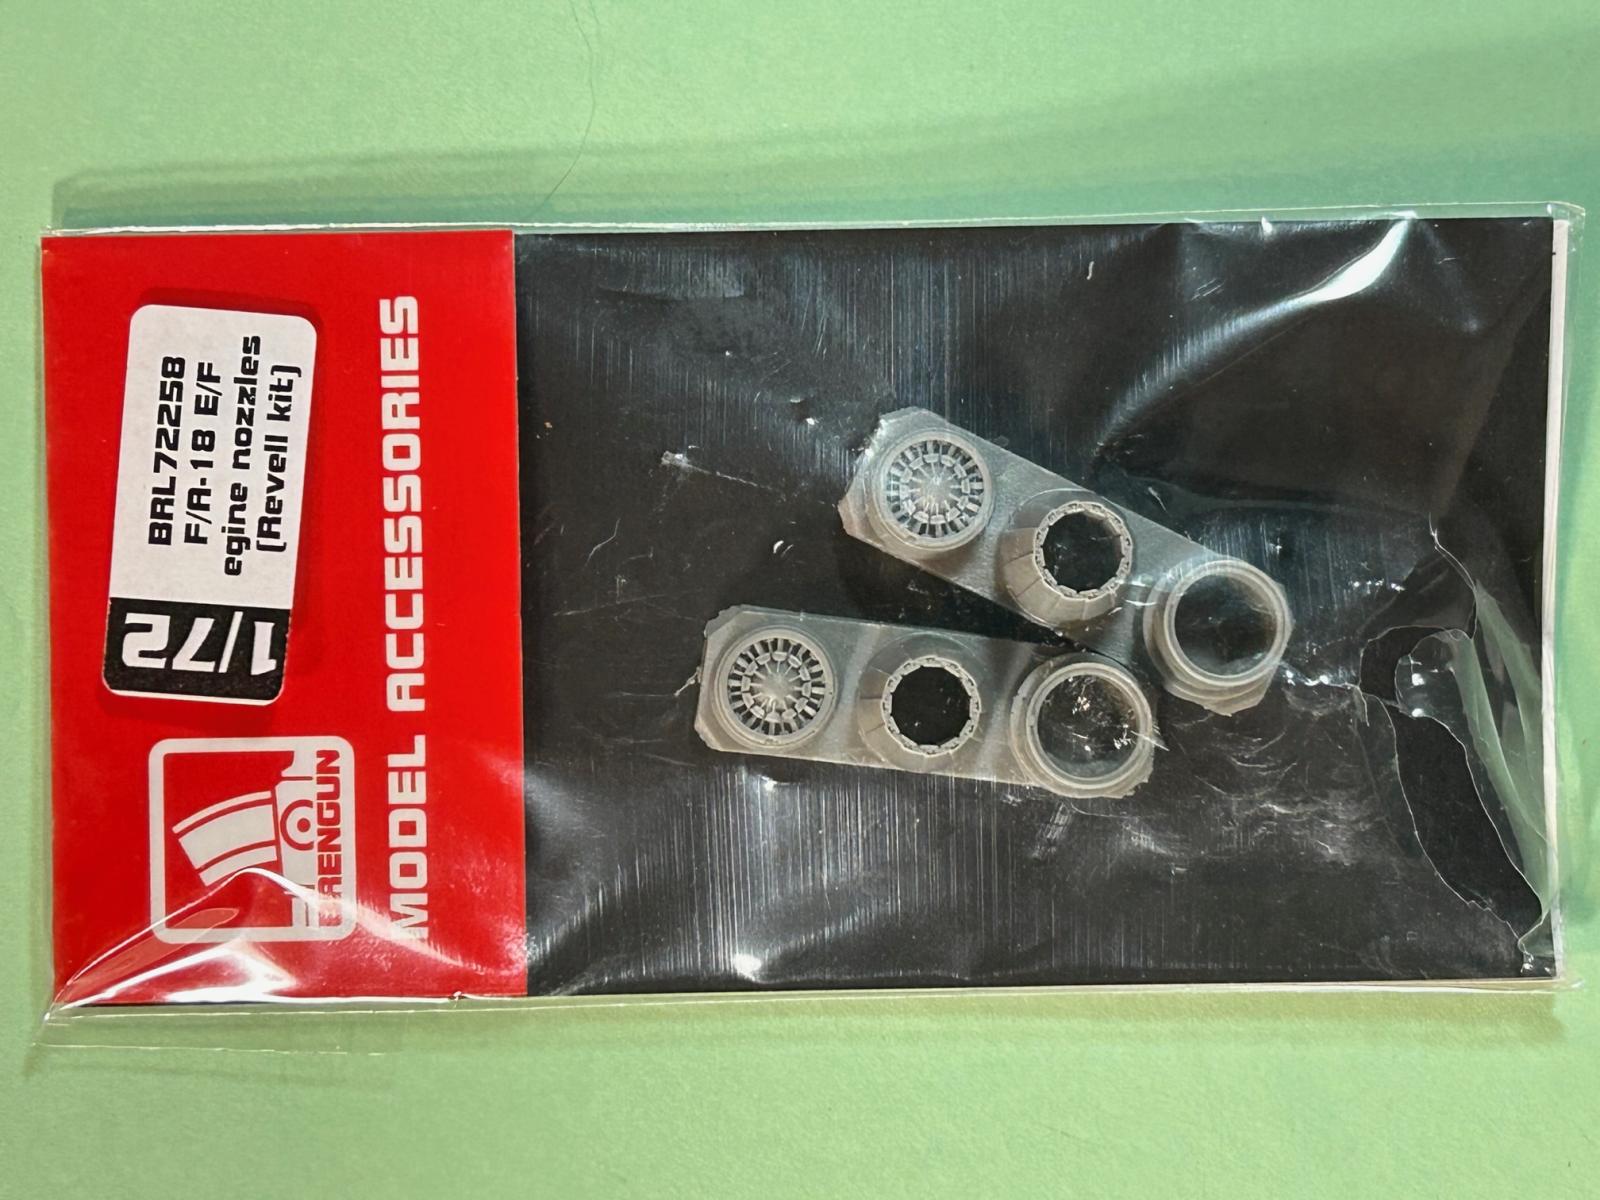
F/A-18 E/F Engine Nozzles Set
This set is designed to provide replacement engine nozzles for Revell’s 1/72 F/A-18E/F Super Hornet Dauntless kits. The package includes two complete nozzle sets consisting of the flameholder section, the exhaust tube and the nozzle.
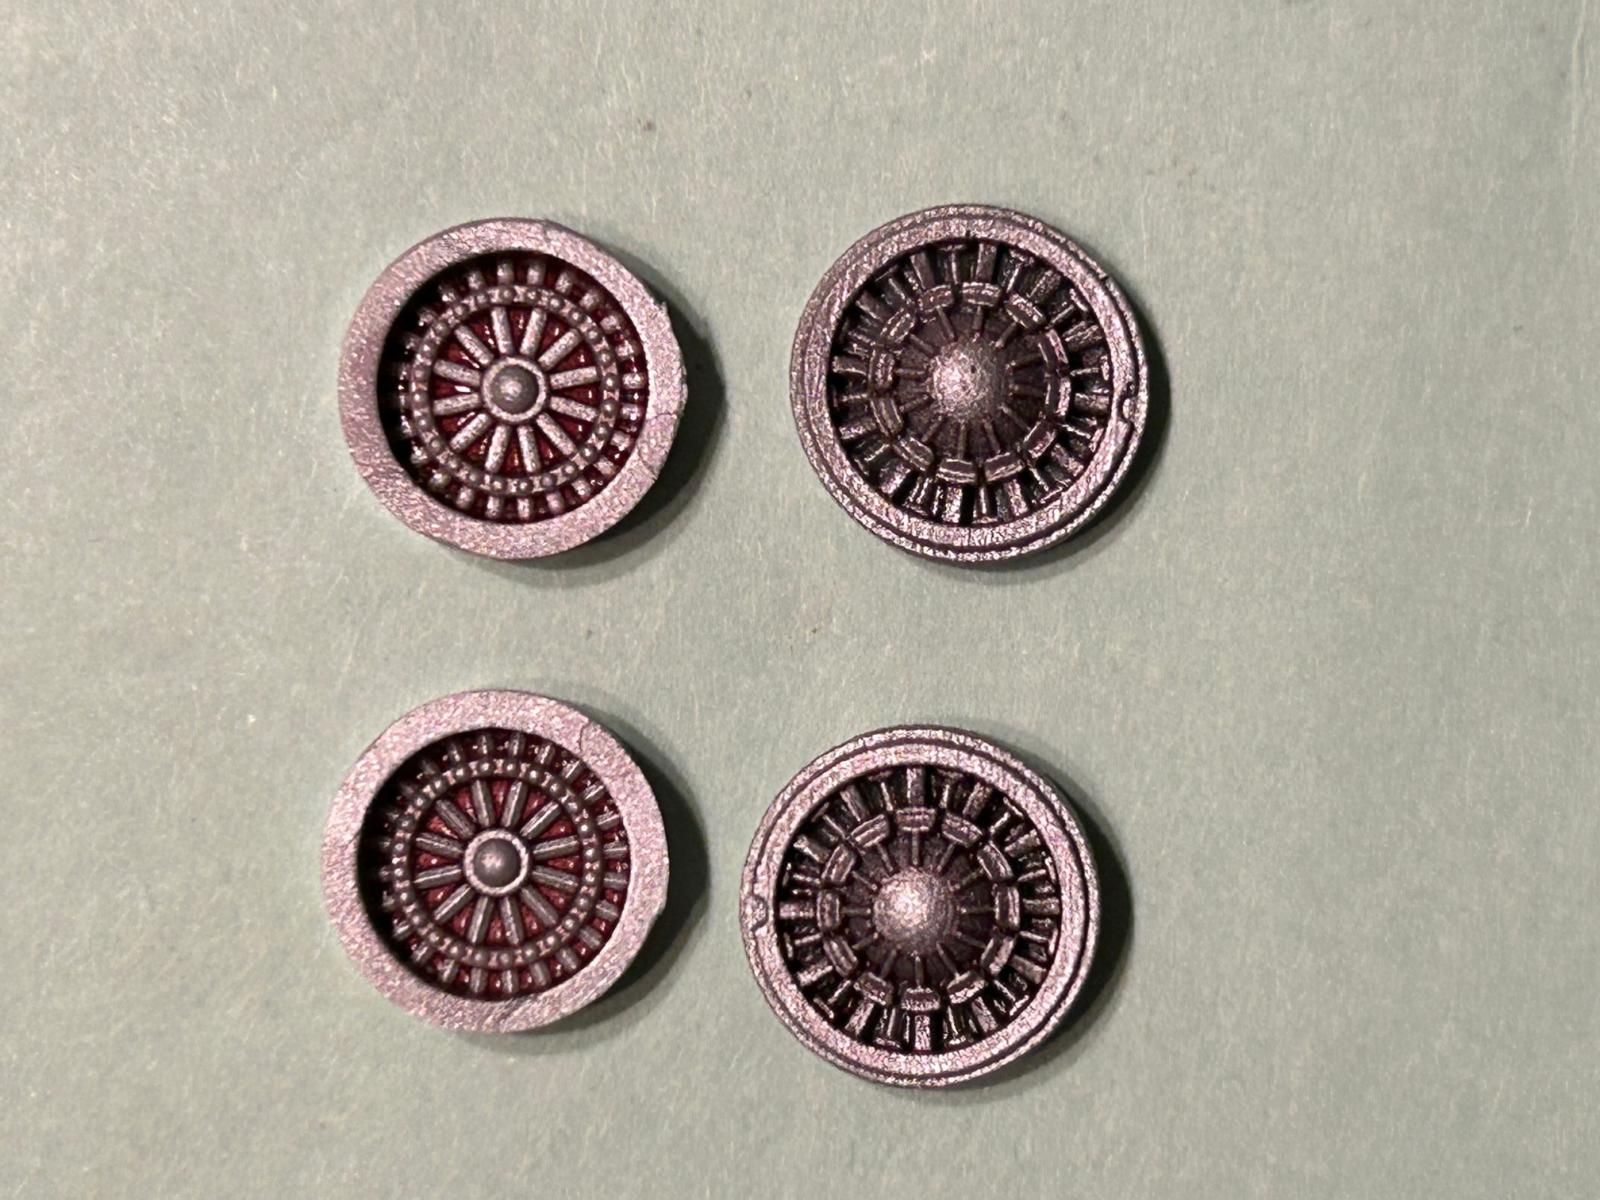
As expected with Brengun, the resin parts are well cast and sharply detailed and are intended to be a complete replacement for the kit’ engines. As with any resin set, the first set is to wash the parts to remove and release agent residue. I then used a razor saw to remove the parts from the casting stubs. I have always struggled with this step as I can never quite seem to keep the blade straight all the way through, so I end up having to do some remedial sanding to even the parts up after removal.
I had an old Revell F/A-18E kit in my stash, so I pulled it out and built it up in order to install the new nozzles. Part way through the build I realized that the kit I was using must have been modeled after a prototype as the kit lacked the prominent ECS heat exchanges mounted between the vertical tails. I understand now that Revell issued a retooled F/A-18E/F kit in 2009 which this set was intended to fit. However, as I did not have the retooled kit, I pushed ahead and worked with what I had.
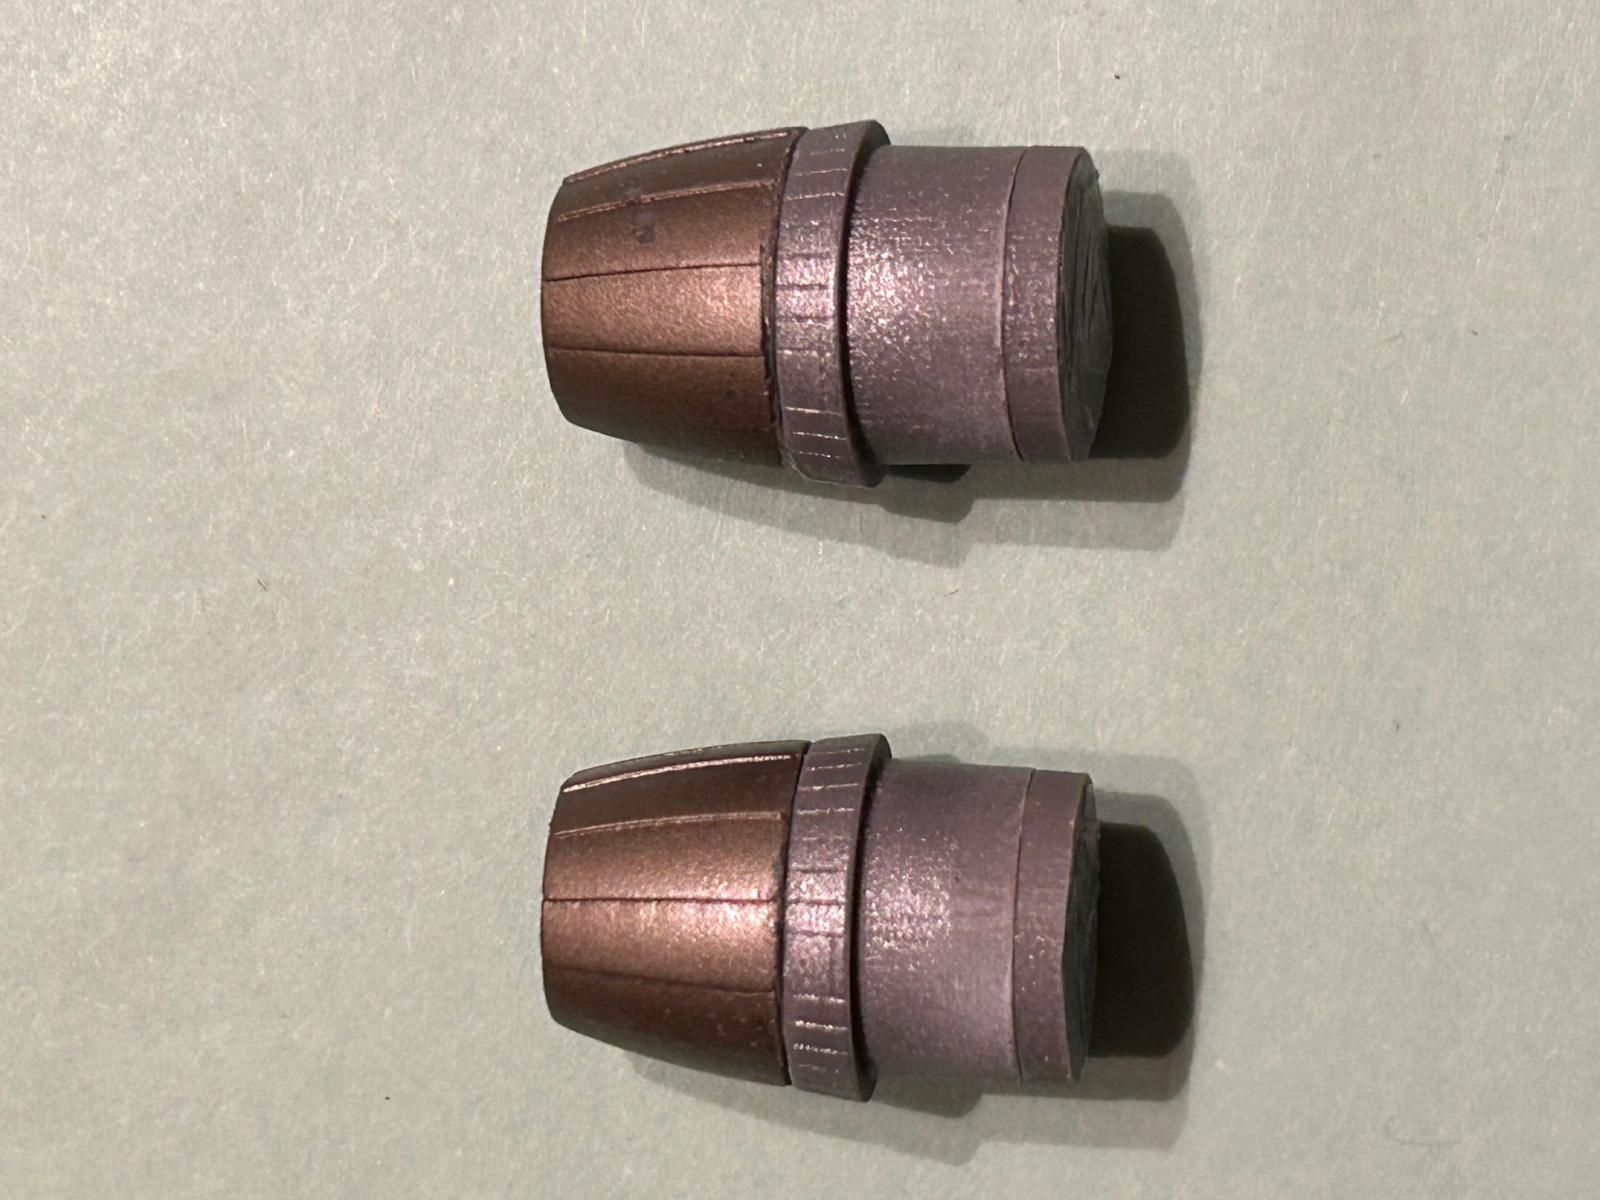
Once the parts had been removed from the casting stubs, I painted the flameholder Testors steel highlighted with a black wash. The interior of the exhaust tubes and the nozzles were painted flat white to simulate the ceramic finish on both. I also airbrushed streaks to simulate burn marks inside both. The nozzle surround at the aft end of the exhaust tube was painted Testors aluminum and the outside of the nozzles were painted Testors Jet Exhaust. I again applied a black wash to bring out the details in the exhaust tubes and the nozzles. I then superglued each set together into a single unit to ease in installing them.
In order to fit the new nozzle assemblies, once you have the fuselage assembled, you will need to enlarge the openings for the nozzles in order for them to slide in. Take your time as you want the nozzle assembly to be a pretty tight fit, so be careful you don’t remove too much of the kit plastic.
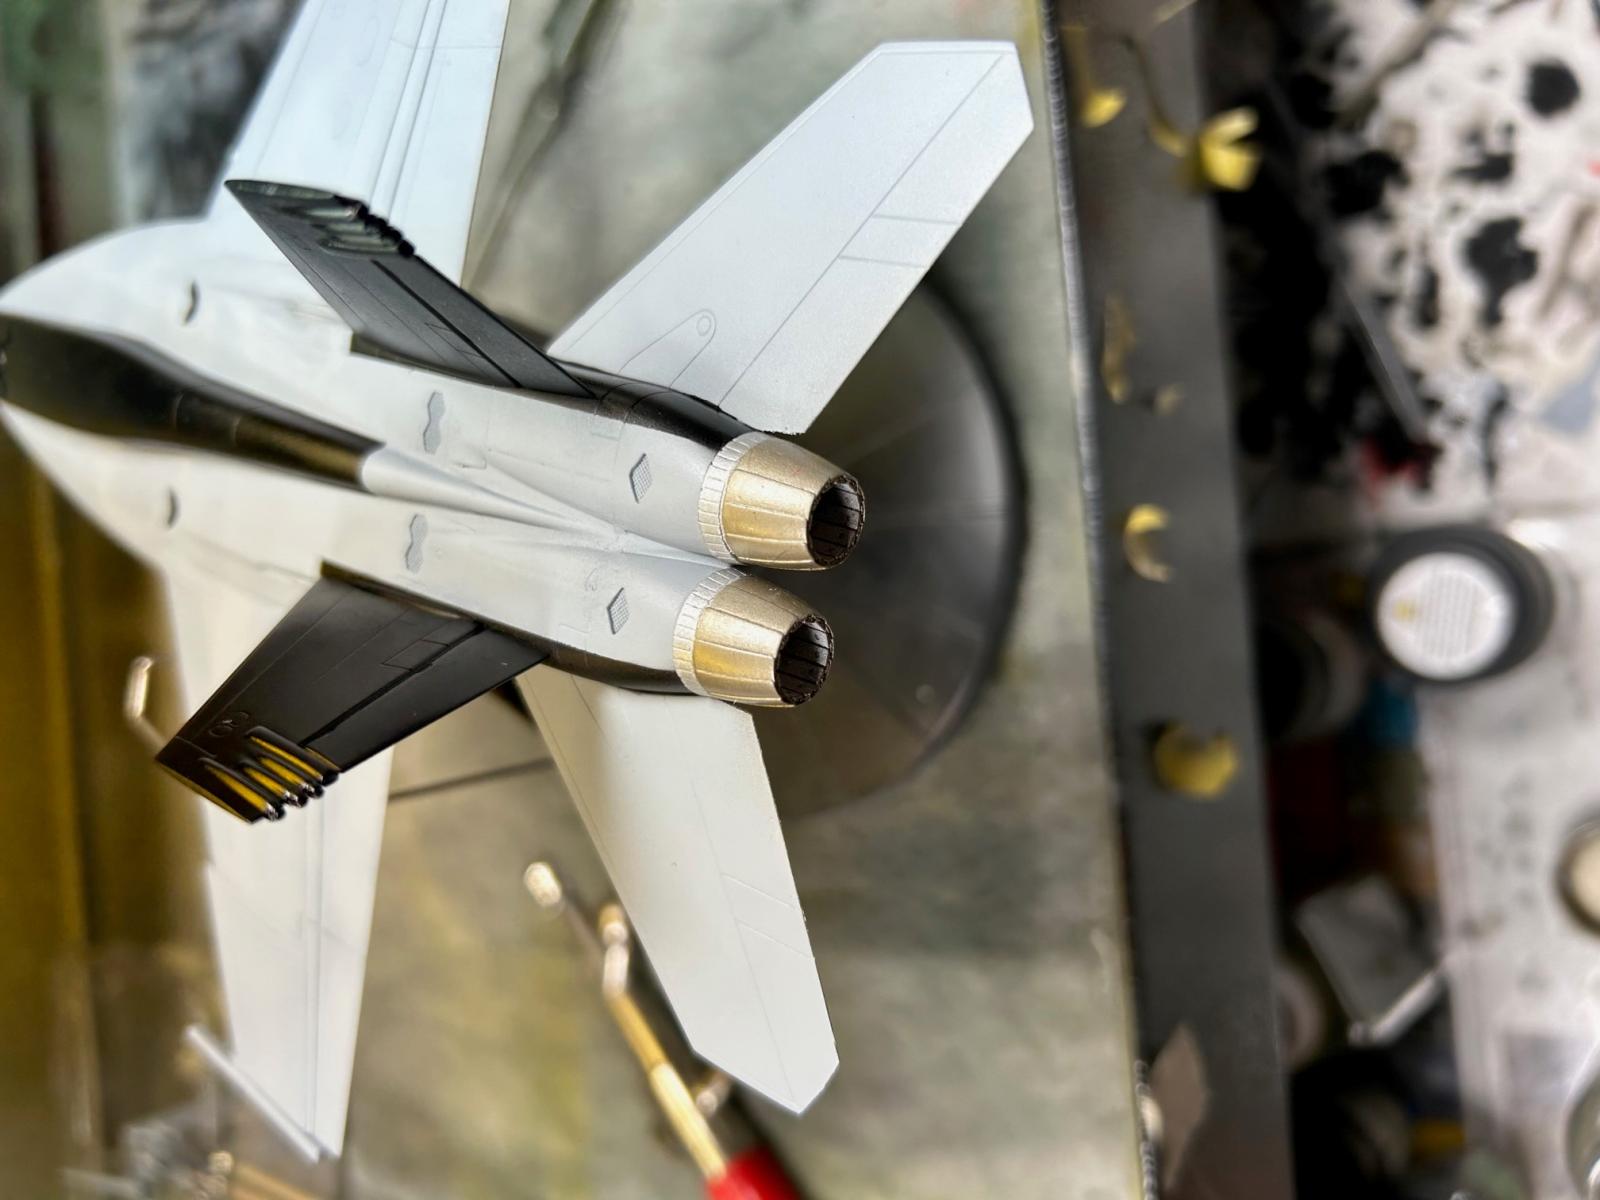
When I installed the nozzle assemblies, I discovered that their diameter was slightly greater than the engine area on the kit, so I had to use a little filler to blend them in and remove the step between the kit’s aft fuselage and the nozzles. I used water soluble putty to avoid having to sand the parts.
This is a nice set from Brengun and looks really good once installed. My only concern is that I think the castings for the nozzles could have been thinner as when I removed them from the casting stubs, the end that mates with the exhaust tube is very thick and the opening inside the nozzle is pretty narrow.
I enjoyed this set from Brengun and I think it is a clear improvement over the kit parts, especially on the older kit I used.
Recommended.
Thank you to Brengun/Hauler for the review sample and to IPMS USA for letting me review it.


Comments
Add new comment
This site is protected by reCAPTCHA and the Google Privacy Policy and Terms of Service apply.
Similar Reviews