
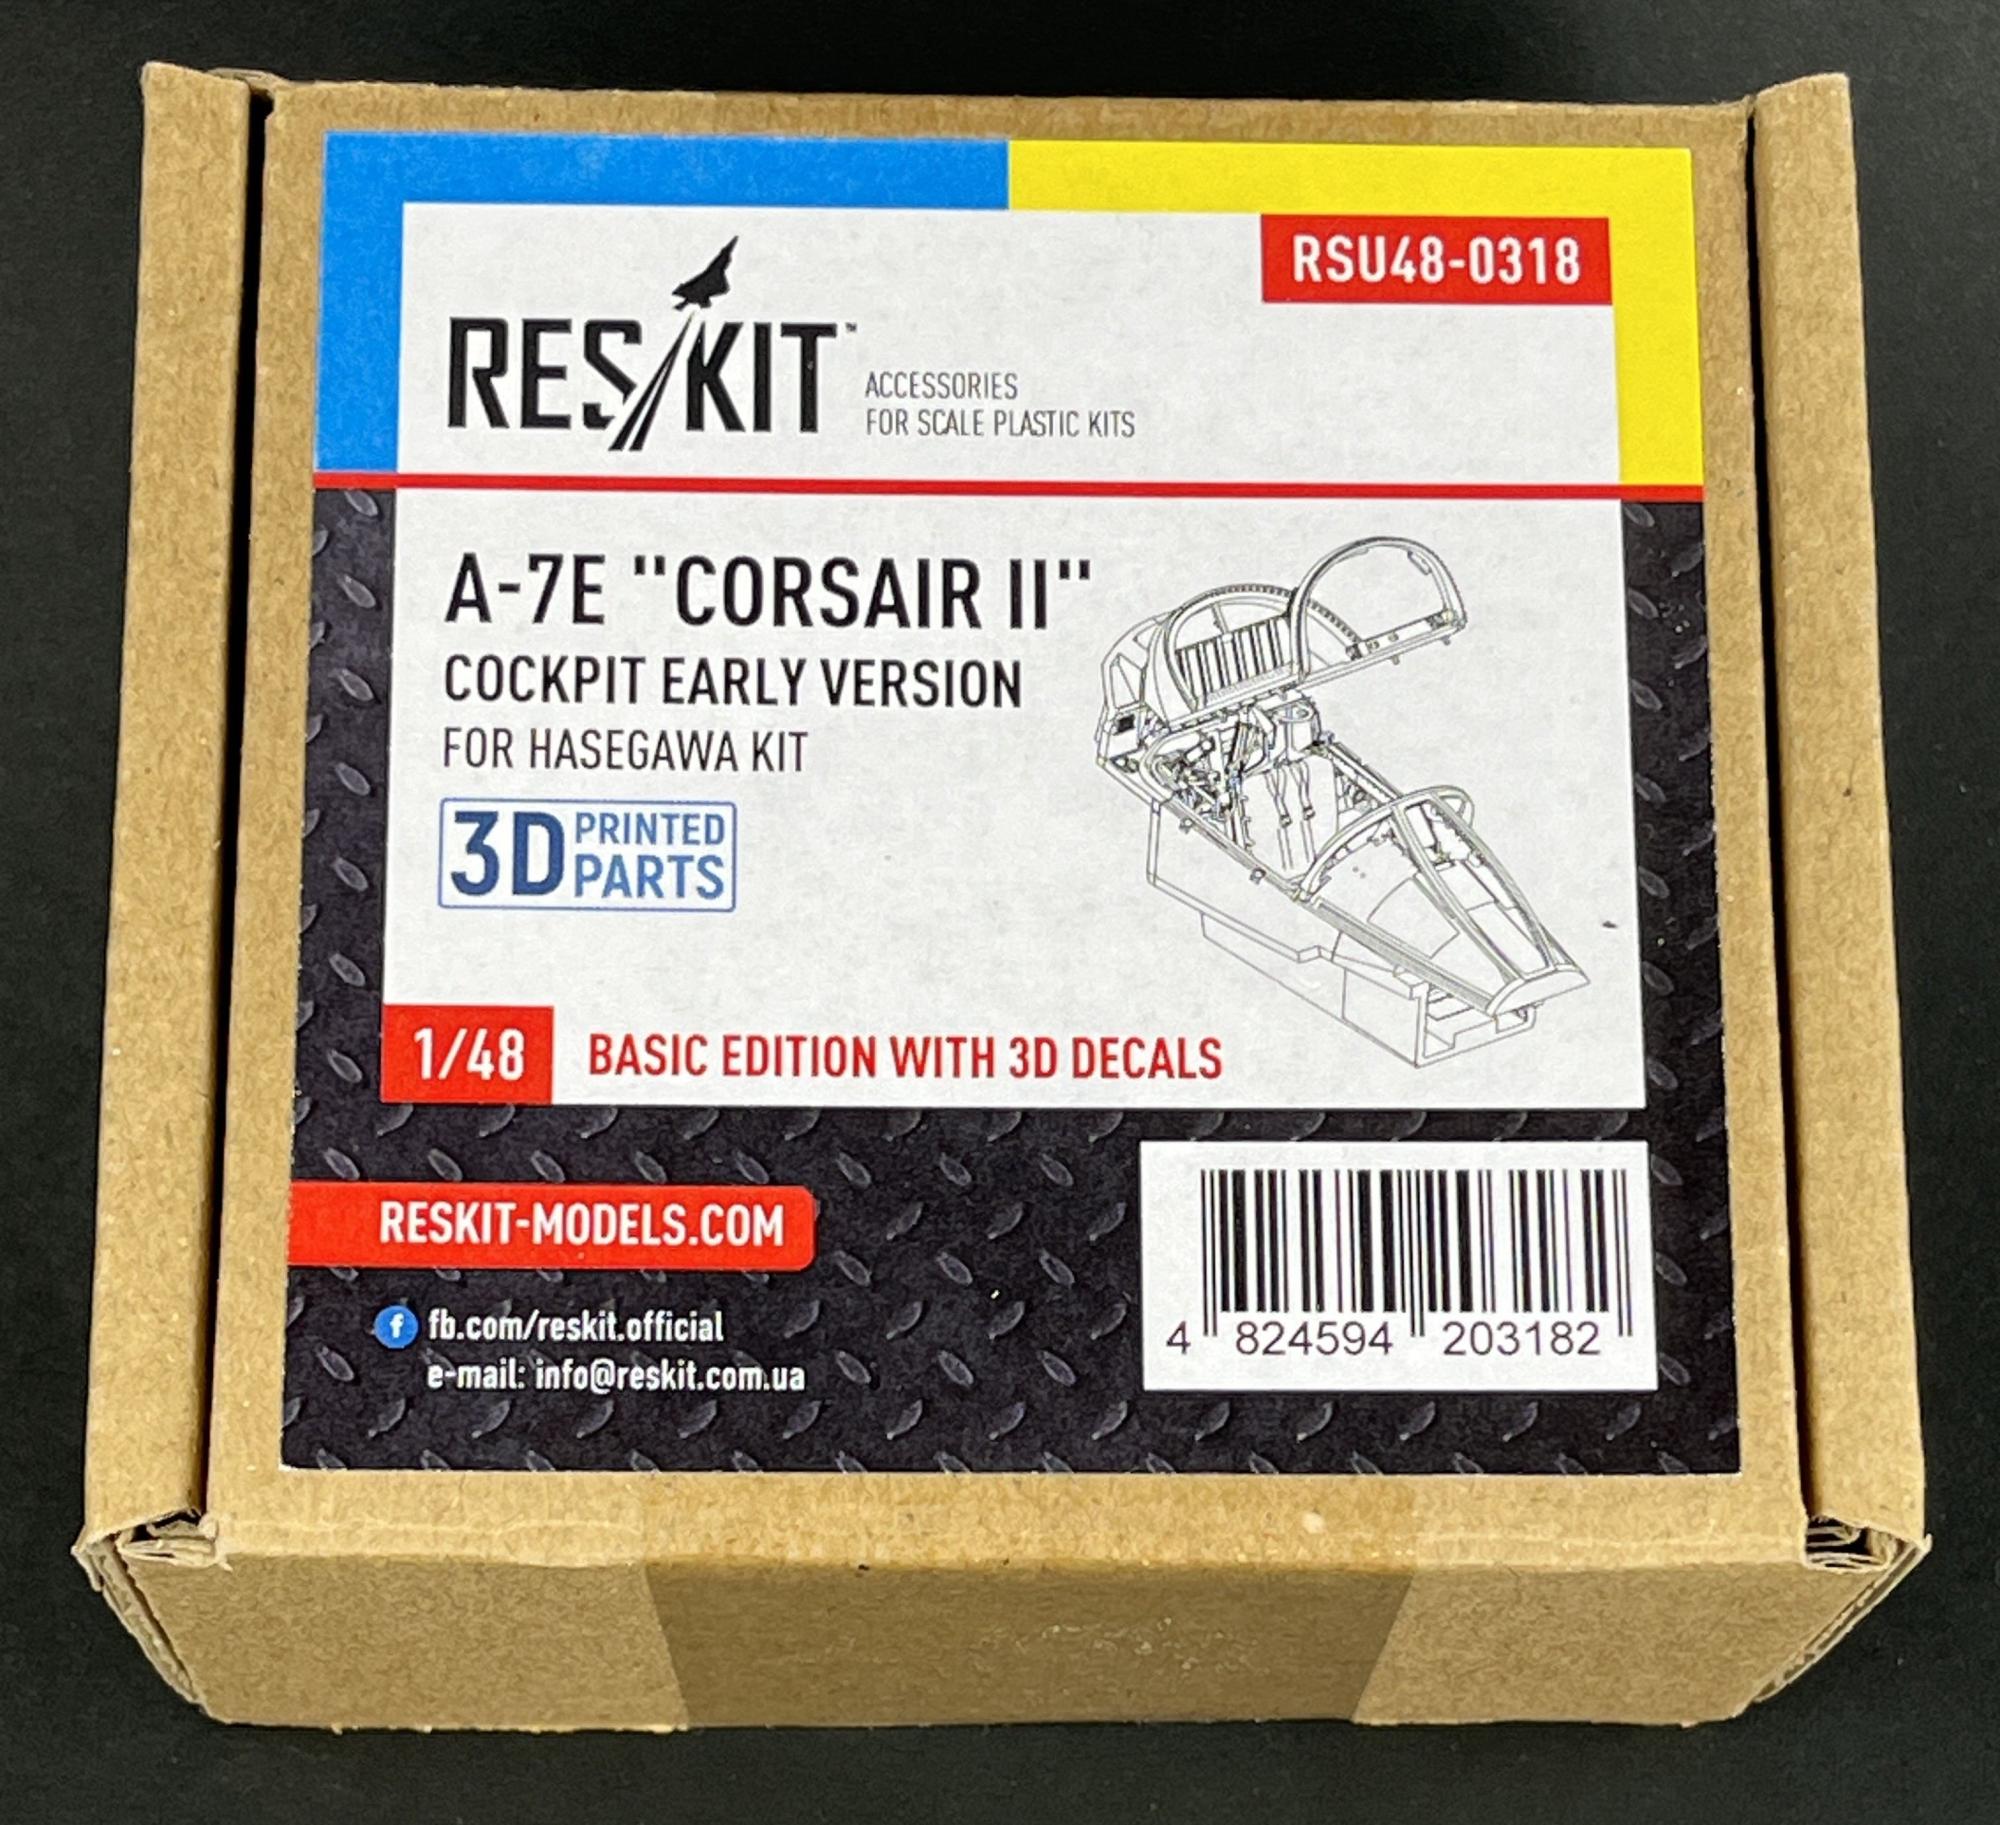
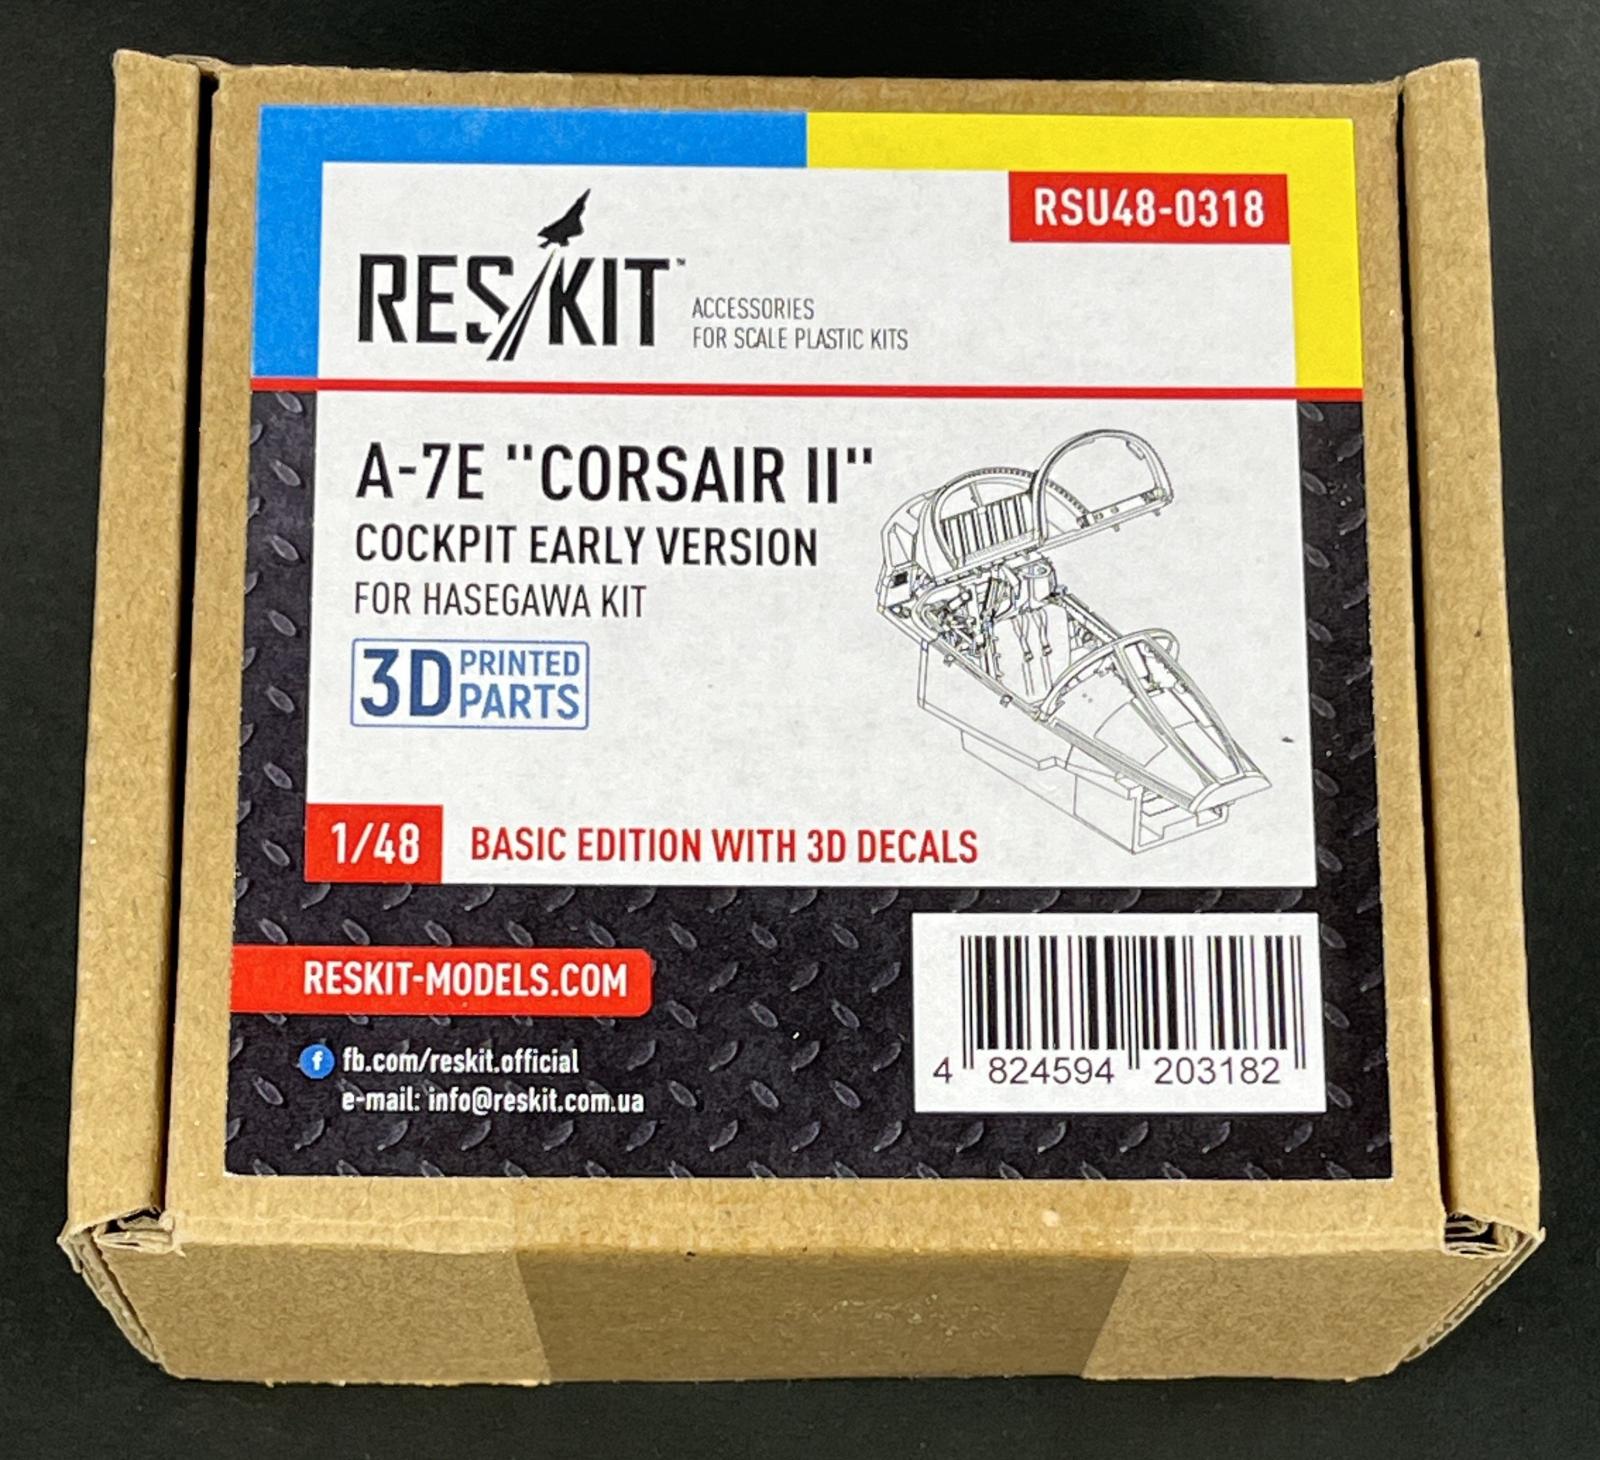
A-7E "Corsair II" Cockpit Early Version for Hasegawa (Basic Edition with 3D Decals)
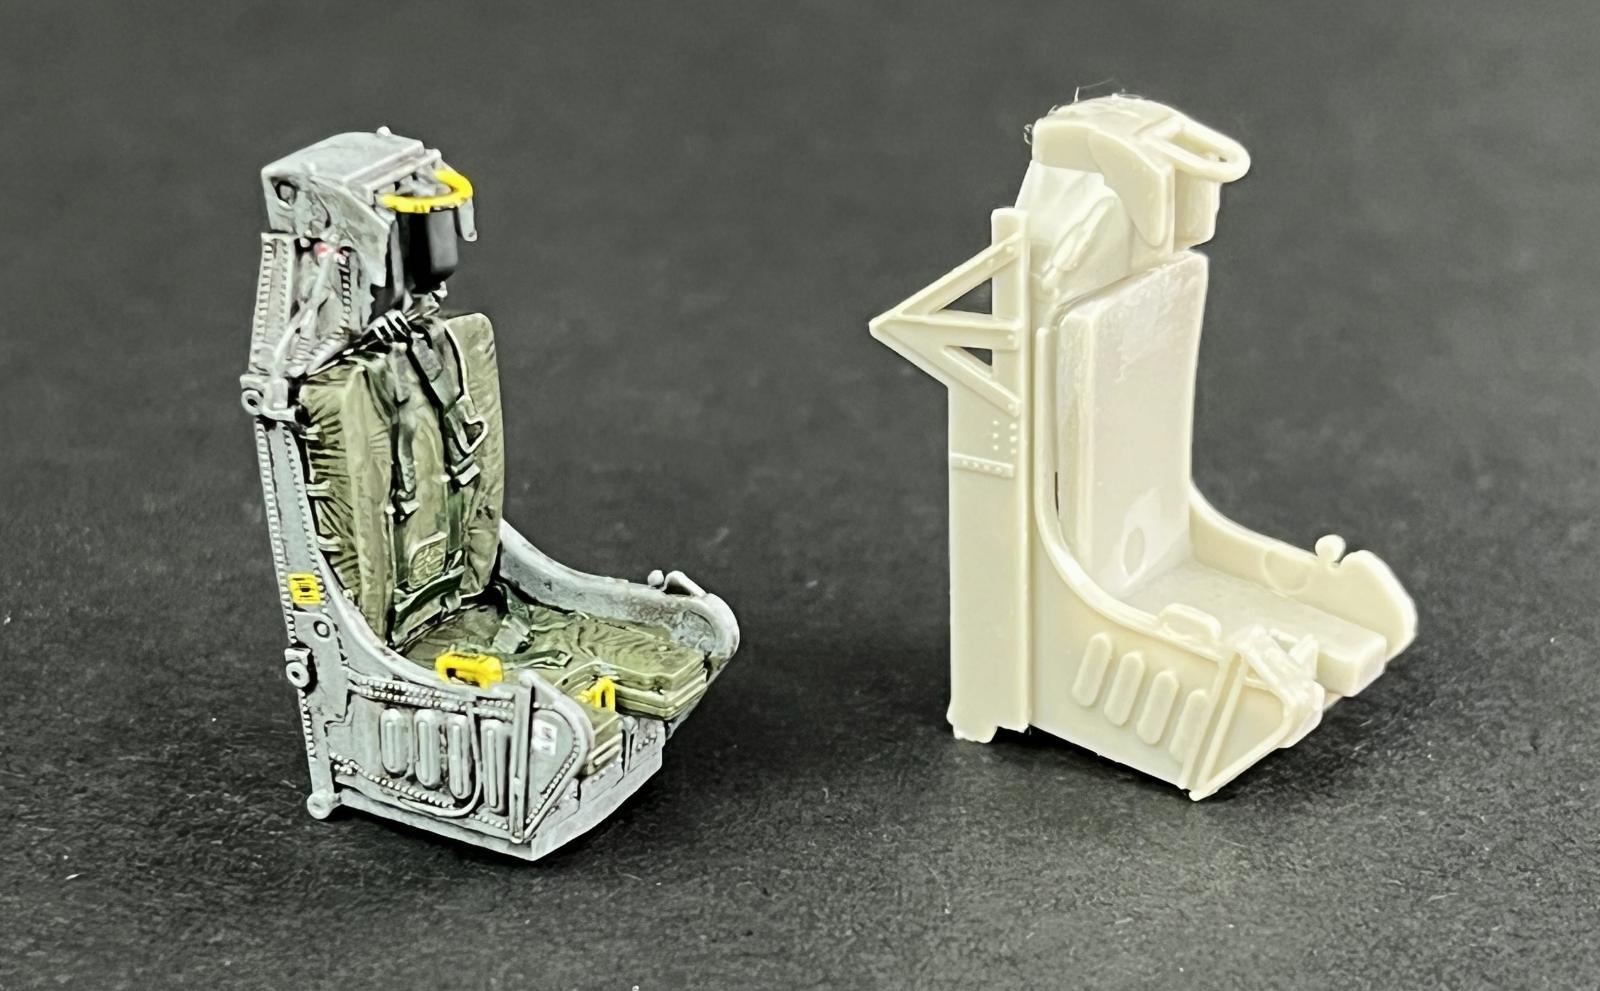
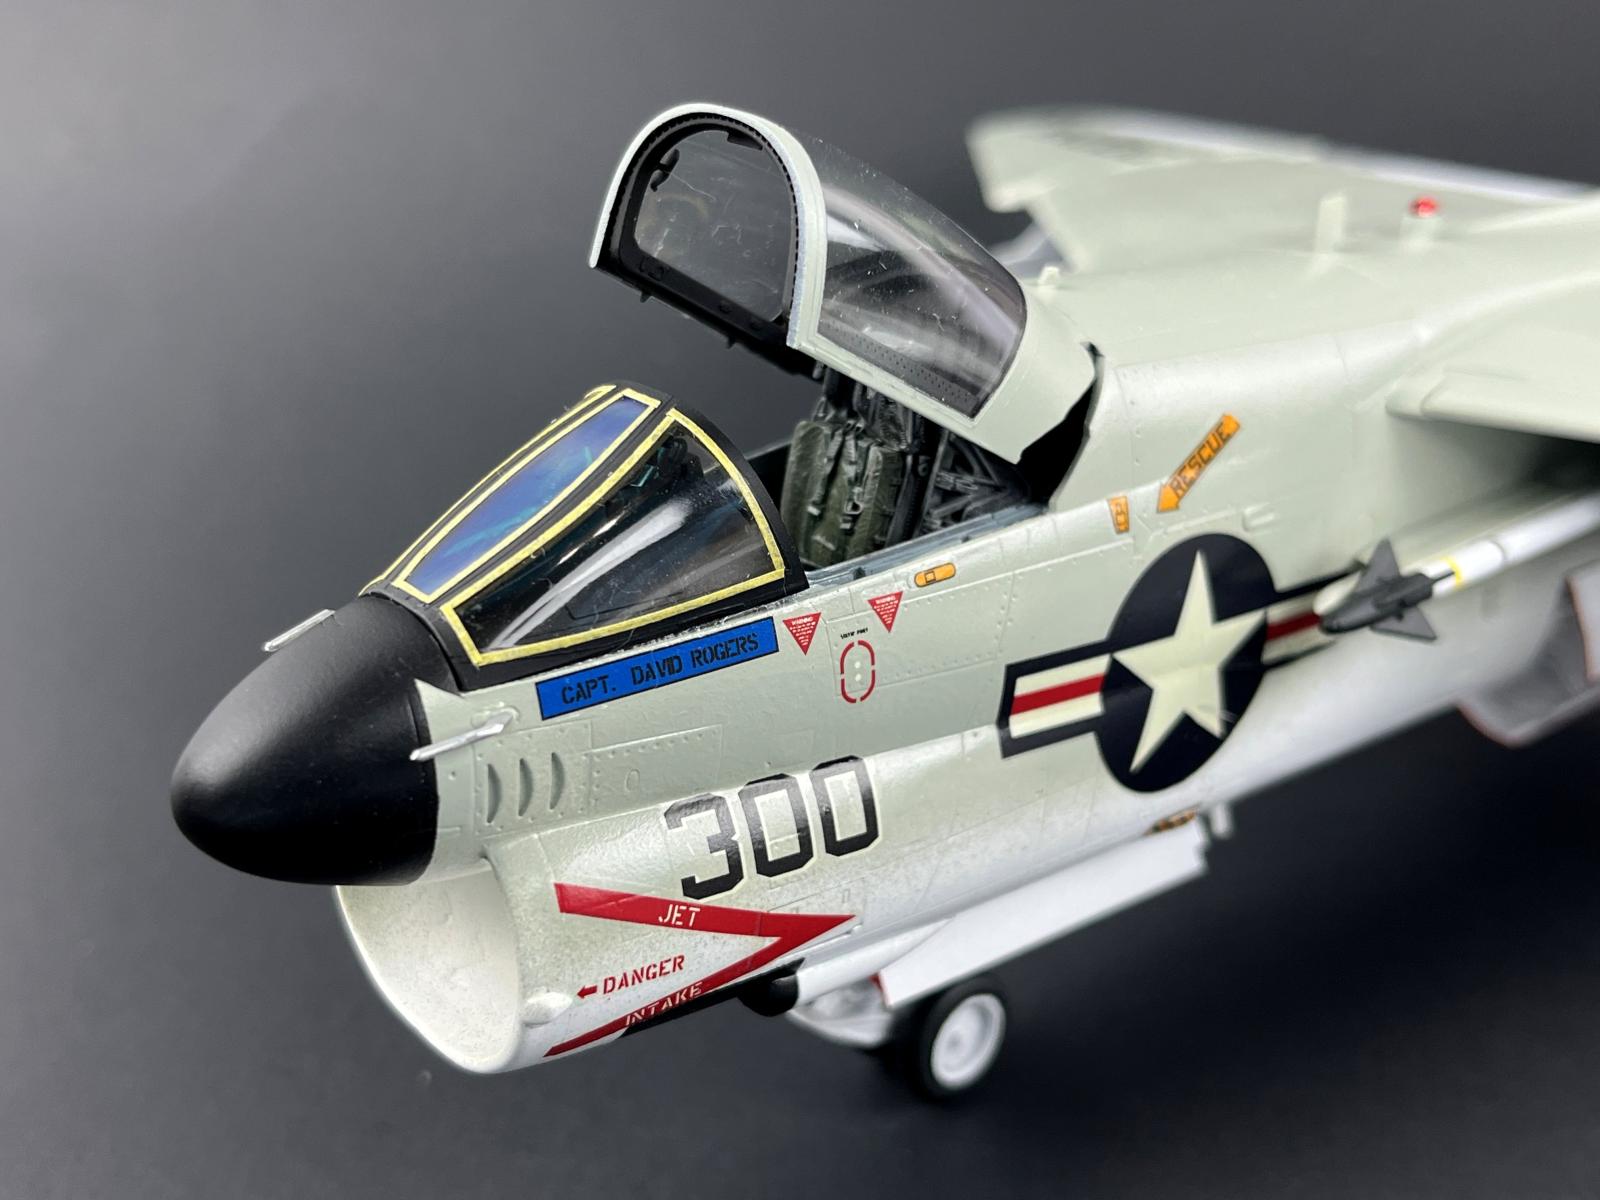
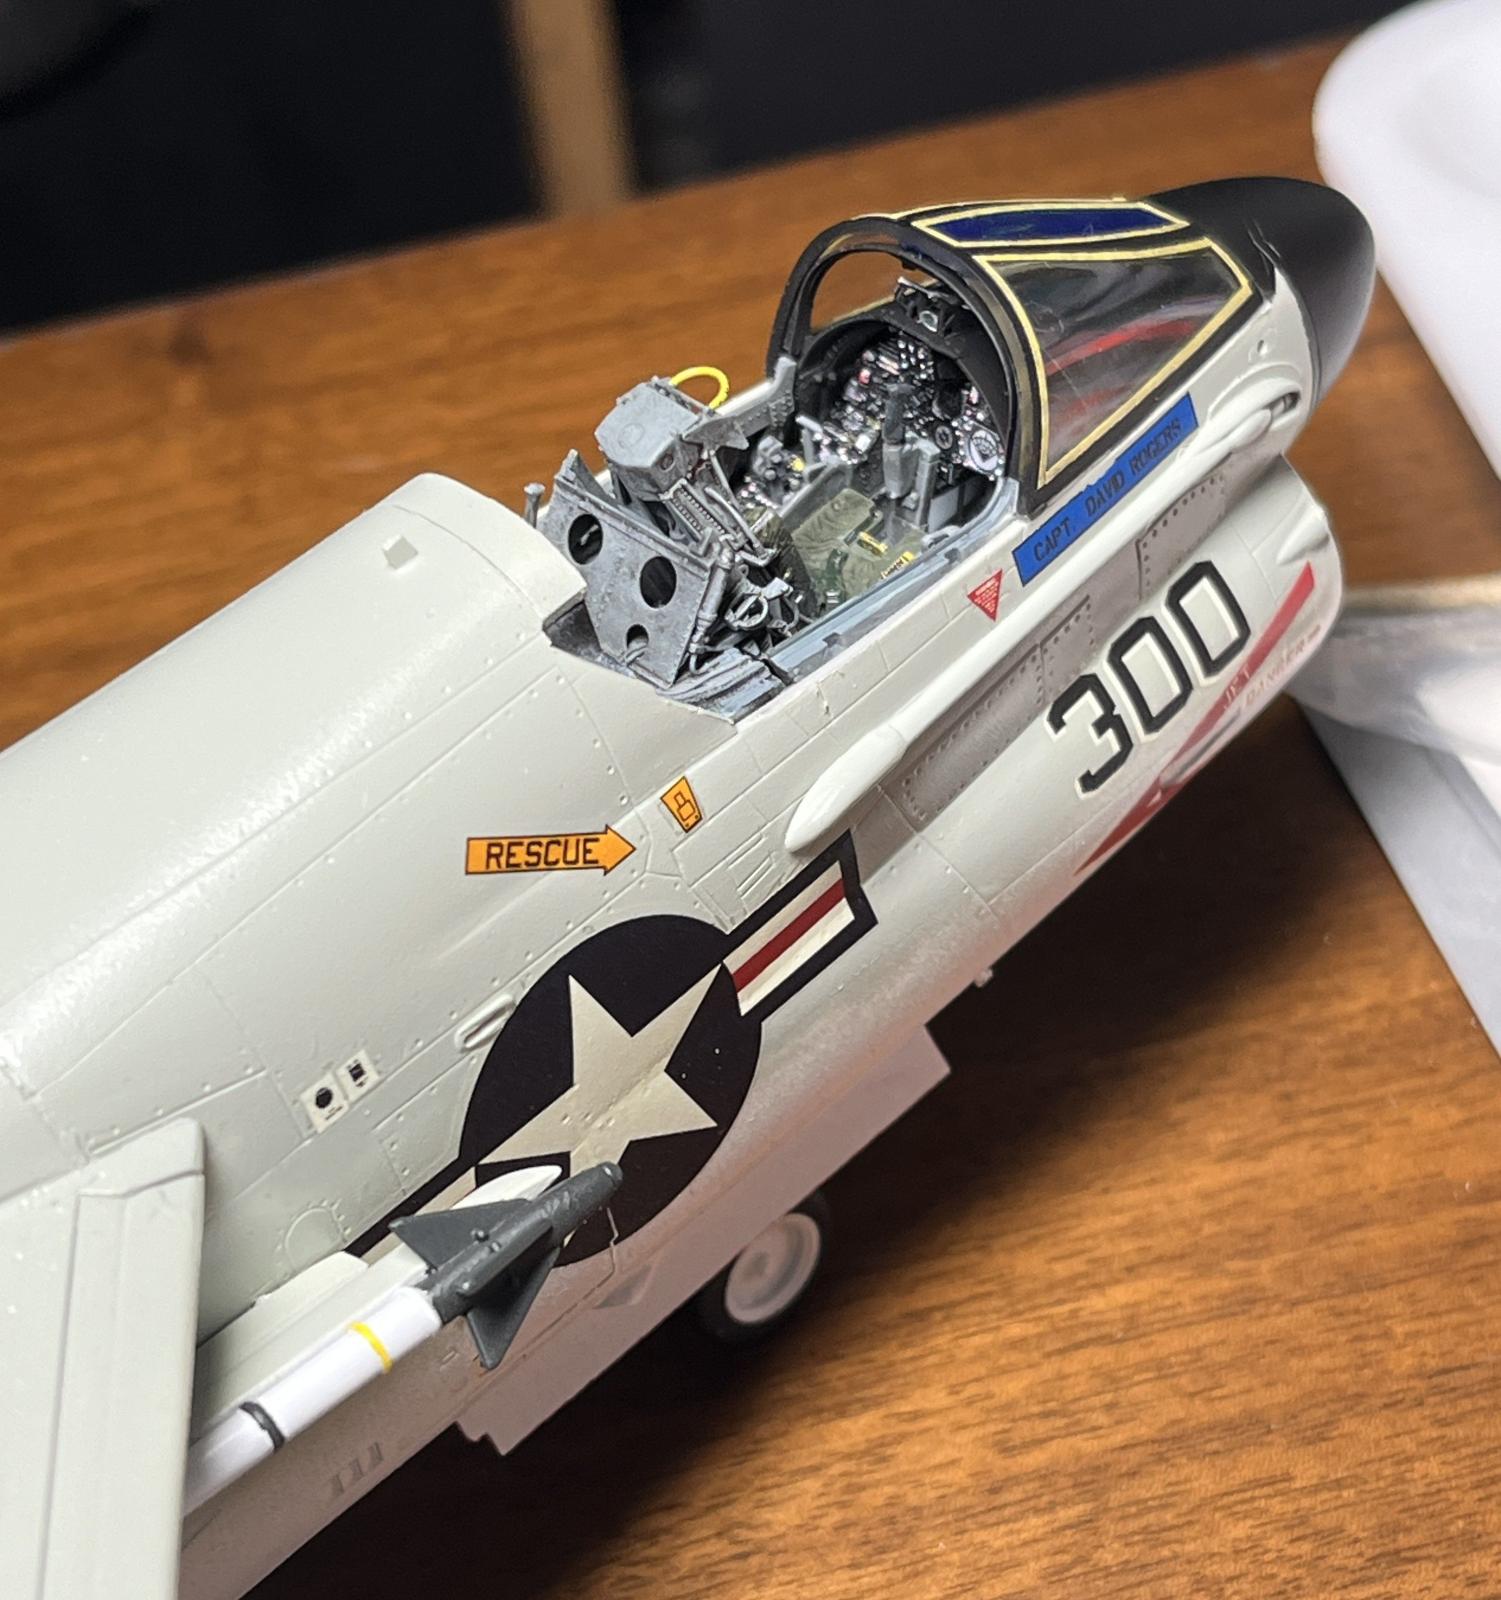
Hasegawa first released their 1/48 A-7E in 1987 with various boxing still available today. To date it is the most accurate offering in shape and features. Where it is lacking and showing its age is in the cockpit assembly. ResKit have come to the rescue with a finely detailed 3D printed cockpit assembly which is an almost drop-in fit. Refer to the pictures that accompany this review to see the amazing level of detail on the ejection seat alone.
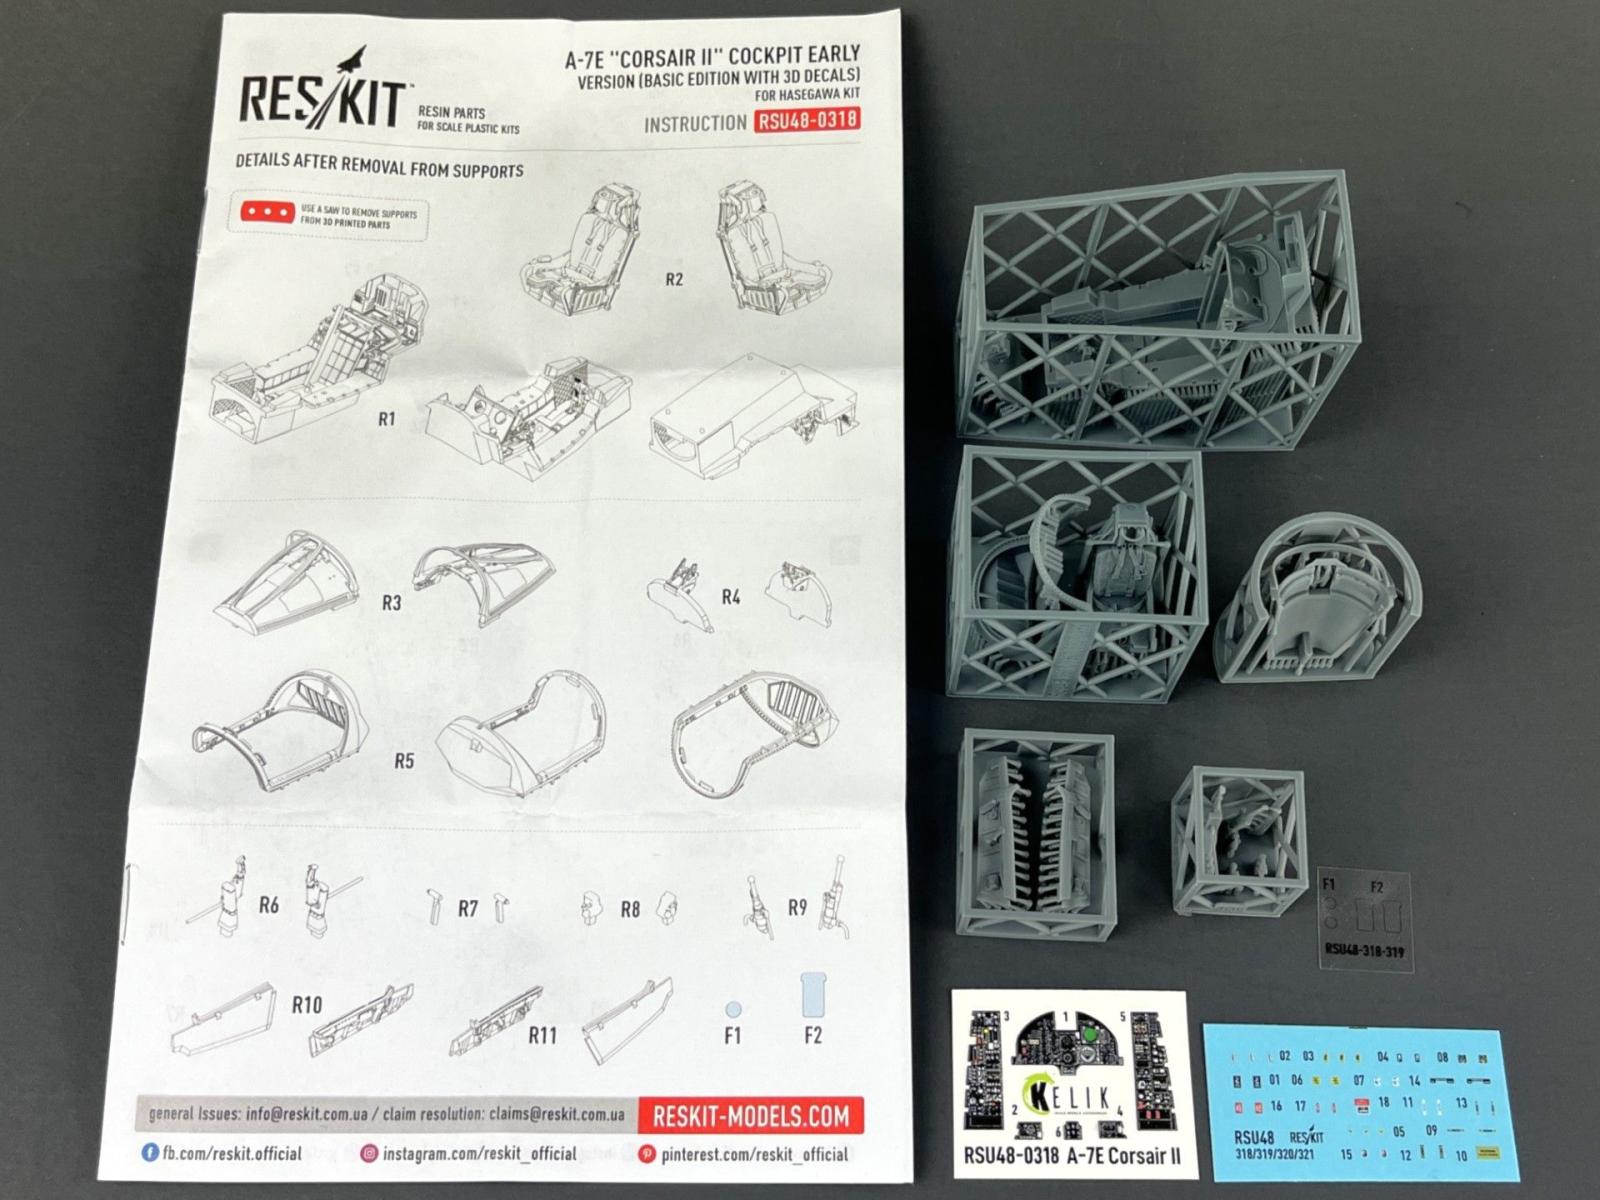
In the Box
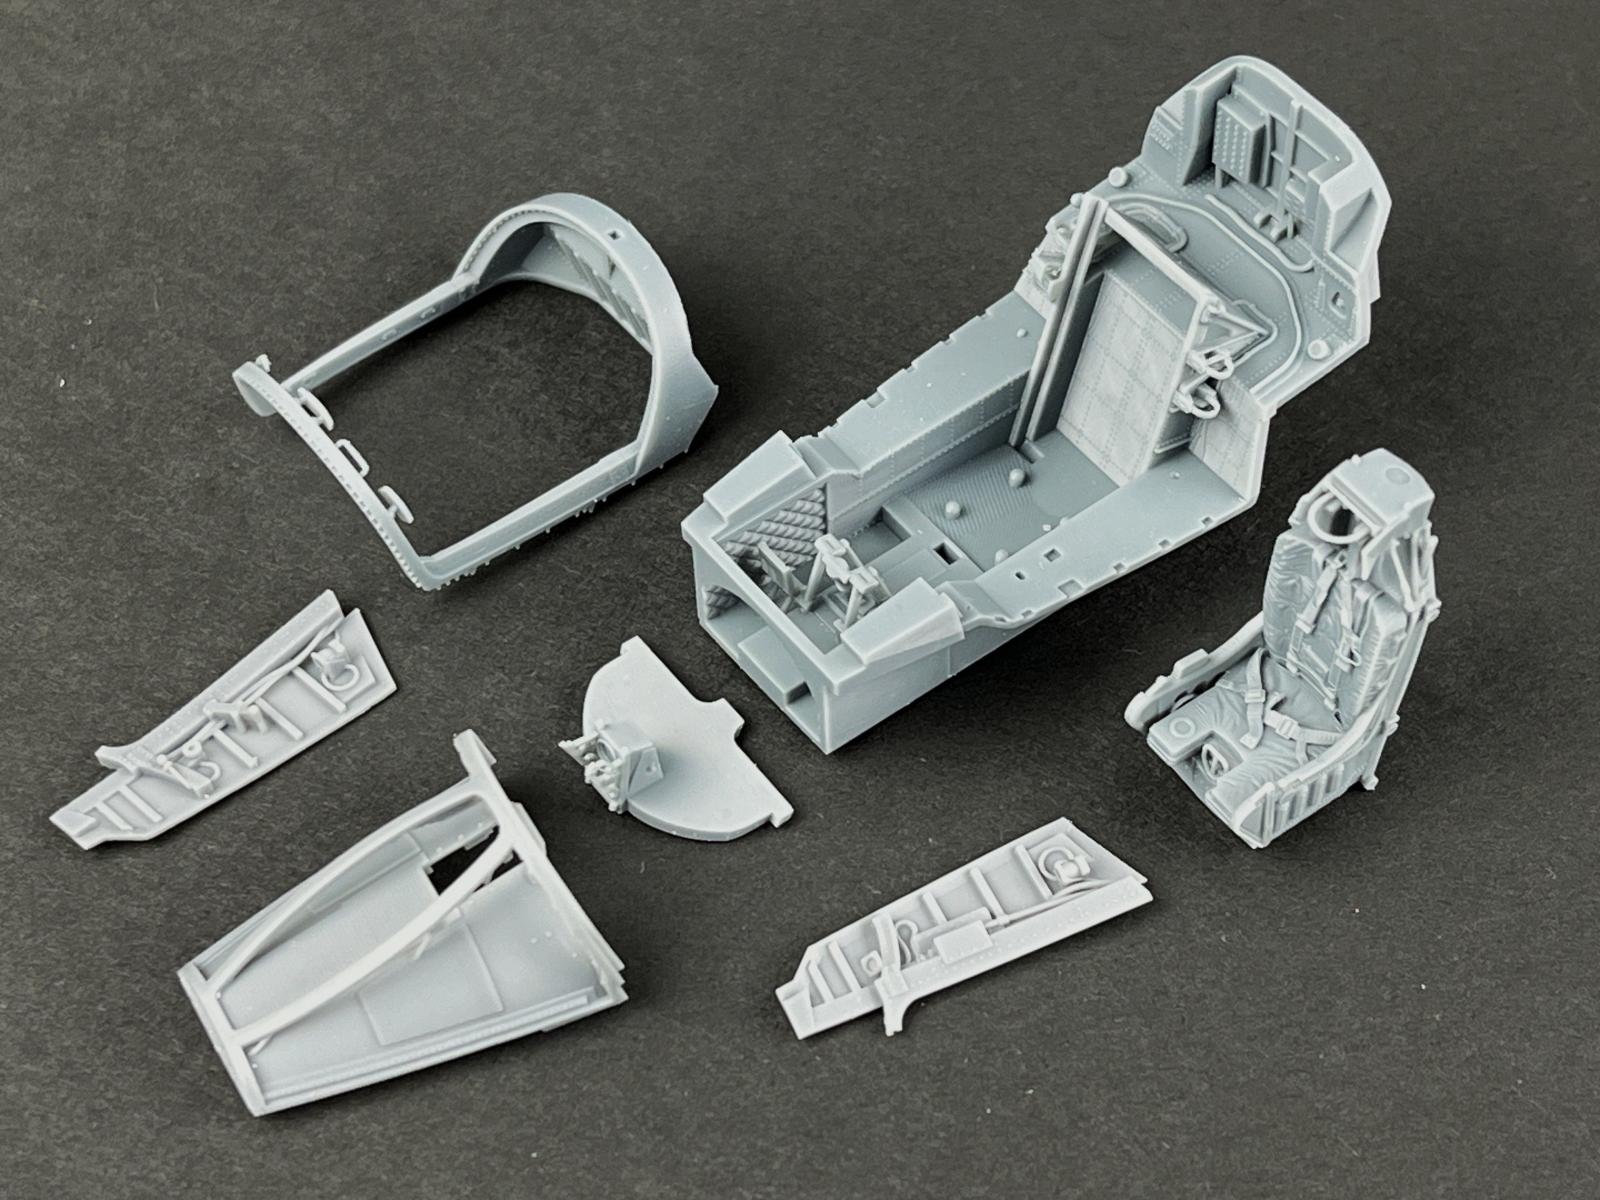
- Resin cockpit tub, ejection seat, stick, throttle, inner canopy frames, instrument panels and canopy jack
- 3D decals of Instruments
- Clear Acetate for Gun Sight
- Placard Decals
Thirteen resin parts are provided which must be removed from their resin supports and cleaned up before painting. Thankfully the supports are all on the underside or hidden areas of the parts. This release is the Basic Edition, which is to say it includes 3D printed decals for the instrument panel and side panels rather than resin panels that require detailed painting. A small clear acetate sheet is included with printed outlines of the clear parts used for the gun sight, and also a small sheet of tiny decals for the ejection seat placards.
Assembly
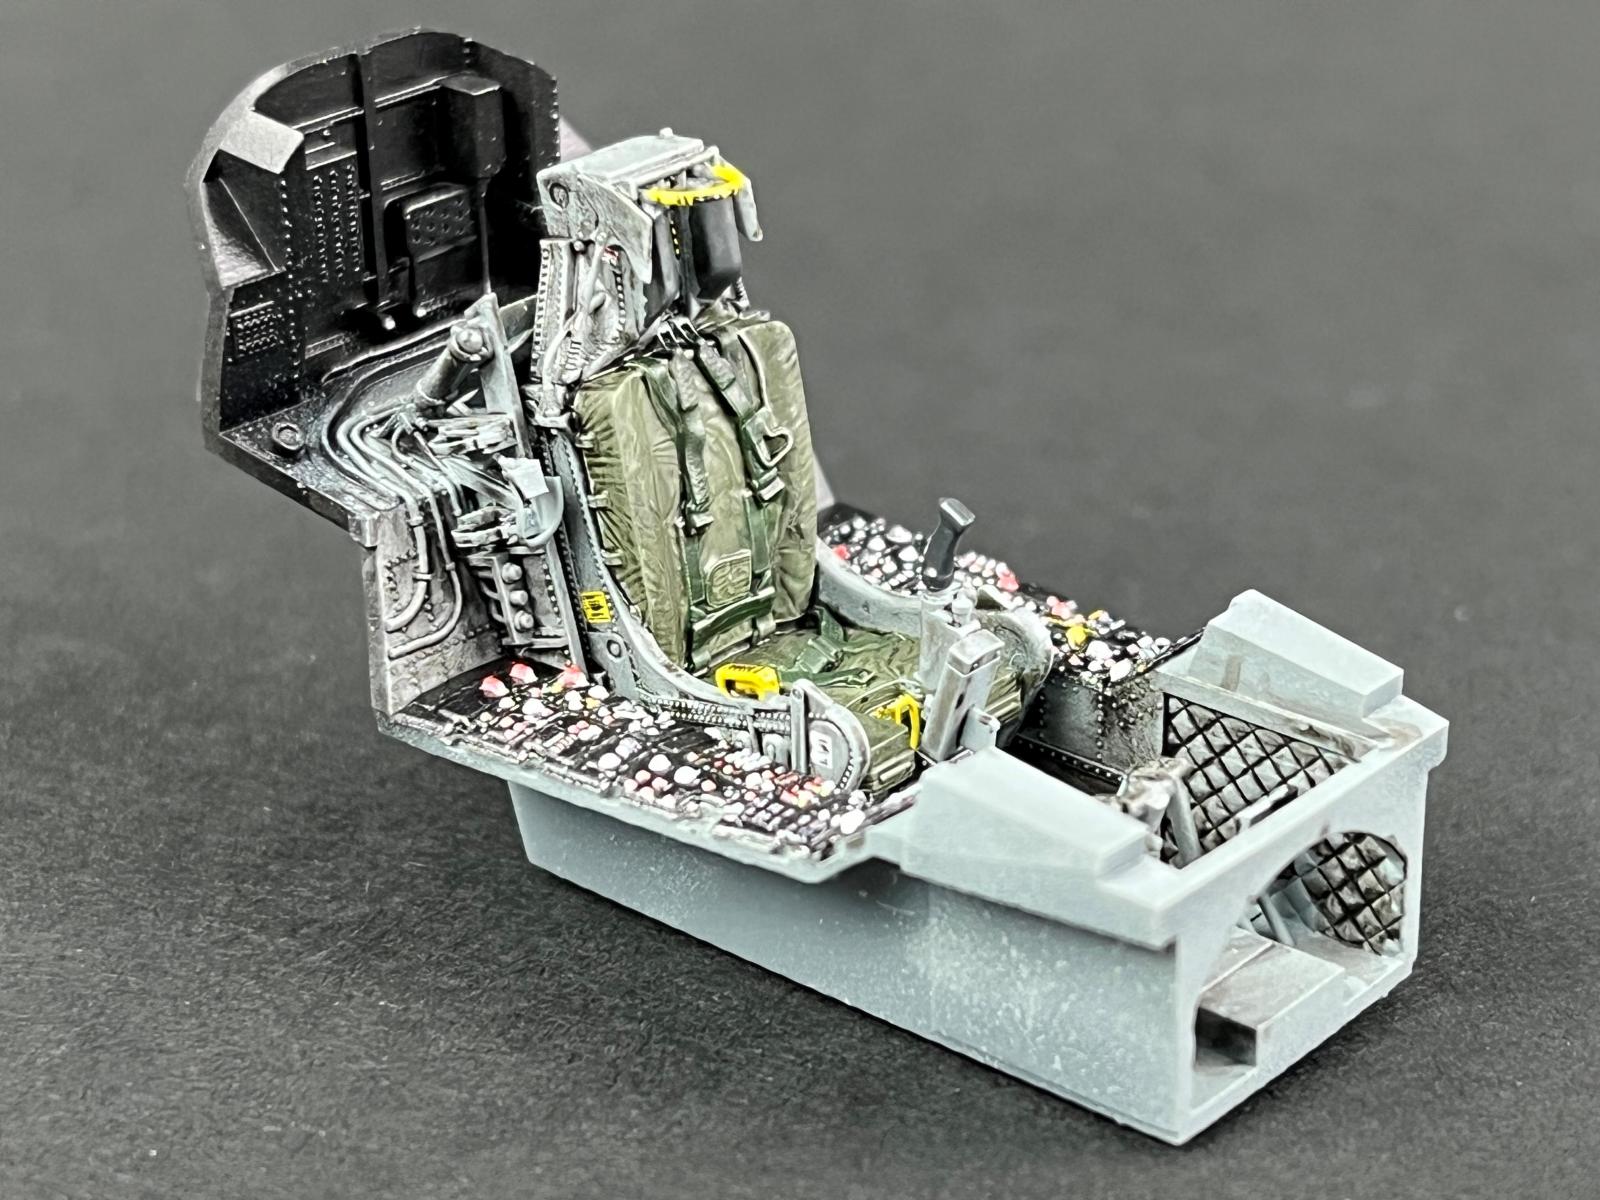
The dark gray resin parts are durable and clean-up was rather quick, but particular care should be taken with the ejection seat as there are some very fine cables and loops which must be preserved. There are some tiny parts as well such as the throttle and canopy jack which are best placed aside so they are not lost until needed. I chose to keep the ejection seat and cockpit tub separate to ease painting and the application of the tiny decals. I airbrushed the base colors and hand painted details with acrylics. I must say I was very skeptical of the reliability of these miniscule placards but I needn’t have worried since they were very thin, flexible and adhered well to a glossy surface.
Special care is needed when applying the 3D decals. They did not remain flat for me after release from the backing paper and took on a slight curve. I like to use canopy glue for these decals since it gives me plenty of time to adjust and center them properly and in the case of misalignment they can be removed and repositioned if necessary. I clamped them in place with a clothes pin to ensure they remained flat until completely dry.
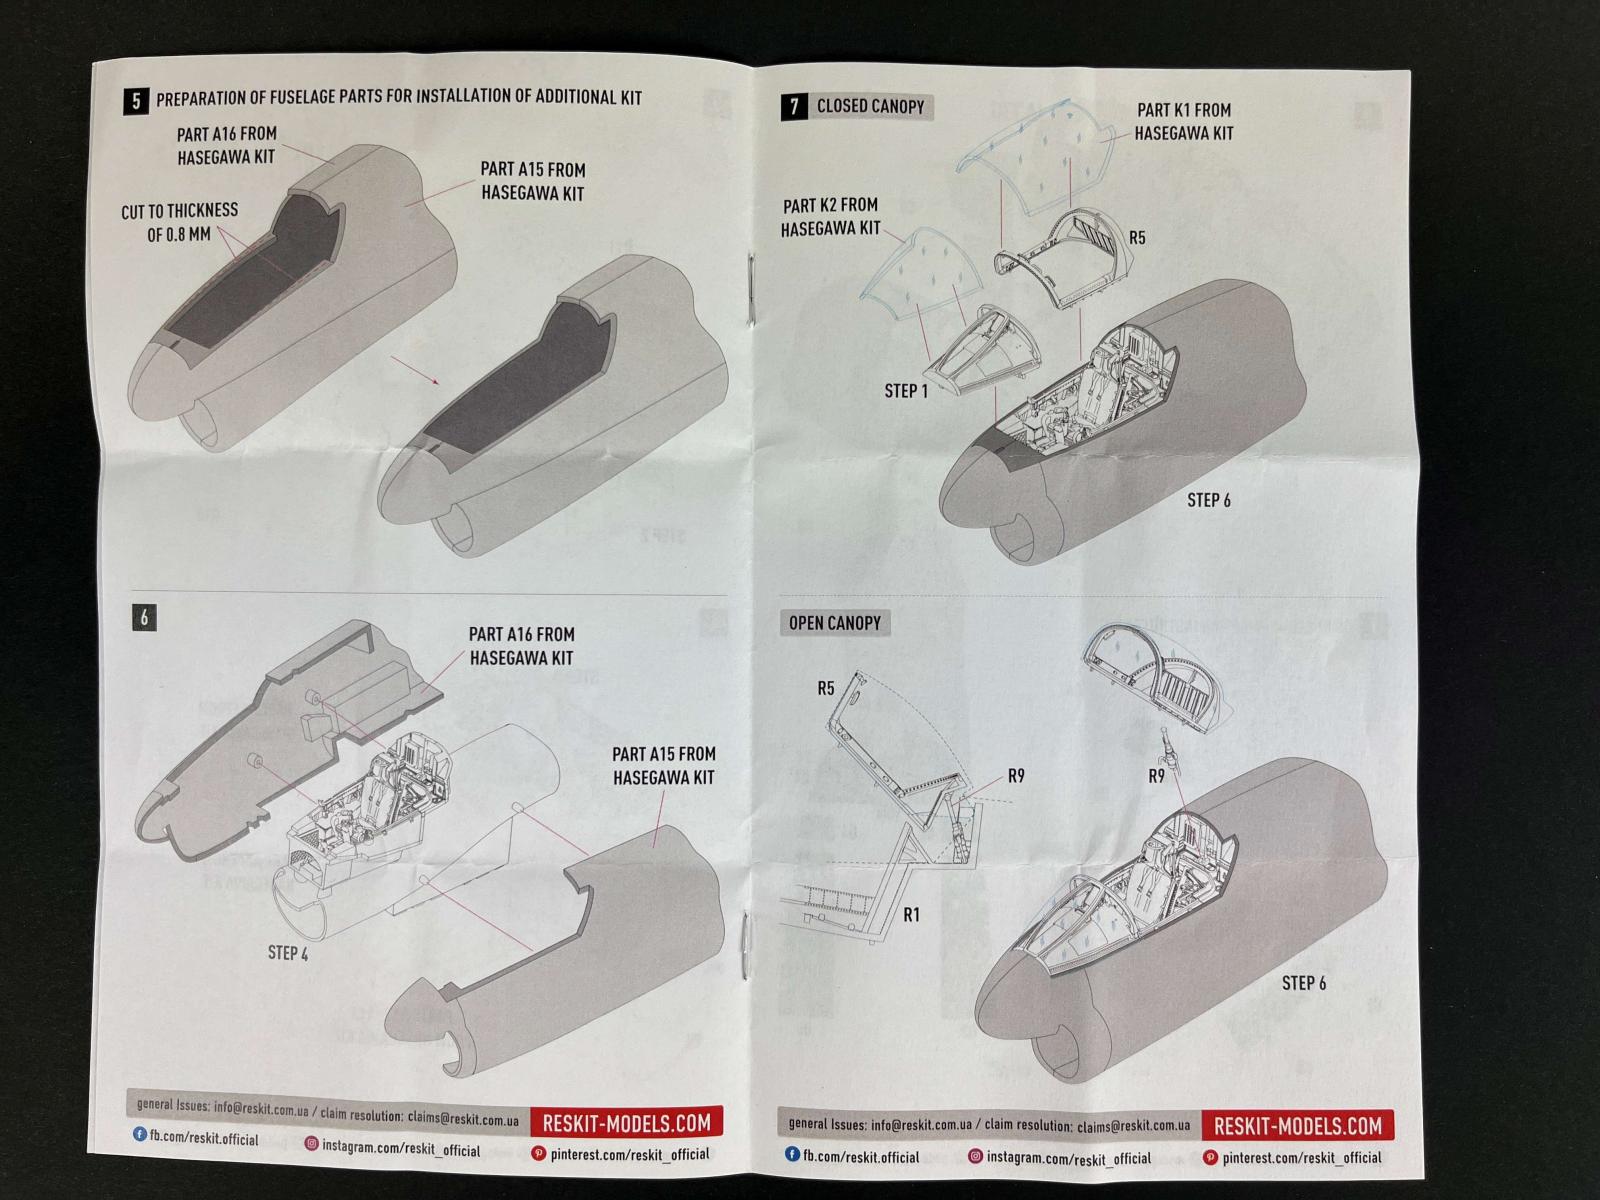
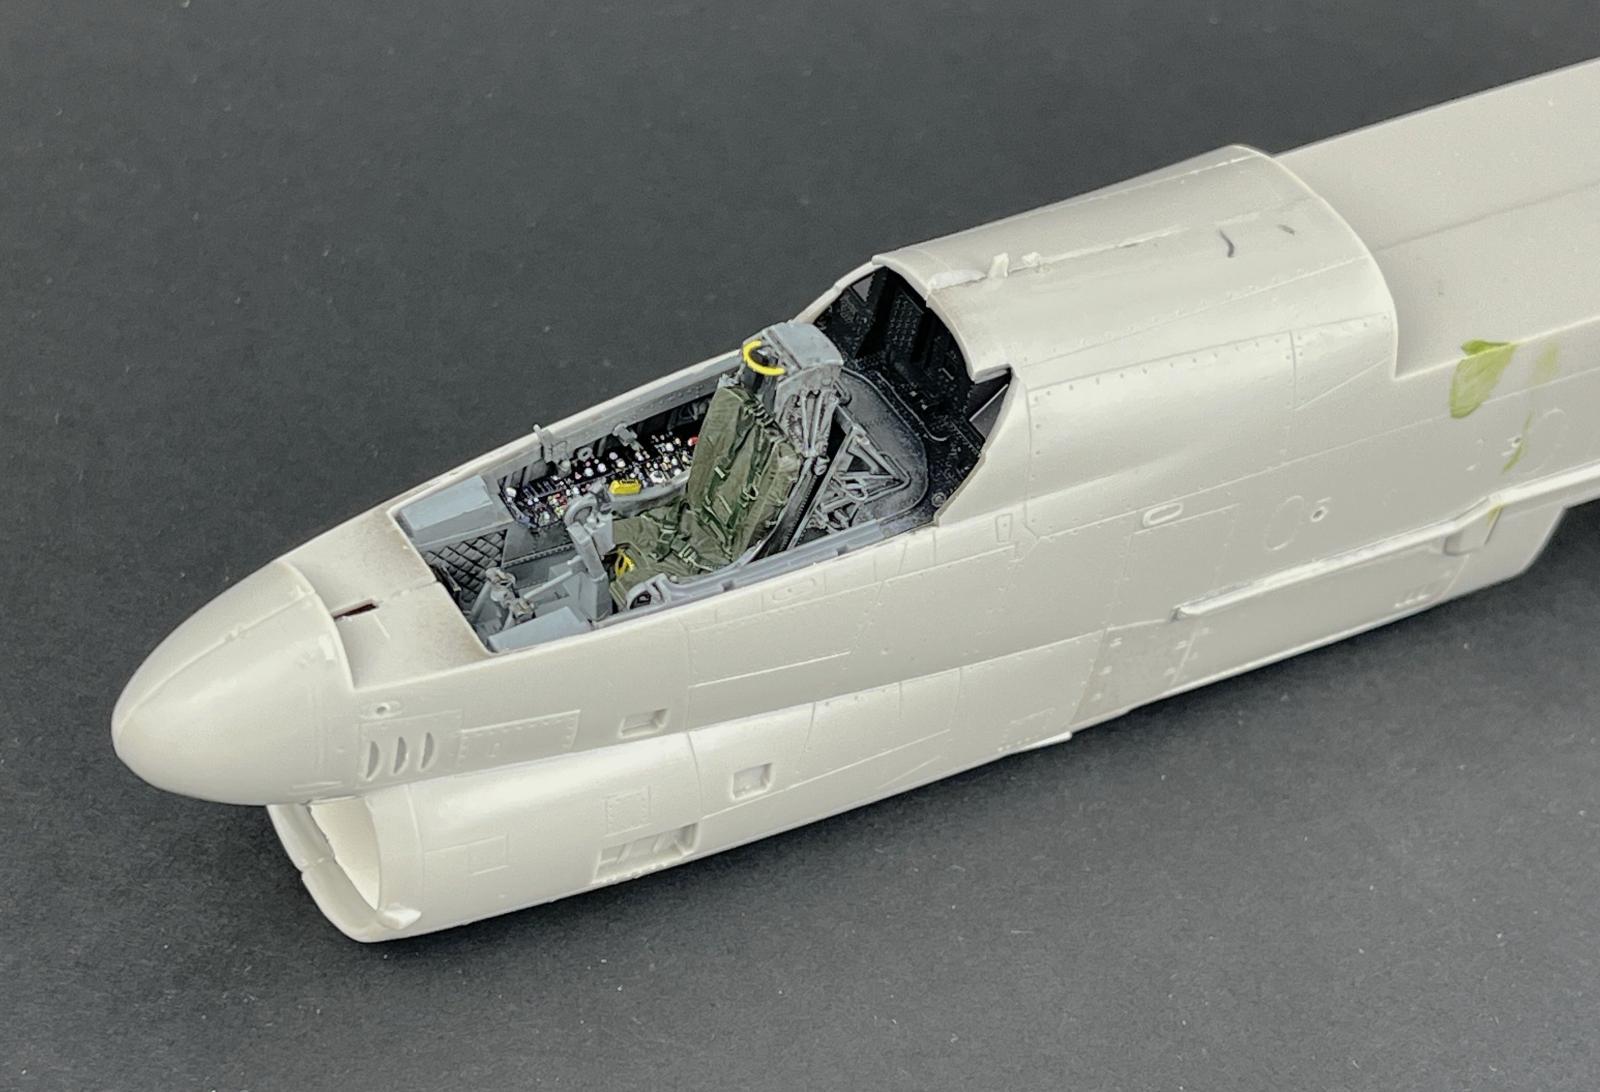
I assembled the painted cockpit side walls, throttle, stick and seat; everything slotted together perfectly. Some trimming of the kit side walls is necessary and this is clearly noted and illustrated in the ResKit instructions. As with any resin insert, check fit several times before committing to glue. I did not and ended up with a nasty gap that required filling at the top of the fuselage. This was my fault and not a design problem with this aftermarket set. I added nose weight with lead shot and I think this contributed to my problem.
Conclusion
This aftermarket upgrade brings new realism and accuracy to an aging but still valid Hasegawa kit. If you have one in the stash, this set will bring a renewed excitement and challenge to your build experience. Extra fine detail, excellent fit and ease of assembly are all pluses of this cockpit set. Thanks to ResKit for providing this sample and to IPMS for allowing me to build and review it.
Comments
Add new comment
This site is protected by reCAPTCHA and the Google Privacy Policy and Terms of Service apply.
Similar Reviews