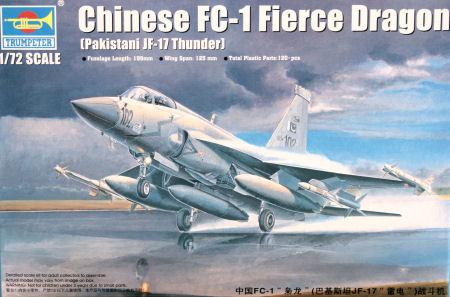
The history of the Mikoyan-Gurevich MiG-21 in the hands of the People's Republic of China (J-7 in the PLAAF; F-7 for export) is a long and convoluted one, which came to a close with the deliveries of the final production examples to export customer nations in 2013. Almost from the beginning, the Chinese wanted to either improve the design into something more modern, or outright replace it with something original. In the JF-17, which started as a 1980s upgrade concept known as the Super Seven, they achieved their goal both ways at the same time—albeit too late to help the PLAAF, who have chosen the J-10 as the official successor for their J-7s.
Reviews
History
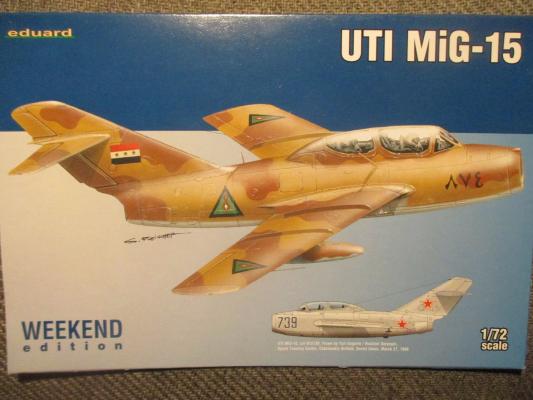
The MiG-15 was the product of the Mikoyan and Gurevich Design Team, which was known as the MiG Design Bureau. After producing a series of moderately successful fighters during World War II, and numerous prototypes, their first jet powered design, the MiG-9 was not produced in significant numbers. However, after the war, when German aerodynamic research became available, a design was produced using some of the ideas that were incorporated into the Focke Wulf TA-183 jet fighter prototype, which include a sweptback wing. The original prototype first flew in December, 1947, powered by an imported Rolls Royce Nene engine, which the Russians later copied for use in production models. The MiG-15 became the standard Soviet fighter during the late forties, and continued in service for many years thereafter. The type was also exported to Soviet Allies, including China, Poland, Czechoslovakia, and other countries under Soviet influence.
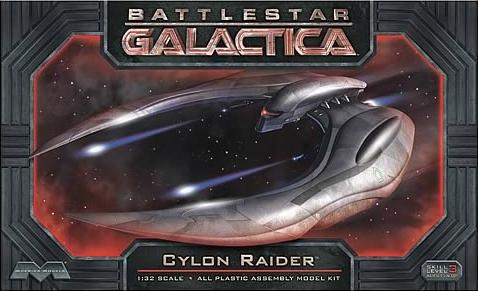
Ron Moore’s reimagined Battlestar Galactica series has been a hit with sci-fi fans for over a decade. As with any series that takes place in space, the ships are just as important as any of the characters. The Cylon Raiders seen in this series are interesting because the ships are characters! Rather than being piloted by humanoid shaped Cylons, as seen in the 1970’s series, the new Raiders are, themselves, Cylons. The 1/32 scale Raider offered by Moebius has been very popular with modelers over the last couple of years, and now, Moebius is offering a 2-pack of these ships in 1/72 scale.
The Kit
The kit includes 2 complete Raiders, each of which has 11 parts, and 2 clear bases that consist of 2 parts each. Each ship and base is on its own individual sprue, which makes finding the parts, and keeping them separated easy. I was happy to see that all of the panel lines are recessed rather than raised. No decals are included, or needed, with this kit.
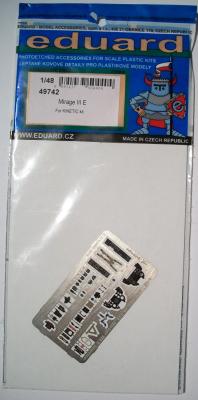
Eduard continues to release great photoetch sets this is no exception. This is for the Kinetic Mirage IIIE. This set adds a lot of missing detail to the cockpit that really add to the kit.
The photoetch parts are for the:
- Seat
- Instrument panel
- Canopy details
In the packet is:
- 2 x photoetch sheet
- 1 instruction sheet
Summary
This is a must have set for the Kinetic kit as it makes it into a great model with all you need to improve the detail of this aircrafts cockpit. The instruments are great and make the cockpit very impressive.
Thanks go to Eduard for providing this set to review and IPMS USA for allowing me to review it for them.
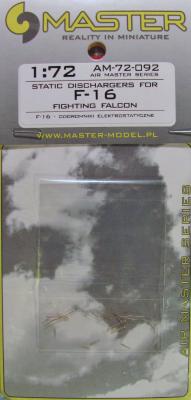
For modern aircraft modelers looking to add even more detail to their next 1/72 scale F-16, Master Model has introduced static dischargers that can be installed on the wings and tail, just like the real plane. Modelers often overlook the static dischargers, but these brass items, which are finely machined, will make installation an easy task for most modelers. The directions have you simply scribe a shallow socket to receive the new part, and I would recommend your favorite cyanoacrylate glue to attach the parts.
Static dischargers, or wicks, are used on aircraft to relieve the static buildup that typically takes place when flying through rain, snow, ice, or dust. The high resistance of the discharger provides a relief path that does not interfere with onboard communications or navigation equipment. Without dischargers, the relief of energy can be through any protruding surface of the plane, such as wing tips, vertical and horizontal stabilizers, and antennas.
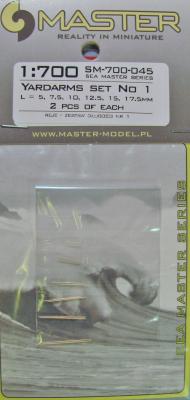
For ship modelers looking to improve the look of their ship masts, or specifically their yardarms, Master Model has come to the rescue. Their Yardarm Set Number 1 contains a dozen replacement yardarms in lengths of 5, 7.5, 10, 12.5, 15, and 17.5 mm (two of each size is included). The already small brass items are finely tapered out to the ends, just like the real thing. If replacing plastic yardarms on a kit, the comparison photograph shows what a difference these can make.
My hits are that once again, the folks at Master Model have released some very finely detailed replacement parts, in this case for the 1/700 scale ship modeler. The fine taper are clearly visible, and will make a nice upgrade for a reasonable price.
I have no valid miss for this release itself. The directions only show the items that are present, and mention set number 2 in this scale as well as the two sets available in 1/350 scale.
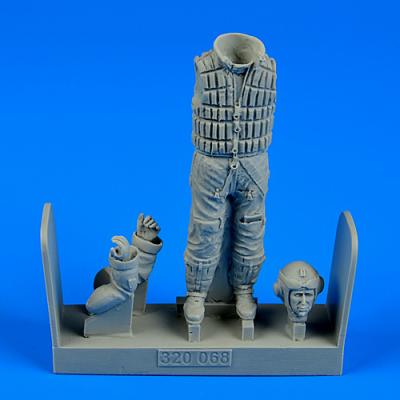
Aires continues their wonderful pilot release, this time in 1/32 scale of a German WWII pilot wearing a Kapok life preserver. The parts are perfectly case and have both arms, the body and a separate head. Also included is a full color painting guide and also a printed map and booklet which can be cut out and added to the models right hand.
Assembly is simple. Start by removing the arms and sanding as needed. Same for the head. The body takes a little more work cleaning out along the inseam but nothing too difficult. The arms and can be attached and the head painted separately.
I primed with Alclad gray and let dry overnight. I used Scale 75 painted for the face. If you haven’t tried these, they are wonderful with a great range of flesh colors. The body was painted with Tamiya and Liquitex acrylics. Shading was done with oil washes and acrylics dry brushes.
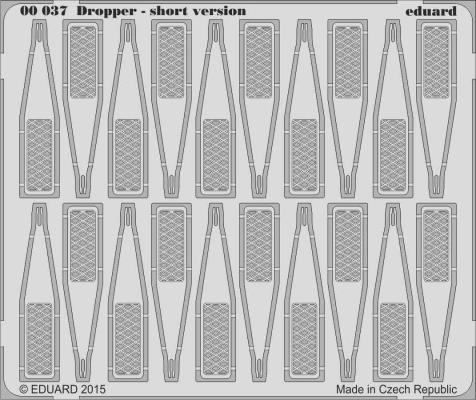
Eduard has been issuing the world’s best photoetch for a long time now and I have watched many of my modeling friends use all sorts of things to add CA glue to the parts - toothpicks, dental tools, sprue parts and many more. The issue is how to apply the minimum amount of glue needed. Eduard has issued a nifty little tool to help apply the glue.
The parts come on a photoetch fret with 20 droppers. The droppers have a etched lower part and come to a tip with two small forks. Use is simple- cut the dropper free and make sure not to damage the tip. It is designed to fit into a #11 knife handle. Place it into the handle like a knife blade and tighten it up.
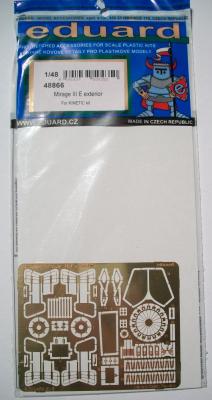
Another very nice photoetch set this time for the Kinetic Mirage III E kit. This set adds a lot of extra detail to the exterior of the kit.
The photoetch parts are for the:
- Engine exhaust details
- Air brakes
- Landing gear doors
- Landing gear bays
In the packet is:
- 1 photoetch sheet
- 1 instruction sheet
Summary
This is a must have set for the Kinetic Mirage kit as it makes it into a great model with lot of additional exterior details for this aircraft. I really think the exhaust detail alone is worth getting this set for.
Thanks go to Eduard for providing this set to review and IPMS USA for allowing me to review it for them.
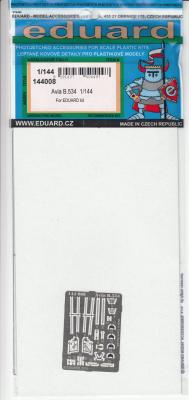
Eduard recently released a Quattro kit of the Avia B.534, a Czech biplane which participated in World War 2. I got to review the kit, and now I’m doing a second build utilizing Eduard’s PE upgrade for the Avia.
The Kit
You get a single PE fret with enough add-ons to do a single aircraft. There is a lagniappe here, as there are 4 instrument panels, so you can do another 3 with them.
The fuselage parts are side panels for the cockpit, a set of seat and shoulder belts, a control stick, front and rear radiator grills, and a step. There is also a “ring & cross” gun sight, a tail wheel add-on for the Bulgarian version and a tail wheel protector for the tow tug version. Unfortunately the last 3 items weren’t for the version I built.
For the wings you get the best part of this set…There are PE wing bracing wires.

