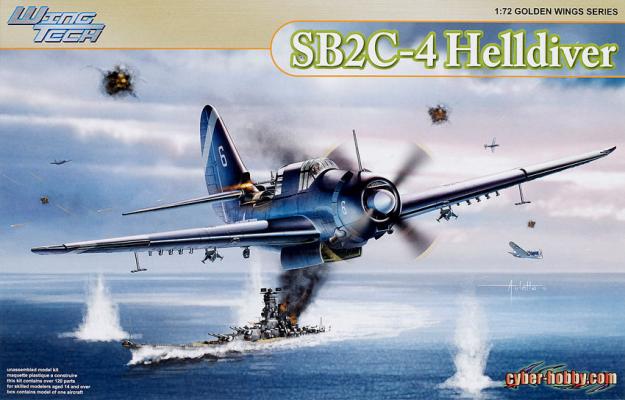
First, I owe an apology to you and to Dragon for my delay in building and reviewing the “…best dive bomber the Navy ever flew but also the last.” That final assessment came after a difficult start in replacing the Dauntless, “one of the most popular aircraft ever to fly.” In fact, when the first squadrons conducted trials aboard the Essex CV-9, “…the ship departed for the war zone with SBD Dauntlesses instead.” In trials aboard the second assigned carrier, the second Yorktown CV-10, “…the results were so disastrous that the ship’s Commanding Officer, Captain J.J. ‘Jocko’ Clark, stated that the aircraft’s only value was as an anchor.” Though the Helldiver could carry a heavier payload and was faster than the Dauntless, and ongoing improvements ironed out its shortcomings, it became a great aircraft with the moniker the Big Tailed Beast or simply, the Beast. The Helldiver’s combat debut was on November 11, 1943, when VB-17 attacked the Japanese island fortress at Rabaul.
What's New
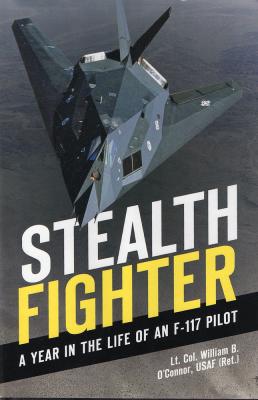
Zenith Press has just put out a book on the F-117 stealth fighter. It is written by Lt. Col. William B. O’Connor and is about a year in the life of an F-117 pilot. It starts out with the author’s flying career and then gets into the development of the F-117 and eventually the air war over Kosovo.
I really enjoyed reading this book because I like the first person, I-was-there type of book. The author does a great job of explaining how stealth technology came about and how it works, in a language that is easy for a non-pilot to understand. You almost feel like you are flying on a mission with him. I also liked how he talked about the flying community and their rituals when they finally get qualified in a particular aircraft. You also get a little taste of the politics on how promotions work in the Air Force. All in all, a very enjoyable read.
Thanks to Zenith Press and IPMS USA for allowing me to review this book.
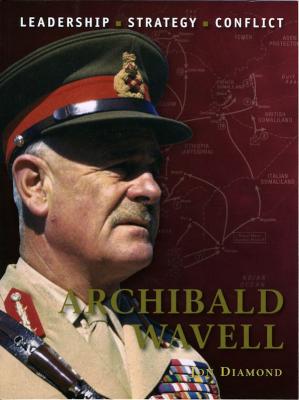
This is my first opportunity to look at the relatively new Osprey series called Command. As the name suggests, this series doesn’t look at hardware or military units, but the commanders. As with most Osprey books, this series provides a broad overview of the commander’s life, command responsibilities, leadership abilities, and legacy. I jumped at the chance to see how the Osprey formula works with personalities.
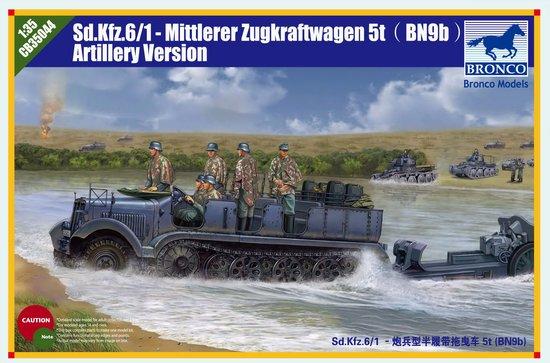
Packed in a sturdy, well illustrated box, the kit consists of 28 sprues of dark grey plastic, 1 clear sprue, and 2 photo-etched frets, one of which consists of the weld seam inserts for the spare jerry cans. Also included are 5 each of three slightly different back packs, a covered and folded windshield, one folded-down top, and one full closed top with a clear rear window. Decals include pre-made and make-your-own registration plates, instrument faces, stencils, and division and army group markings. Paint call-outs for detail and overall colors refer to Mr. Hobby, Hobby Color, Humbrol and Tamiya brands.
The glossy instruction booklet is broken down into 25 assembly steps, with some options for early and later versions. I found it prudent to deviate from the published sequence, but each builder may feel differently.
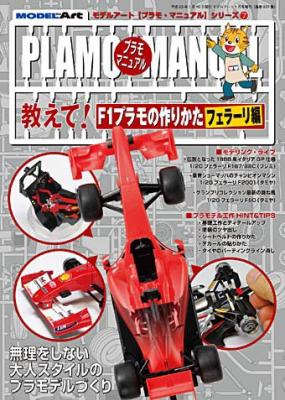
This is the second book I have reviewed for IPMS that is entirely in Japanese. This time it is on the Ferrari F1 cars made by Tamiya and Fujimi.
I have several Ferrari models at home and thought this would be a nice companion guide to some of my older Ferrari books. This guide covers several Tamiya models and, from what I can tell, a Fujimi and possibly a Hasegawa F1 Ferrari. Like I said, the fact it is missing subtitles is a bit of a hindrance. It does show a bunch of neat tricks, though, that I would not have normally thought of. There are painting tips, wiring tips, and wheel tips. The pictures go into great detail, which helps. You don’t need to read Japanese if you follow the pictures.
Creators
- Twobobs Decals, http://www.twobobs.net
- TwoMikes Resin
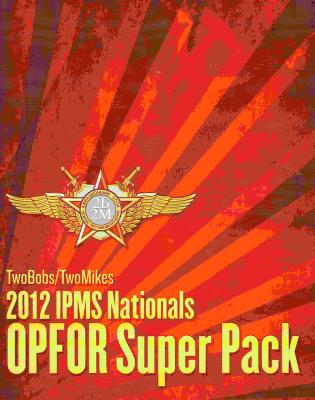
From Bob Sanchez at Twobobs Decals and Mike Reeves at TwoMikes Resin comes an instant classic – the IPMS/USA 2012 Nationals OPFOR Super Pack. Why list the Nationals? This item was only offered at the Nationals and sold there. A few were sent out afterward, but as of now, this item is gone, never to be released as a package again.
Let's open the tube and see what's inside. First, there is a comprehensive 24-page color book detailing the OPFOR program of Adversary and Aggressor aircraft programs, TOPGUN, and the history of the entire program. There are also full-color diagrams and painting instructions for the remainder of the contents.
First up is four resin pods including:
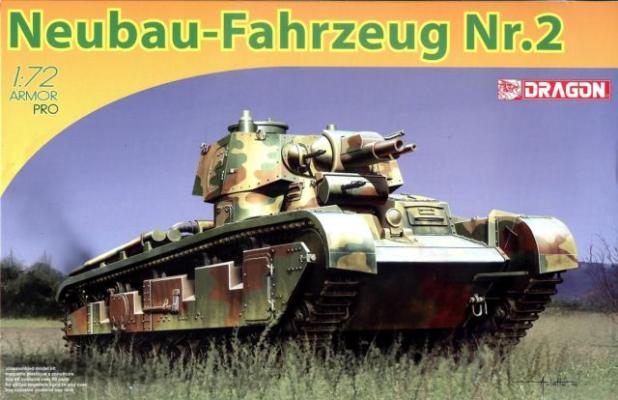
I will start this review by stating that the new Dragon release of the German Neubau-Fahrzeug is a well-engineered, fun to build kit that goes together nicely to produce a very realistic replica of the “new construction vehicle”. My assembly time was short as there were no fit issues, and I probably spent more time researching this vehicle than anything else, but more on that later. The slide mold technology being utilized by Dragon allows for the front idler wheels and road wheels to be single-piece items, but with an impressive amount of detail for this scale.
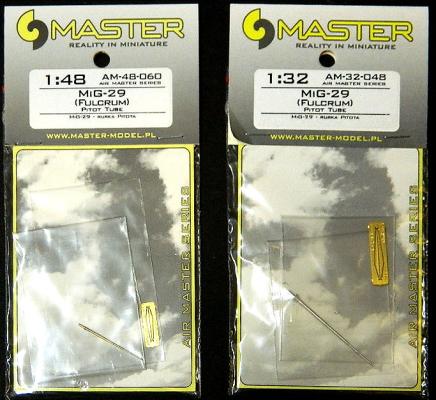
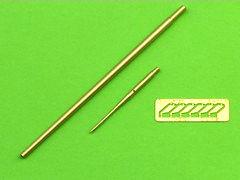
1/48 Pitot – AM 48 060, $5.50
1/32 Pitot – AM 32 048, $8.00
Thanks very much to Iwona and Piotr at Master Model for providing us these review items, and thanks also to IPMS/USA for passing them on to me for review.
Like all Master Model (MM) pitot tubes, these are “gems”. I used the 1/48 version to upgrade my Eduard MiG 29 build from earlier this year. At the time of the original build, I ground down a piece of wire for a pitot; didn’t do a great job, but it fit the bill. Now, here comes Master Model with their jewelry-quality brass version. Had to do it!
An instruction card is included as part of the packaging, containing excellent drawings and clear instructions on “how to do it”. Other companies could follow suit…
From Master Model in Poland comes a well made add-on to Trumpeter’s 1/32nd MiG-21 kit (although I think it might work on the older Revell kit, too). This set is a replacement pitot tube consisting of two brass parts and a set of photoetch fins for the probe.
The two pitot tube parts are sleeved and fit into one another perfectly. There are also locating holes for the fins and even two extra fins (which I needed when I lost one). I assembled the part and attached the fins. The fins are fiddly but look great one attached and you can see how much finer the detail is than the kit part. Once assembled, the base from the kit is used and a slight bend is induced in the probe to align it.
Overall, an excellent improvement to a nice kit, and at an excellent price. Highly recommended. My thanks to Master Model for the review item and IPMS/USA for the chance to review it.
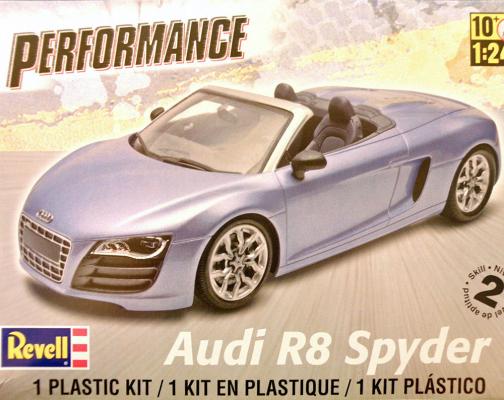
When I was in Montreal a couple of years ago for the GrandPrix, I saw an Audi R8 and went nuts over it. I sure wish I had $164,000 to get one. I got the next best thing, the new Revell kit of this car.
When I opened the box, I was surprised by the number of parts. Upon looking at the very complete and well thought out set of instructions, I knew I was in for a fairly easy build. This is the first 1/24 kit I have built in many years and I was really impressed with the quality of the parts since I last built one of these cars.
The build was very straightforward with the engine being built first and then the interior. All of the parts fit beautifully. I had sprayed all of the parts with Duplicolor automotive primer grey. I actually used this grey for the interior color. I also used Duplicolor for the body of the car.
The suspension was a treat to build. I don’t know who engineered this kit but they sure knew what they were doing. The suspension even steers.

