Master Box has ventured into the post-apocalyptic world with Zombie Hunter – Road to Freedom. Dick M. was glad to get rid of this kit as it frightened the rest of the kits in his stash. Scared the bejeebers out of my mail lady when she dropped it off and the zombies came hissing and scratching out of the box. The kit is described as part of the Zombieland Series, so there may be more undead where these came from.
Reviews
Introduction
"…roads? Where we’re going, we don’t need any roads…"
-Emmitt "Doc" Brown
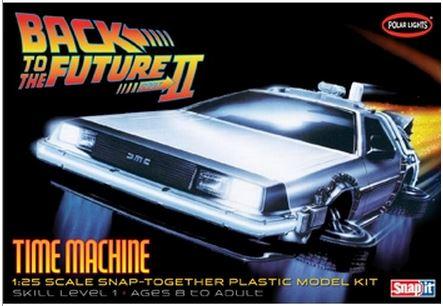
The "Back to the Future” (BTTF) movie franchise began in 1985 with the release of the first movie. The film series featured the adventures of Marty McFly as he traveled back and forth in time in a Time Machine built by wacky scientist Emmitt “Doc” Brown. Brown had built that first plutonium-powered Time Machine creation from a vintage DeLorean sports car. At the end of the first movie, just when you thought the timeline had been restored and all was well, Doc Brown pops out of a worm hole in a newly modified, flying Time Machine, digs through the trash to find vegetable remains and banana peels to fuel the new ‘Mr. Fusion’ power cell and tells Marty that the timeline of the future has been disturbed and that “…something has to be done about your kids!”
This is the second half of the review of the Big Ed set for the Meng Models D9R Dozer.
This portion will focus on the exterior detail set (36265) which happens to be one of the most extensive sets as well as parts for every side of the vehicle are covered.
I started by assembling all the ammo racks for both sides and rear of the vehicle. They are made up of several different pieces, but the assembly went off without too much trouble. I used a piece of styrene rod for the securing bar on the bottom of the first rack I built, but later decided to use some brass rod instead as I could solder that in place for a more secure bond overall. The instructions say to use 1mm plastic rod…brass looks better.
First off, the MENG D9R kit is a beast, but it’s a beautiful piece of modeling goodness once you get going. The Big Ed photoetch (PE) set that Eduard has designed for this kit is an exceptional addition. There are some rather tedious steps involved if you plan to use the entire set of PE, but it isn’t out of reach if you’re patient and pay attention to what you’re doing. The set consists of three separate smaller sets: 36265 Exterior, 36268 Interior (color), and 36270 Cooling Slats. In part one of this review, I will focus on the cooling slats and interior. I’ll follow this up with the exterior set in part two.
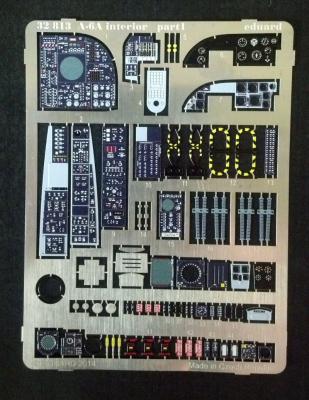
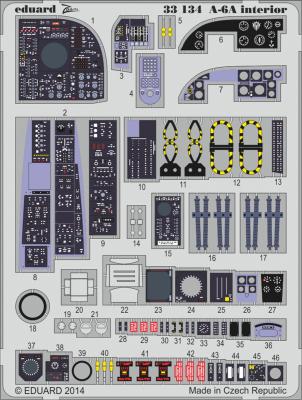
This review is an expansion on my previously published review on the Eduard A-6A Intruder SA Interior kit posted (here).
The 32813 version of this PE set adds a second fret of plain brass cockpit features in addition to the same fret as the 33134. Unlike the 33134 set, the additional fret is not painted or self-adhesive and features canopy frames, mirrors, rudder pedals and some of the details that lie behind the seats on the bulkheads. As with any Eduard sets, the work is top notch.
If you are looking to add PE to you’re A-6A build, look into this set further as it contains more parts for a marginal increase in price.
As always, thanks to Eduard and IPMS USA for the opportunity to review this sample.
Having never built anything but “out of the box”, I was intrigued when I saw the availability for PE cockpit details for the Trumpeter A-6A. Having had the kit for a year, I stalled out very badly due to some poor build decisions on top of questionable engineering. I thought that getting these sets would potentially light my fire, so to speak.
The stock A-6 cockpit as provided by the kit, is no slouch. It was fairly well detailed. Unfortunately for me, I had it completely assembled by the time I picked up the PE sets. This greatly increased the difficulty as there was no easy way to remove the detail on the existing. As nasty of a job as it was, it came through okay in my opinion.
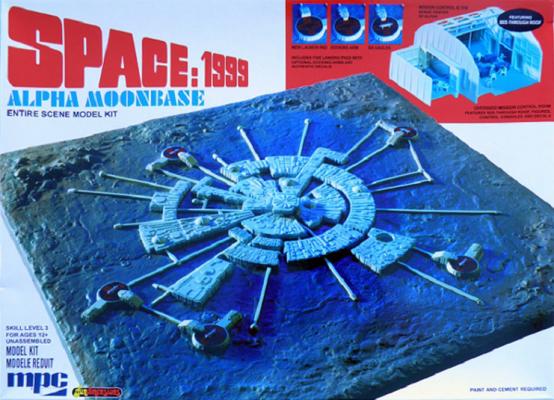
British sci-fi has always intrigued me and in 1975 Gerry Anderson released a TV series which we youngsters just had to watch, Space: 1999. We didn’t care about the improbability that the Moon could be blown out of Earth’s orbit and hurtled across the Galaxy finding a new planet each week and somehow not collide with anything. All we cared about were the cools ships, neat, futuristic sets and the characters and if you were in your mid teens like I was, especially the female characters.
MPC acquired the rights to the show and released several kits including the Alpha Moonbase. This was really 2 kits in one. Mounted on a 12 x 18 inch vacuformed base you had a smaller version of the moonbase (missing 2 of the Eagle pads) with the travel tubes molded into the base itself. You also got the Mission Control which was molded in a larger scale and included several figures. This was mounted to the right of the base.
Introduction
The “Back to the Future” (BTTF) movie franchise began in 1985 with the release of the first movie. The film series featured the adventures of Marty McFly as he traveled back and forth in time in a Time Machine built by wacky scientist Emmitt “Doc” Brown. That first plutonium-powered Time Machine creation had been built by Brown from a vintage DeLorean sports car. For the second movie, “Back To The Future Part II”, the DeLorean had been converted to a flying Time Machine. At the end of the second movie, just as order had been restored to the 1985 timeline (once again?), the Time Machine was struck by lightning which fried the time circuits and sent Doc Brown whirling back to 1885. A third iteration of the movie franchise was needed to rebuild the Time Machine using 1950s technology (is anyone else confused?) and to set the timeline straight one last time.
Model Art has, once again, produced another excellent publication, this particular product covering the Bf-109E/T. Entitled, “Bf-109E/T Mechanical Guide” one immediately sees the potential for detailed information and images regarding the Bf-109 from the viewpoint of a model builder who enjoys highlighting the existing detail to be found in kits, or enhancing those kits with added fiddly bits.
The publication offers a number of features which are as helpful in Japanese (the book is in Japanese) as it would be in English. No translation is required for the detail, color schemes, and markings to be understood and translated into one’s own “109” project.
Starting off with profile line drawings, the evolution of the “109” is illustrated with several pages of crisp, clean illustrations highlighting the different shapes and bumps that separated one “Mark” of the “109” from the next.
In the years between WWI and WWII, moviegoers in America may have thought they were watching wartime footage of aerial dogfights between Fokker D.VIIs and Sopwith Camels in such films as Hell’s Angels and Dawn Patrol. They may have been watching some of the surviving Fokkers, but in all likelihood, the nimble fighters with roundels on their wings were aircraft that never made it into military service during the Great War…instead, they were the small single-seat S4 ‘Scout’ trainers built by The Thomas Morse Aircraft Corporation in 1917-1918 that were considered surplus after the war.


