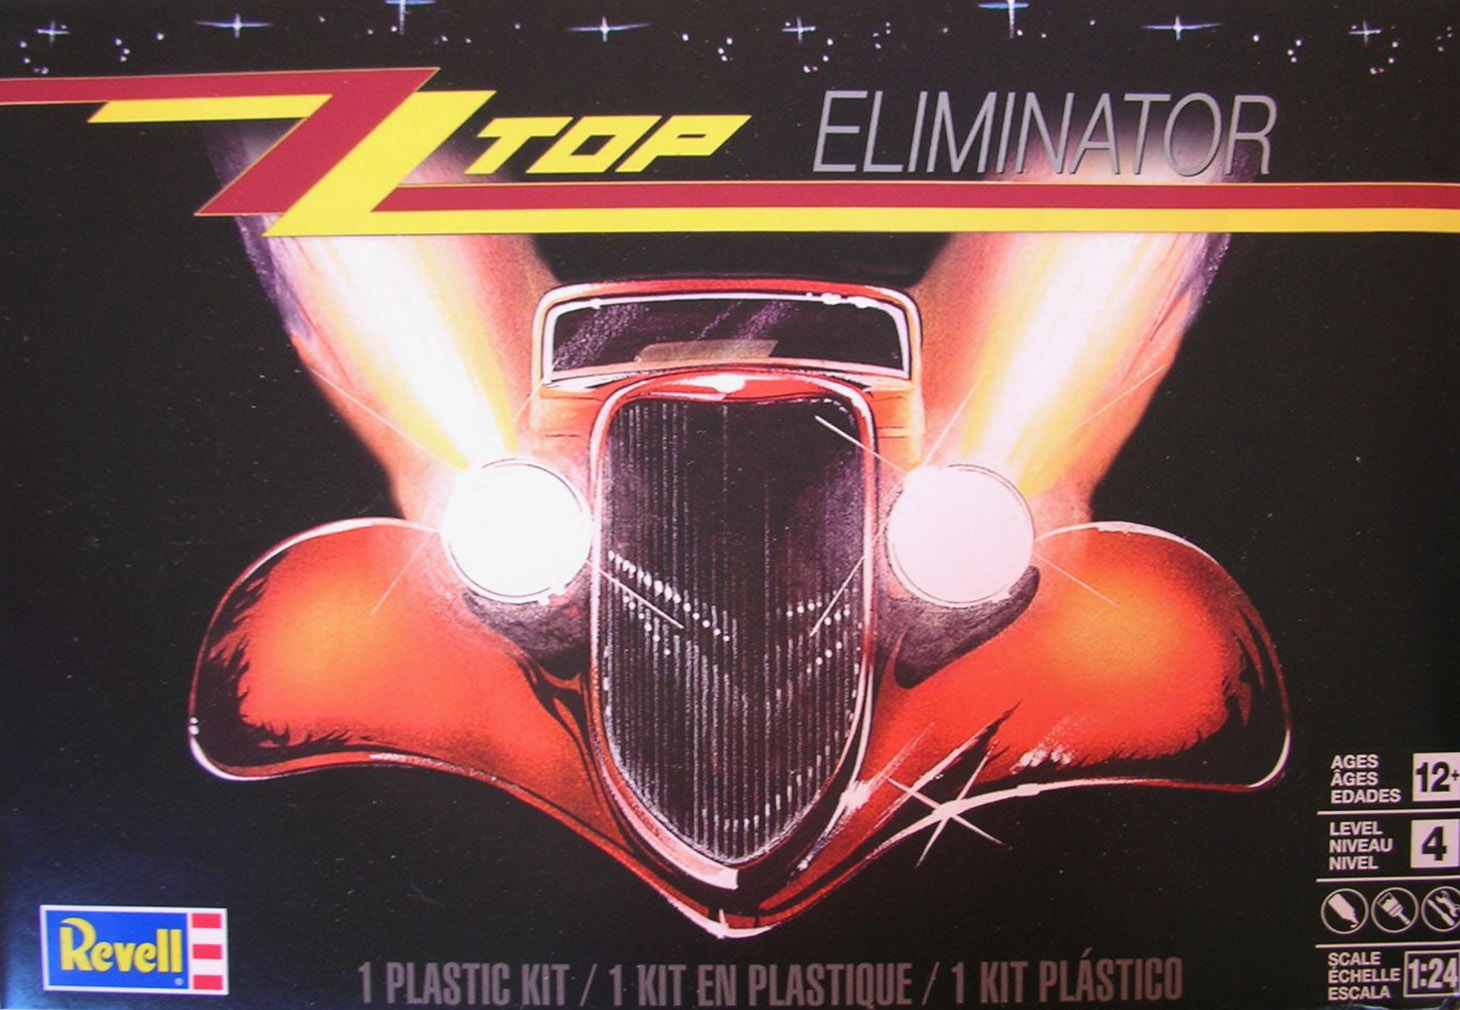
ZZ Top Eliminator
The Kit
The Eliminator was built for the rock band ZZ Top and has been featured in many of the band’s videos. It’s a sleek hot rod made from a ’33 Ford Coupe in bright red with the ZZ Top logo on the side. The Revell kit of this car is faithful to the original with decals for the side logos and logos even molded into the valve covers and air cleaner on the engine, which is nicely detailed and with the addition of an ignition system would display very well with those logos highlighted in red. The interior consists of a seat, nicely detailed dash and steering column with the floor pedals molded into the floor pan part. Details of the upholstery are given in decals, which adds a nice touch. There are 70 parts in total molded in red, clear and chromed and four nicely detailed rubber tires. A younger modeler could build this kit without paint as it is molded in the prototype’s color with the chrome accents, but the advanced modeler will want to add a higher gloss finish.
Assembly
First off let me admit that I am not a car modeler. I just like the looks of this vehicle so I gave it a try. I wasn’t going to attempt one of those incredible high gloss finishes, I just wanted it to look nice. You start with the engine which goes together easily and looks convincing. From here on, you need to pay attention to the assembly order to determine what parts need to be painted before assembly and what parts would be better painted in place. I followed the kit’s instructions but found that the fit is “iffy” on some of the parts, so painting them first would probably mean damaging the finish upon assembly. I think it would be better to assemble the entire body first, filling all seams and gaps, then primer and paint. As the kit is engineered, you could do this. You can see all the gaps that can be avoided in the photos of my model.
You need to test fit all parts. I found that the clear windows did not fit their respective openings without some shaving/filing and some strategically placed mold seams/flash kept other pieces apart. When removed, fit improved as I said above. In addition, remember to scrape away the chrome plating where parts make contact to ensure a strong joint. Another thing about chrome parts is that you will need to clean up/touch up sprue attachments points. Silver paint never looks the same, but to strip all the chrome, then clean up and re-cover the parts would be a lot of work.
One tiny picky thing from my point of view is that the relief in the radiator grill is not great enough to be able to get a black wash to settle inadequately, so being all chrome, that part lacks the depth it should have.
Conclusion
With a modified assembly/painting sequence, this kit would be much easier to put together and could look better. However, even as is, it makes a neat looking vehicle.
Thanks to Revell for supplying the sample kit and to IPMS/USA for the chance to review it.


Comments
Thanks
You're right. I edited the review to be correct. Thanks for the heads up
IPMS/USA
Add new comment
This site is protected by reCAPTCHA and the Google Privacy Policy and Terms of Service apply.
Similar Reviews