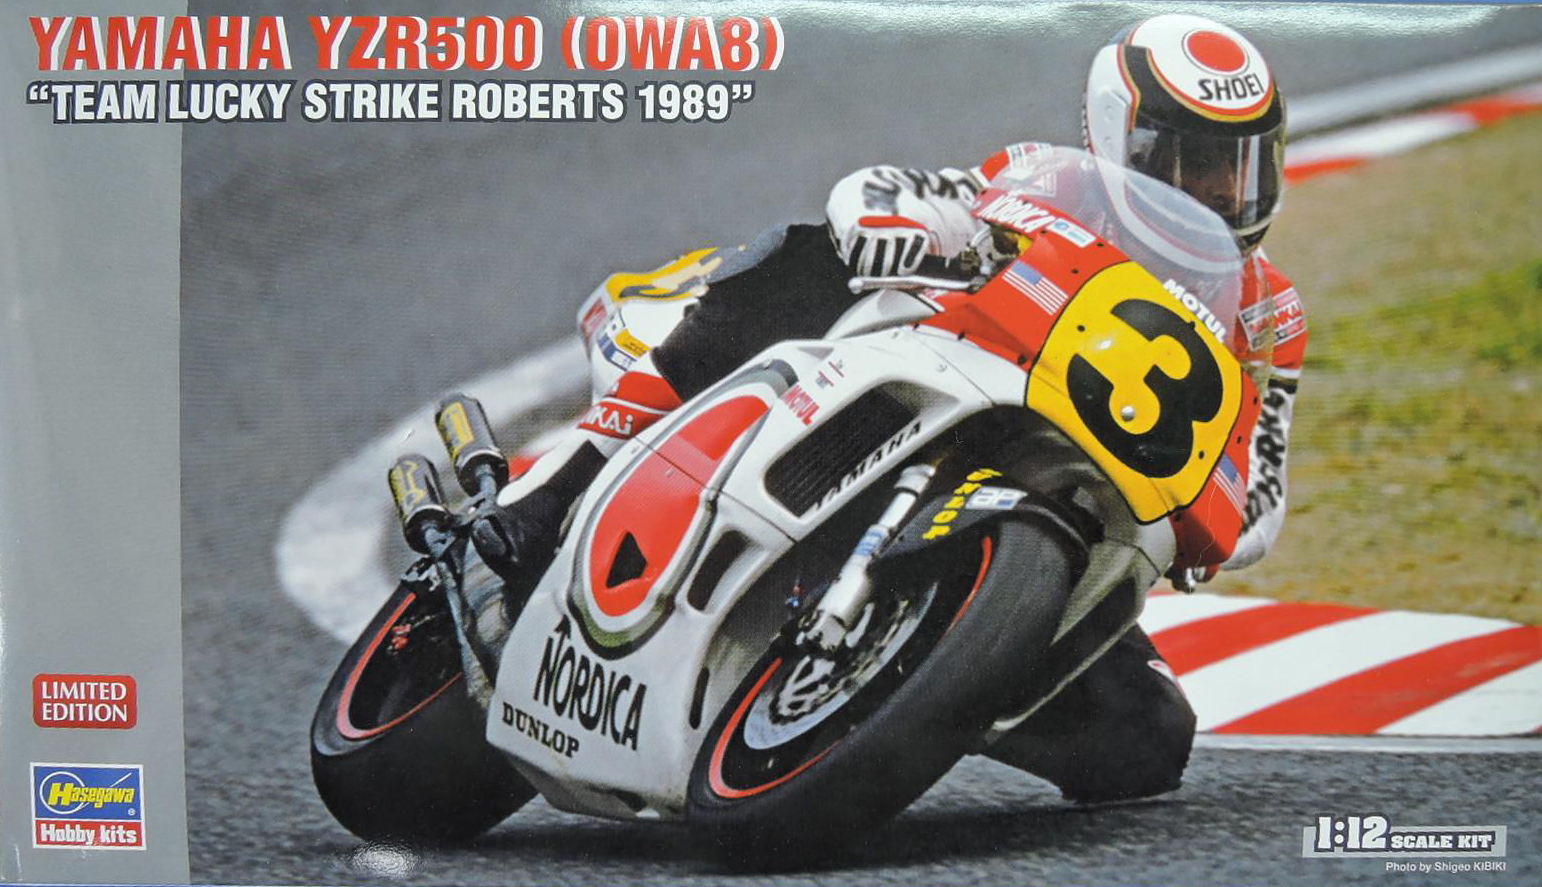
Yamaha YZR500 (OWA8) "Team Lucky Strike Roberts 1989"
This is a great kit with lots of detail and fit of the parts is excellent. The assembly is complex, but the instruction are clear so it’s a fun modeling challenge.
Hasegawa's Yamaha YZR500 was released in 2014 and is a rebox of a kit first issued in 2012, The kit has been released several times since then, mostly with new decals.
The kit comes on four gray plastic sprues, three white plastic sprues, plus a loose front cowl, one bag with black and clear hoses, one bag with metal screws and spring, one clear plastic sprue with the windshield, and two rubber tires. The detail on the plastic parts is very good and there aren’t any blemishes on the smooth body parts. Flash isn't significant, but there are some mold seams. The kit also includes one large decal sheet and one small decal sheet with lettering for the tires. Instructions are on a 6.5" x 11" folded pamphlet, including background on the bike and riders. Illustrations of the sprues are provided, plus paint callouts in GSI Creos Aqueous Hobby Color or Mr. Color with generic names of the colors. The assembly illustrations are complex exploded diagrams, but quite clear. The assembly steps include detail paint callouts, and show placing some decals which are best accomplished during assembly.
The first 2 steps assemble the engine, which turns out very nice with good detail. The part fit is very good, but the plastic is somewhat soft so care will be necessary cleaning up the sprue connections and seams. There is much detail painting in these steps and the instructions are quite clear where to paint.
The next series of steps, 3 through 18, focus on assembling the chassis and it's many components. The part fit is excellent, though very complicated. There is a nasty seam between the halves of the chassis near the handlebar. This will be partially obscured by the gas tank but visible enough so care should be taken cleaning up this joint.
These series of steps include installation of many of the hoses and cables. Hasegawa includes diagrams for cutting the lengths of the hoses, and the routing is complicated but clearly shown in the illustrations. The pins for fastening the hoses are very small and fit best without paint. The pins are fragile and several broke off and had to be replaced with small pieces of brass rod. I had difficulty installing the front left brake hose and ended up cutting a new hose about 5 mm longer to help with the connections.
The rear tire gets assembled and installed in step number 7. The tires are nicely molded with a very slight center seam that can be cleaned up with sanding. There are also decals for the red lines on the wheels that are more easily placed before the wheel gets installed in the chassis. The instructions say the rear wheel is fixed, but mine could turn.
Steps 12 through 15 assemble the front wheel and front forks with more detail painting required.
Step 17 installs the handgrips on the handlebars. The right-hand group broke off several times due to the force from the cables, and I ended up drilling the pins out and installing brass rod to strengthen the connection.
Steps 19 through 23 complete the assembly of the body panels, which go together quickly. The part fit is again excellent with tight joints between the many irregularly-shaped body panels. The body panels were put together in subassemblies and painted before installing on the chassis. The joints on the rear cowl and fuel tank need to be filled and sanded for a smooth appearance. The body sections snap into place on the chassis and can be assembled without gluing.
The kit is then completed with placement of the decals, and there are lots of them. The decal sheet is produced and printed by Cartograf. I had difficulty with the decals, which is unusual for Cartograf decals. It took a long time for the decals to loosen from the backing sheet and they were quite thick. It took several applications of decal solvent to get the decals to settle down. Several of the decals broke as I was trying to get them into place.
There are decals provided for the red portions of the rear cowl and fuel tank that are not noted on the marking and painting guide. The painting guide calls for these areas to be painted red and a black pinstripe decal is provided. I used the red decals, but due to the thickness of the decals and the curved surfaces they did not turn out very well. I think that masking and painting red would be a better option. The yellow background for the numbers on the rear cowl is not opaque enough to prevent the red from showing through. I had lots of problems getting the Lucky Strike circle decals on the side cowl and under cowl to fit. Despite the thickness of the decals they broke in many places trying to get them to conform to the curved surfaces. Spraying a red circle for the center of the decal might be a better option.
Summary
This is a great kit with a nice detail and excellent fit of the parts. The assembly is very complex, but the instructions are clear. The decals were difficult to work with, so masking and painting may be a better option. This kit is a fun modeling challenge, which is enjoyable due to the great fit of the parts.
Thanks to Hasegawa for producing another great kit in this series, and to Hobbico for providing the review sample.


Comments
Add new comment
This site is protected by reCAPTCHA and the Google Privacy Policy and Terms of Service apply.
Similar Reviews