
Yak-23 "Flora"
Mikro Mir has come on the scene from Ukraine, releasing a lot of new naval kits and some aircraft. I had earlier reviewed their new CAD designed model of the British 1/144 Holland Class Submarine. It was a pleasure to build, so I quickly signed up for this kit. I was wary of the Bilek release of the Yak-23 and was looking for Mikro Mir’s approach to the subject. Well, Mikro Mir had a hand in this kit, but the basic aircraft is the Bilek kit (4 sprues) with an extra sprue of details, new PE, new decals and set of masks from Mikro Mir. The Mikro Mir sprue includes a full engine (but no tailpipe!), wing tanks and simplified landing gear.
The Yak-23 Flora was the last and best of the Yak “tadpole” fighters, so named because of their shape. The plane was the result of lessons learned from the Yak-15 and Yak-17 and was borne out of a desire to create a two seat Yak-17 trainer. Easy to fly and very stable, the plan was the first jet for many of the Warsaw Pact air forces. As good as it might be, the jet was immediately overshadowed by the Mig-15 and later Mig-17. The biggest user of the Flora was Poland, which kept them in strength as trainers into the 1960s. The US Air Force had the chance to fully evaluate a copy after a Romanian pilot defected with one to Yugoslavia, which was benefitting from USAF lend-lease of F-86s and F-84s. So the plane was covertly loaded in a Globemaster, flown to Wright Field, re-marked, tested and eventually returned to Romania (none the wiser) via Yugoslavia. Those markings are included.
Fundamentally this kit has most of the issues of the limited run Bilek kit. The cockpit halves differ in thickness and uniformity. The cockpit is Spartan as are the wheel wells; the nose wheel well being artificially shallow. Following some online builds of the Bilek kit, I added more detail to the cockpit. There are resin cockpits available, but I wanted to use the Mikro Mir PE details for this review. The PE is a bit thick and the instrument panel needs to be bent to match the plastic one – not an easy task and the fit was so-so. Plus you have to glue the instrument face transparency to the back. I mounted the panel onto plastic so I could more easily glue it in place. The PE harnesses were also temperamental. In the end, I was not satisfied with the cockpit (I was also trying a new wash, with poor results). If I was to build this kit again, I would use a resin cockpit
I then built the engine which Micro Mir designed by CAD, it is its own project, but suffers from poor placement guidance and lack of tight fit. Still, it builds up into a decent replica of the British engine the Soviets built under license. The texture is the FOD screen at the front of the engine. It is missing the support rods that could easily be made from half-round styrene rod. I then spent a lot of time trying to figure out how to display the engine. Unless you pull the nose section or open the access panels, it will not be seen, except poorly down the intake. Of note on the real plane, there is no trunking from the splitter to the engine. Mikro Mir has cleverly engineered parts to cantilever the engine from the back of the splitter plate, but I think it leaves the engine out of position. The splitter plate does not have a positive position in the fuselage complicating the build up with the engine. Plus the wall thickness of the fuselage plastic ruled out opening access panels without a lot of additional work. So, in the end, the engine went into the spares bin.
The fit of the splitter plate is poor with no positive locking point. I chose to use the blanking plate provided with the Bilek parts, but not called out by Mikro Mir. The splitter also serves as the well for the nose gear, but the thickness of the plastic prevented me from opening it up. The fit of the main wheel wells was also poor. Before buttoning up the fuselage, I added a lot of weight in the nose – this plane is a tail sitter. The two fuselage halves were a poor fit as was the exhaust fairing underneath. I had to sand the top of it and grind the bottom of the cockpit with my Dremel tool, to get the fairing into position. Once in place, I used CA to fill the gaps and unevenness. It was then that I noticed that the kit does not provide an exhaust pipe. I ended up making one from brass tubing dipped in Blacken-it for insertion later.
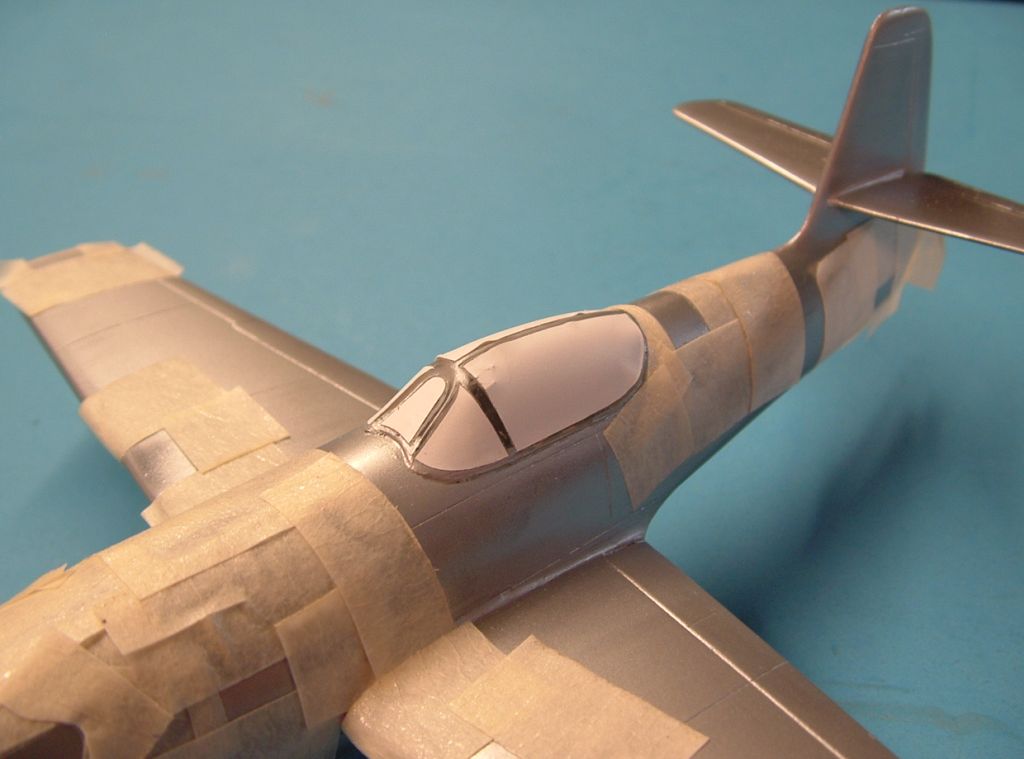
With the fuselage together, I fitted the horizontal stabilizers and the wings, both of which have dihedral; the drawings in the Mushroom Models book were a good reference. The thickness of the wing roots did not match the fuselage and there were gaps which required a lot of filing, filling and sanding. The plastic did bond well with Tamiya thin liquid cement and held up to the subsequent harsh treatment of filing and sanding. I added the gear door closing device in each main wheel well. The kit canopy is clear but thick and in one piece. Since I was not happy with the cockpit, I was content to keep the canopy closed and it fit relatively well. If you want the canopy open, I recommend vacuforming a replacement one for ease of cutting and fitting; there are no replacements on the market and it is a different shape than the earlier Yak series.
The landing gear was not an easy fit and in the end, despite my best attempts, the plane does not sit level across the main mounts. The Mikro Mir parts do simplify landing gear construction over the tedious number of ill-fitting Bilek parts. The kit main gear doors are also too thick and had to be thinned down for realism and to get them to fit. The bulge in the door is to accommodate the tire, as it is a close fit on the real plane. During final assembly I had to take ¼ inch off the base of the door to get the correct position the outer doors. The inner doors and the nose wheel doors were not a problem. The Mikro Mir drop tanks are nicely shaped and assembled with no issue. I did not use them for this build, but plan to use them on a conversion of the Czeck Model Yak-15 to a Yak-17.
This is not a kit for a natural metal finish, but none of the aircraft wore camouflage. With the plane together I spent time rescribing lost detail prior to painting. I used Alclad Aluminum for the base coat. After the first pass, even after a prior primer coat, I spend a lot of time fixing flaws in the finish. The fuselage joint was still very visible and required a lot more sanding to eliminate. I then laid down another coat of Alclad. Once cured I masked and painted the wheel wells and gear door insides Light Ghost Gray, the same color I used in the cockpit. I put the canopy masks in place and the shape was good, but the mask was a little thick and had lifted in a few places. I then used different shades of Model Master Metalizer to differentiate various panels. In early photographs, there is not much contrast and later many of these planes were coated with aluminum paint.
I chose to put the plane in the markings on the Czechoslovak Air Force. The first example arrived while the Czechoslovaks were still operating the S-92 (indigenously built Me-262s from a factory the Germans retooled to build the plane.). The arrival of the Yak-23 and later the Mig-15 heralded the retirement of the S-92 airframes. I thought it would be a good juxtaposition between the design approaches. I tried to use the kit roundels, but the Czechoslovak roundels are handed, and the kit roundels are not, being all the same. So I raided the ones left over from my AMK L-29 review kit. I used the Mikro Mir aircraft numbers, but they were very thin and one folded over on me, so I had to recreate some of the code from the USAF markings. The Mikro Mir decals settled well with Microsol and I sealed them with Future.
I left the plane relatively clean, as it looked soon after delivery. These planes were sources of pride and had short service lives. I also added antenna which is not included in the kit and used lycra thread for the lead. There was a second antenna lead that extended from the horizontal stabilizers to the radio compartment behind the cockpit, but I left this off, as it was not visible in all pictures. I originally used the kit pitot, but it broke off during all of the sandings and so I replaced it with stainless steel wire.
In the end, the kit looks like the Yak-23 and is the only 1/48 kit of the plane. I am happy to have it in my collection of early jets, but it will not go to a competition. Mikro Mir has admirably tried to improve the Bilek kit, but in the end, it is window dressing on a mediocre kit. The basic kit is in many ways a throwback to the early limited run, low pressure, injection molded kits of 20 years ago. If I was to build another, I would certainly use the Mikro Mir kit and use resin after-market products. Recommended for those who like me, find the lines of the Flora oddly compelling and have experience with limited run aircraft kits. Thanks to Mikro Mir for providing the IPMS USA with the kit as well as allowing me to build it for you.

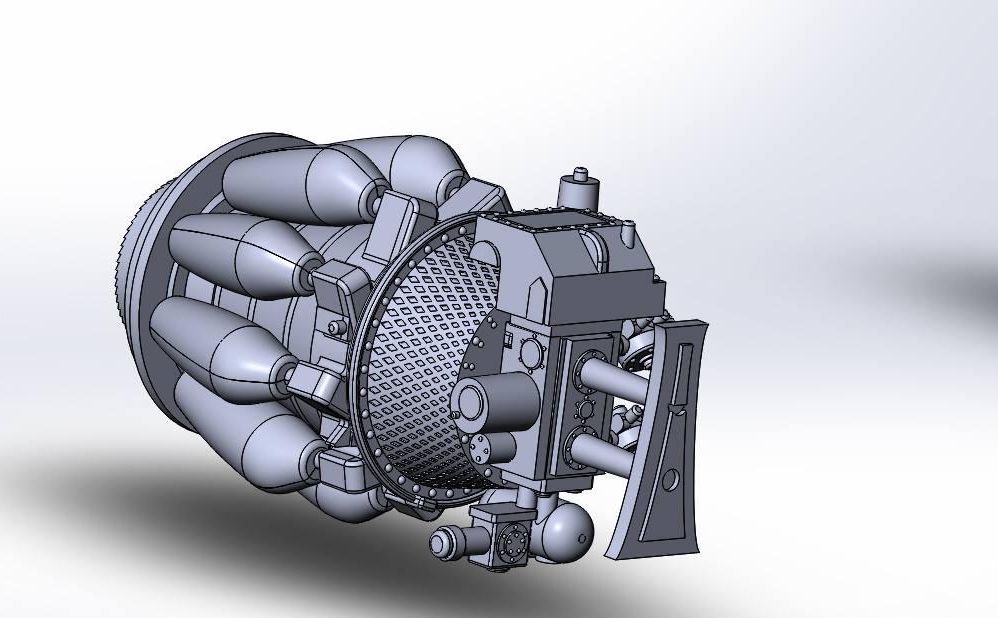
3D CAD rendering of engine

3D CAD rendering of kit
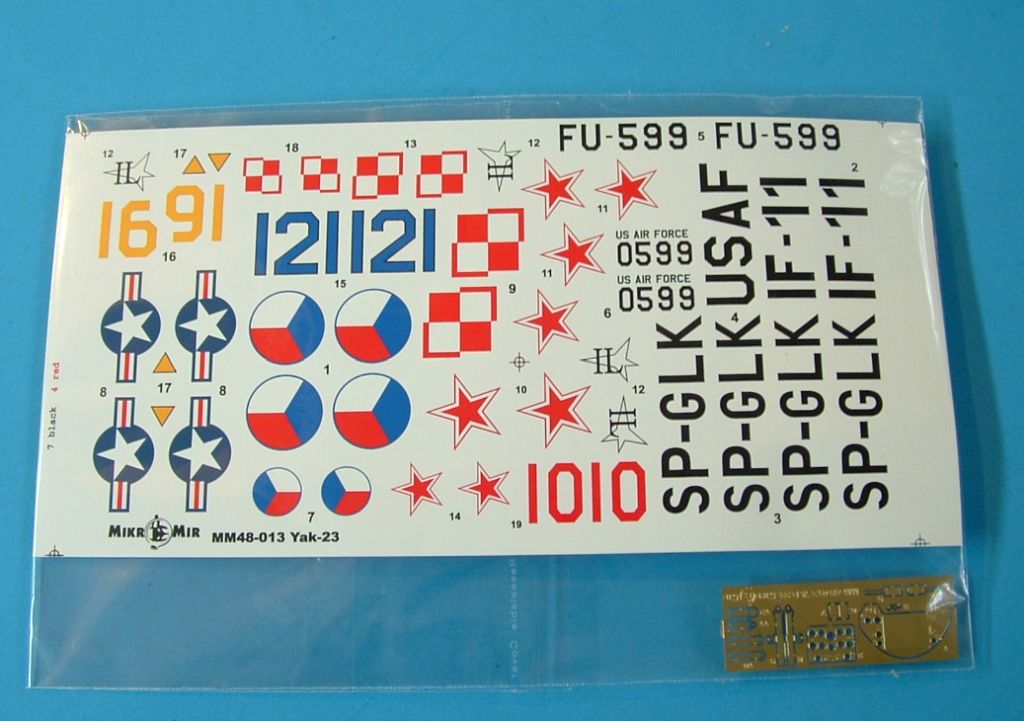
Decal sheet
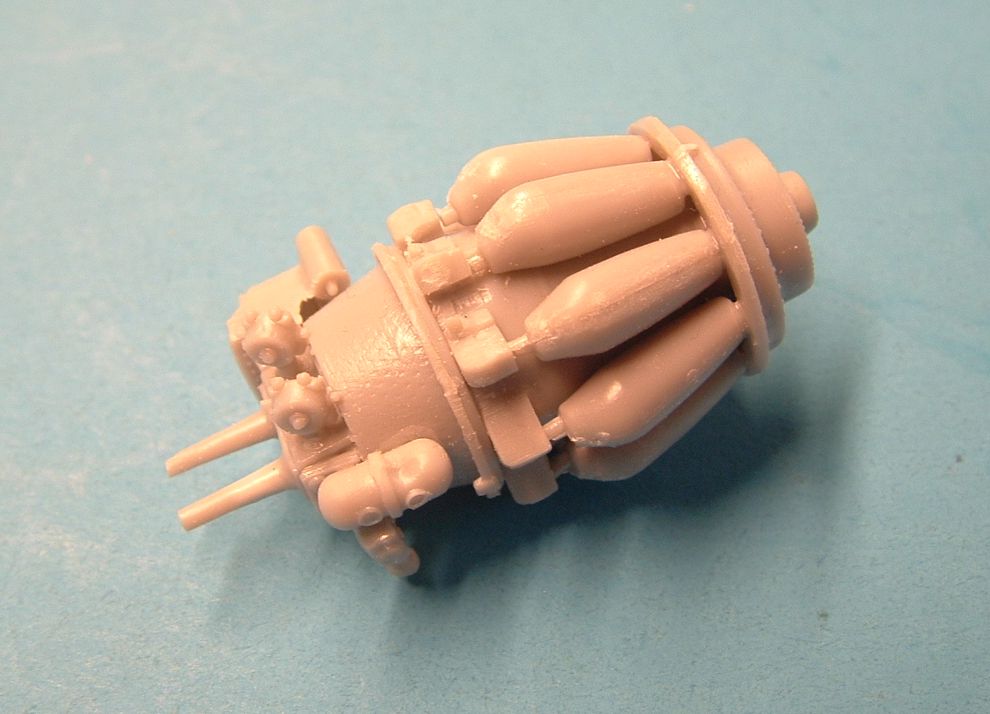
Finished engine assembly
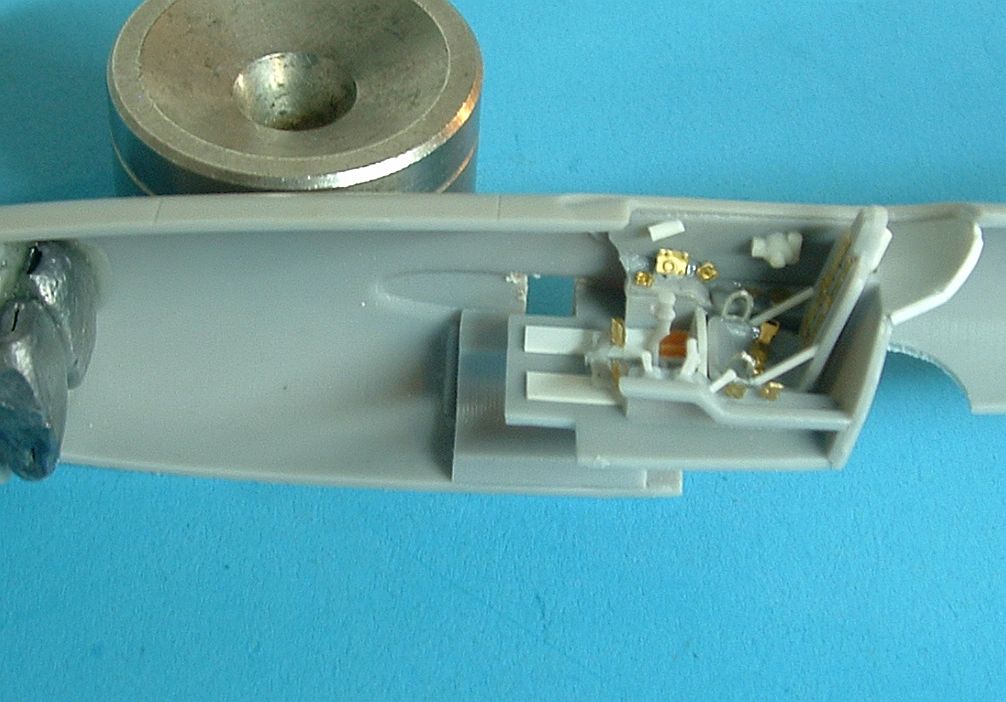
Interior assembly
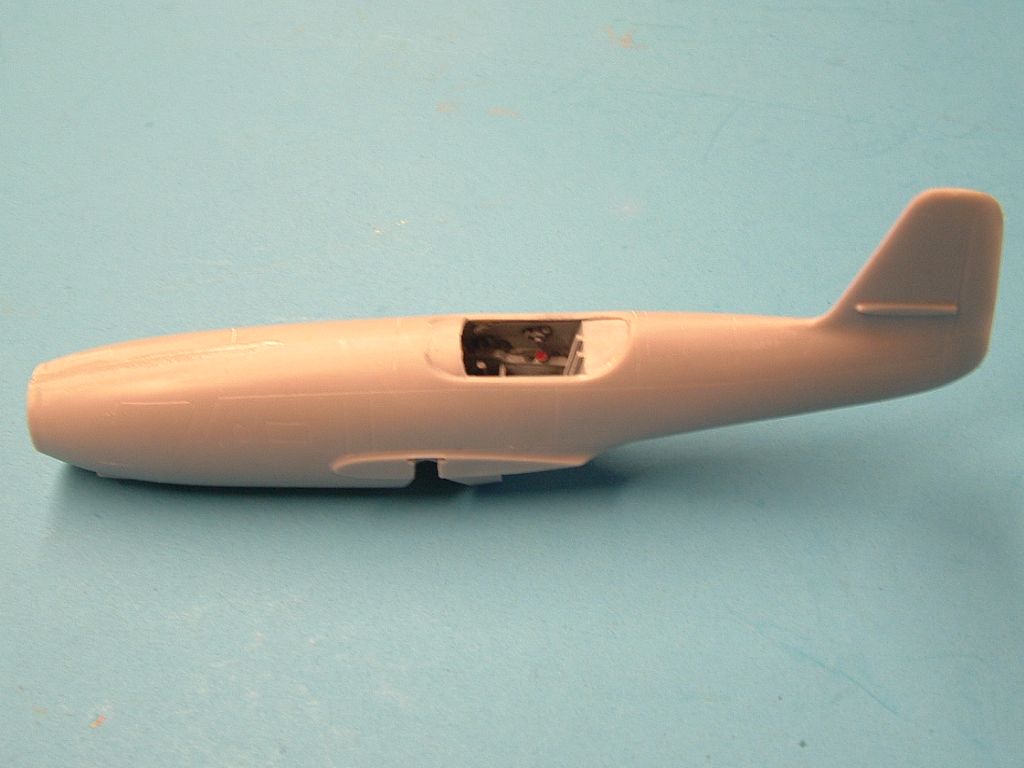
Fuselage
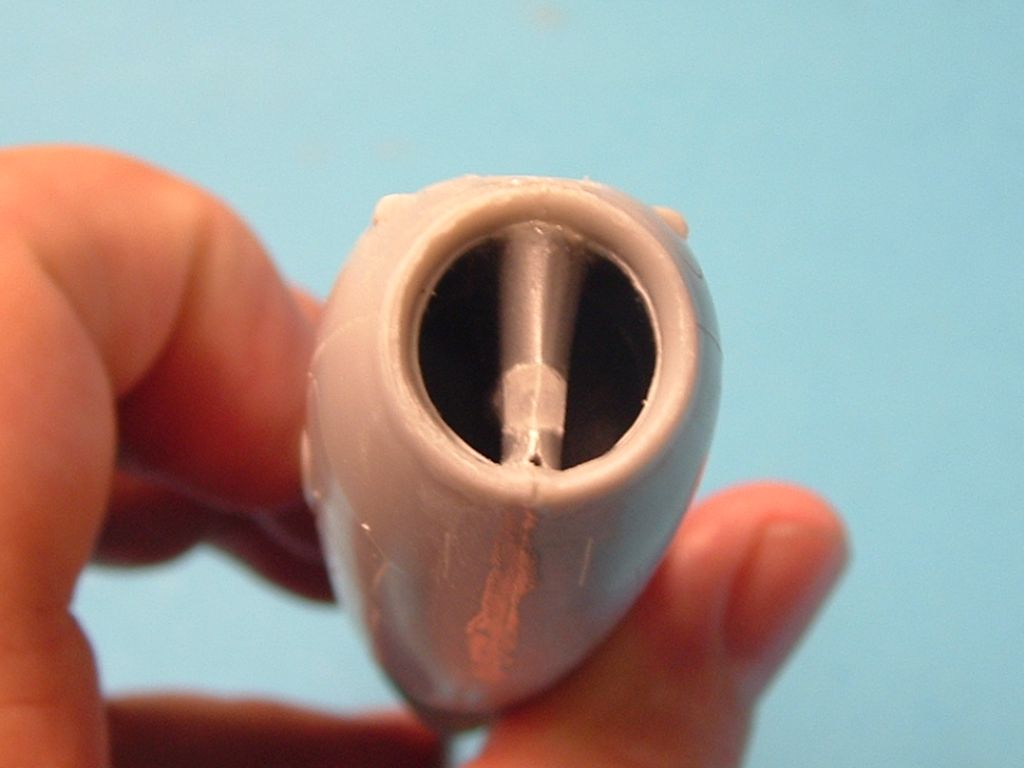
Intake
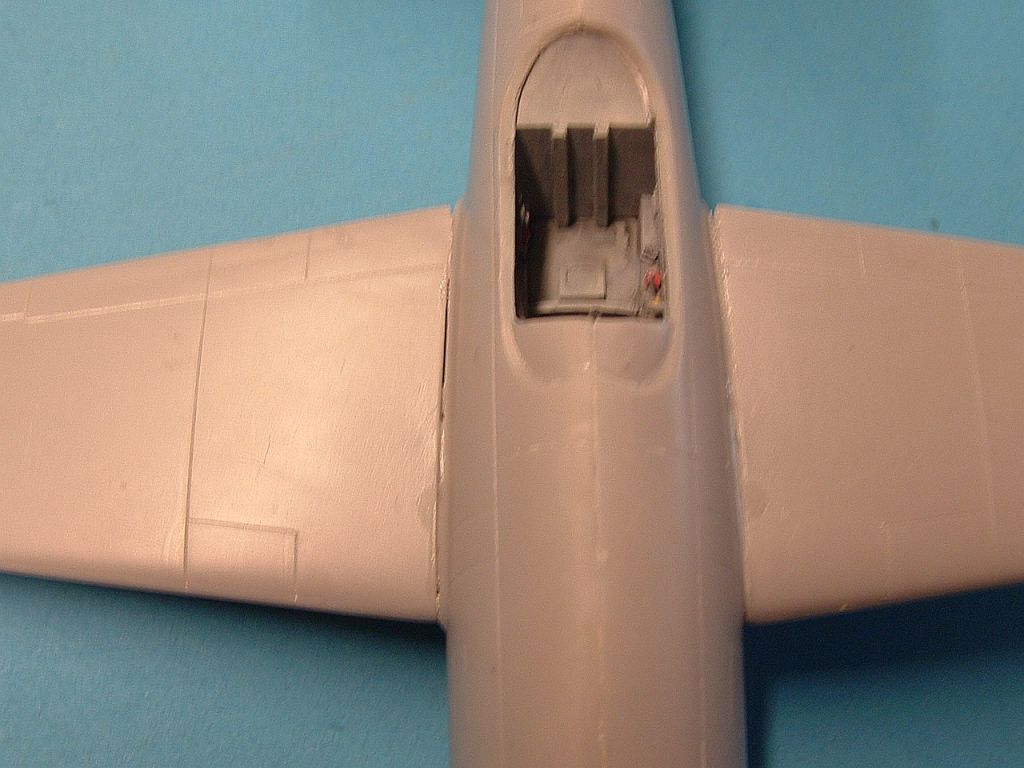
Cockpit
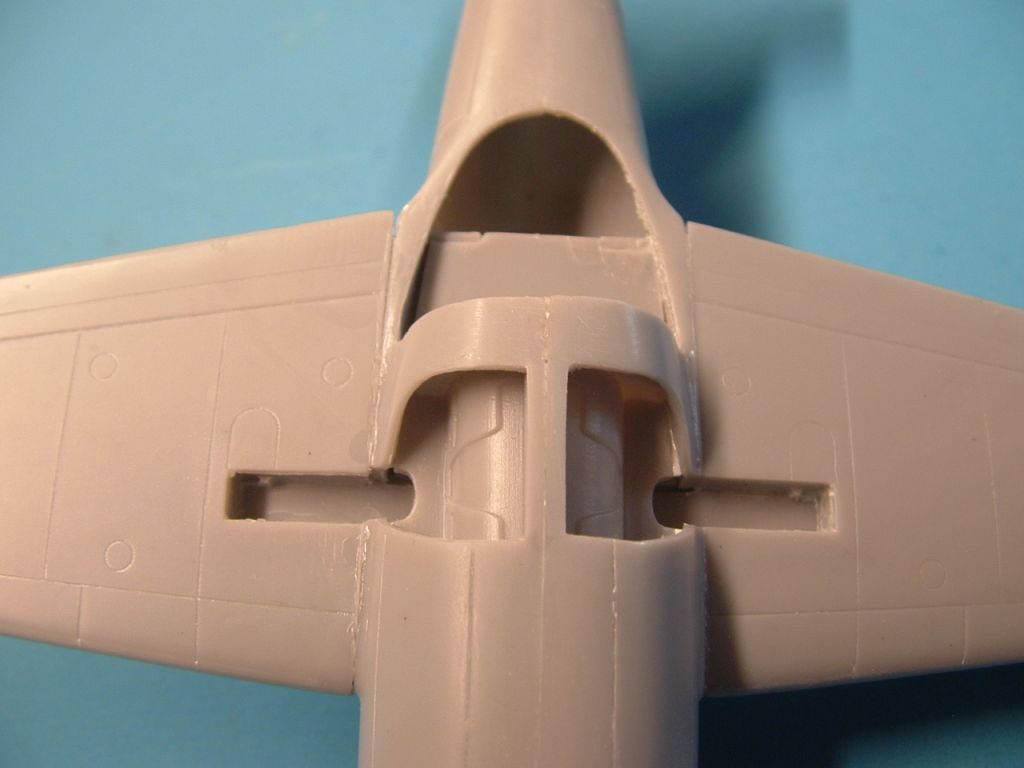
Gear wells

Fairing
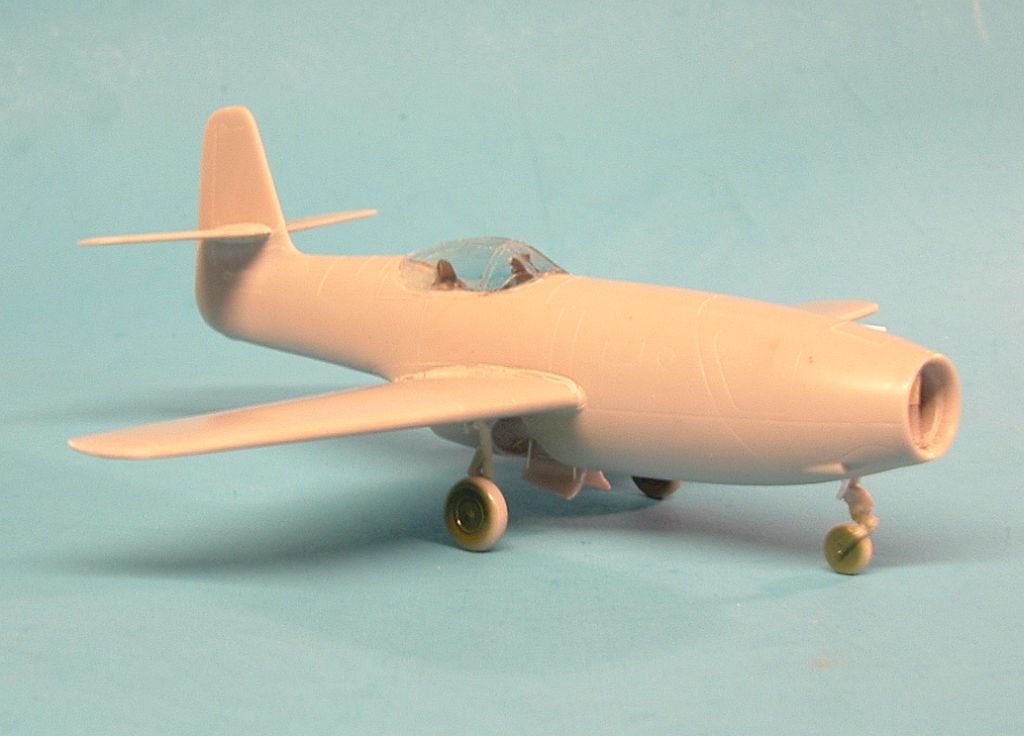
Standing on her legs

Canopy
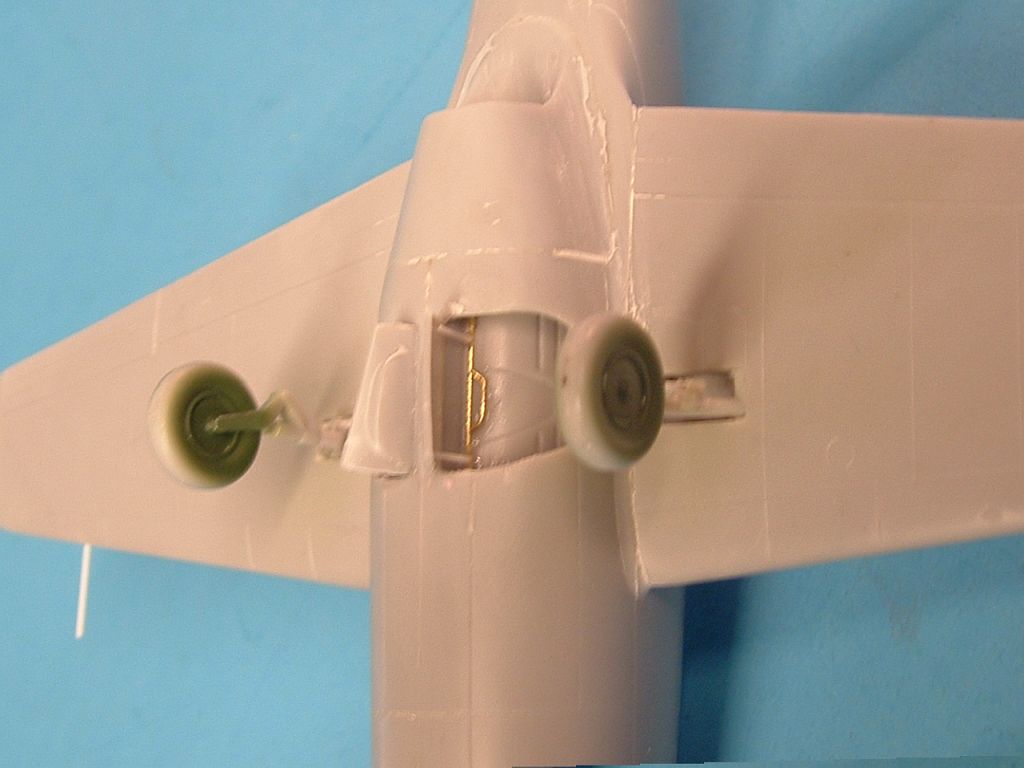
Main gear
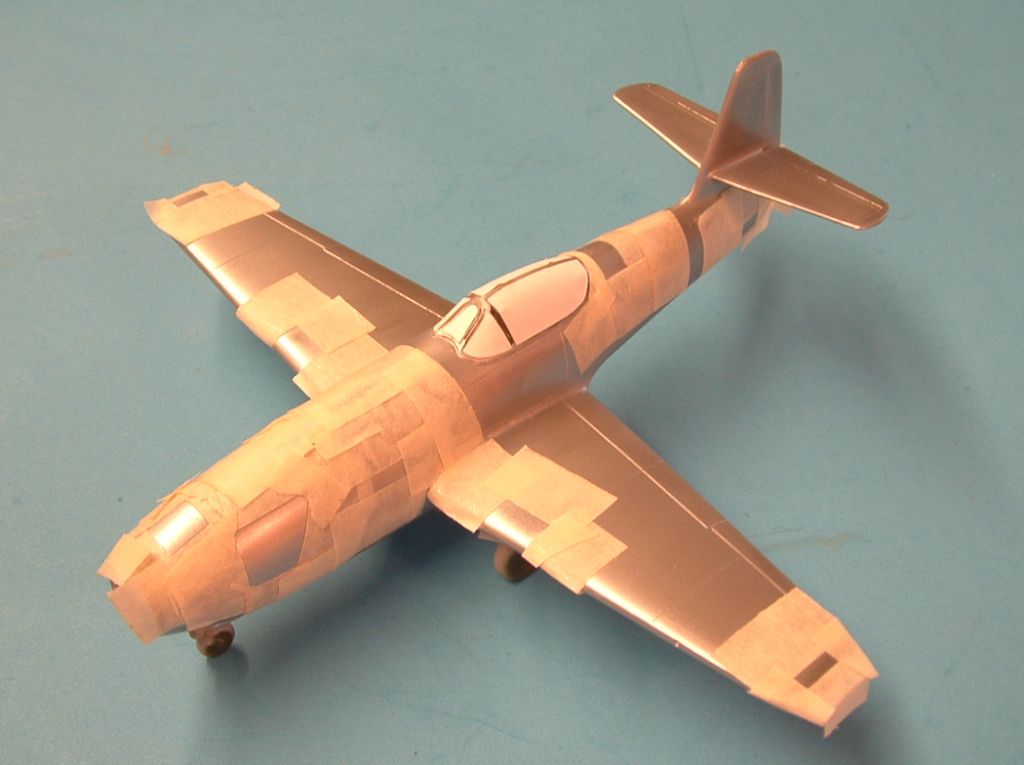
Paining and masking
Paining and masking
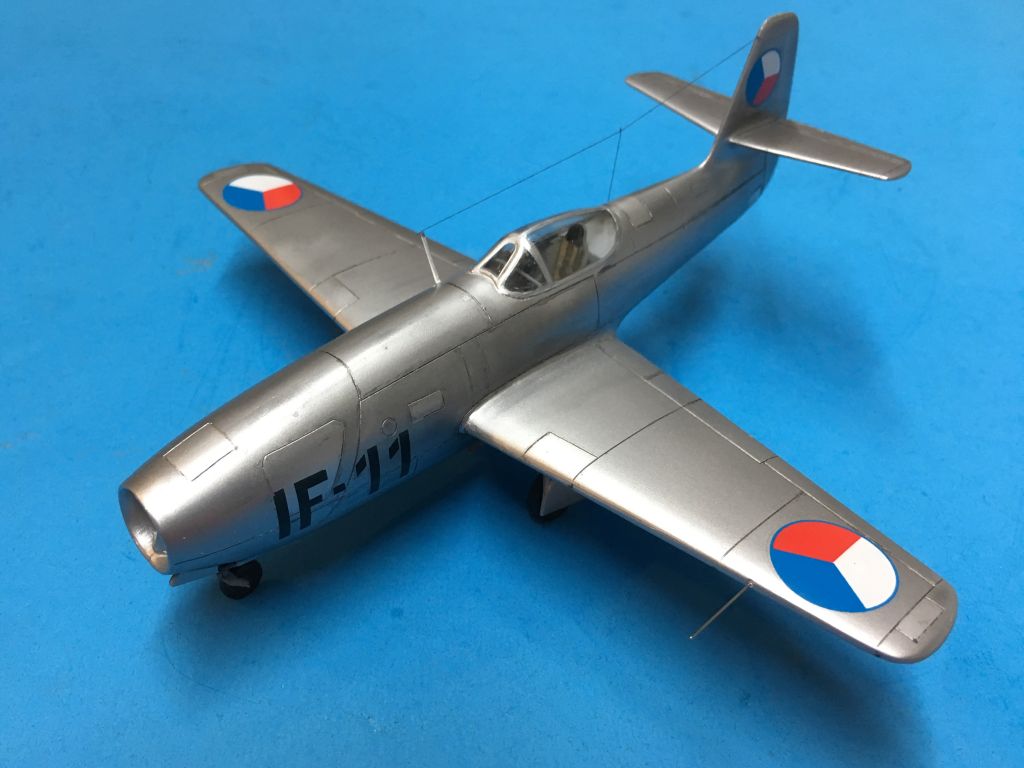
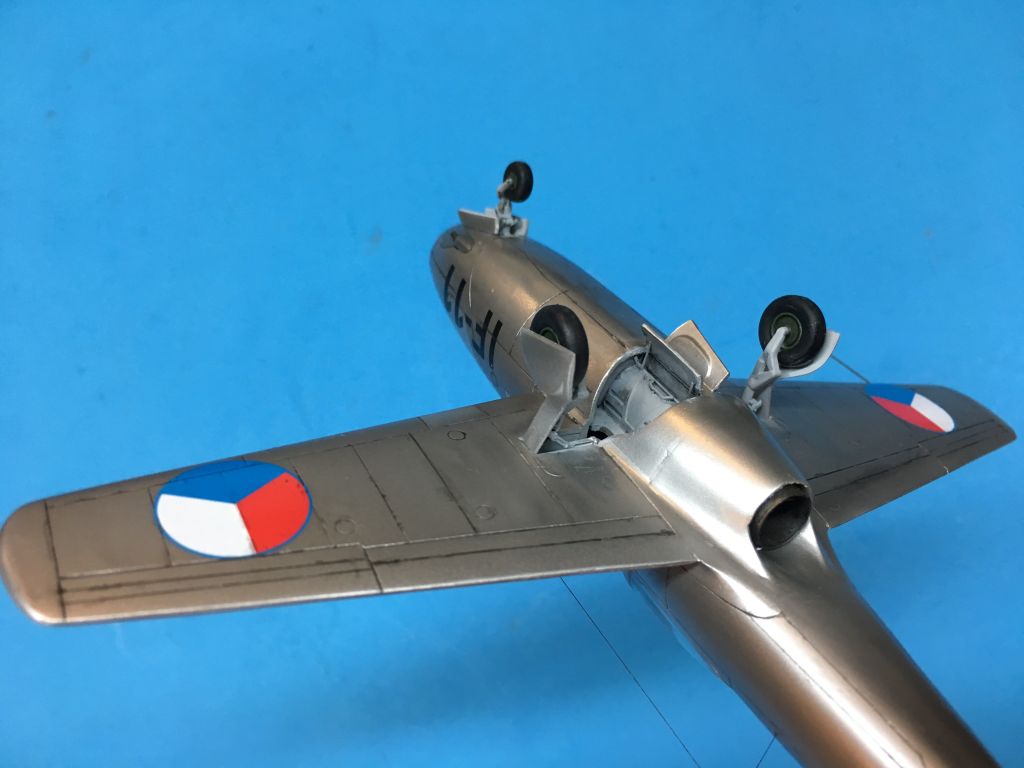
Finished model
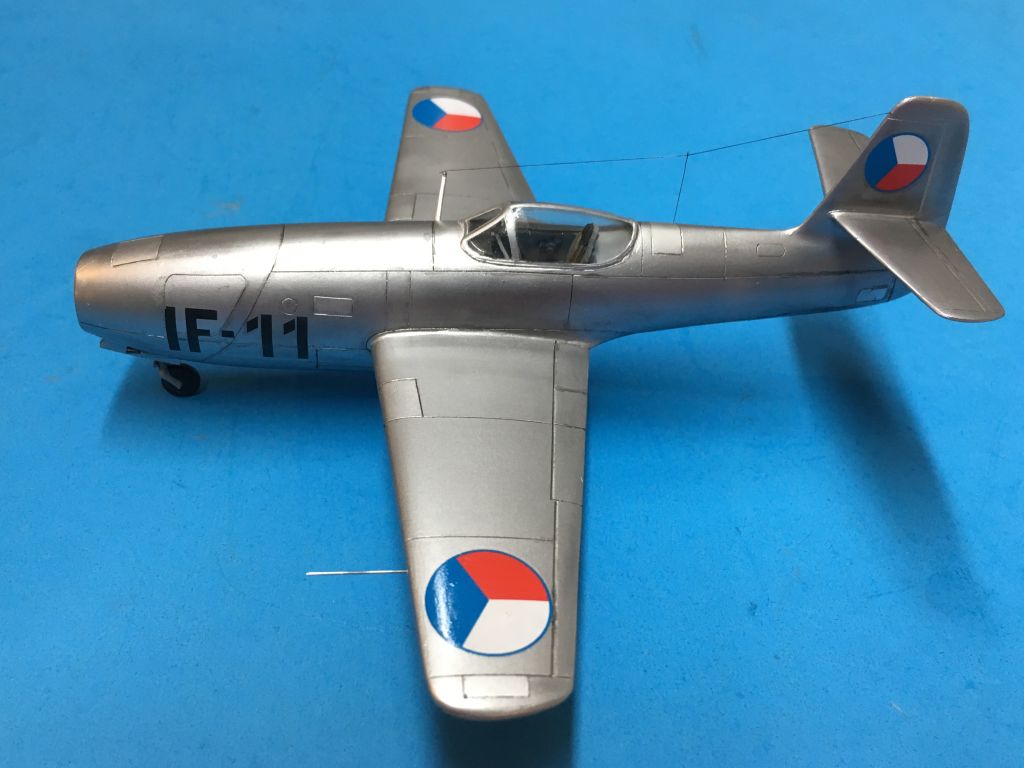
Finished model
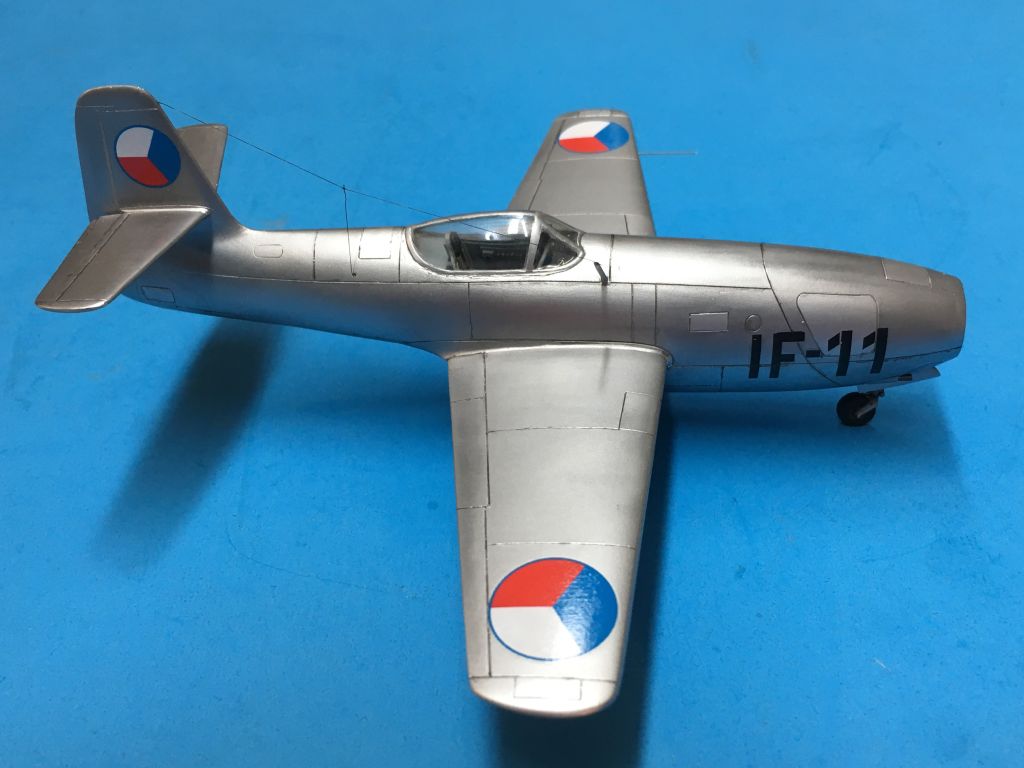
Finished model

Finished model

Finished model
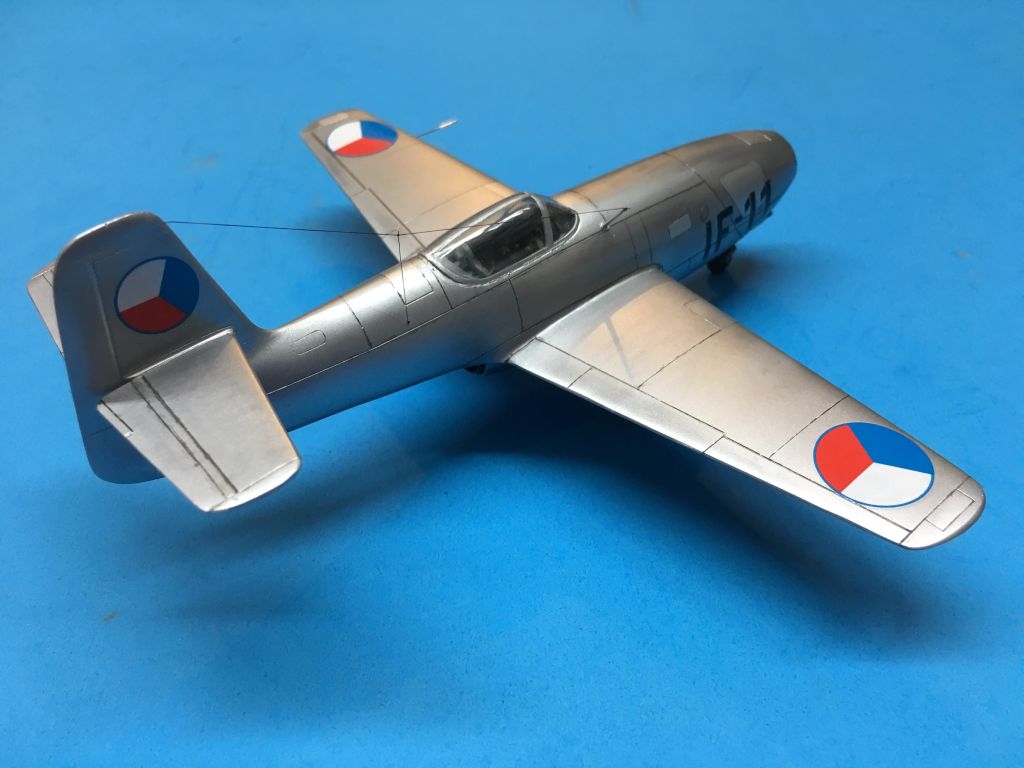
Finished model
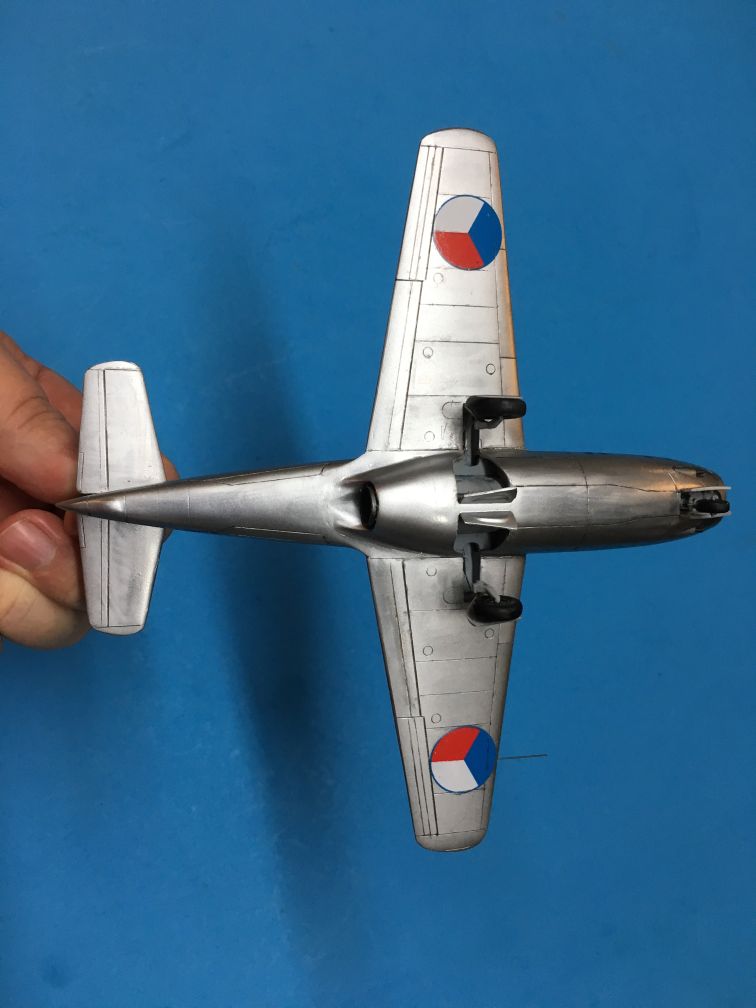
Finished model
Comments
Add new comment
This site is protected by reCAPTCHA and the Google Privacy Policy and Terms of Service apply.
Similar Reviews