
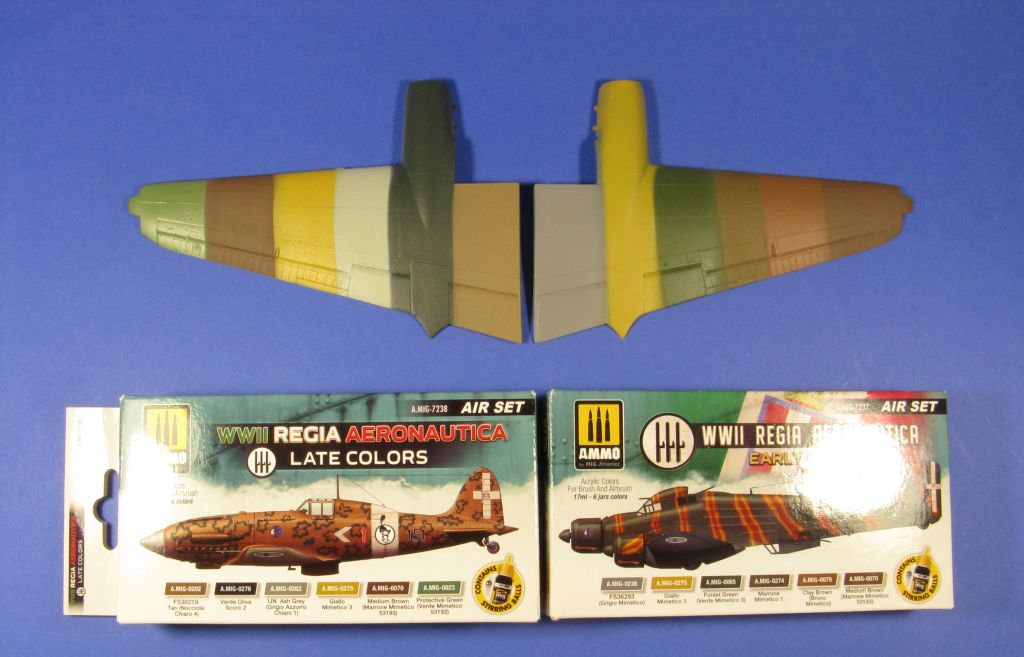
WWII Regia Aeronautica – Early Colors and Late Colors
I have been using enamels for many years (a couple of decades) now. Enamel hobby paints are getting hard to find and there are the health considerations on enamels, so I have been exploring different acrylics options out there. I was excited to see I had the chance to review the AMMO products as my recent experiences with their products have been good.
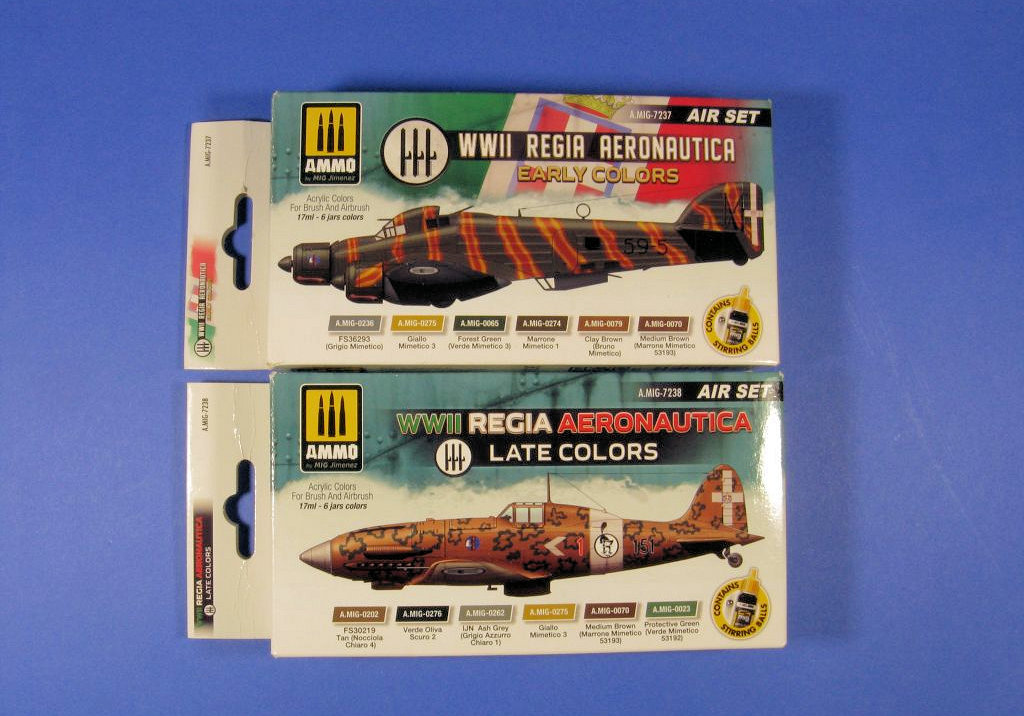
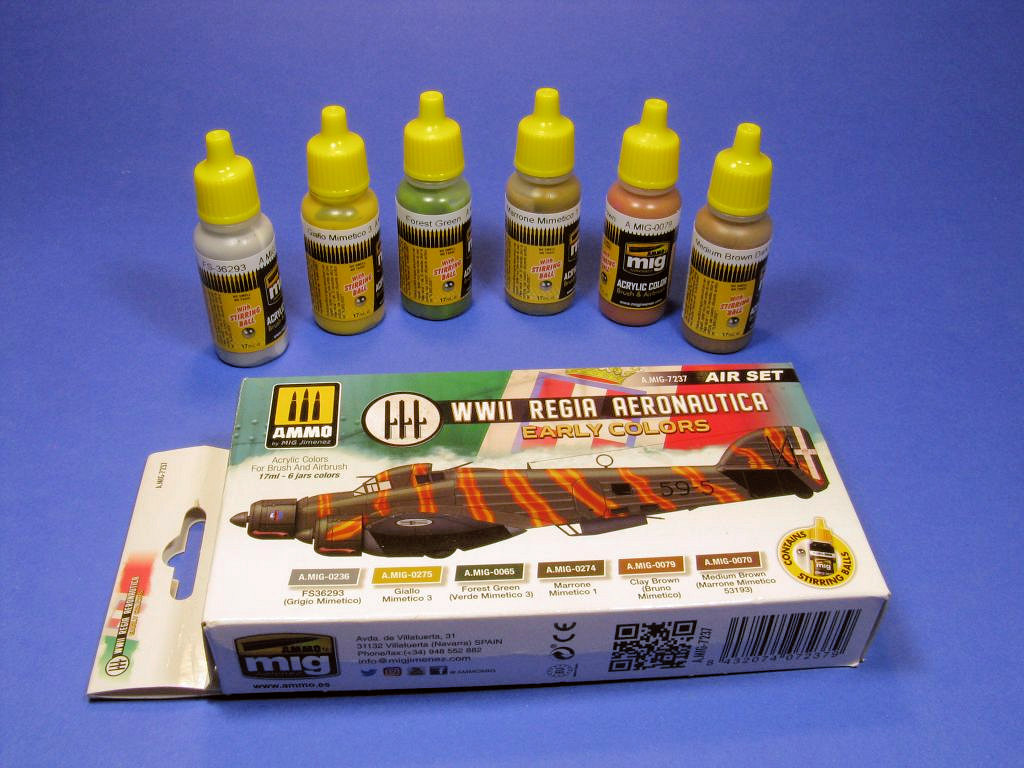
The set A.mig - 7237, Regia Aeronautica Early Colors, includes six 17 - ml eye - dropper style containers of paint for
- Grigio Mimetico/ FS 36293
- Giallo Mimetico/FS33434
- Forest Green / Verde Mimetico 3
- Marrone Mimetico 1 / FS30118
- Clay Brown / Bruno Mimetico
- Medium Brown / Marrone Mimetico 53193
These “Early Colors” were used - among others - by the CR.42, Breda.65, Sm.79, Fiat G.50, etc.
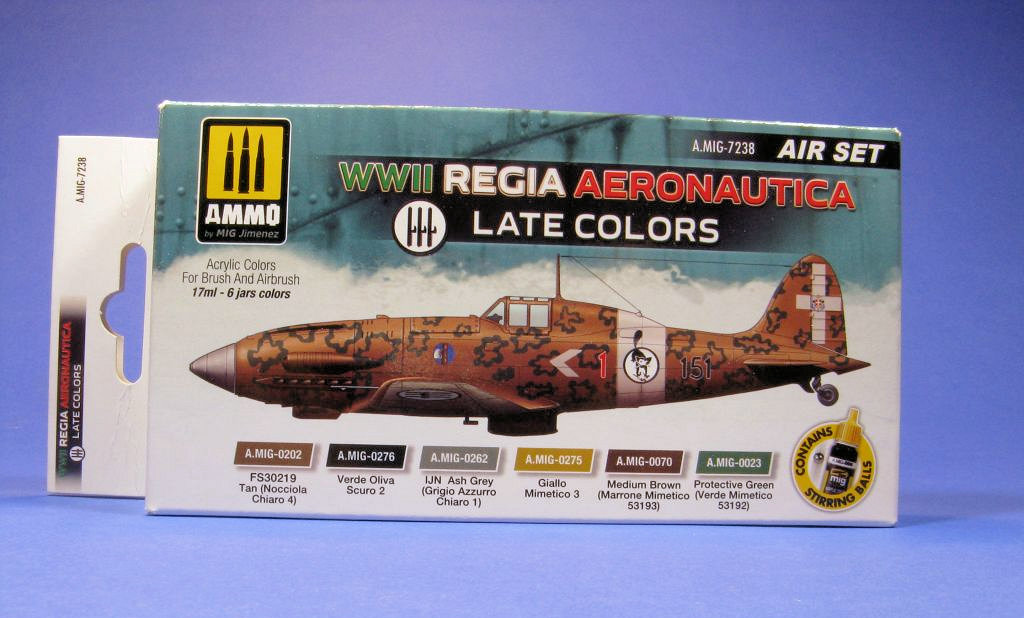
The set A.mig - 7237, Regia Aeronautica Early Colors, includes also six 17 - ml eye - dropper style containers of paint for
- FS 30219 Tan (Nocciola Chiaro 4)
- Verde Oliva Scuro 2
- IJN Ash Grey (Grigio Azzuro Chiaro 1)
- Giallo Mimetico 3
- Medium Brown (Marrone Mimetico 53193)
- Protective Green (Verde Mimetico 53192)
These “Late Colors” were used - among others - by the SM.79 Sparviero, Mc.202 Folgore, and Fiat G.50 among others.
As you can see from the list of colors, both Giallo Mimetico 3 and Medium Brown are present in both sets, as these colors were utilized during the whole conflict.
Readying the AMMO website, you learn that these paints are odorless, water soluble and non - toxic. All of those above make these paints interesting alternatives to enamels as non - toxicity is a great thing and odorless makes the rest of the family happy.
The instructions in the website are very clear, they tell you to shake the paint well (the little ball agitator makes it easy) and to spray in very thin coats (almost like a mist), letting the coats to dry a bit in between and to let the paint set for 24 hrs before the next step.
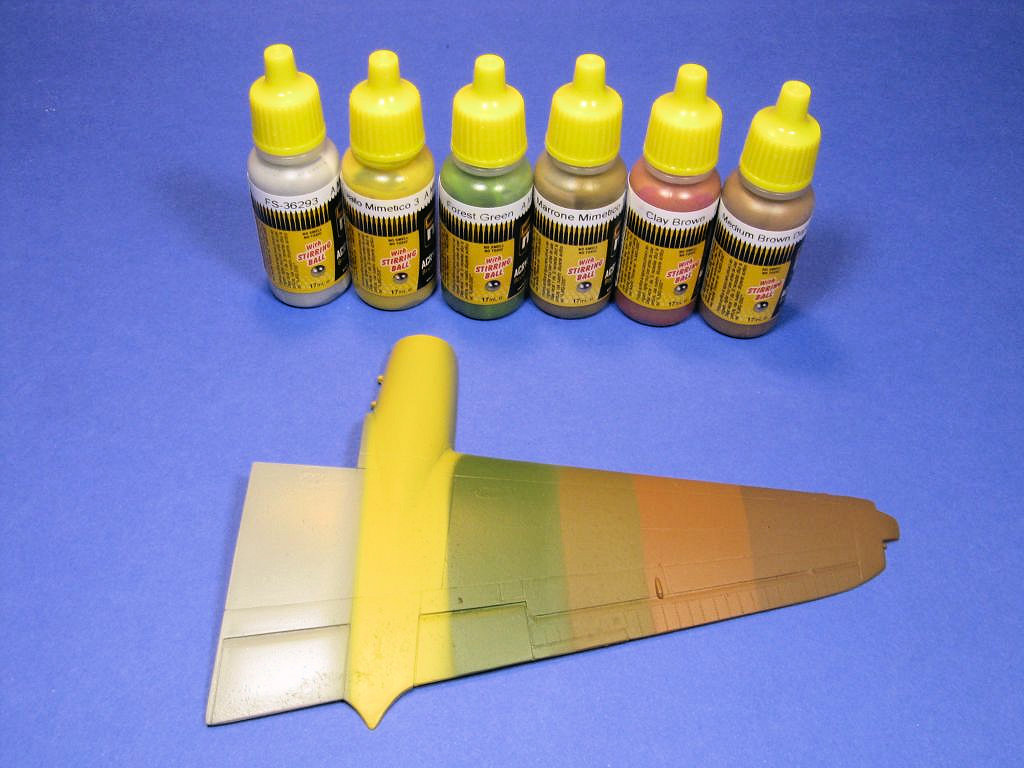
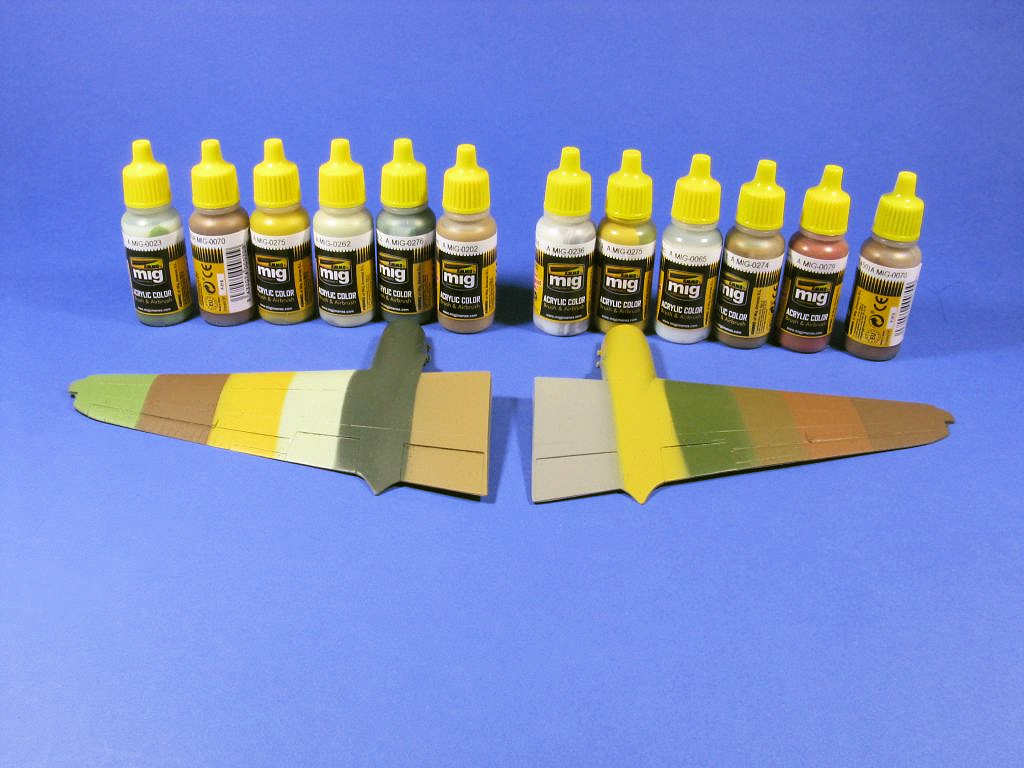
In my tests, I followed those instructions. The only thing I changed was to actually blow some air (with my double action airbrush of choice, the Badger 105) in between the coats. It took a bit of practice to get it right and I needed about 4 to 7 coats to get the color density you see in the pictures. I personally like the need of several thin coats to build up the color, as that allows you to do pre - shading/blackbasing if you want to.
I have to say that I did find a very faint smell on these paints. It is not strong at all and it is not “offensive” nor headache - inducing as enamels or lacquers. The best I can describe the smell is ‘earthly’. A bit like mud or clay, from a pottery workshop.
The smell lingers on the plastic parts for several days after painting, which indicates the paint is still drying/curing or at the very least degassing. I do live in Colorado, so perhaps the high altitude played a role on the longer degassing period.
Even if the paints are curing or degassing I was able to spray different colors - all from the same line - on top of each other without a problem, even before they were fully cured. In this review I just used a piece of paper as a mask between the color bands shown in the images and spraying the different colors happened within a minute or two from each other. I should point out that all colors were sprayed on top of a coat of “One Shot” primer which was given a full 24 hours to cure.
After giving the paint bands 24 hours of drying time, the stress test began. I burnished tape on the plastic wing and rip it off, band - aid style. No paint lifting at all. I then got a new piece of tape, burnish it down and left it in place for a few days. Rip it off band - aid style and no damage whatsoever to the paint.
By the way, you might see a bit of a rough texture on the images, that is because I didn’t prepare the surface as well I should have (did not polish the primer), but also notice that the paint on top the little imperfections didn’t lift, which speaks really well about paint adhesion.
To clean the airbrush cup, first I flushed it with water and then used a few drops of the Ammo Acrylic Cleaner (A.mig.2001). It took about 30 sec to do a clean up between colors. After spraying all the different colors I took apart the airbrush and clean it up with a paper towel damp with the cleaner and then another piece of paper towel with water.
You might notice that in the “Late” set, the colors that are repeated (yellow and brown) have a deeper shade of either color than in the “Early” set. That is simply due to the fact that I applied 4 or 5 thin coats for “Early” set while I applied either 7 or 8 light coats for the “Late” set. That shows you how the actual color shade you get depends on the number of coats. In both cases the paint was sprayed on top of Grey “One Shot” primer.
A comment has to be made that the paints have been lightened for ‘scale effect’, although no scale is provided for the ‘scale effect’. I am not sure if a 1/144 model should have the same ‘scale effect’ than a 1/32 scale one. Another point to be made is that some of these colors are available in other sets (like Medium Brown is part of the RAF Early Color set or one of the grays is listed as “IJN”). I am not sure if that means that the color was the same in two different air forces or if the shades are so similar than when lightened by scale effect it does not matter. I leave up to you the final call on color accuracy.
To summarize my findings:
- The paints have very little odor, are non - toxic and if you give them 24 hrs drying time, very durable. They do seem to continue degassing for several days - based on that faint smell - and that might slow down the overall pace of your modeling.
- These paints do apply on a slightly different way than other paints I have sprayed before. Given that they are water - based you have to mist them and build the color density very slowly in order to overcame the surface tension of the paint. Using the Mig thinner (A.Mig.2000) and blowing air - using a double action airbrush helps - in between the coats helps a lot
I have to say that I am quite pleased with these paints. I am slowly adding them to my growing collection of acrylic paints and likely become a ‘standard’ for future builds.
Highly recommended.
I would like to thank AMMO by Mig Jimenez and IPMS/USA for the review sample.


Comments
Add new comment
This site is protected by reCAPTCHA and the Google Privacy Policy and Terms of Service apply.
Similar Reviews